headlight VAUXHALL CORSA F 2018 User Guide
[x] Cancel search | Manufacturer: VAUXHALL, Model Year: 2018, Model line: CORSA F, Model: VAUXHALL CORSA F 2018Pages: 271, PDF Size: 7.86 MB
Page 121 of 271

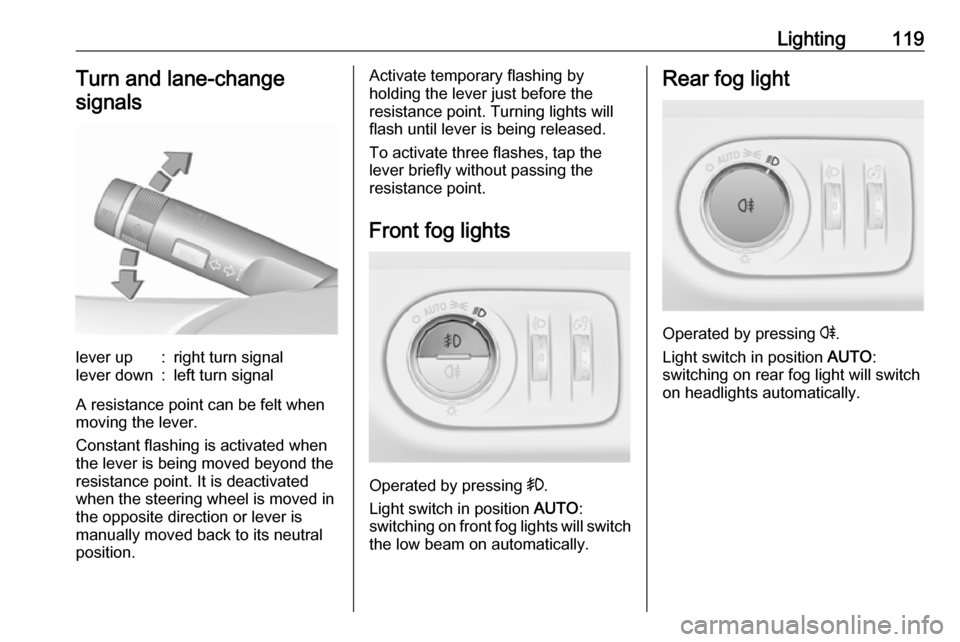
Lighting119Turn and lane-changesignalslever up:right turn signallever down:left turn signal
A resistance point can be felt when
moving the lever.
Constant flashing is activated when
the lever is being moved beyond the
resistance point. It is deactivated
when the steering wheel is moved in
the opposite direction or lever is
manually moved back to its neutral
position.
Activate temporary flashing by
holding the lever just before the
resistance point. Turning lights will
flash until lever is being released.
To activate three flashes, tap the
lever briefly without passing the
resistance point.
Front fog lights
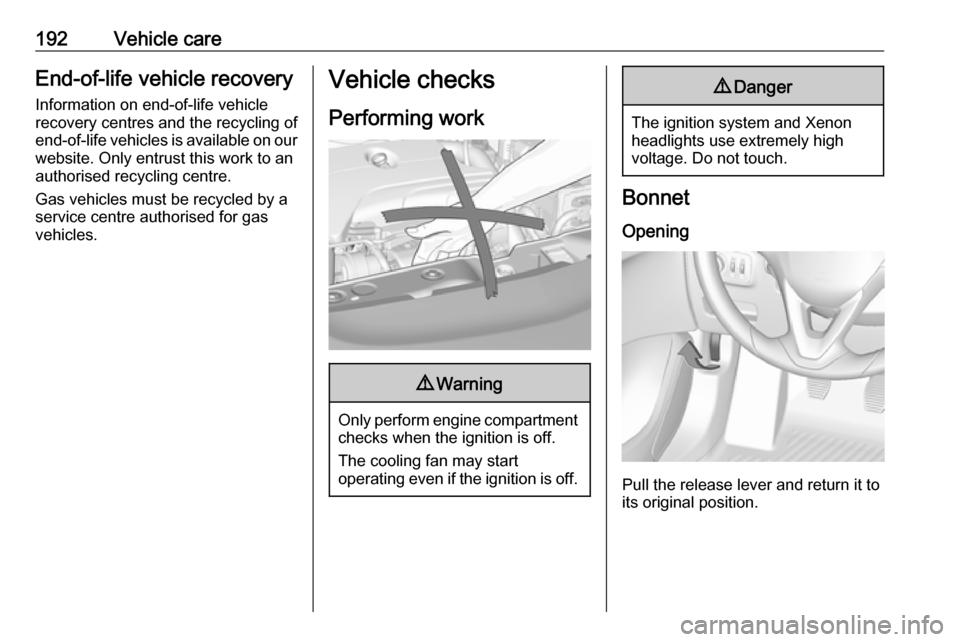
Operated by pressing >
.
Light switch in position AUTO:
switching on front fog lights will switch
the low beam on automatically.
Rear fog light
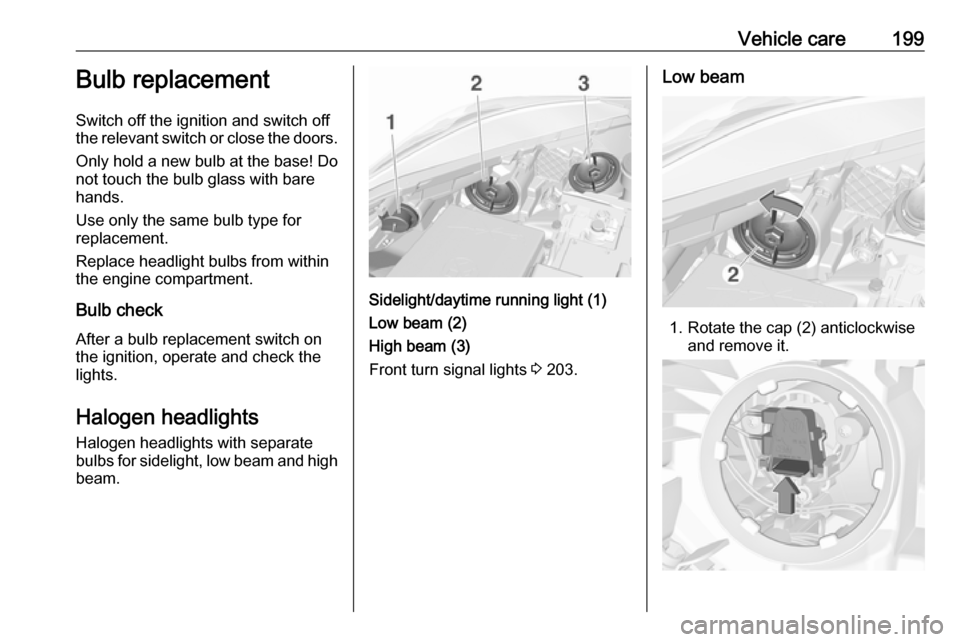
Operated by pressing r.
Light switch in position AUTO:
switching on rear fog light will switch
on headlights automatically.
Page 122 of 271

120LightingParking lights
When the vehicle is parked, the
parking lights on one side can be
activated:
1. Switch off the ignition.
2. Move the turn signal lever all the way up (right parking lights) or
down (left parking lights).
Confirmed by an acoustic signal and
the corresponding turn signal control
indicator.
Reversing lights
The reversing light comes on when
the ignition is on and reverse gear is
selected.
Misted light covers
The inside of the light housing may
mist up briefly in poor, wet and cold weather conditions, in heavy rain or
after washing. The mist disappears
quickly by itself; to help switch on the
headlights.Interior lighting
Instrument panel illumination control
Brightness of the following lights can
be adjusted when the exterior lights
are on:
● instrument panel illumination
● dome light
● Info-Display
● illuminated switches and operation elements
Turn thumb wheel A and hold until
the desired brightness is obtained.
Page 124 of 271

122LightingDome light
Spotlight incorporated in the inside
mirror housing comes on when
headlights are switched on.
Dome light illuminates gear shifting
console indirectly.
Reading lights
Operated by pressing 2 for the left
and right side.
Lighting features
Entry lighting
Welcome lighting
The following lights are switched on
for a short time by unlocking the
vehicle with the radio remote control:
● headlights
● tail lights
● number plate lights
● instrument panel light
● interior lights
Some functions are only operable
when it is dark outside, to facilitate locating the vehicle.
Lighting switches off immediately
when the ignition key is turned to
position 1 3 135.
Activation or deactivation of this
function can be changed in the
Info-Display.
Vehicle personalisation 3 106.
The settings can be saved for the key being used 3 22.The following lights will additionally
switch on when the driver's door is
opened:
● illumination of all switches
● Driver Information Centre
Exit lighting
The following lights switch on if the
key is removed from the ignition
switch:
● interior lights
● instrument panel light (only when
it is dark)
They will switch off automatically after
a delay and will be activated again if
the driver's door is opened.
Path lighting Headlights, tail lights and number
plate lights illuminate the surrounding area for an adjustable time after
leaving the vehicle.
Page 176 of 271

174Driving and operatingFunctionality
The camera is mounted between the
number plate lights and has a viewing angle of 130°.
The area displayed by the camera is
limited. The distance of the image that
appears on the display differs from
the actual distance.
Warning symbols
Warning symbols are indicated as
triangles 9 on the picture, which show
obstacles detected by the rear
sensors of the advanced parking
assist.
Additionally 9 appears on the top line
of the Info-Display with the warning to
check the vehicle surrounding.
DeactivationThe camera is deactivated when a
certain forward speed is exceeded or
if reverse gear is not engaged for
approx. ten seconds.
Rear view camera can be manually deactivated in the vehicle
personalisation menu in the
Info-Display. Vehicle personalisation
3 106.Deactivation of guiding lines and
warning symbols
Activation or deactivation of the visual
guiding lines and the warning
symbols can be changed by touch
buttons in the lower zone of the
display.
Fault
Fault messages are displayed with a
9 on the top line of the Info-Display.
The rear view camera may not
operate properly when:
● The surrounding is dark.
● The sun or the beam of headlights is shining directly into
the camera lens.
● Ice, snow, mud, or anything else covers the camera lens. Clean
the lens, rinse it with water, and
wipe it with a soft cloth.
● The vehicle is towing a trailer.
● The vehicle had a rear end accident.
● There are extreme temperature changes.
Page 192 of 271

190Vehicle careVehicle careGeneral Information...................191
Accessories and vehicle modifications .......................... 191
Vehicle storage ........................191
End-of-life vehicle recovery .....192
Vehicle checks ........................... 192
Performing work ......................192
Bonnet ..................................... 192
Engine oil ................................. 193
Engine coolant ......................... 194
Washer fluid ............................ 196
Brakes ..................................... 196
Brake fluid ............................... 196
Vehicle battery ......................... 196
Diesel fuel system bleeding .....198
Wiper blade replacement ........198
Bulb replacement .......................199
Halogen headlights ..................199
Xenon headlights .....................201
Fog lights ................................. 202
Front turn signal lights .............203
Tail lights ................................. 203
Side turn signal lights ..............205
Centre high-mounted brake light ......................................... 206Number plate light...................206
Interior lights ............................ 206
Instrument panel illumination ...206
Electrical system ........................207
Fuses ....................................... 207
Engine compartment fuse box . 208
Instrument panel fuse box .......210
Vehicle tools .............................. 212
Tools ........................................ 212
Wheels and tyres .......................213
Winter tyres ............................. 213
Tyre designations ....................213
Tyre pressure .......................... 213
Tyre pressure monitoring system .................................... 215
Tread depth ............................. 219
Changing tyre and wheel size . 219
Wheel covers ........................... 220
Tyre chains .............................. 220
Tyre repair kit .......................... 220
Wheel changing .......................225
Spare wheel ............................ 228
Jump starting ............................. 230
Towing ....................................... 231
Towing the vehicle ...................231
Towing another vehicle ...........232Appearance care .......................233
Exterior care ............................ 233
Interior care ............................. 236
Page 194 of 271

192Vehicle careEnd-of-life vehicle recoveryInformation on end-of-life vehicle
recovery centres and the recycling of
end-of-life vehicles is available on our website. Only entrust this work to an
authorised recycling centre.
Gas vehicles must be recycled by a
service centre authorised for gas
vehicles.Vehicle checks
Performing work9 Warning
Only perform engine compartment
checks when the ignition is off.
The cooling fan may start
operating even if the ignition is off.
9 Danger
The ignition system and Xenon
headlights use extremely high
voltage. Do not touch.
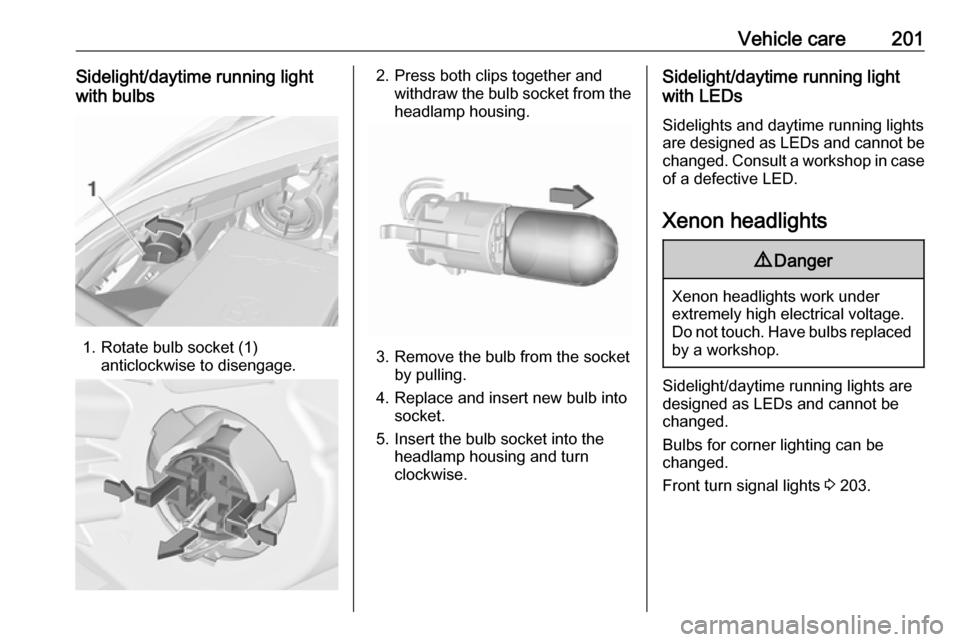
Bonnet
Opening
Pull the release lever and return it to
its original position.
Page 201 of 271

Vehicle care199Bulb replacement
Switch off the ignition and switch off
the relevant switch or close the doors.
Only hold a new bulb at the base! Do
not touch the bulb glass with bare
hands.
Use only the same bulb type for
replacement.
Replace headlight bulbs from within
the engine compartment.
Bulb check After a bulb replacement switch on
the ignition, operate and check the
lights.
Halogen headlights Halogen headlights with separate
bulbs for sidelight, low beam and high
beam.
Sidelight/daytime running light (1)
Low beam (2)
High beam (3)
Front turn signal lights 3 203.
Low beam
1. Rotate the cap (2) anticlockwise
and remove it.
Page 203 of 271

Vehicle care201Sidelight/daytime running light
with bulbs
1. Rotate bulb socket (1) anticlockwise to disengage.
2. Press both clips together andwithdraw the bulb socket from theheadlamp housing.
3. Remove the bulb from the socket by pulling.
4. Replace and insert new bulb into socket.
5. Insert the bulb socket into the headlamp housing and turn
clockwise.
Sidelight/daytime running light
with LEDs
Sidelights and daytime running lights
are designed as LEDs and cannot be
changed. Consult a workshop in case
of a defective LED.
Xenon headlights9 Danger
Xenon headlights work under
extremely high electrical voltage.
Do not touch. Have bulbs replaced by a workshop.
Sidelight/daytime running lights are
designed as LEDs and cannot be
changed.
Bulbs for corner lighting can be
changed.
Front turn signal lights 3 203.
Page 233 of 271

Vehicle care2313. Connect the black lead to thenegative terminal of the booster
vehicle battery.
4. Connect the other end of the black
lead to a vehicle grounding point,
such as the engine block or an
engine mounting bolt. Connect as far away from the discharged
vehicle battery as possible,
however at least 60 cm.
Route the leads so that they cannot
catch on rotating parts in the engine
compartment.
To start the engine: 1. Start the engine of the vehicle providing the jump.
2. After five minutes, start the other engine. Start attempts should be
made for no longer than
15 seconds at an interval of one
minute.
3. Allow both engines to idle for approx. three minutes with the
leads connected.4. Switch on electrical consumers (e.g. headlights, heated rear
window) of the vehicle receiving
the jump start.
5. Reverse above sequence exactly when removing leads.Towing
Towing the vehicle
Insert a screwdriver in the slot at the
lower part of the cap. Release the cap
by carefully moving the screwdriver
downwards.
The towing eye is stowed with the
vehicle tools 3 212.
Page 236 of 271

234Vehicle careIf using a car wash, comply with the
car wash manufacturer's instructions. The windscreen wiper and rear
window wiper must be switched off.
Remove antenna and external
accessories such as roof racks etc.
If you wash your vehicle by hand,
make sure that the insides of the
wheel housings are also thoroughly
rinsed out.
Clean edges and folds on opened
doors and the bonnet as well as the
areas they cover.
Clean bright metal mouldings with a
cleaning solution approved for
aluminium to avoid damages.Caution
Always use a cleaning agent with
a pH value of four to nine.
Do not use cleaning agents on hot surfaces.
Have the door hinges of all doors
greased by a workshop.
Do not clean the engine compartment with a steam-jet or high-pressure jet
cleaner.
Thoroughly rinse and leather-off the vehicle. Rinse leather frequently. Use
separate leathers for painted and
glass surfaces: remnants of wax on
the windows will impair vision.
Exterior lights
Headlight and other light covers are
made of plastic. Do not use any
abrasive or caustic agents, do not use
an ice scraper, and do not clean them
dry.
Polishing and waxing
Wax painted parts of the vehicle
regularly (at the latest when water no longer beads). Otherwise, the
paintwork will dry out.
Polishing is necessary only if the paint
has become dull or if solid deposits
have become attached to it.
Paintwork polish with silicone forms a
protective film, making waxing
unnecessary.
Unpainted plastic body parts must not be treated with wax or polishing
agents.Matt filmed body parts or decor tapes must not be polished, to avoid
gleaming. Do not use hot wax
programmes in automatic car washes
if the vehicle is equipped with these
parts.
Matt painted decor parts, e.g. mirror
housing cover, must not be polished. Otherwise these parts would become agleam or the colour would be
dissolved.
Windows and windscreen wiper
blades
Use a soft lint-free cloth or chamois leather together with window cleaner
and insect remover.
When cleaning the rear window from
inside, always wipe in parallel to the
heating element to prevent damage.
For mechanical removal of ice, use a
sharp-edged ice scraper. Press the
scraper firmly against the glass so
that no dirt can get under it and
scratch the glass.
Clean smearing wiper blades with a
soft cloth and window cleaner.