Tyre check VAUXHALL GRANDLAND X 2020 Owner's Manual
[x] Cancel search | Manufacturer: VAUXHALL, Model Year: 2020, Model line: GRANDLAND X, Model: VAUXHALL GRANDLAND X 2020Pages: 283, PDF Size: 21.87 MB
Page 19 of 283
In brief17Transmission
Manual transmission
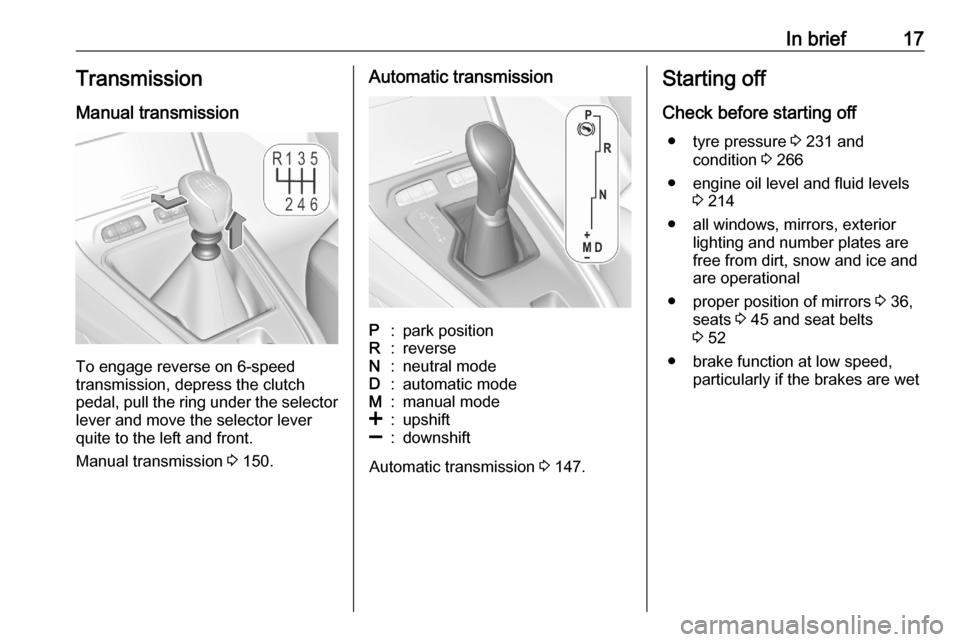
To engage reverse on 6-speed
transmission, depress the clutch
pedal, pull the ring under the selector
lever and move the selector lever
quite to the left and front.
Manual transmission 3 150.
Automatic transmissionP:park positionR:reverseN:neutral modeD:automatic modeM:manual mode<:upshift]:downshift
Automatic transmission 3 147.
Starting off
Check before starting off ● tyre pressure 3 231 and
condition 3 266
● engine oil level and fluid levels 3 214
● all windows, mirrors, exterior lighting and number plates are
free from dirt, snow and ice and
are operational
● proper position of mirrors 3 36,
seats 3 45 and seat belts
3 52
● brake function at low speed, particularly if the brakes are wet
Page 79 of 283

Storage77To calculate the payload, enter
the data for your vehicle in the
weights table at the front of this
manual.
The EC kerb weight includes
weights for the driver (68 kg),
luggage (7 kg) and all fluids (fuel
tank 90% full).
Optional equipment and
accessories increase the kerb
weight.
● Driving with a roof load increases
the sensitivity of the vehicle to
cross-winds and has a
detrimental effect on vehicle
handling due to the vehicle's
higher centre of gravity.
Distribute the load evenly and secure it properly with retaining
straps. Adjust the tyre pressure
and vehicle speed according to
the load conditions. Check and
retighten the straps frequently.
Do not drive faster than 75 mph.
The permissible roof load is
85 kg. The roof load is the
combined weight of the roof rack and the load.
Page 100 of 283
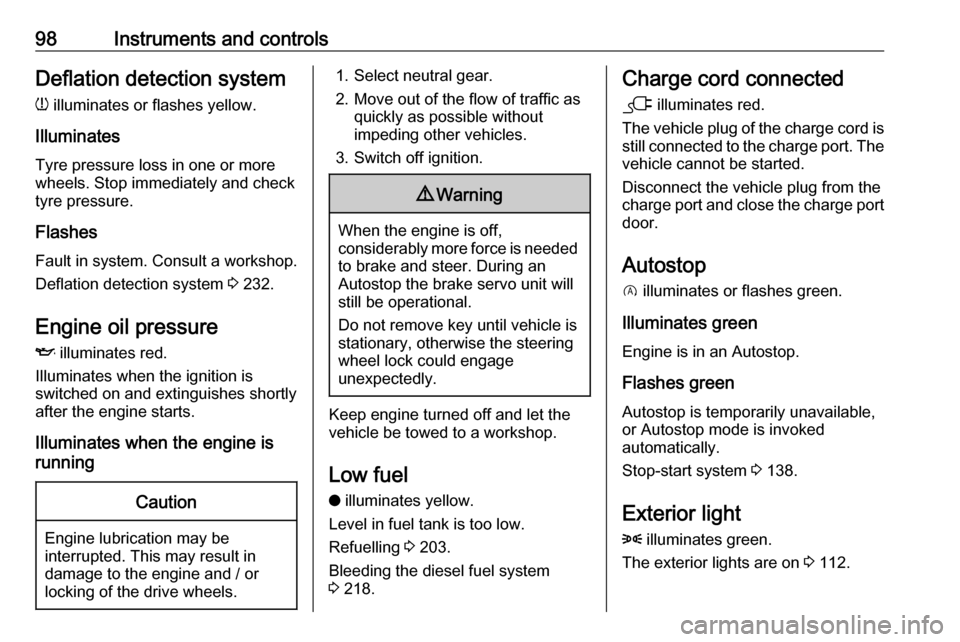
98Instruments and controlsDeflation detection systemw illuminates or flashes yellow.
Illuminates
Tyre pressure loss in one or more
wheels. Stop immediately and check
tyre pressure.
Flashes
Fault in system. Consult a workshop.
Deflation detection system 3 232.
Engine oil pressure I illuminates red.
Illuminates when the ignition is
switched on and extinguishes shortly
after the engine starts.
Illuminates when the engine is
runningCaution
Engine lubrication may be
interrupted. This may result in
damage to the engine and / or
locking of the drive wheels.
1. Select neutral gear.
2. Move out of the flow of traffic as quickly as possible without
impeding other vehicles.
3. Switch off ignition.9 Warning
When the engine is off,
considerably more force is needed
to brake and steer. During an
Autostop the brake servo unit will
still be operational.
Do not remove key until vehicle is stationary, otherwise the steeringwheel lock could engage
unexpectedly.
Keep engine turned off and let the
vehicle be towed to a workshop.
Low fuel o illuminates yellow.
Level in fuel tank is too low.
Refuelling 3 203.
Bleeding the diesel fuel system
3 218.
Charge cord connected
j illuminates red.
The vehicle plug of the charge cord is
still connected to the charge port. The
vehicle cannot be started.
Disconnect the vehicle plug from the
charge port and close the charge port door.
Autostop
D illuminates or flashes green.
Illuminates green
Engine is in an Autostop.
Flashes green
Autostop is temporarily unavailable,
or Autostop mode is invoked
automatically.
Stop-start system 3 138.
Exterior light
8 illuminates green.
The exterior lights are on 3 112.
Page 212 of 283

210Vehicle careVehicle careGeneral Information...................210
Accessories and vehicle modifications .......................... 210
Vehicle storage ........................212
End-of-life vehicle recovery .....212
Vehicle checks ........................... 213
Performing work ......................213
Bonnet ..................................... 213
Engine oil ................................. 214
Engine coolant ......................... 215
Washer fluid ............................ 215
Brakes ..................................... 216
Brake fluid ............................... 216
Vehicle battery ......................... 216
Diesel fuel system bleeding .....218
Wiper blade replacement ........218
Bulb replacement .......................219
Halogen headlights ..................219
LED headlights ........................ 221
Front fog lights ......................... 221
Tail lights ................................. 221
Side turn lights ......................... 224
Number plate light ...................225
Interior lights ............................ 225Electrical system........................225
Fuses ....................................... 225
Engine compartment fuse box . 226
Instrument panel fuse box .......227
Vehicle tools .............................. 229
Tools ........................................ 229
Wheels and tyres .......................230
Winter tyres ............................. 230
Tyre designations ....................230
Tyre pressure .......................... 231
Tyre deflation detection system .................................... 232
Tread depth ............................. 233
Changing tyre and wheel size . 233
Wheel covers ........................... 234
Tyre chains .............................. 234
Tyre repair kit .......................... 234
Wheel changing .......................237
Spare wheel ............................ 239
Jump starting ............................. 242
Towing ....................................... 244
Towing the vehicle ...................244
Towing another vehicle ...........245
Appearance care .......................246
Exterior care ............................ 246
Interior care ............................. 248
Floor mats ............................... 248General Information
Accessories and vehicle modifications
We recommend the use of genuine parts and accessories and factory
approved parts specific for your
vehicle type. We cannot assess or
guarantee reliability of other products - even if they have a regulatory or
otherwise granted approval.
Any modification, conversion or other
changes made to standard vehicle
specifications (including, without
limitation, software modifications,
modifications of the electronic control units) may invalidate the warranty
offered by Vauxhall. Furthermore,
such changes may affect driver
assistance systems, may impact fuel
consumption, CO 2 emissions and
other emissions of the vehicle and
cause the vehicle to no longer
conform to the operating permit,
impacting the validity of your vehicle
registration.
Page 214 of 283

212Vehicle careVehicle storageStorage for a long period of timeIf the vehicle is to be stored for several months:
● Wash and wax the vehicle.
● Have the wax in the engine compartment and underbody
checked.
● Clean and preserve the rubber seals.
● Fill up fuel tank completely.
● Change the engine oil.
● Drain the washer fluid reservoir. ● Check the coolant antifreeze and
corrosion protection.
● Adjust tyre pressure to the value specified for full load.
● Park the vehicle in a dry, well ventilated place. Engage first or
reverse gear or set selector lever
to P. Prevent the vehicle from
rolling.
● Do not apply the parking brake.● Open the bonnet, close all doors and lock the vehicle.
● Disconnect the clamp from the negative terminal of the vehicle
battery. Note that all systems are
not functional, e.g. anti-theft
alarm system.
Putting back into operation When the vehicle is to be put back into
operation:
● Connect the clamp to the negative terminal of the vehicle
battery. Initialize the power
windows 3 39.
● Check tyre pressure.
● Fill up the washer fluid reservoir.
● Check the engine oil level.
● Check the coolant level.
● Fit the number plate if necessary.End-of-life vehicle recovery
Information on end-of-life vehicle
recovery centres and the recycling of
end-of-life vehicles is available on our website, where legally required. Only
entrust this work to an authorised
recycling centre.
Page 232 of 283
230Vehicle careVehicles with audio speaker system
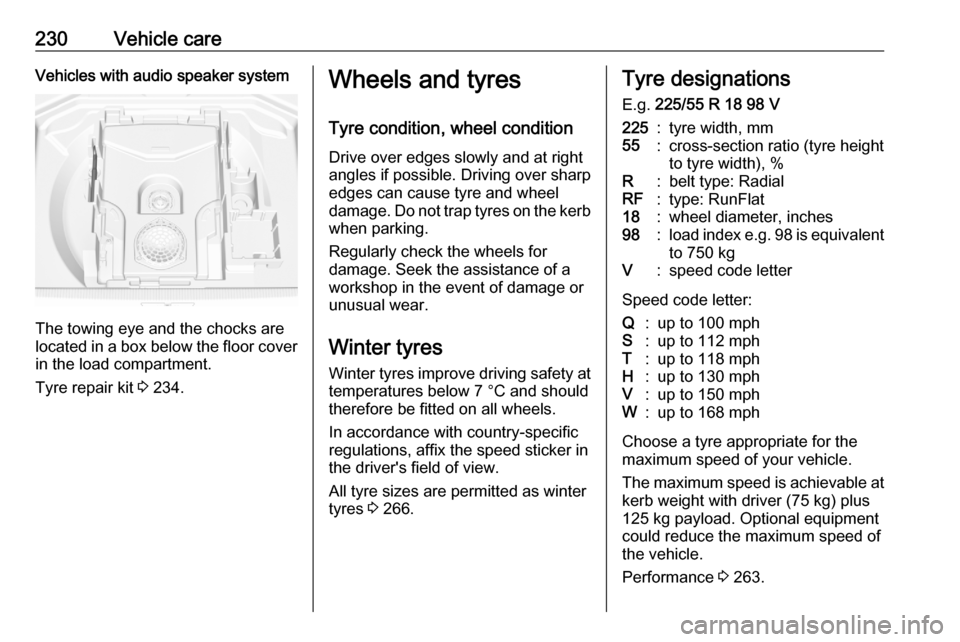
The towing eye and the chocks are
located in a box below the floor cover in the load compartment.
Tyre repair kit 3 234.
Wheels and tyres
Tyre condition, wheel condition Drive over edges slowly and at right
angles if possible. Driving over sharp
edges can cause tyre and wheel
damage. Do not trap tyres on the kerb when parking.
Regularly check the wheels for
damage. Seek the assistance of a
workshop in the event of damage or
unusual wear.
Winter tyres
Winter tyres improve driving safety at temperatures below 7 °C and should
therefore be fitted on all wheels.
In accordance with country-specific
regulations, affix the speed sticker in
the driver's field of view.
All tyre sizes are permitted as winter
tyres 3 266.Tyre designations
E.g. 225/55 R 18 98 V225:tyre width, mm55:cross-section ratio (tyre height
to tyre width), %R:belt type: RadialRF:type: RunFlat18:wheel diameter, inches98:load index e.g. 98 is equivalent
to 750 kgV:speed code letter
Speed code letter:
Q:up to 100 mphS:up to 112 mphT:up to 118 mphH:up to 130 mphV:up to 150 mphW:up to 168 mph
Choose a tyre appropriate for the
maximum speed of your vehicle.
The maximum speed is achievable at kerb weight with driver (75 kg) plus
125 kg payload. Optional equipment
could reduce the maximum speed of
the vehicle.
Performance 3 263.
Page 233 of 283
Vehicle care231Directional tyresDirectional tyres should be mounted
so that they rotate in the correct
direction. The proper rotation
direction is indicated by a symbol (e.g. an arrow) on the sidewall.
Tyre pressure
Check the pressure of cold tyres at
least every 14 days and before any
long journey. Do not forget the spare
wheel. This also applies to vehicles
with tyre pressure monitoring system.
Tyre pressure 3 266.
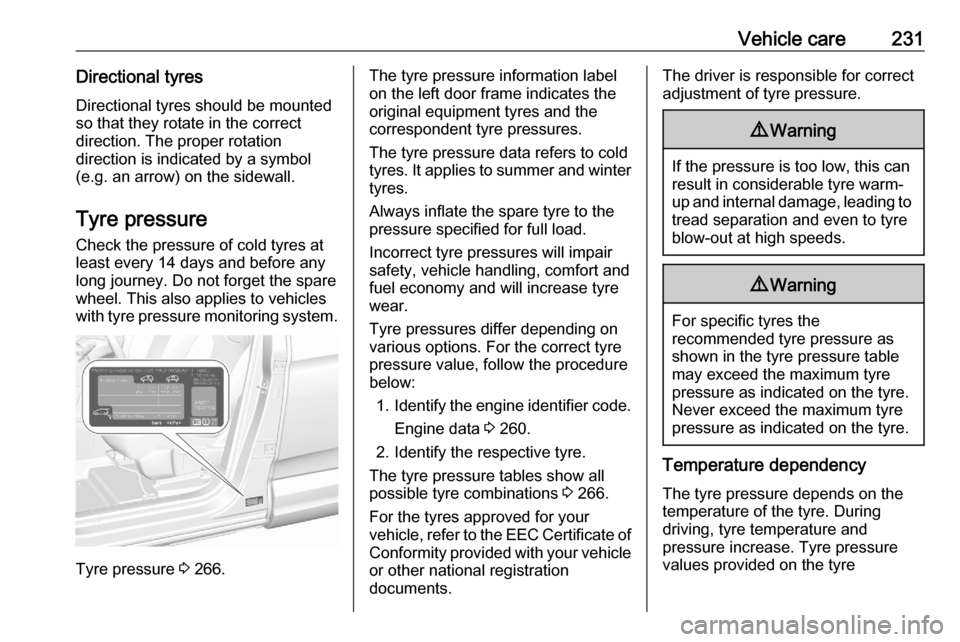
The tyre pressure information label
on the left door frame indicates the
original equipment tyres and the
correspondent tyre pressures.
The tyre pressure data refers to cold
tyres. It applies to summer and winter tyres.
Always inflate the spare tyre to the
pressure specified for full load.
Incorrect tyre pressures will impair
safety, vehicle handling, comfort and
fuel economy and will increase tyre
wear.
Tyre pressures differ depending on
various options. For the correct tyre
pressure value, follow the procedure
below:
1. Identify the engine identifier code.
Engine data 3 260.
2. Identify the respective tyre.
The tyre pressure tables show all
possible tyre combinations 3 266.
For the tyres approved for your
vehicle, refer to the EEC Certificate of Conformity provided with your vehicle
or other national registration
documents.The driver is responsible for correct adjustment of tyre pressure.9 Warning
If the pressure is too low, this can
result in considerable tyre warm-
up and internal damage, leading to tread separation and even to tyre
blow-out at high speeds.
9 Warning
For specific tyres the
recommended tyre pressure as
shown in the tyre pressure table may exceed the maximum tyre
pressure as indicated on the tyre.
Never exceed the maximum tyre
pressure as indicated on the tyre.
Temperature dependency
The tyre pressure depends on the
temperature of the tyre. During
driving, tyre temperature and
pressure increase. Tyre pressure
values provided on the tyre
Page 234 of 283
232Vehicle careinformation label and tyre pressure
chart are valid for cold tyres, which means at 20 °C.
The pressure increases by nearly
1.5 psi for a 10 °C temperature
increase. This must be considered
when warm tyres are checked.
Tyre deflation detectionsystem
The tyre deflation detection system
continually checks the rotation speed
of all four wheels and warns on low
tyre pressure condition once vehicle
is driving. This is achieved by
comparing tyre rolling circumference
with reference values and further
signals.
If a tyre loses pressure the control
indicator w illuminates and a warning
message is displayed in the Driver
Information Centre.
In this case reduce speed, avoid
sharp cornering and strong braking.
Stop at next safe opportunity and
check tyre pressure.
Control indicator w 3 98.After adjusting tyre pressure initialise
system to extinguish the control
indicator and restart system.Caution
Deflation detection system warns
just about low tyre pressure
condition and does not replace
regular tyre maintenance by the
driver.
In case of a system malfunction a
message is displayed in the Driver
Information Centre. Set correct tyre
pressure and reinitialise system. If the
failure continues to be displayed,
contact a workshop. The system is
inoperable when ABS or ESC has a
malfunction or a temporary spare
wheel is used. Once the road tyre has
been refitted, check the tyre pressure with cold tyres and initialise the
system.
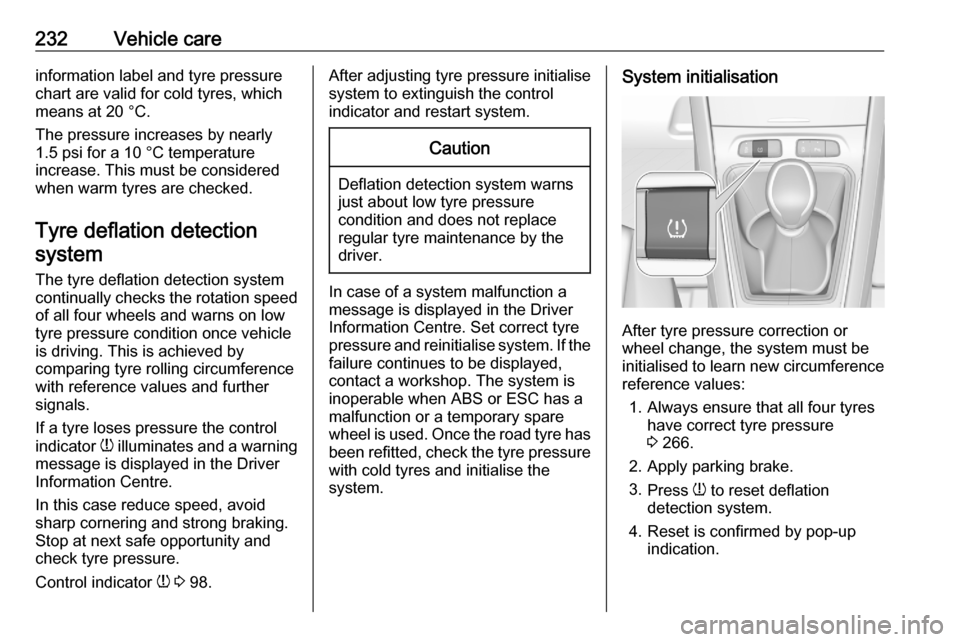
System initialisation
After tyre pressure correction or
wheel change, the system must be
initialised to learn new circumference reference values:
1. Always ensure that all four tyres have correct tyre pressure3 266.
2. Apply parking brake. 3. Press w to reset deflation
detection system.
4. Reset is confirmed by pop-up indication.
Page 235 of 283
Vehicle care233After initialisation system
automatically calibrates to new tyre
pressures during driving. After longer
drive the system will adopt and
monitor new pressures.
Always check tyre pressure with cold tyres.
System has to be reinitialised when: ● Tyre pressure has been changed
● Load condition has been changed
● Wheels have been swapped or exchanged
The system will not warn
instantaneously on a tyre blow out or a rapid deflation. This is due to
required calculation time.
Tread depthCheck tread depth at regular
intervals.
Tyres should be replaced for safety
reasons at a tread depth of 2-3 mm
(4 mm for winter tyres).For safety reasons, it is
recommended that the tread depth of
the tyres on one axle should not vary
by more than 2 mm.
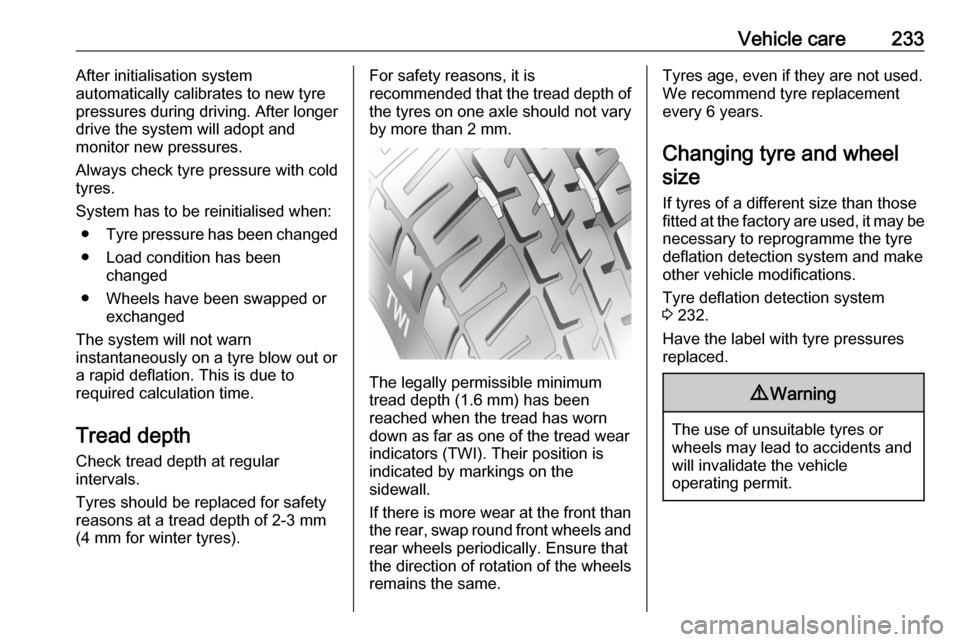
The legally permissible minimum
tread depth (1.6 mm) has been
reached when the tread has worn
down as far as one of the tread wear
indicators (TWI). Their position is
indicated by markings on the
sidewall.
If there is more wear at the front than
the rear, swap round front wheels and rear wheels periodically. Ensure that
the direction of rotation of the wheels
remains the same.
Tyres age, even if they are not used.
We recommend tyre replacement
every 6 years.
Changing tyre and wheel
size
If tyres of a different size than those
fitted at the factory are used, it may be necessary to reprogramme the tyre
deflation detection system and make
other vehicle modifications.
Tyre deflation detection system
3 232.
Have the label with tyre pressures
replaced.9 Warning
The use of unsuitable tyres or
wheels may lead to accidents and will invalidate the vehicle
operating permit.
Page 239 of 283
Vehicle care237
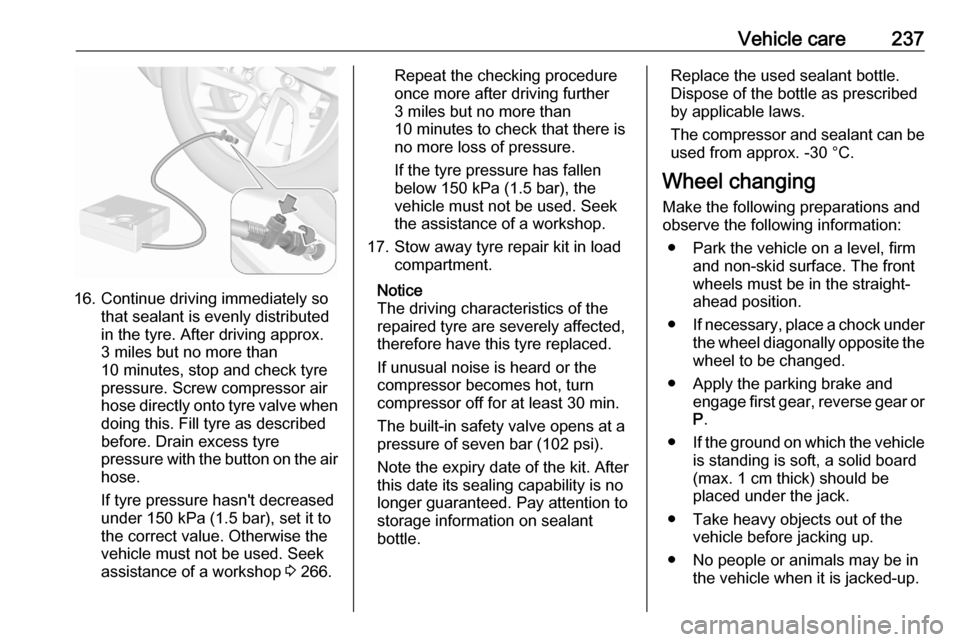
16. Continue driving immediately sothat sealant is evenly distributed
in the tyre. After driving approx.
3 miles but no more than
10 minutes, stop and check tyre
pressure. Screw compressor air
hose directly onto tyre valve when
doing this. Fill tyre as described
before. Drain excess tyre
pressure with the button on the air
hose.
If tyre pressure hasn't decreased
under 150 kPa (1.5 bar), set it to
the correct value. Otherwise the
vehicle must not be used. Seek
assistance of a workshop 3 266.
Repeat the checking procedure
once more after driving further
3 miles but no more than
10 minutes to check that there is
no more loss of pressure.
If the tyre pressure has fallen
below 150 kPa (1.5 bar), the
vehicle must not be used. Seek
the assistance of a workshop.
17. Stow away tyre repair kit in load compartment.
Notice
The driving characteristics of the repaired tyre are severely affected,
therefore have this tyre replaced.
If unusual noise is heard or the
compressor becomes hot, turn
compressor off for at least 30 min.
The built-in safety valve opens at a
pressure of seven bar (102 psi).
Note the expiry date of the kit. After
this date its sealing capability is no
longer guaranteed. Pay attention to
storage information on sealant
bottle.Replace the used sealant bottle. Dispose of the bottle as prescribed
by applicable laws.
The compressor and sealant can be used from approx. -30 °C.
Wheel changing
Make the following preparations and
observe the following information:
● Park the vehicle on a level, firm and non-skid surface. The front
wheels must be in the straight- ahead position.
● If necessary, place a chock under
the wheel diagonally opposite the
wheel to be changed.
● Apply the parking brake and engage first gear, reverse gear orP .
● If the ground on which the vehicle
is standing is soft, a solid board
(max. 1 cm thick) should be
placed under the jack.
● Take heavy objects out of the vehicle before jacking up.
● No people or animals may be in the vehicle when it is jacked-up.