app VAUXHALL INSIGNIA 2014 Infotainment system
[x] Cancel search | Manufacturer: VAUXHALL, Model Year: 2014, Model line: INSIGNIA, Model: VAUXHALL INSIGNIA 2014Pages: 143, PDF Size: 2.53 MB
Page 34 of 143
34Basic operation
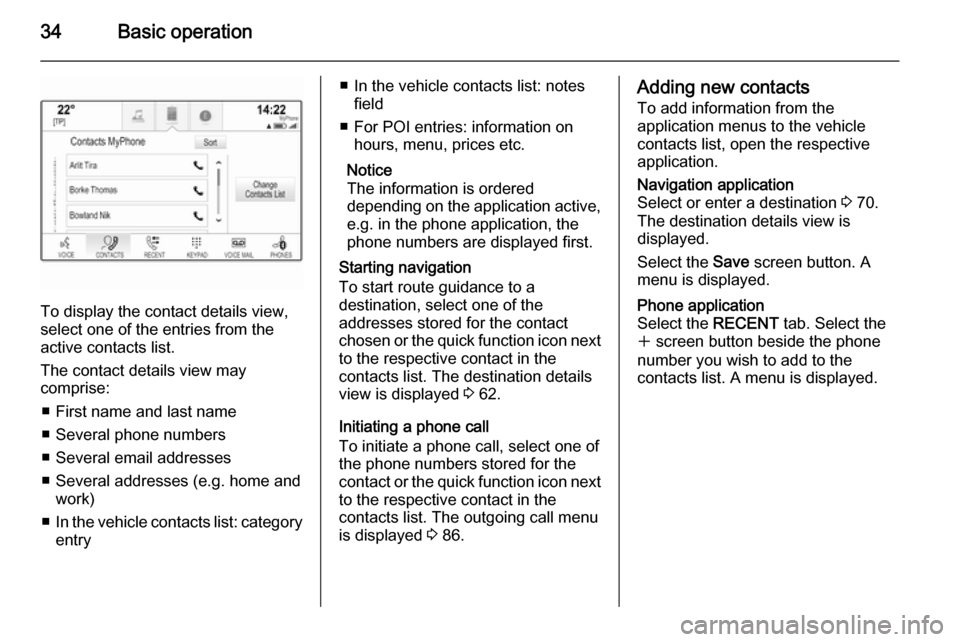
To display the contact details view,
select one of the entries from the
active contacts list.
The contact details view may
comprise:
■ First name and last name
■ Several phone numbers
■ Several email addresses
■ Several addresses (e.g. home and work)
■ In the vehicle contacts list: category
entry
■ In the vehicle contacts list: notes
field
■ For POI entries: information on hours, menu, prices etc.
Notice
The information is ordered
depending on the application active,
e.g. in the phone application, the
phone numbers are displayed first.
Starting navigation
To start route guidance to a
destination, select one of the
addresses stored for the contact
chosen or the quick function icon next to the respective contact in the
contacts list. The destination details
view is displayed 3 62.
Initiating a phone call
To initiate a phone call, select one of
the phone numbers stored for the contact or the quick function icon next
to the respective contact in the
contacts list. The outgoing call menu
is displayed 3 86.Adding new contacts
To add information from the
application menus to the vehicle
contacts list, open the respective
application.Navigation application
Select or enter a destination 3 70.
The destination details view is
displayed.
Select the Save screen button. A
menu is displayed.Phone application
Select the RECENT tab. Select the
w screen button beside the phone
number you wish to add to the
contacts list. A menu is displayed.
Page 43 of 143
Basic operation43
To adjust the startup and shutdown
sounds, select the ─ or w screen
buttons.
Notice
If the respective source is active, the
volume may be adjusted directly
using the m knob.
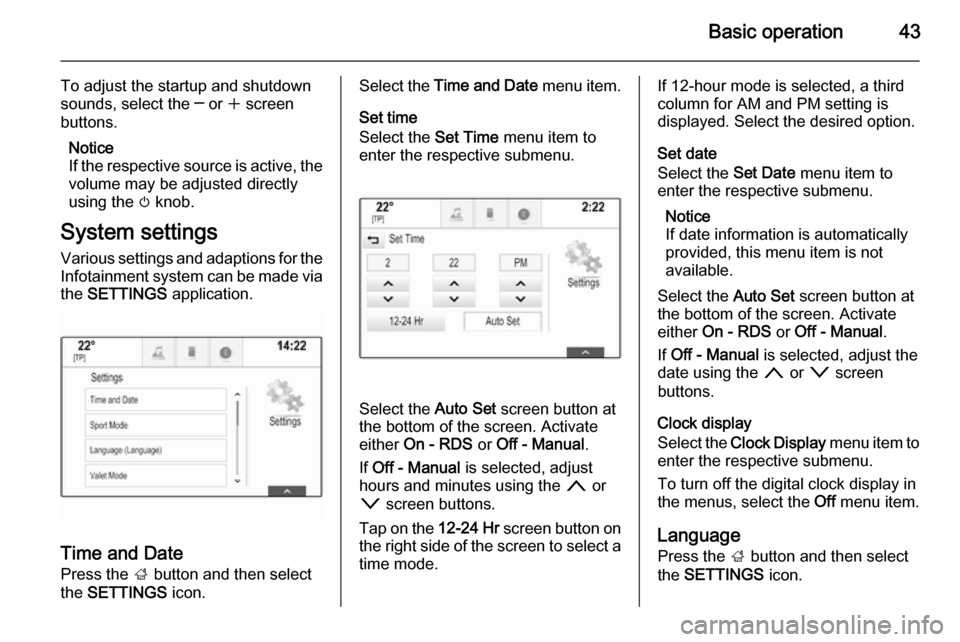
System settings Various settings and adaptions for the
Infotainment system can be made via
the SETTINGS application.
Time and Date
Press the ; button and then select
the SETTINGS icon.
Select the Time and Date menu item.
Set time
Select the Set Time menu item to
enter the respective submenu.
Select the Auto Set screen button at
the bottom of the screen. Activate
either On - RDS or Off - Manual .
If Off - Manual is selected, adjust
hours and minutes using the n or
o screen buttons.
Tap on the 12-24 Hr screen button on
the right side of the screen to select a time mode.
If 12-hour mode is selected, a third
column for AM and PM setting is
displayed. Select the desired option.
Set date
Select the Set Date menu item to
enter the respective submenu.
Notice
If date information is automatically
provided, this menu item is not
available.
Select the Auto Set screen button at
the bottom of the screen. Activate
either On - RDS or Off - Manual .
If Off - Manual is selected, adjust the
date using the n or o screen
buttons.
Clock display
Select the Clock Display menu item to
enter the respective submenu.
To turn off the digital clock display in
the menus, select the Off menu item.
Language
Press the ; button and then select
the SETTINGS icon.
Page 45 of 143

Basic operation45
Mode
Select the Mode menu item to enter
the respective submenu.
Depending on the external lighting
conditions, select Day or Night .
If you select Auto, the system
automatically adjusts the display.
Calibrate Touchscreen
Select the Calibrate Touchscreen
menu item to enter the respective
submenu.Follow the instructions on the screen,
tapping on the respective points
indicated. The touch screen is
calibrated.
Turn Display Off
Select the Turn Display Off menu item
to turn off the display.
To turn the display back on, touch the touch screen or press a button on the
instrument panel.
Return to Factory Settings
Press the ; button and then select
the SETTINGS icon.
Scroll through the list and select the
Return to Factory Settings menu item.
Restore Vehicle Settings
Select Restore Vehicle Settings to
restore all vehicle personalisation
settings. A warning message is
displayed.
Select the Restore screen button.
The settings are reset.
Clear All Private Data
Select Clear All Private Data to delete
the following data:
■ Paired Bluetooth devices■ Stored phone books
■ Vehicle contacts list
■ Destination lists
■ Favourites
A warning message is displayed.
Select the Delete screen button. The
data is deleted.
Page 46 of 143

46Basic operation
Restore Radio Settings
Select Restore Radio Settings to
reset the following data:
■ Tone settings
■ Volume settings
■ Speech settings
■ Application tray
■ Contacts sources.
A warning message is displayed.
Select the Restore screen button.
The settings are reset.
Software Information
Press the ; button and select the
SETTINGS icon.
Scroll through the list and select the
Software Information menu item.
A list of version numbers of all items
loaded to the system is displayed.
System update
To update your system software,
contact your Opel Service Partner.
TouchPad In this menu, you may define the
scrolling direction when operating the touch pad. If you set this function to
Inverted the scrolling direction is
inverted, e.g. if you move upwards
with your fingers you are scrolling downwards on the screen.
Press the ; button and select the
SETTINGS icon.
Scroll through the list and select the
TouchPad menu item. To display the
respective submenu, select Invert
Up / Down or Invert Left / Right .
Select Default or Inverted .
Page 47 of 143

Radio47RadioUsage.......................................... 47
Station search .............................. 47
Waveband menus ........................48
Radio data system (RDS) ............49
Digital audio broadcasting ...........50Usage
The radio function is part of the
AUDIO application.
Activating the radio function
Press the RADIO button.
Selecting the waveband
Repeatedly press the RADIO button
on the instrument panel to toggle between the different wavebands.
Station search
Automatic station search
Press the t or v buttons to play the
previous or next station.
Manual station search Press and hold the t or v buttons.
Release the respective button when
the desired frequency has almost
been reached.
Station lists
In the station lists, all receivable radio stations within the current reception
area are available for selection.
To display the station list of the
waveband currently active, you may
optionally:
■ Tap anywhere on the screen.
■ Select the BROWSE screen button
on the left side of the screen.
■ Turn the MENU knob.
The station list is displayed.
Page 49 of 143
Radio49
Tone SettingsFind a detailed description 3 41.
Auto volume / Bose Audio-Pilot Find a detailed description 3 42.
Update Station List If the stations stored in a waveband-
specific station list can no longer be received, select Update Station List .
Notice
If a waveband-specific station list is
updated, the corresponding
category list (if available) is also
updated.
Updating Station List is displayed on
the screen until the search has been
completed.
Traffic Programme (TP)(Not available for AM waveband)
To constantly receive traffic news, set
Traffic Programme (TP) - On .
Find a detailed description 3 49.Radio data system (RDS)
RDS is a service of FM stations that
considerably improves the finding of the desired station and its fault-free
reception.
Advantages of RDS ■ On the display, the programme name of the station appears
instead of its frequency.
■ During a station search the Infotainment system tunes in to
RDS stations only.
■ The Infotainment system always tunes into the best receivable
broadcasting frequency of the set
station by means of AF (alternative frequency).
■ Depending on the station received,
the Infotainment system displays
radio text that can contain e.g.
information on the current
programme.
FM Menu
To configure the RDS settings
options, activate the radio function
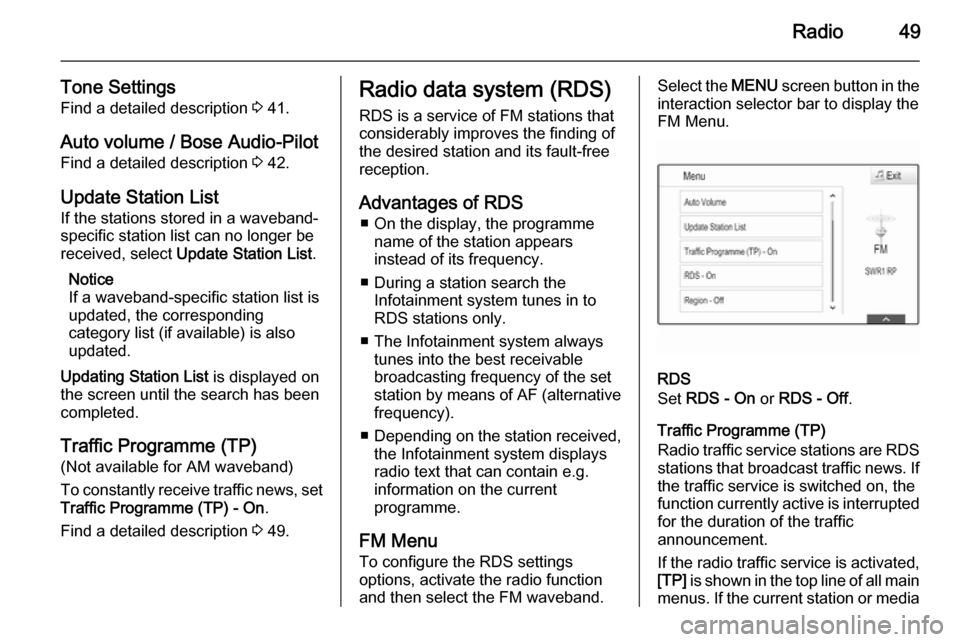
and then select the FM waveband.Select the MENU screen button in the
interaction selector bar to display the
FM Menu.
RDS
Set RDS - On or RDS - Off .
Traffic Programme (TP)
Radio traffic service stations are RDS
stations that broadcast traffic news. If the traffic service is switched on, the
function currently active is interrupted for the duration of the traffic
announcement.
If the radio traffic service is activated,
[TP] is shown in the top line of all main
menus. If the current station or media
Page 53 of 143
CD Player53
■ Dirt and liquids on CDs can smearthe lens of the audio player inside
the device and cause faults.
■ Protect CDs from heat and direct sunlight.
■ The following restrictions apply for the data stored on an MP3/WMACD:
Maximum file/song number: 800.
Maximum folders in depth
hierarchy: 8.
WMA files with Digital Rights
Management (DRM) from online music shops cannot be played.
WMA files can only be played
safely if they were created with Windows Media Player version 9 or later.
Applicable playlist
extensions: .m3u, .pls.
Playlist entries must be in the form
of relative paths.Notice
This chapter only deals with playing
MP3 files since the operation for
MP3 and WMA files is identical.
When a CD with WMA files is loaded
MP3 related menus are displayed.
Usage
Starting CD playback Push an audio or MP3 CD with the
labelled side facing upwards into the
CD slot until it is pulled in.
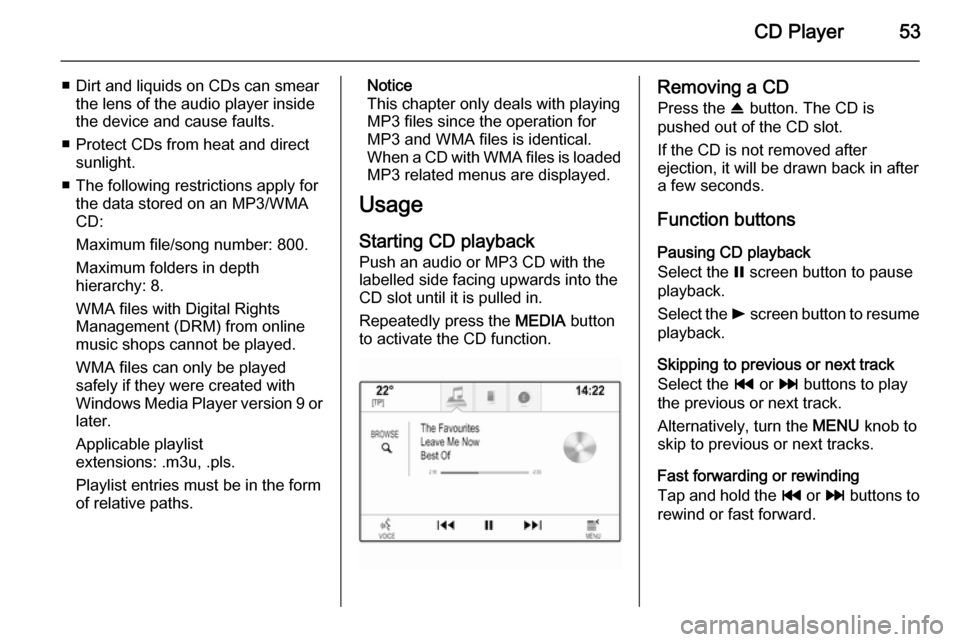
Repeatedly press the MEDIA button
to activate the CD function.Removing a CD
Press the R button. The CD is
pushed out of the CD slot.
If the CD is not removed after
ejection, it will be drawn back in after
a few seconds.
Function buttons
Pausing CD playback
Select the = screen button to pause
playback.
Select the l screen button to resume
playback.
Skipping to previous or next track
Select the t or v buttons to play
the previous or next track.
Alternatively, turn the MENU knob to
skip to previous or next tracks.
Fast forwarding or rewinding
Tap and hold the t or v buttons to
rewind or fast forward.
Page 55 of 143
External devices55External devicesGeneral information.....................55
Playing audio ............................... 57
Playing movies ............................. 59
Using apps ................................... 60General information
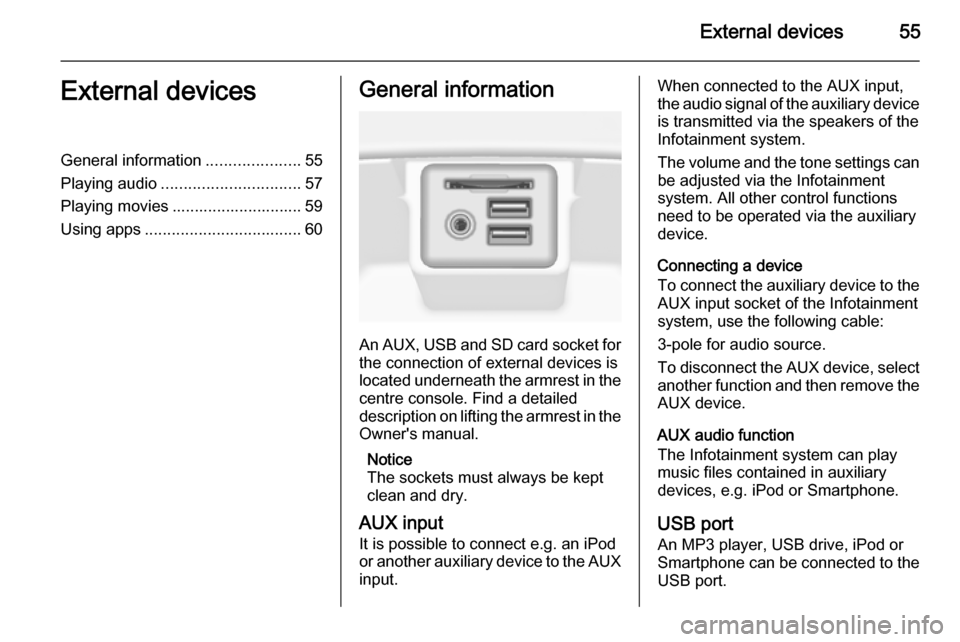
An AUX, USB and SD card socket for
the connection of external devices is
located underneath the armrest in the centre console. Find a detailed
description on lifting the armrest in the
Owner's manual.
Notice
The sockets must always be kept
clean and dry.
AUX input It is possible to connect e.g. an iPod
or another auxiliary device to the AUX
input.
When connected to the AUX input,
the audio signal of the auxiliary device is transmitted via the speakers of the
Infotainment system.
The volume and the tone settings can
be adjusted via the Infotainment
system. All other control functions
need to be operated via the auxiliary
device.
Connecting a device
To connect the auxiliary device to the AUX input socket of the Infotainment
system, use the following cable:
3-pole for audio source.
To disconnect the AUX device, select
another function and then remove the
AUX device.
AUX audio function
The Infotainment system can play
music files contained in auxiliary
devices, e.g. iPod or Smartphone.
USB port An MP3 player, USB drive, iPod or
Smartphone can be connected to the USB port.
Page 56 of 143

56External devices
When connected to the USB port, the
devices mentioned above can be
operated via the controls and menus
of the Infotainment system.
Notice
Not all MP3 player, USB drive, iPod
models or Smartphones are
supported by the Infotainment
system.
Connecting/disconnecting a device
Connect the USB device or iPod to
the USB port. For the iPod, use the
appropriate connection cable.
Notice
If a non-readable USB device or iPod is connected, a corresponding
error message will appear and the
Infotainment system will
automatically switch to the previous
function.
To disconnect the USB device or
iPod, select another function and then remove the USB storage device.Caution
Avoid disconnecting the device
during playback. This may
damage the device or the
Infotainment system.
USB audio function
The Infotainment system can play music files contained in USB storage
devices or iPod/iPhone products.
USB movie function
The Infotainment system can play
movies contained in USB storage
devices.
SD card
An SD card may be inserted in the SD
card slot.
When inserted, the SD card can be
operated via the controls and menus
of the Infotainment system.
Notice
Not all SD card types are supported
by the Infotainment system.
Inserting/removing an SD cardCaution
Never attempt to use an SD card
that has been cracked, deformed
or repaired using adhesive tape.
Doing so may damage the
equipment.
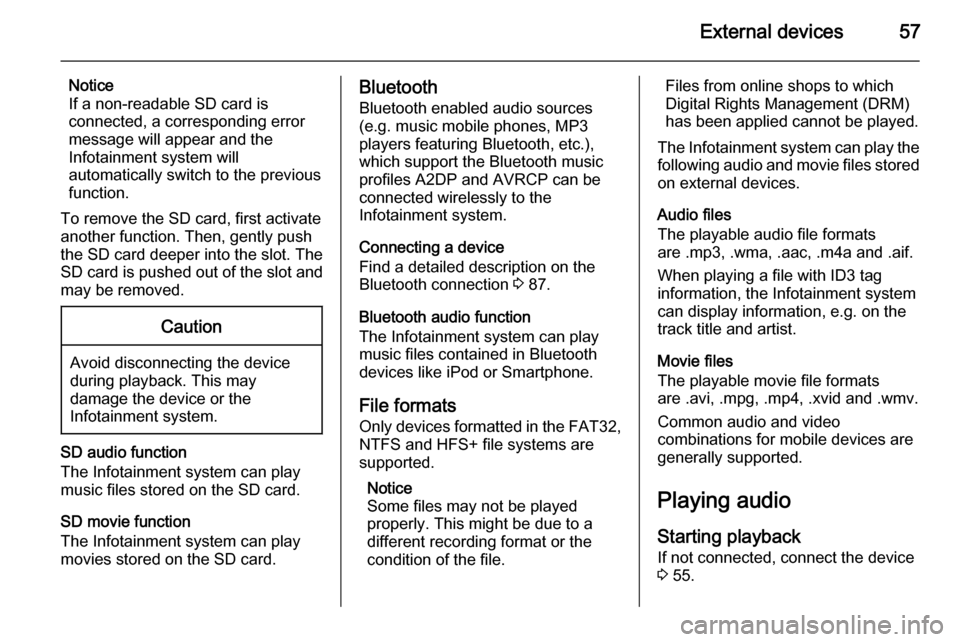
Insert the SD card in the SD card slot
as shown below. The music function
starts automatically.
Page 57 of 143
External devices57
Notice
If a non-readable SD card is connected, a corresponding error
message will appear and the
Infotainment system will
automatically switch to the previous
function.
To remove the SD card, first activate
another function. Then, gently push
the SD card deeper into the slot. The
SD card is pushed out of the slot and
may be removed.Caution
Avoid disconnecting the device
during playback. This may
damage the device or the
Infotainment system.
SD audio function
The Infotainment system can play music files stored on the SD card.
SD movie function
The Infotainment system can play movies stored on the SD card.
Bluetooth
Bluetooth enabled audio sources
(e.g. music mobile phones, MP3
players featuring Bluetooth, etc.),
which support the Bluetooth music profiles A2DP and AVRCP can be
connected wirelessly to the
Infotainment system.
Connecting a device
Find a detailed description on the
Bluetooth connection 3 87.
Bluetooth audio function
The Infotainment system can play
music files contained in Bluetooth
devices like iPod or Smartphone.
File formats Only devices formatted in the FAT32,
NTFS and HFS+ file systems are
supported.
Notice
Some files may not be played
properly. This might be due to a
different recording format or the
condition of the file.Files from online shops to which
Digital Rights Management (DRM)
has been applied cannot be played.
The Infotainment system can play the following audio and movie files stored on external devices.
Audio files
The playable audio file formats
are .mp3, .wma, .aac, .m4a and .aif.
When playing a file with ID3 tag
information, the Infotainment system
can display information, e.g. on the
track title and artist.
Movie files
The playable movie file formats
are .avi, .mpg, .mp4, .xvid and .wmv.
Common audio and video
combinations for mobile devices are
generally supported.
Playing audio
Starting playback If not connected, connect the device
3 55.