eco button VAUXHALL INSIGNIA 2015 User Guide
[x] Cancel search | Manufacturer: VAUXHALL, Model Year: 2015, Model line: INSIGNIA, Model: VAUXHALL INSIGNIA 2015Pages: 321, PDF Size: 8.99 MB
Page 42 of 321
40Keys, doors and windows
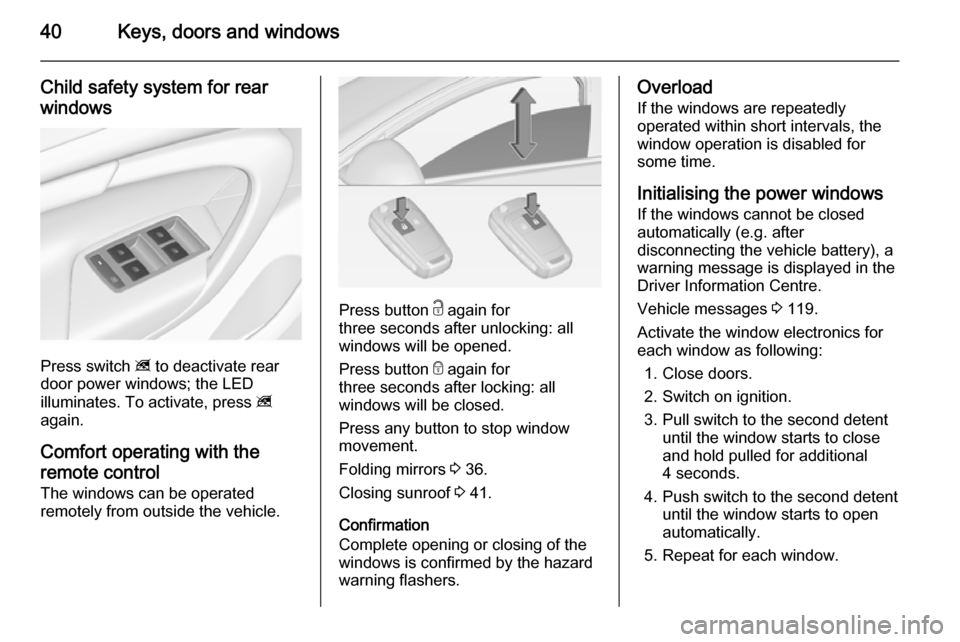
Child safety system for rearwindows
Press switch z to deactivate rear
door power windows; the LED
illuminates. To activate, press z
again.
Comfort operating with the
remote control The windows can be operated
remotely from outside the vehicle.
Press button c again for
three seconds after unlocking: all
windows will be opened.
Press button e again for
three seconds after locking: all
windows will be closed.
Press any button to stop window
movement.
Folding mirrors 3 36.
Closing sunroof 3 41.
Confirmation
Complete opening or closing of the
windows is confirmed by the hazard
warning flashers.
Overload
If the windows are repeatedly
operated within short intervals, the
window operation is disabled for
some time.
Initialising the power windowsIf the windows cannot be closed
automatically (e.g. after
disconnecting the vehicle battery), a
warning message is displayed in the
Driver Information Centre.
Vehicle messages 3 119.
Activate the window electronics for
each window as following:
1. Close doors.
2. Switch on ignition.
3. Pull switch to the second detent until the window starts to close
and hold pulled for additional
4 seconds.
4. Push switch to the second detent until the window starts to open
automatically.
5. Repeat for each window.
Page 43 of 321
Keys, doors and windows41Heated rear window
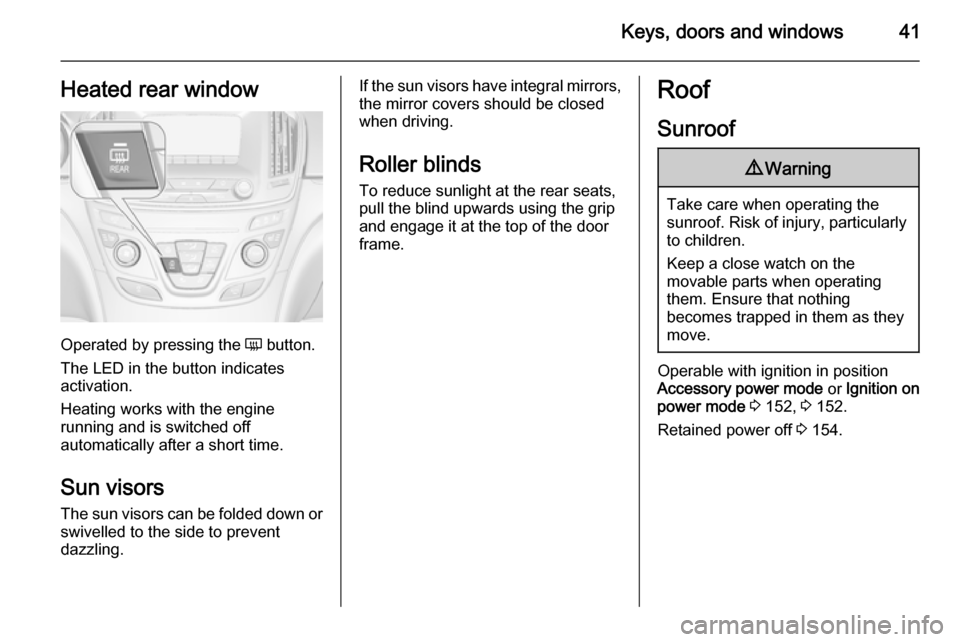
Operated by pressing the Ü button.
The LED in the button indicates
activation.
Heating works with the engine
running and is switched off
automatically after a short time.
Sun visors The sun visors can be folded down orswivelled to the side to prevent
dazzling.
If the sun visors have integral mirrors, the mirror covers should be closed
when driving.
Roller blinds To reduce sunlight at the rear seats,pull the blind upwards using the grip
and engage it at the top of the door
frame.Roof
Sunroof9 Warning
Take care when operating the
sunroof. Risk of injury, particularly to children.
Keep a close watch on the
movable parts when operating
them. Ensure that nothing
becomes trapped in them as they
move.
Operable with ignition in position
Accessory power mode or Ignition on
power mode 3 152, 3 152.
Retained power off 3 154.
Page 45 of 321
Keys, doors and windows43
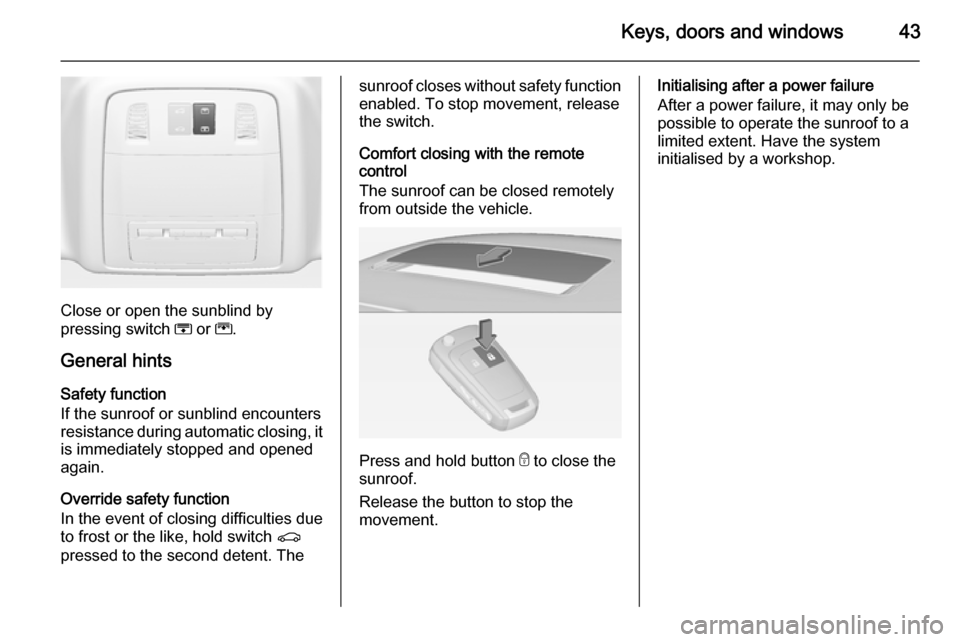
Close or open the sunblind by
pressing switch H or G.
General hints Safety function
If the sunroof or sunblind encounters
resistance during automatic closing, it is immediately stopped and opened
again.
Override safety function
In the event of closing difficulties due to frost or the like, hold switch r
pressed to the second detent. The
sunroof closes without safety function
enabled. To stop movement, release
the switch.
Comfort closing with the remote
control
The sunroof can be closed remotely
from outside the vehicle.
Press and hold button e to close the
sunroof.
Release the button to stop the
movement.
Initialising after a power failure
After a power failure, it may only be possible to operate the sunroof to a
limited extent. Have the system
initialised by a workshop.
Page 53 of 321
Seats, restraints51
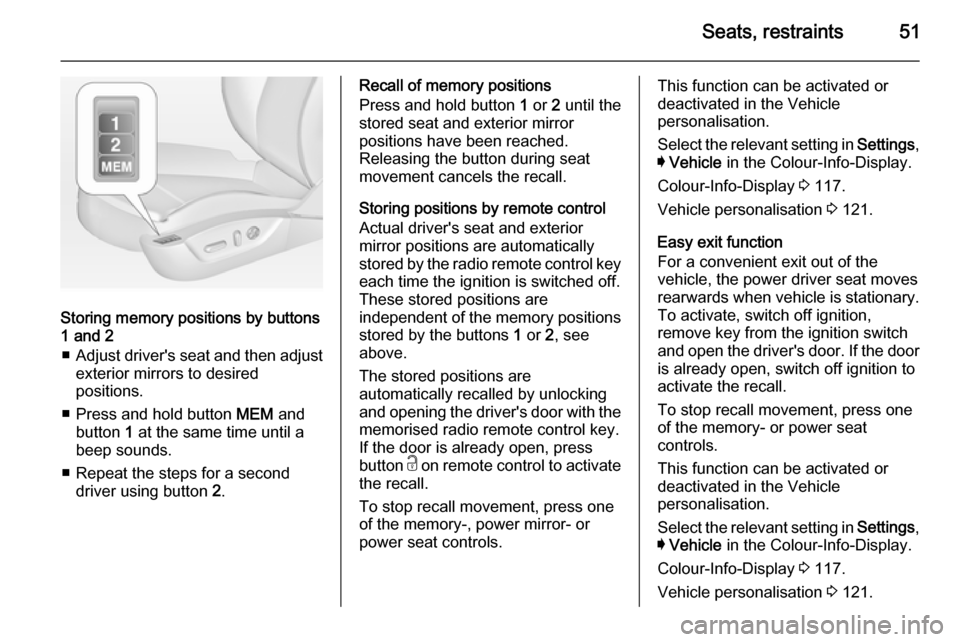
Storing memory positions by buttons
1 and 2
■ Adjust driver's seat and then adjust
exterior mirrors to desired
positions.
■ Press and hold button MEM and
button 1 at the same time until a
beep sounds.
■ Repeat the steps for a second driver using button 2.
Recall of memory positions
Press and hold button 1 or 2 until the
stored seat and exterior mirror
positions have been reached.
Releasing the button during seat
movement cancels the recall.
Storing positions by remote control
Actual driver's seat and exterior
mirror positions are automatically
stored by the radio remote control key
each time the ignition is switched off.
These stored positions are
independent of the memory positions
stored by the buttons 1 or 2, see
above.
The stored positions are
automatically recalled by unlocking
and opening the driver's door with the
memorised radio remote control key.
If the door is already open, press
button c on remote control to activate
the recall.
To stop recall movement, press one
of the memory-, power mirror- or
power seat controls.This function can be activated or
deactivated in the Vehicle
personalisation.
Select the relevant setting in Settings,
I Vehicle in the Colour-Info-Display.
Colour-Info-Display 3 117.
Vehicle personalisation 3 121.
Easy exit function
For a convenient exit out of the
vehicle, the power driver seat moves
rearwards when vehicle is stationary.
To activate, switch off ignition,
remove key from the ignition switch
and open the driver's door. If the door
is already open, switch off ignition to
activate the recall.
To stop recall movement, press one
of the memory- or power seat
controls.
This function can be activated or
deactivated in the Vehicle
personalisation.
Select the relevant setting in Settings,
I Vehicle in the Colour-Info-Display.
Colour-Info-Display 3 117.
Vehicle personalisation 3 121.
Page 54 of 321
52Seats, restraints
Safety function
If the driver's seat encounters
resistance during movement, the
recall may stop. After removing the
obstruction, press and hold the
appropriate power seat position
button for the memory item for
two seconds. Try recalling the
memory position again. If the recall
does not operate, consult a
workshop.
Overload
If the seat setting is electrically
overloaded, the power supply is
automatically cut-off for a short time.
Notice
After an accident in which airbags
have been deployed, the memorised settings for each position button willbe deactivated.Armrest
Push button and fold armrest
upwards. Under the armrest there is
a storage compartment.
Auxiliary devices, see Infotainment
system manual.
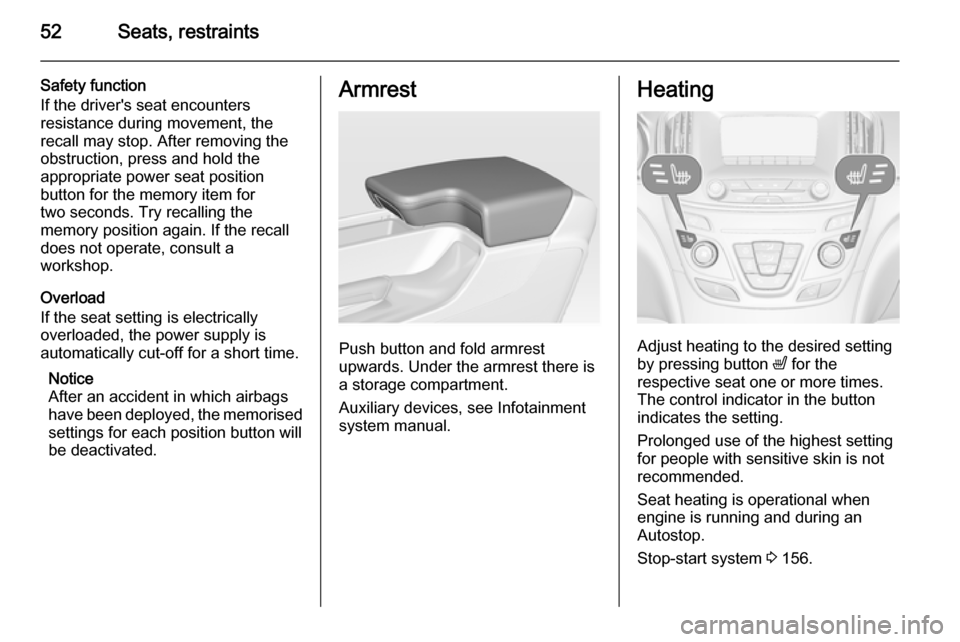
Heating
Adjust heating to the desired setting
by pressing button ß for the
respective seat one or more times.
The control indicator in the button
indicates the setting.
Prolonged use of the highest setting
for people with sensitive skin is not
recommended.
Seat heating is operational when engine is running and during an
Autostop.
Stop-start system 3 156.
Page 88 of 321
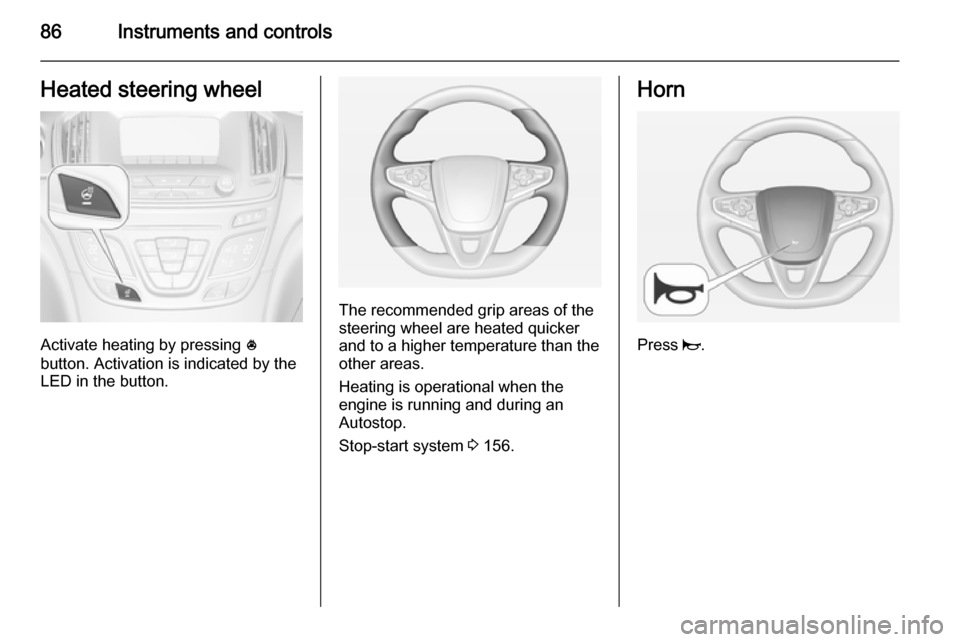
86Instruments and controlsHeated steering wheel
Activate heating by pressing *
button. Activation is indicated by the
LED in the button.
The recommended grip areas of the
steering wheel are heated quicker
and to a higher temperature than the
other areas.
Heating is operational when the
engine is running and during an
Autostop.
Stop-start system 3 156.
Horn
Press j.
Page 92 of 321

90Instruments and controls
If outside temperature drops to 3 °C,
a warning message is displayed in the Driver Information Centre.
9 Warning
The road surface may already be
icy even though the display
indicates a few degrees above 0
°C.
Clock
Date and time are shown in the
Colour-Info-Display. Colour-Info-
Display operation 3 117
4.2'' Display
Operate the display by the buttons
below the display.
Press the ; button and then select
the Settings icon by turning and
pressing MENU button.
Select Time menu page.
Set time
Select the Set Time menu item to
enter the respective submenu.
Select the Auto Set screen button at
the bottom of the screen. Activate
either On - RDS mode or Off - Manual mode.
If Off - Manual mode is selected,
adjust hours and minutes by turning
and pressing MENU button.
Repeatedly select the 12-24 Hr
screen button at the bottom of the
screen to choose a time mode.
If 12-hour mode is selected, a third
column for AM and PM setting is
displayed. Select the desired option.
In On - RDS Mode the RDS signal of
most VHF transmitters automatically
sets the time. RDS timesynchronisation can take a few
minutes. Some transmitters do not
send a correct time signal. In such
cases, it is recommended to switch off
automatic time synchronisation.
Set date
Date is set automatically.
Return to homepage by pressing ;.
For further information, see
Infotainment system manual
8'' Display
Press the ; button and then select
the Settings icon. Inputs can be done
directly by the finger on the touch screen icons.
Select Time and Date menu page.
Set time
Select the Set Time menu item to
enter the respective submenu.
Page 93 of 321
Instruments and controls91
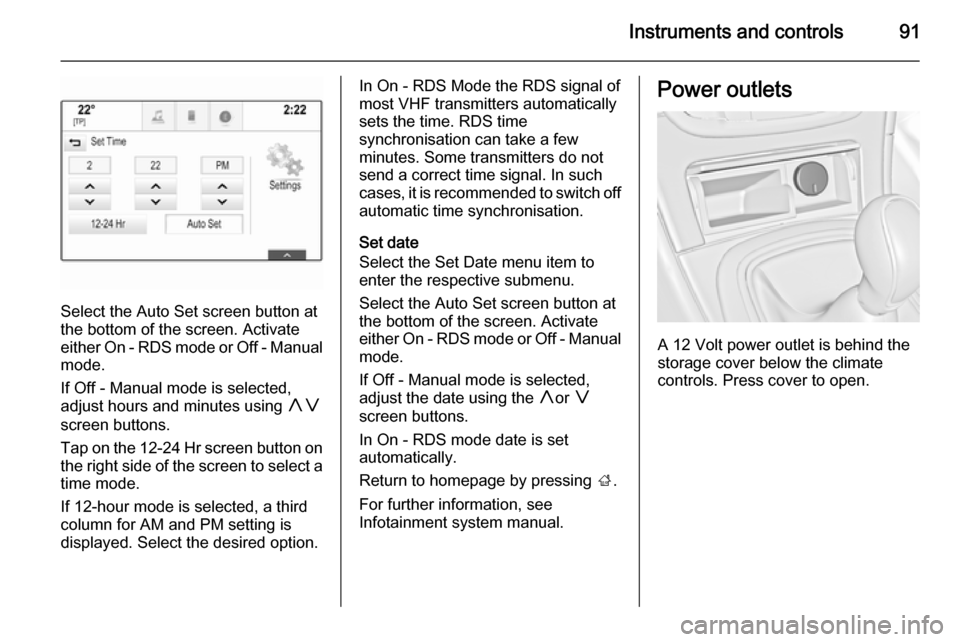
Select the Auto Set screen button at
the bottom of the screen. Activate
either On - RDS mode or Off - Manual
mode.
If Off - Manual mode is selected,
adjust hours and minutes using hg
screen buttons.
Tap on the 12-24 Hr screen button on the right side of the screen to select a
time mode.
If 12-hour mode is selected, a third column for AM and PM setting is
displayed. Select the desired option.
In On - RDS Mode the RDS signal of
most VHF transmitters automatically
sets the time. RDS time
synchronisation can take a few
minutes. Some transmitters do not
send a correct time signal. In such
cases, it is recommended to switch off automatic time synchronisation.
Set date
Select the Set Date menu item to
enter the respective submenu.
Select the Auto Set screen button at
the bottom of the screen. Activate
either On - RDS mode or Off - Manual
mode.
If Off - Manual mode is selected,
adjust the date using the hor g
screen buttons.
In On - RDS mode date is set
automatically.
Return to homepage by pressing ;.
For further information, see
Infotainment system manual.Power outlets
A 12 Volt power outlet is behind the
storage cover below the climate
controls. Press cover to open.
Page 101 of 321
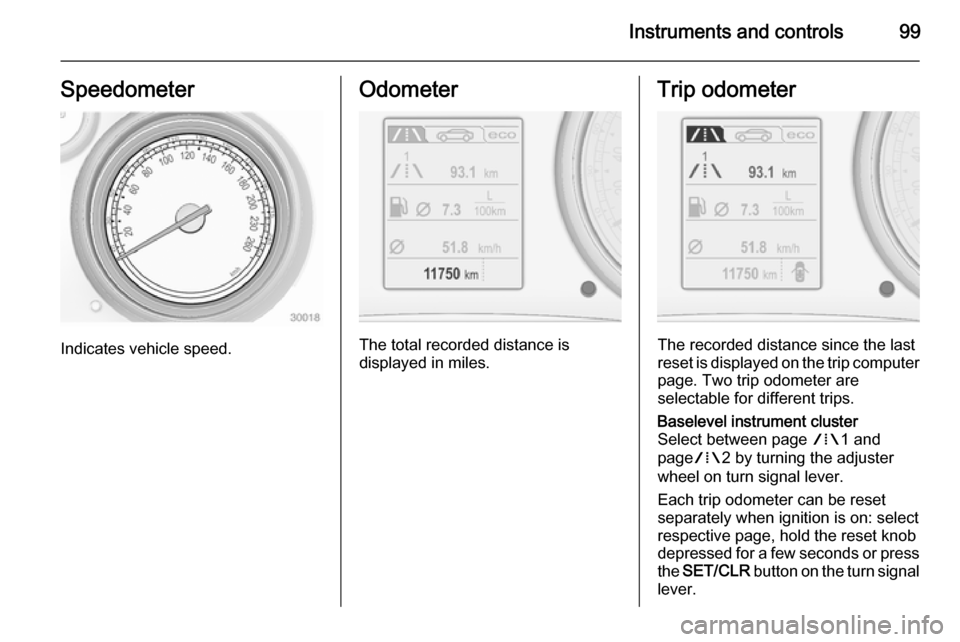
Instruments and controls99Speedometer
Indicates vehicle speed.
Odometer
The total recorded distance is
displayed in miles.
Trip odometer
The recorded distance since the last
reset is displayed on the trip computer page. Two trip odometer are
selectable for different trips.
Baselevel instrument cluster
Select between page W1 and
page W2 by turning the adjuster
wheel on turn signal lever.
Each trip odometer can be reset
separately when ignition is on: select
respective page, hold the reset knob
depressed for a few seconds or press
the SET/CLR button on the turn signal
lever.
Page 104 of 321
102Instruments and controls
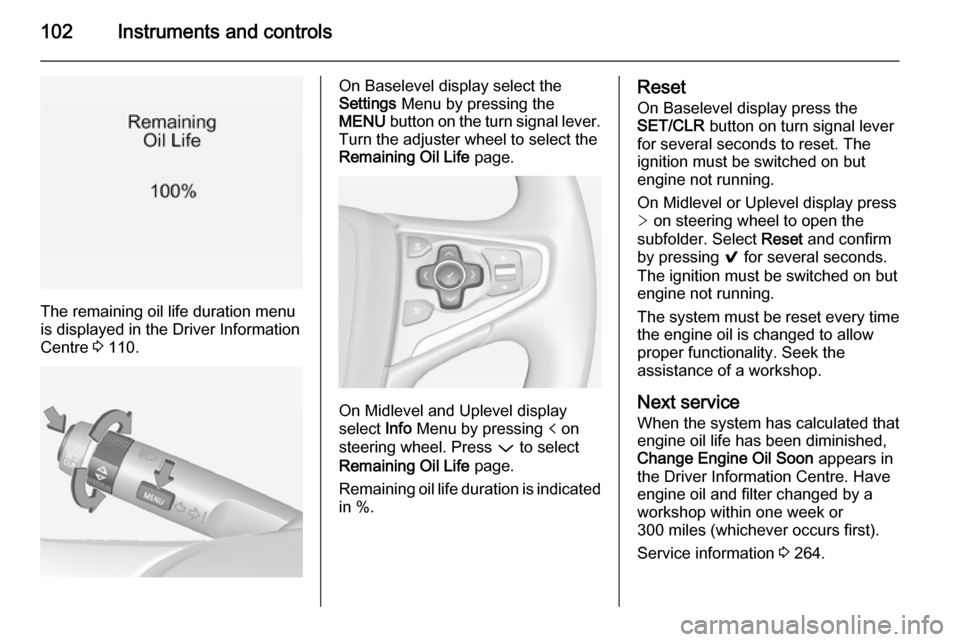
The remaining oil life duration menu
is displayed in the Driver Information
Centre 3 110.
On Baselevel display select the
Settings Menu by pressing the
MENU button on the turn signal lever.
Turn the adjuster wheel to select the
Remaining Oil Life page.
On Midlevel and Uplevel display
select Info Menu by pressing p on
steering wheel. Press P to select
Remaining Oil Life page.
Remaining oil life duration is indicated
in %.
Reset
On Baselevel display press the
SET/CLR button on turn signal lever
for several seconds to reset. The
ignition must be switched on but
engine not running.
On Midlevel or Uplevel display press
> on steering wheel to open the
subfolder. Select Reset and confirm
by pressing 9 for several seconds.
The ignition must be switched on but
engine not running.
The system must be reset every time
the engine oil is changed to allow
proper functionality. Seek the
assistance of a workshop.
Next service
When the system has calculated that
engine oil life has been diminished,
Change Engine Oil Soon appears in
the Driver Information Centre. Have engine oil and filter changed by a
workshop within one week or
300 miles (whichever occurs first).
Service information 3 264.