Defrost switch VAUXHALL MOKKA 2015 Owner's Manual
[x] Cancel search | Manufacturer: VAUXHALL, Model Year: 2015, Model line: MOKKA, Model: VAUXHALL MOKKA 2015Pages: 223, PDF Size: 6.2 MB
Page 115 of 223

Climate control113Climate controlClimate control systems ............. 113
Air vents ..................................... 118
Maintenance .............................. 118Climate control systems
Heating and ventilation
system
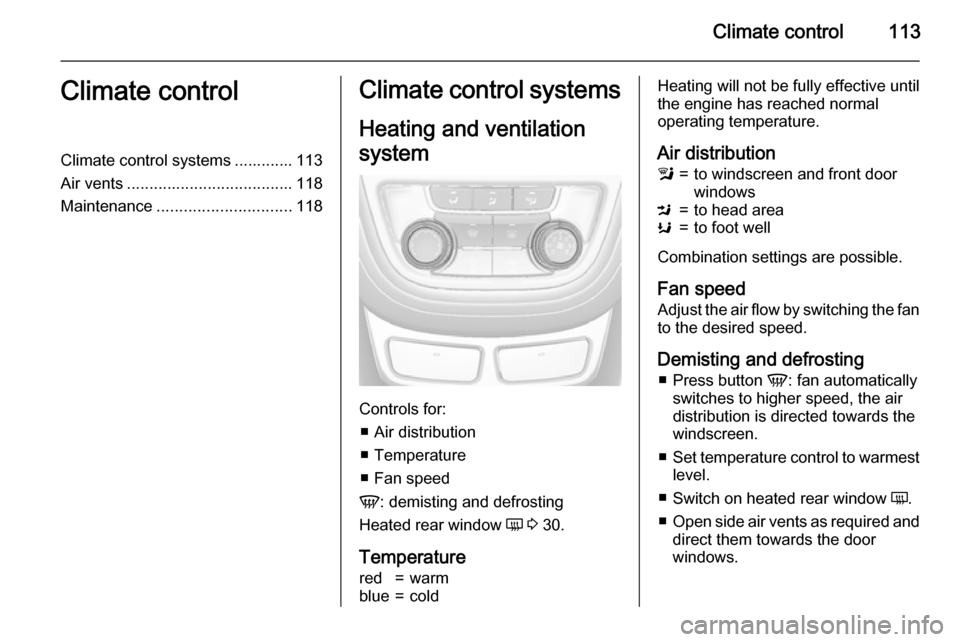
Controls for: ■ Air distribution
■ Temperature
■ Fan speed
V : demisting and defrosting
Heated rear window Ü 3 30.
Temperature
red=warmblue=coldHeating will not be fully effective until
the engine has reached normal
operating temperature.
Air distributionl=to windscreen and front door
windowsM=to head areaK=to foot well
Combination settings are possible.
Fan speed
Adjust the air flow by switching the fan
to the desired speed.
Demisting and defrosting ■ Press button V: fan automatically
switches to higher speed, the air
distribution is directed towards the
windscreen.
■ Set temperature control to warmest
level.
■ Switch on heated rear window Ü.
■ Open side air vents as required and
direct them towards the door
windows.
Page 116 of 223

114Climate controlAir conditioning system
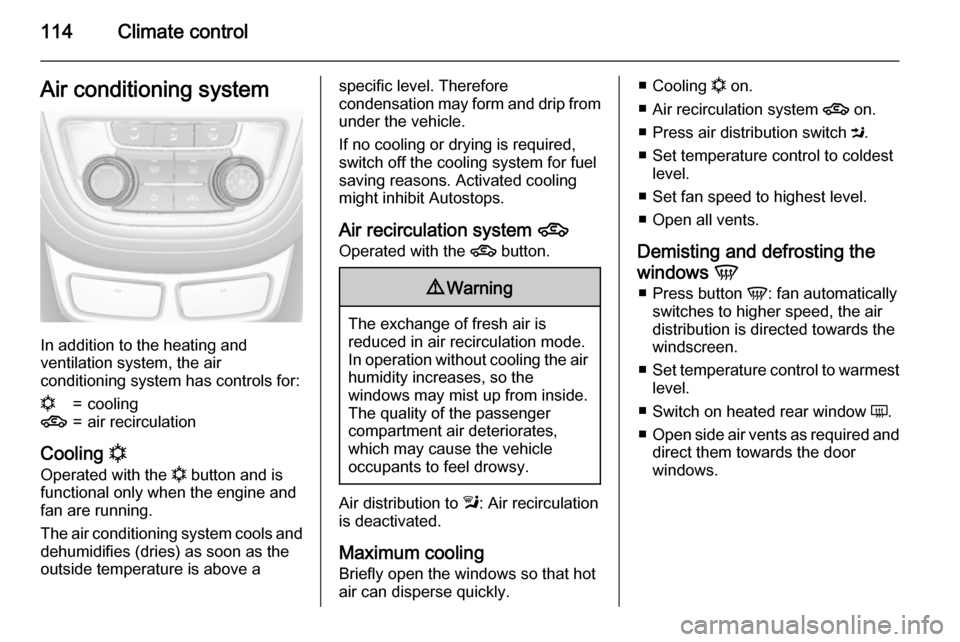
In addition to the heating and
ventilation system, the air
conditioning system has controls for:
n=cooling4=air recirculation
Cooling n
Operated with the n button and is
functional only when the engine and
fan are running.
The air conditioning system cools and dehumidifies (dries) as soon as the
outside temperature is above a
specific level. Therefore
condensation may form and drip from
under the vehicle.
If no cooling or drying is required,
switch off the cooling system for fuel
saving reasons. Activated cooling
might inhibit Autostops.
Air recirculation system 4
Operated with the 4 button.9Warning
The exchange of fresh air is
reduced in air recirculation mode.
In operation without cooling the air humidity increases, so the
windows may mist up from inside.
The quality of the passenger
compartment air deteriorates,
which may cause the vehicle
occupants to feel drowsy.
Air distribution to l: Air recirculation
is deactivated.
Maximum cooling Briefly open the windows so that hot
air can disperse quickly.
■ Cooling n on.
■ Air recirculation system 4 on.
■ Press air distribution switch M.
■ Set temperature control to coldest level.
■ Set fan speed to highest level.
■ Open all vents.
Demisting and defrosting the
windows V
■ Press button V: fan automatically
switches to higher speed, the air distribution is directed towards the
windscreen.
■ Set temperature control to warmest
level.
■ Switch on heated rear window Ü.
■ Open side air vents as required and
direct them towards the door
windows.
Page 118 of 223

116Climate control
Automatic mode AUTO
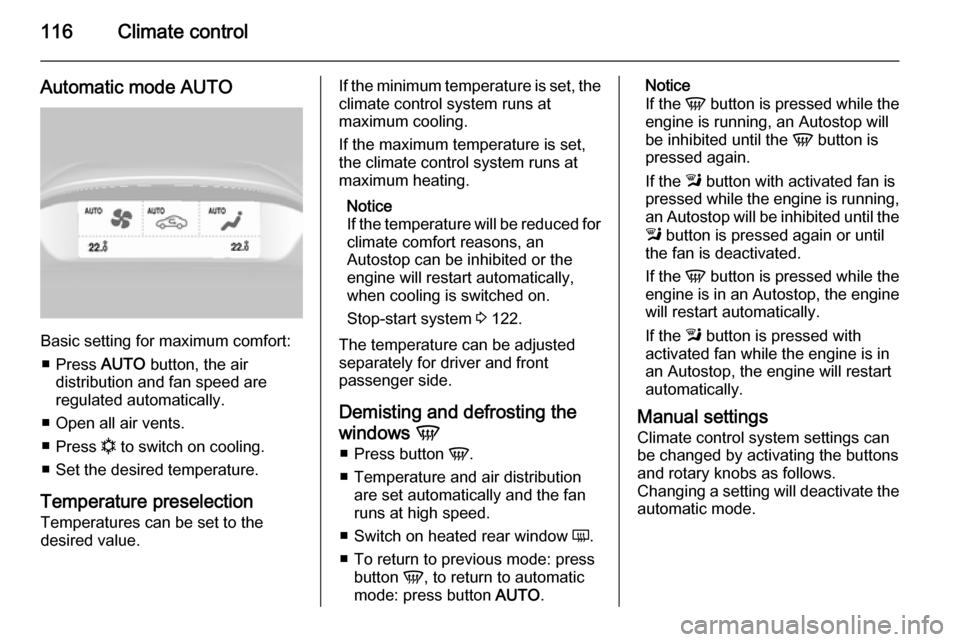
Basic setting for maximum comfort:■ Press AUTO button, the air
distribution and fan speed are
regulated automatically.
■ Open all air vents.
■ Press n to switch on cooling.
■ Set the desired temperature.
Temperature preselection Temperatures can be set to the
desired value.
If the minimum temperature is set, the
climate control system runs at
maximum cooling.
If the maximum temperature is set, the climate control system runs at maximum heating.
Notice
If the temperature will be reduced for
climate comfort reasons, an
Autostop can be inhibited or the
engine will restart automatically,
when cooling is switched on.
Stop-start system 3 122.
The temperature can be adjusted separately for driver and front
passenger side.
Demisting and defrosting the
windows V
■ Press button V.
■ Temperature and air distribution are set automatically and the fan
runs at high speed.
■ Switch on heated rear window Ü.
■ To return to previous mode: press button V, to return to automatic
mode: press button AUTO.Notice
If the V button is pressed while the
engine is running, an Autostop will
be inhibited until the V button is
pressed again.
If the l button with activated fan is
pressed while the engine is running,
an Autostop will be inhibited until the
l button is pressed again or until
the fan is deactivated.
If the V button is pressed while the
engine is in an Autostop, the engine will restart automatically.
If the l button is pressed with
activated fan while the engine is in an Autostop, the engine will restart
automatically.
Manual settings Climate control system settings can
be changed by activating the buttons
and rotary knobs as follows.
Changing a setting will deactivate the
automatic mode.
Page 192 of 223

190Vehicle care
■ A discharged battery can alreadyfreeze at a temperature of 0 °C.
Defrost the frozen battery before
connecting jump leads.
■ Wear eye protection and protective
clothing when handling a battery.
■ Use a booster battery with the same voltage (12 Volts). Its
capacity (Ah) must not be much
less than that of the discharged
battery.
■ Use jump leads with insulated terminals and a cross section of at
least 16 mm 2
(25 mm 2
for diesel
engines).
■ Do not disconnect the discharged battery from the vehicle.
■ Switch off all unnecessary electrical
consumers.
■ Do not lean over the battery during jump starting.
■ Do not allow the terminals of one lead to touch those of the other
lead.
■ The vehicles must not come into contact with each other during the
jump starting process.■ Apply the parking brake, transmission in neutral, automatictransmission in P.
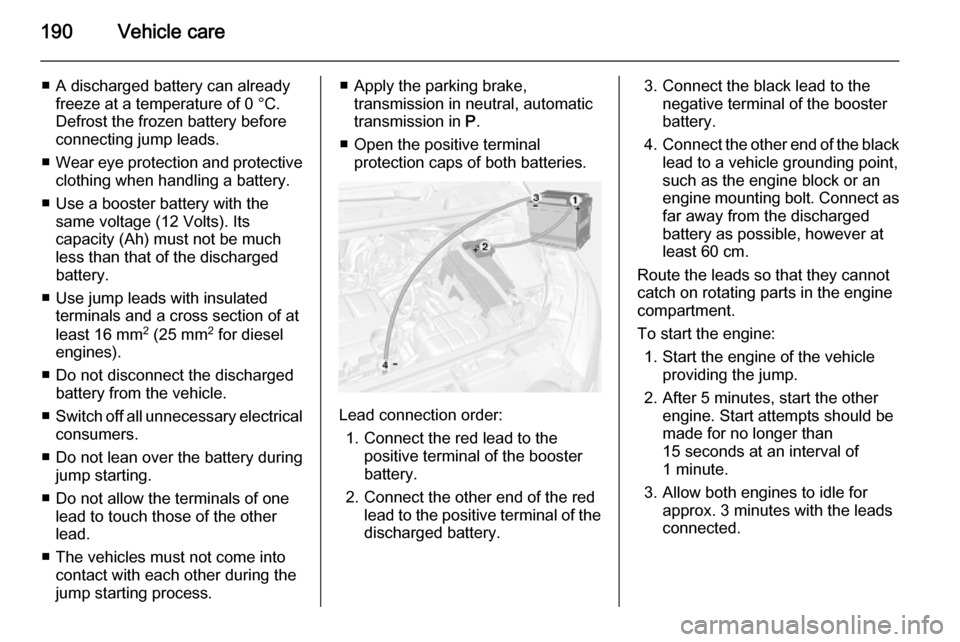
■ Open the positive terminal protection caps of both batteries.
Lead connection order:
1. Connect the red lead to the positive terminal of the booster
battery.
2. Connect the other end of the red lead to the positive terminal of the
discharged battery.
3. Connect the black lead to the negative terminal of the booster
battery.
4. Connect the other end of the black
lead to a vehicle grounding point,
such as the engine block or an
engine mounting bolt. Connect as far away from the discharged
battery as possible, however at
least 60 cm.
Route the leads so that they cannot
catch on rotating parts in the engine
compartment.
To start the engine: 1. Start the engine of the vehicle providing the jump.
2. After 5 minutes, start the other engine. Start attempts should be
made for no longer than
15 seconds at an interval of
1 minute.
3. Allow both engines to idle for approx. 3 minutes with the leads
connected.