Menu settings VAUXHALL MOKKA 2015 Owner's Manual
[x] Cancel search | Manufacturer: VAUXHALL, Model Year: 2015, Model line: MOKKA, Model: VAUXHALL MOKKA 2015Pages: 223, PDF Size: 6.2 MB
Page 22 of 223
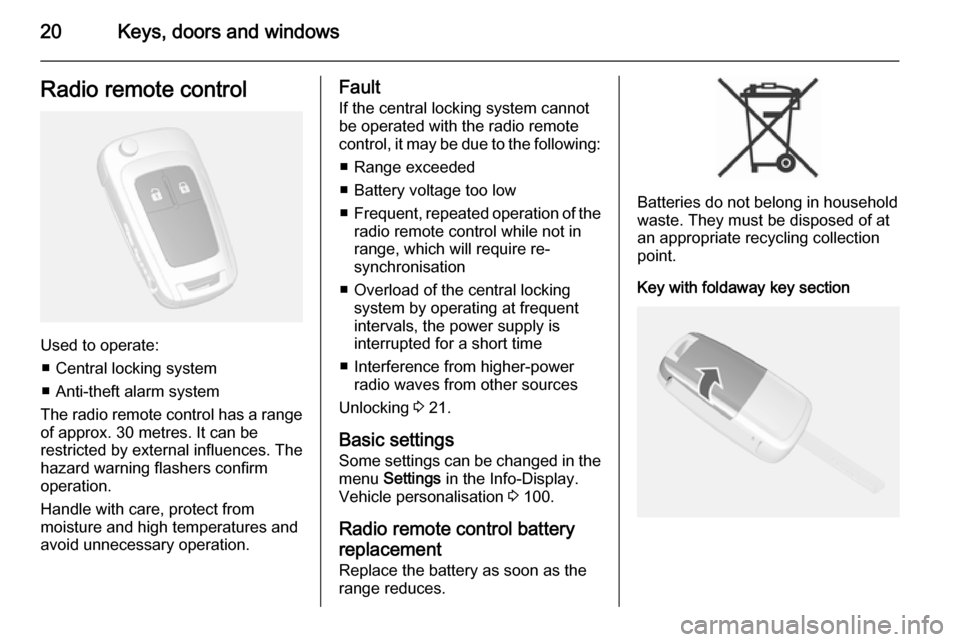
20Keys, doors and windowsRadio remote control
Used to operate:■ Central locking system
■ Anti-theft alarm system
The radio remote control has a range of approx. 30 metres. It can be
restricted by external influences. The
hazard warning flashers confirm
operation.
Handle with care, protect from
moisture and high temperatures and
avoid unnecessary operation.
Fault
If the central locking system cannot
be operated with the radio remote
control, it may be due to the following:
■ Range exceeded
■ Battery voltage too low
■ Frequent, repeated operation of the
radio remote control while not in
range, which will require re-
synchronisation
■ Overload of the central locking system by operating at frequent
intervals, the power supply is
interrupted for a short time
■ Interference from higher-power radio waves from other sources
Unlocking 3 21.
Basic settings
Some settings can be changed in the menu Settings in the Info-Display.
Vehicle personalisation 3 100.
Radio remote control battery
replacement
Replace the battery as soon as the
range reduces.
Batteries do not belong in household
waste. They must be disposed of at
an appropriate recycling collection
point.
Key with foldaway key section
Page 24 of 223
22Keys, doors and windows
The setting can be changed in the
menu Settings in the Info-Display.
Vehicle personalisation 3 100.
The setting can be saved for the key
being used. Memorised settings
3 21.
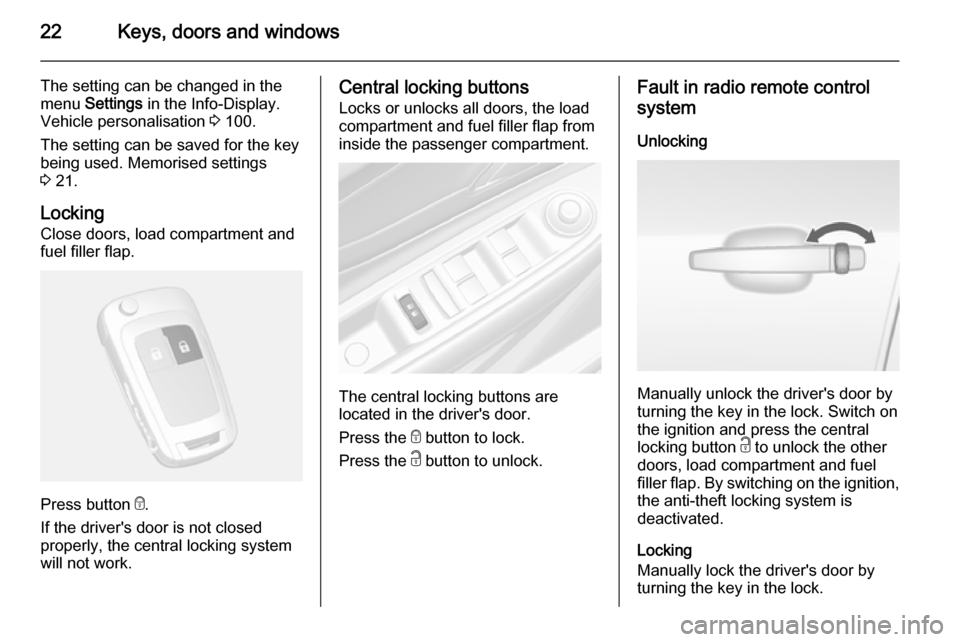
Locking Close doors, load compartment and
fuel filler flap.
Press button e.
If the driver's door is not closed
properly, the central locking system will not work.
Central locking buttons
Locks or unlocks all doors, the load
compartment and fuel filler flap from
inside the passenger compartment.
The central locking buttons are
located in the driver's door.
Press the e button to lock.
Press the c button to unlock.
Fault in radio remote control
system
Unlocking
Manually unlock the driver's door by
turning the key in the lock. Switch on
the ignition and press the central
locking button c to unlock the other
doors, load compartment and fuel
filler flap. By switching on the ignition, the anti-theft locking system is
deactivated.
Locking
Manually lock the driver's door by
turning the key in the lock.
Page 25 of 223

Keys, doors and windows23
Fault in central locking systemUnlocking
Manually unlock the driver's door by
turning the key in the lock. The other
doors can be opened by pulling the
interior handle twice. The load
compartment and fuel filler flap
cannot be opened. To deactivate the
anti-theft locking system, switch on
the ignition 3 25.
Locking
Push inside locking knob of all doors
except driver's door. Then close the driver's door and lock it from the
outside with the key. The fuel filler flap
and tailgate cannot be locked.
Delayed locking This feature will delay the actual
locking of the doors and arming of the
anti-theft alarm system for
five seconds when the power door
lock switch or radio remote control is
used to lock the vehicle.
This can be changed in the vehicle
settings.Vehicle personalisation 3 100.
ON : When pressing the central
locking button, three chimes will
sound to signal delayed locking is in
use.
The doors will not lock until
five seconds after the last door is
closed. You can temporarily override
delayed locking by pressing the
central locking button or the locking
button on the radio remote control.
OFF : The doors will lock immediately
when pressing the power lock switch
or the button e on the radio remote
control.
Automatic locking This security feature can be
configured to automatically lock all
doors, load compartment and fuel
filler flap as soon as a certain speed
is exceeded.
Additionally, it is configurable to
unlock the driver's door or all doors
after the ignition is switched off and
the ignition key is removed (manualtransmission) or the selector lever is
moved to position P (automatic
transmission).
Settings can be changed in the menu Settings in the Info-Display. Vehicle
personalisation 3 100.
The settings can be saved for the key being used 3 21.
Child locks
Page 77 of 223
Instruments and controls75
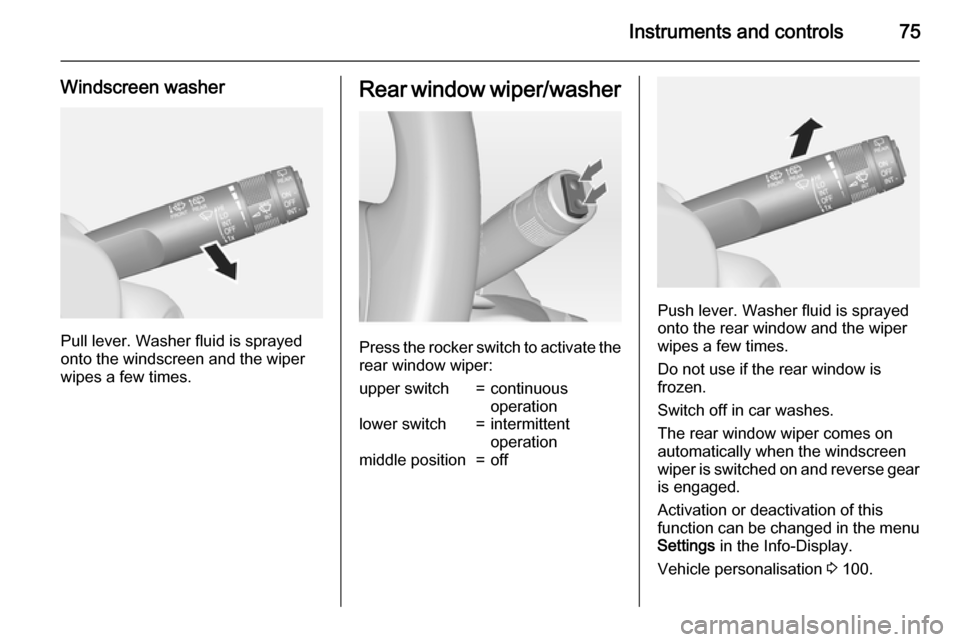
Windscreen washer
Pull lever. Washer fluid is sprayed
onto the windscreen and the wiper
wipes a few times.
Rear window wiper/washer
Press the rocker switch to activate the
rear window wiper:
upper switch=continuous
operationlower switch=intermittent
operationmiddle position=off
Push lever. Washer fluid is sprayed
onto the rear window and the wiper
wipes a few times.
Do not use if the rear window is
frozen.
Switch off in car washes.
The rear window wiper comes on
automatically when the windscreen
wiper is switched on and reverse gear
is engaged.
Activation or deactivation of this
function can be changed in the menu Settings in the Info-Display.
Vehicle personalisation 3 100.
Page 78 of 223
76Instruments and controlsOutside temperature
A drop in temperature is indicated
immediately and a rise in temperature
after a time delay.
If outside temperature drops to
0.5 °C, a warning message is
displayed in the Driver Information
Centre with Uplevel-Display or
Uplevel-Combi-Display.
9 Warning
The road surface may already be
icy even though the display
indicates a few degrees above 0
°C.
Clock
Date and time are shown in the
Info-Display.
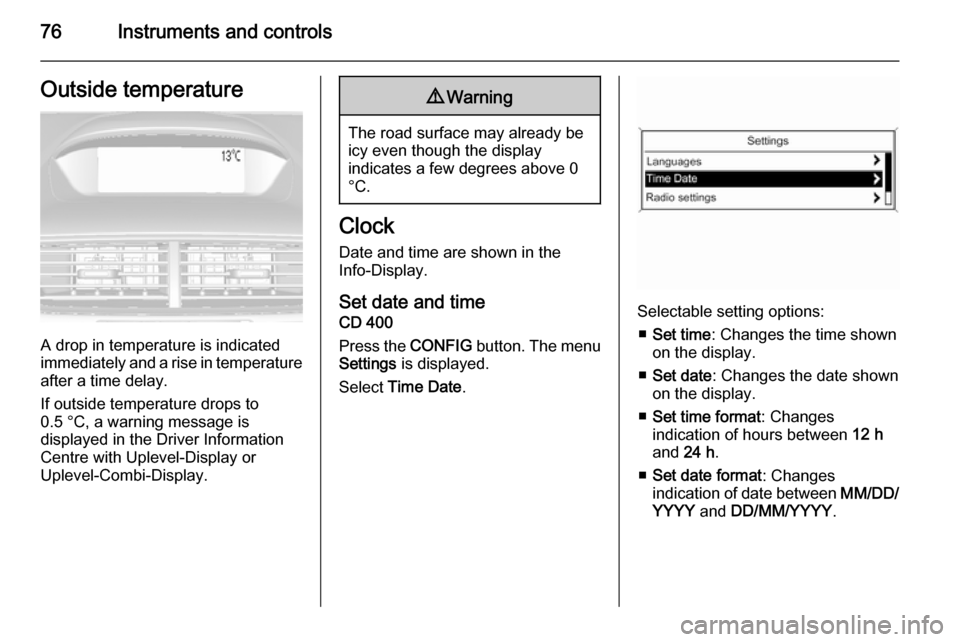
Set date and time CD 400
Press the CONFIG button. The menu
Settings is displayed.
Select Time Date .
Selectable setting options:
■ Set time : Changes the time shown
on the display.
■ Set date : Changes the date shown
on the display.
■ Set time format : Changes
indication of hours between 12 h
and 24 h.
■ Set date format : Changes
indication of date between MM/DD/
YYYY and DD/MM/YYYY .
Page 79 of 223
Instruments and controls77
■Display clock : Switches on/off
indication of time on the display.
■ RDS clock synchronization : The
RDS signal of most VHF
transmitters automatically sets the
time. RDS time synchronisation
can take a few minutes. Some
transmitters do not send a correct
time signal. In such cases, it is
recommended to switch off
automatic time synchronisation.
Vehicle personalisation 3 100.
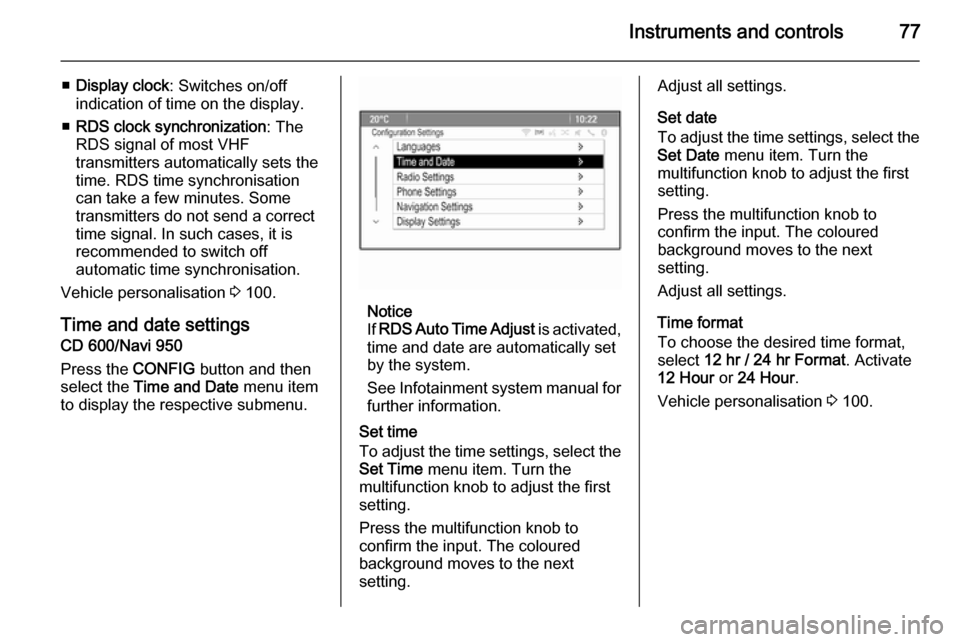
Time and date settings
CD 600/Navi 950
Press the CONFIG button and then
select the Time and Date menu item
to display the respective submenu.
Notice
If RDS Auto Time Adjust is activated,
time and date are automatically set
by the system.
See Infotainment system manual for further information.
Set time
To adjust the time settings, select the Set Time menu item. Turn the
multifunction knob to adjust the first
setting.
Press the multifunction knob to
confirm the input. The coloured
background moves to the next
setting.
Adjust all settings.
Set date
To adjust the time settings, select the
Set Date menu item. Turn the
multifunction knob to adjust the first
setting.
Press the multifunction knob to
confirm the input. The coloured
background moves to the next
setting.
Adjust all settings.
Time format
To choose the desired time format, select 12 hr / 24 hr Format . Activate
12 Hour or 24 Hour .
Vehicle personalisation 3 100.
Page 92 of 223
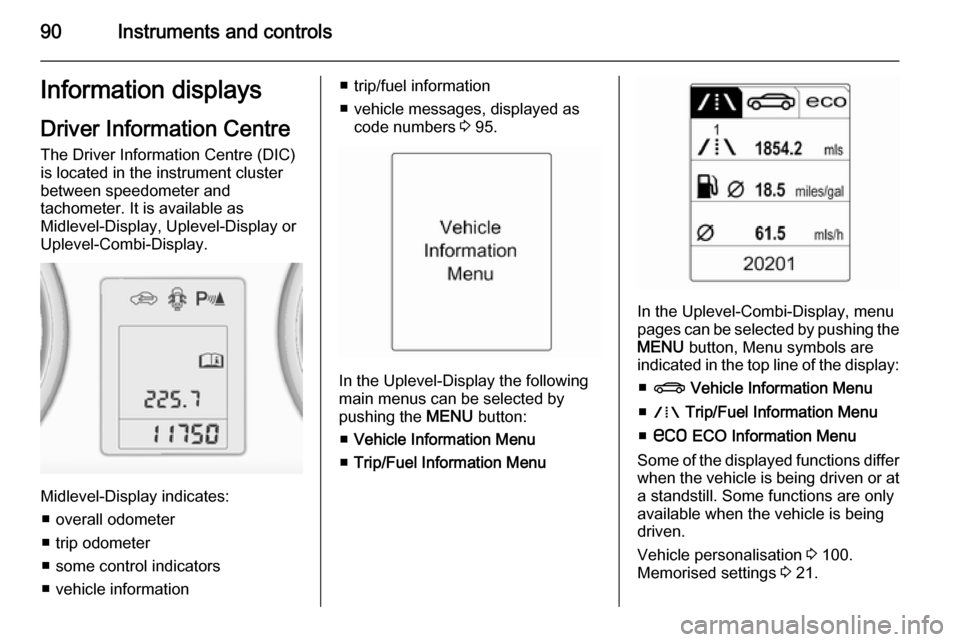
90Instruments and controlsInformation displaysDriver Information Centre The Driver Information Centre (DIC)
is located in the instrument cluster
between speedometer and
tachometer. It is available as
Midlevel-Display, Uplevel-Display or
Uplevel-Combi-Display.
Midlevel-Display indicates:
■ overall odometer
■ trip odometer
■ some control indicators
■ vehicle information
■ trip/fuel information
■ vehicle messages, displayed as code numbers 3 95.
In the Uplevel-Display the following
main menus can be selected by
pushing the MENU button:
■ Vehicle Information Menu
■ Trip/Fuel Information Menu
In the Uplevel-Combi-Display, menu
pages can be selected by pushing the
MENU button, Menu symbols are
indicated in the top line of the display:
■ X Vehicle Information Menu
■ W Trip/Fuel Information Menu
■ s ECO Information Menu
Some of the displayed functions differ
when the vehicle is being driven or at
a standstill. Some functions are only
available when the vehicle is being
driven.
Vehicle personalisation 3 100.
Memorised settings 3 21.
Page 96 of 223
94Instruments and controls
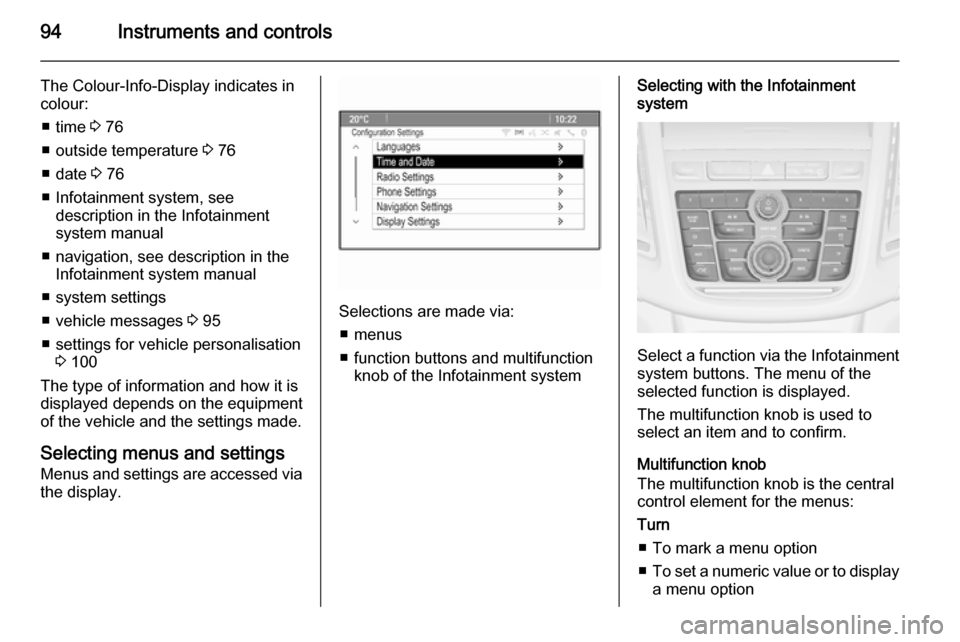
The Colour-Info-Display indicates in
colour:
■ time 3 76
■ outside temperature 3 76
■ date 3 76
■ Infotainment system, see description in the Infotainment
system manual
■ navigation, see description in the Infotainment system manual
■ system settings
■ vehicle messages 3 95
■ settings for vehicle personalisation 3 100
The type of information and how it is
displayed depends on the equipment
of the vehicle and the settings made.
Selecting menus and settings
Menus and settings are accessed via
the display.
Selections are made via:
■ menus
■ function buttons and multifunction knob of the Infotainment system
Selecting with the Infotainment
system
Select a function via the Infotainment
system buttons. The menu of the
selected function is displayed.
The multifunction knob is used to
select an item and to confirm.
Multifunction knob
The multifunction knob is the central control element for the menus:
Turn
■ To mark a menu option
■ To set a numeric value or to display
a menu option
Page 97 of 223
Instruments and controls95
Press (the outer ring)■ To select or activate the marked option
■ To confirm a set value
■ To switch a system function on/off
BACK button
Press button to: ■ exit a menu without changing settings
■ return from a submenu to a higher menu level
■ delete the last character in a character sequence
Press and hold the button for a few
seconds to delete the entire entry.
Vehicle personalisation 3 100.Vehicle messages
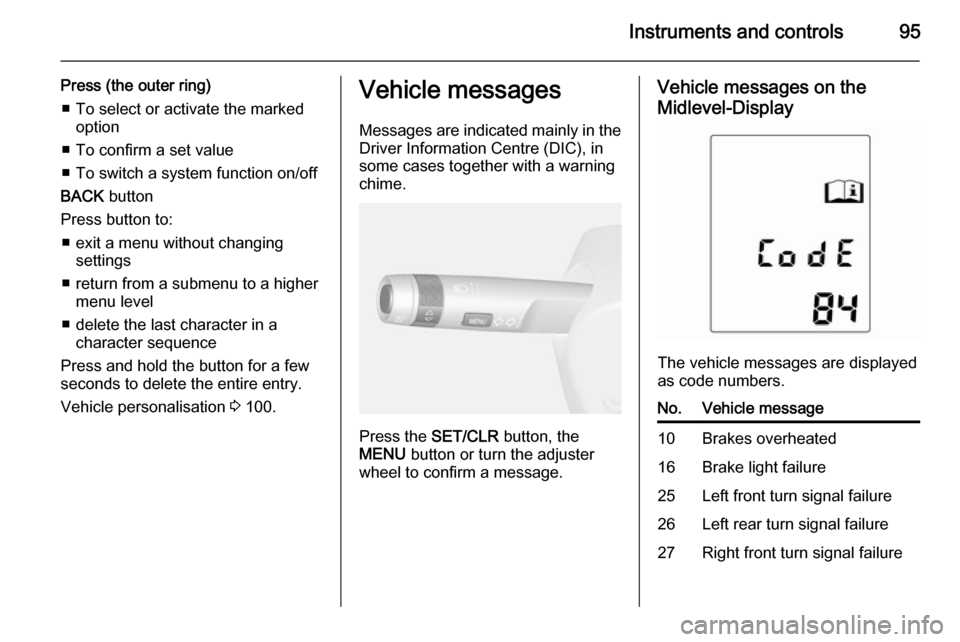
Messages are indicated mainly in the
Driver Information Centre (DIC), in
some cases together with a warning chime.
Press the SET/CLR button, the
MENU button or turn the adjuster
wheel to confirm a message.
Vehicle messages on the
Midlevel-Display
The vehicle messages are displayed
as code numbers.
No.Vehicle message10Brakes overheated16Brake light failure25Left front turn signal failure26Left rear turn signal failure27Right front turn signal failure
Page 102 of 223
100Instruments and controls
To reset, press the SET/CLR button
for a few seconds.
On vehicles with LPG engines and
Uplevel-Display: Average
consumption is indicated for the
currently selected mode (LPG or
Petrol).
Instantaneous consumption Display of the instantaneous
consumption.
On vehicles with LPG engines and
Uplevel-Display: Instantaneous
consumption is indicated for the
currently selected mode (LPG or Petrol).
Average speed
Display of average speed. The
measurement can be reset at any
time.
To reset, press the SET/CLR button
for a few seconds.
Digital speed Digital display of the instantaneous
speed.Route guidance
Additional to the navigation
information in the Colour-Info-
Display, route guidance is displayed in the Driver Information Centre.Vehicle personalisation
The vehicle can be personalised by
changing the settings in the
Infotainment system.
Depending on vehicle equipment
some of the functions described
below may not be available.
Settings in the
Graphic-Info-Display
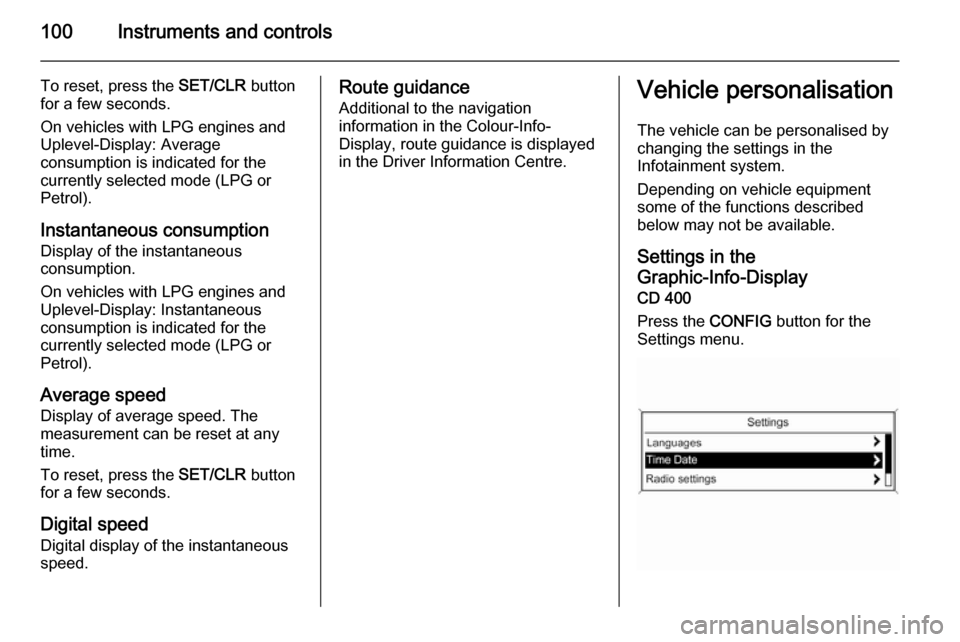
CD 400
Press the CONFIG button for the
Settings menu.