steering wheel control VAUXHALL MOKKA 2015 Owner's Manual
[x] Cancel search | Manufacturer: VAUXHALL, Model Year: 2015, Model line: MOKKA, Model: VAUXHALL MOKKA 2015Pages: 223, PDF Size: 6.2 MB
Page 8 of 223
6In briefIn briefInitial drive informationVehicle unlocking
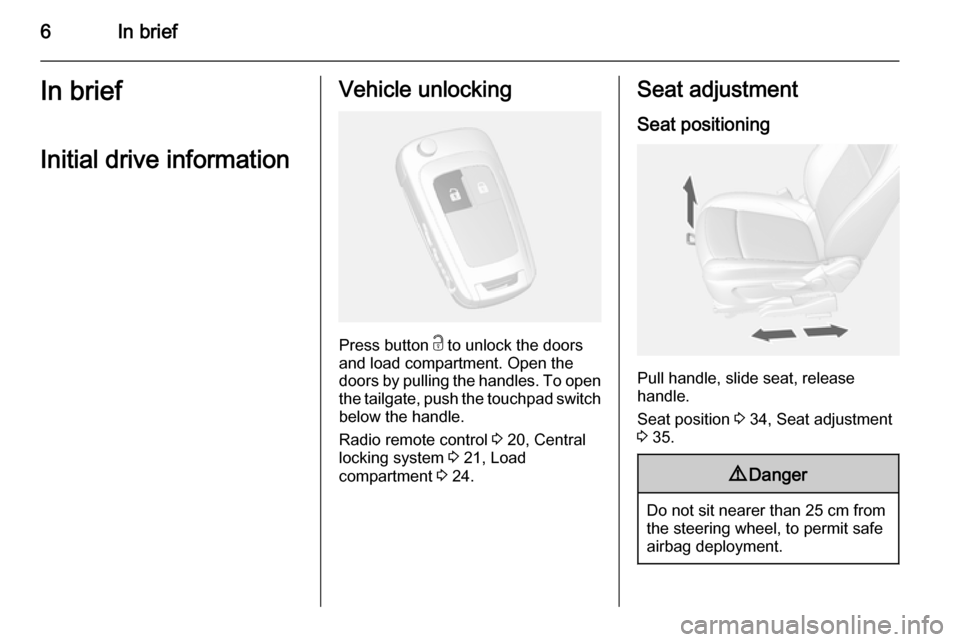
Press button c to unlock the doors
and load compartment. Open the
doors by pulling the handles. To open
the tailgate, push the touchpad switch below the handle.
Radio remote control 3 20, Central
locking system 3 21, Load
compartment 3 24.
Seat adjustment
Seat positioning
Pull handle, slide seat, release
handle.
Seat position 3 34, Seat adjustment
3 35.
9 Danger
Do not sit nearer than 25 cm from
the steering wheel, to permit safe
airbag deployment.
Page 13 of 223

In brief11
1Side air vents ...................... 118
2 Light switch ......................... 104
3 Turn and lane-change
signals ................................. 109
Headlight flash ....................105
Low beam and high beam ..105
4 Cruise control ...................... 136
Speed limiter ....................... 137
Forward collision alert .........138
5 Instruments ........................... 79
6 Horn ..................................... 73
Driver airbag ........................ 44
7 Steering wheel controls .......72
8 Windscreen wiper,
windscreen washer system ...73
Rear wiper, rear washer system ................................... 75
9 Centre air vents adjustment 118
10 Centre air vents ................... 118
11 Electronic Stability Control . 134
12 Hazard warning flashers ....10913 Control indicator for airbag
deactivation .......................... 84
14 Instrument panel storage
button .................................... 54
15 Passenger airbag
deactivation ........................... 46
16 Glovebox .............................. 55
17 Infotainment system
18 Eco button for stop-start
system ................................. 122
Fuel selector ......................... 80
19 AUX input, USB input, SD
card slot
20 Selector lever, manual
transmission ....................... 130
Automatic transmission ......127
21 Parking brake ......................132
22 Power outlet .......................... 78
23 Parking assist ..................... 140
Descent control system ......... 86
24 Climate control system ........ 113
25 Accelerator pedal ................12126Ignition switch with
steering wheel lock ............121
27 Brake pedal ......................... 131
28 Clutch pedal ........................ 120
29 Steering wheel adjustment ..72
30 Instrument panel storage ......54
31 Bonnet release lever ..........158
Page 19 of 223
In brief17
Starting the engine
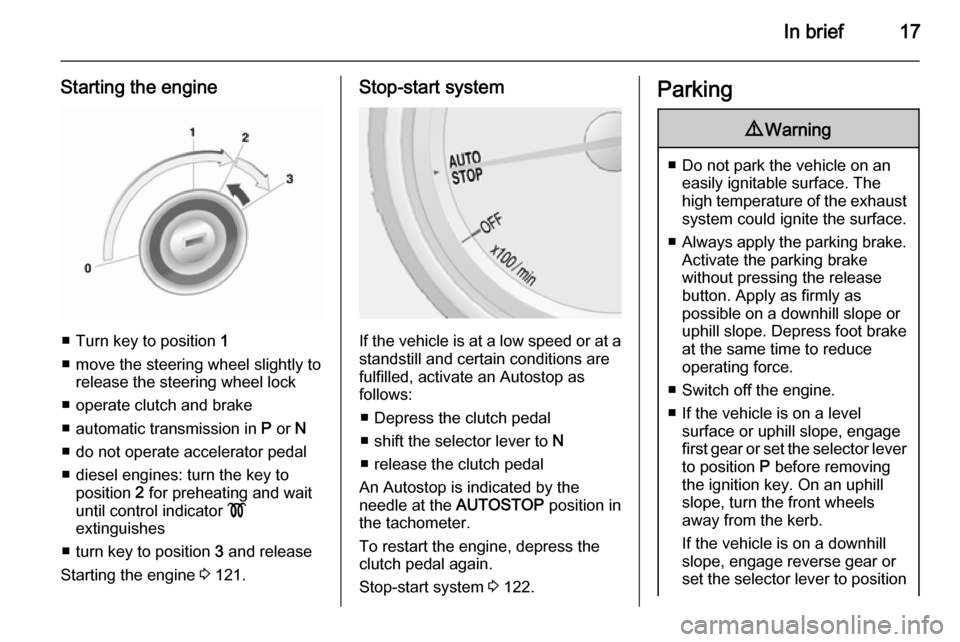
■ Turn key to position 1
■ move the steering wheel slightly to release the steering wheel lock
■ operate clutch and brake
■ automatic transmission in P or N
■ do not operate accelerator pedal
■ diesel engines: turn the key to position 2 for preheating and wait
until control indicator !
extinguishes
■ turn key to position 3 and release
Starting the engine 3 121.
Stop-start system
If the vehicle is at a low speed or at a
standstill and certain conditions are
fulfilled, activate an Autostop as
follows:
■ Depress the clutch pedal
■ shift the selector lever to N
■ release the clutch pedal
An Autostop is indicated by the
needle at the AUTOSTOP position in
the tachometer.
To restart the engine, depress the
clutch pedal again.
Stop-start system 3 122.
Parking9 Warning
■ Do not park the vehicle on an
easily ignitable surface. The
high temperature of the exhaust system could ignite the surface.
■ Always apply the parking brake.
Activate the parking brake
without pressing the release
button. Apply as firmly as
possible on a downhill slope or
uphill slope. Depress foot brake
at the same time to reduce
operating force.
■ Switch off the engine.
■ If the vehicle is on a level surface or uphill slope, engage
first gear or set the selector lever
to position P before removing
the ignition key. On an uphill
slope, turn the front wheels
away from the kerb.
If the vehicle is on a downhill
slope, engage reverse gear or
set the selector lever to position
Page 20 of 223

18In briefP before removing the ignition
key. Turn the front wheels
towards the kerb.
■ Close the windows and the sunroof.
■ Remove the ignition key. For vehicles with automatic
transmission, the key can only
be removed when the selector
lever is in position P.
Turn the steering wheel until the
steering wheel lock is felt to
engage.
■ Lock the vehicle with button e on
the radio remote control.
Activate the anti-theft alarm system
3 25.
■ The engine cooling fans may run after the engine has been switchedoff 3 157.
■ After running at high engine speeds
or with high engine loads, operate the engine briefly at a low load or
run in neutral for approx.
30 seconds before switching off, in
order to protect the turbocharger.
Keys, locks 3 19, Laying-up the
vehicle up for a long period of time
3 156.
Page 37 of 223
Seats, restraints35
■ Sit with shoulders as far backagainst the backrest as possible.
Set the backrest rake so that it is
possible to easily reach the
steering wheel with arms slightly
bent. Maintain contact between
shoulders and the backrest when
turning the steering wheel. Do not
tilt the backrest too far back. We
recommend a maximum rake of
approx. 25°.
■ Adjust the steering wheel 3 72.
■ Set seat height high enough to have a clear field of vision on all
sides and of all display instruments.
There should be at least one hand
of clearance between head and the
headlining. Your thighs should rest
lightly on the seat without pressing
into it.
■ Adjust the head restraint 3 33.
■ Adjust the height of the seat belt 3 39.■ Adjust the thigh support so that
there is a space approx. two fingerswide between the edge of the seat
and the hollow of the knee.
■ Adjust the lumbar support so that it
supports the natural shape of the
spine.
Seat adjustment9 Danger
Do not sit nearer than 25 cm from
the steering wheel, to permit safe
airbag deployment.
9 Warning
Never adjust seats while driving as
they could move uncontrollably.
Drive only with engaged seats and
backrests.
Seat positioning
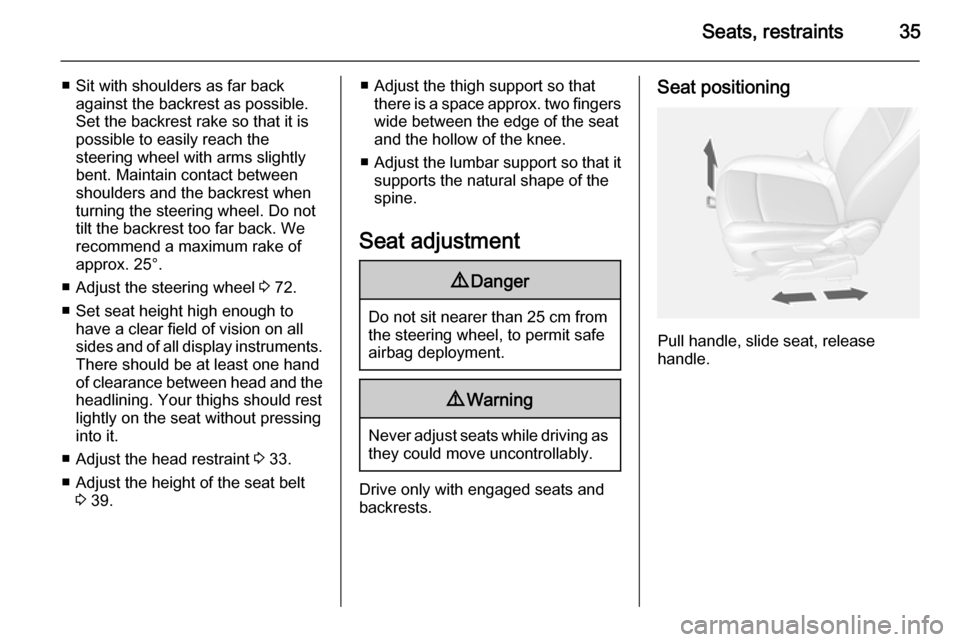
Pull handle, slide seat, release
handle.
Page 43 of 223
Seats, restraints41Airbag system
The airbag system consists of a
number of individual systems
depending on the scope of
equipment.
When triggered, the airbags inflate
within milliseconds. They also deflate
so quickly that it is often unnoticeable during the collision.9 Warning
If handled improperly the airbag
systems can be triggered in an
explosive manner.
Notice
The airbag systems and belt
pretensioner control electronics are
located in the centre console area.
Do not put any magnetic objects in
this area.
Do not affix any objects onto the
airbag covers and do not cover them with other materials.
Each airbag is triggered only once.
Have deployed airbags replaced by
a workshop. Furthermore, it may be
necessary to have the steering
wheel, the instrument panel, parts of
the panelling, the door seals,
handles and the seats replaced.
Do not make any modifications to
the airbag system as this will
invalidate the vehicle type approval.
When the airbags inflate, escaping
hot gases may cause burns.
Control indicator v for airbag systems
3 84.
Child restraint systems on front passenger seat with airbag
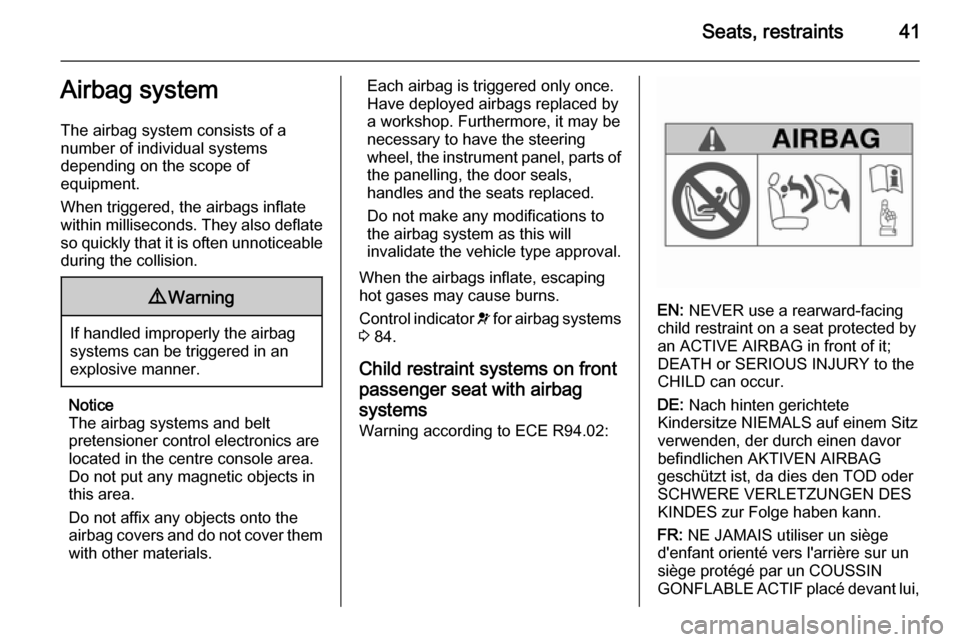
systems Warning according to ECE R94.02:
EN: NEVER use a rearward-facing
child restraint on a seat protected by
an ACTIVE AIRBAG in front of it;
DEATH or SERIOUS INJURY to the
CHILD can occur.
DE: Nach hinten gerichtete
Kindersitze NIEMALS auf einem Sitz
verwenden, der durch einen davor
befindlichen AKTIVEN AIRBAG
geschützt ist, da dies den TOD oder
SCHWERE VERLETZUNGEN DES
KINDES zur Folge haben kann.
FR: NE JAMAIS utiliser un siège
d'enfant orienté vers l'arrière sur un
siège protégé par un COUSSIN
GONFLABLE ACTIF placé devant lui,
Page 74 of 223
72Instruments and controlsInstruments and
controlsControls ....................................... 72
Warning lights, gauges and indi‐
cators ........................................... 79
Information displays .....................90
Vehicle messages ........................ 95
Trip computer ............................... 97
Vehicle personalisation ..............100Controls
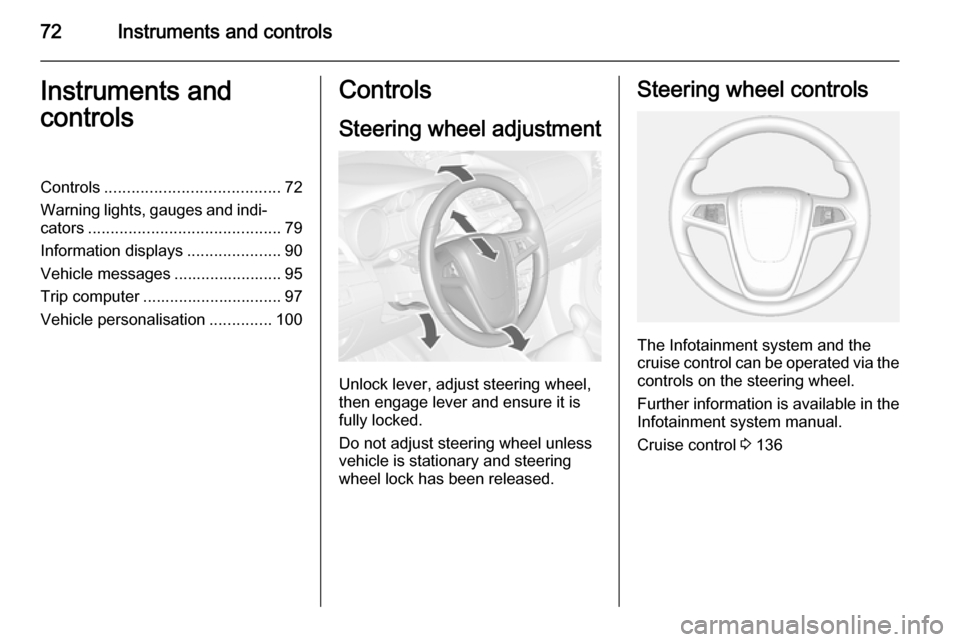
Steering wheel adjustment
Unlock lever, adjust steering wheel,
then engage lever and ensure it is fully locked.
Do not adjust steering wheel unless
vehicle is stationary and steering
wheel lock has been released.
Steering wheel controls
The Infotainment system and the
cruise control can be operated via the controls on the steering wheel.
Further information is available in the
Infotainment system manual.
Cruise control 3 136
Page 75 of 223
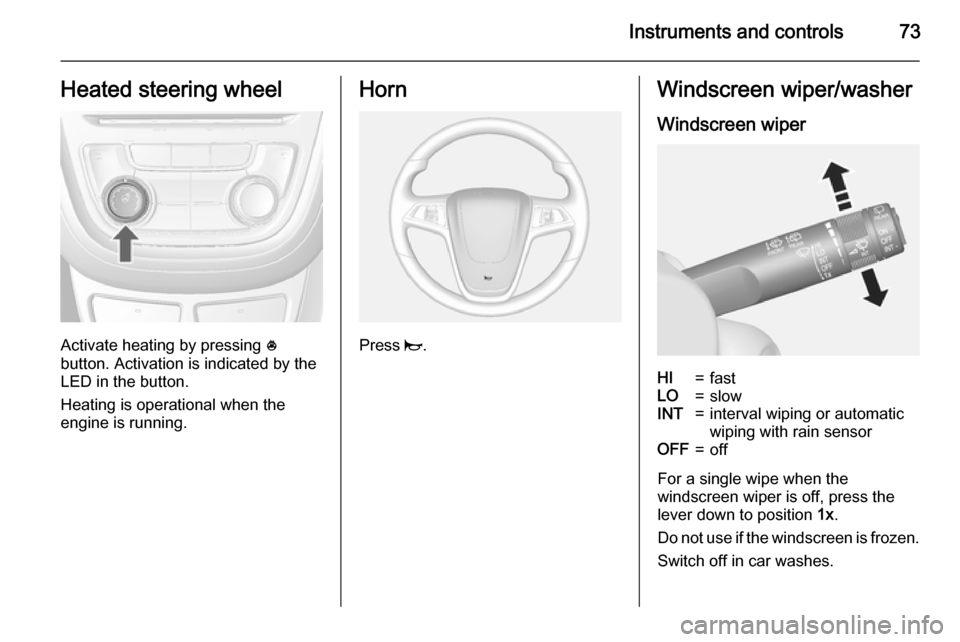
Instruments and controls73Heated steering wheel
Activate heating by pressing *
button. Activation is indicated by the
LED in the button.
Heating is operational when the
engine is running.
Horn
Press j.
Windscreen wiper/washer
Windscreen wiperHI=fastLO=slowINT=interval wiping or automatic
wiping with rain sensorOFF=off
For a single wipe when the
windscreen wiper is off, press the
lever down to position 1x.
Do not use if the windscreen is frozen.
Switch off in car washes.
Page 90 of 223
88Instruments and controls
Flashes
Fault in system or tyre without
pressure sensor mounted (e.g. spare wheel). After 60-90 seconds the
control indicator illuminates
continuously. Consult a workshop.
Tyre pressure monitor system
3 177.
Engine oil pressure
I illuminates red.
Illuminates when the ignition is
switched on and extinguishes shortly
after the engine starts.
Illuminates when the engine isrunningCaution
Engine lubrication may be
interrupted. This may result in
damage to the engine and/or
locking of the drive wheels.
1. Depress clutch.
2. Select neutral gear, set selector lever to N.
3. Move out of the flow of traffic as quickly as possible without
impeding other vehicles.
4. Switch off ignition.9 Warning
When the engine is off,
considerably more force is needed
to brake and steer. During an
Autostop the brake servo unit will still be operational.
Do not remove key until vehicle is stationary, otherwise the steeringwheel lock could engage
unexpectedly.
Check oil level before seeking the
assistance of a workshop 3 158.
Low fuel
i illuminates or flashes yellow.
Illuminates
Level in fuel tank is too low.
Flashes
Fuel used up. Refuel immediately.
Never run the tank dry.
Catalytic converter 3 126.
Bleeding the diesel fuel system
3 163.
Immobiliser
d flashes yellow.
Fault in the immobiliser system. The
engine cannot be started.
Have the cause of the fault remedied by a repairer.
Exterior light8 illuminates green.
The exterior lights are on 3 104.
High beam
C illuminates blue.
Page 98 of 223
96Instruments and controls
No.Vehicle message28Right rear turn signal failure53Tighten gas cap54Water in diesel fuel filterS68Service power steeringS73Service all-wheel drive systemS75Service air conditioningS79Top up engine oilS81Service transmissionS82Change engine oil soonS84Engine power is reducedS89Service vehicle soon128Bonnet open134Park assist fault, clean
bumperS136Service parking assist174Low batteryNotice
"S" means "Service vehicle soon".
Seek the assistance of a workshop
immediately.
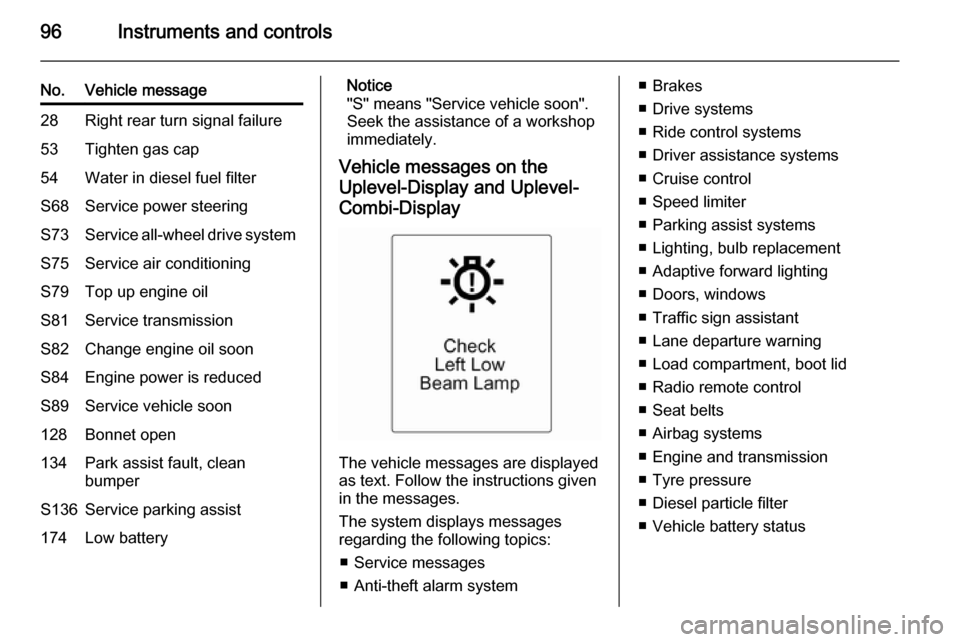
Vehicle messages on the
Uplevel-Display and Uplevel- Combi-Display
The vehicle messages are displayed
as text. Follow the instructions given
in the messages.
The system displays messages
regarding the following topics:
■ Service messages
■ Anti-theft alarm system
■ Brakes
■ Drive systems
■ Ride control systems
■ Driver assistance systems
■ Cruise control
■ Speed limiter
■ Parking assist systems
■ Lighting, bulb replacement
■ Adaptive forward lighting
■ Doors, windows
■ Traffic sign assistant
■ Lane departure warning
■ Load compartment, boot lid
■ Radio remote control
■ Seat belts
■ Airbag systems
■ Engine and transmission
■ Tyre pressure
■ Diesel particle filter
■ Vehicle battery status