display VAUXHALL MOKKA 2016 Infotainment system
[x] Cancel search | Manufacturer: VAUXHALL, Model Year: 2016, Model line: MOKKA, Model: VAUXHALL MOKKA 2016Pages: 119, PDF Size: 2.21 MB
Page 22 of 119

22Basic operationDisplay settings
Press CONFIG and then select
Display Settings to display the
respective submenu.
Home Page
Select Home Page Menu to display
the home page settings menu.
To access the menu from the Home
Page , select Menu at the bottom of
the screen.
The Home Page may be adjusted
according to your personal
preferences.Customise
The application icons displayed on
the first home page may be chosen as
desired.
Select Customise to display a list of
all applications installed in the
system. Activate the menu items of
those applications you wish to be
displayed on the first home page.
The other applications are then
arranged on the following pages.Sort
Up to eight application icons may be
arranged on each home page.The positions of the icons can be
changed as desired.
Select Sort to display the home pages
in edit mode.
Select the icon you wish to move.
Scroll to the position on the home
page where you wish the icon to be
located. Press the multifunction knob
to confirm.
The icon is moved to the new location. The icon that was located in that
position before is now displayed in the
position of the moved icon.Home page defaults
To reset the Home Page to its factory
defaults, select Restore Home Page
Defaults .
Display Off
To turn the display off, select Display
Off .
To turn the display back on, press any
button on the instrument panel
(except the m VOL knob).
Page 23 of 119

Radio23RadioUsage.......................................... 23
Station search .............................. 23
Autostore lists .............................. 24
Favourite lists ............................... 25
Radio data system (RDS) ............26
Digital audio broadcasting ...........27Usage
Activating radio
Press ; and then select AM, FM or
DAB .
The station last selected is played.
Notice
When an audio source is already
active, you may toggle between the
different audio sources by
repeatedly pressing SRCE.
Station search
Automatic station search Briefly press t or v to play the next
station in the station memory.
Manual station search
Press and hold t or v . Release the
button when the required frequency
has almost been reached on the frequency display.
Manual station tuningIn the FM and DAB waveband, press
the multifunction knob to open the
respective menu and then selectManual tuning . The frequency
currently active is displayed at the
bottom of the screen.
Turn the multifunction knob to reach
the desired frequency.
In the AM waveband, turn the
multifunction knob to adjust the
frequency.
Station listsIn the FM and DAB waveband, turn
the multifunction knob to display the
station list.
In the AM waveband, press the
multifunction knob to display the respective waveband menu.
Select AM Station List .
A list of all receivable stations of the
relevant waveband and in the current
reception area is displayed.
Notice
If no station list has been created
beforehand, the Infotainment
system performs an automatic
station search.
Page 24 of 119

24Radio
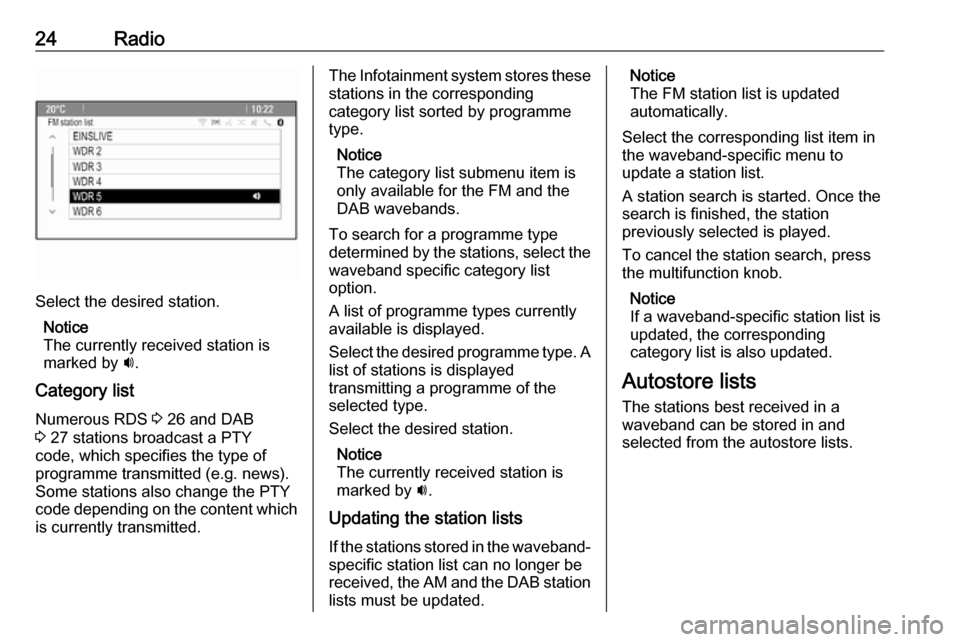
Select the desired station.Notice
The currently received station is
marked by i.
Category list Numerous RDS 3 26 and DAB
3 27 stations broadcast a PTY
code, which specifies the type of
programme transmitted (e.g. news).
Some stations also change the PTY
code depending on the content which is currently transmitted.
The Infotainment system stores these
stations in the corresponding
category list sorted by programme
type.
Notice
The category list submenu item is
only available for the FM and the
DAB wavebands.
To search for a programme type
determined by the stations, select the
waveband specific category list
option.
A list of programme types currently
available is displayed.
Select the desired programme type. A
list of stations is displayed
transmitting a programme of the
selected type.
Select the desired station.
Notice
The currently received station is
marked by i.
Updating the station lists
If the stations stored in the waveband-
specific station list can no longer be
received, the AM and the DAB station lists must be updated.Notice
The FM station list is updated
automatically.
Select the corresponding list item in
the waveband-specific menu to
update a station list.
A station search is started. Once the
search is finished, the station
previously selected is played.
To cancel the station search, press
the multifunction knob.
Notice
If a waveband-specific station list is
updated, the corresponding
category list is also updated.
Autostore lists The stations best received in a
waveband can be stored in and
selected from the autostore lists.
Page 25 of 119

Radio25
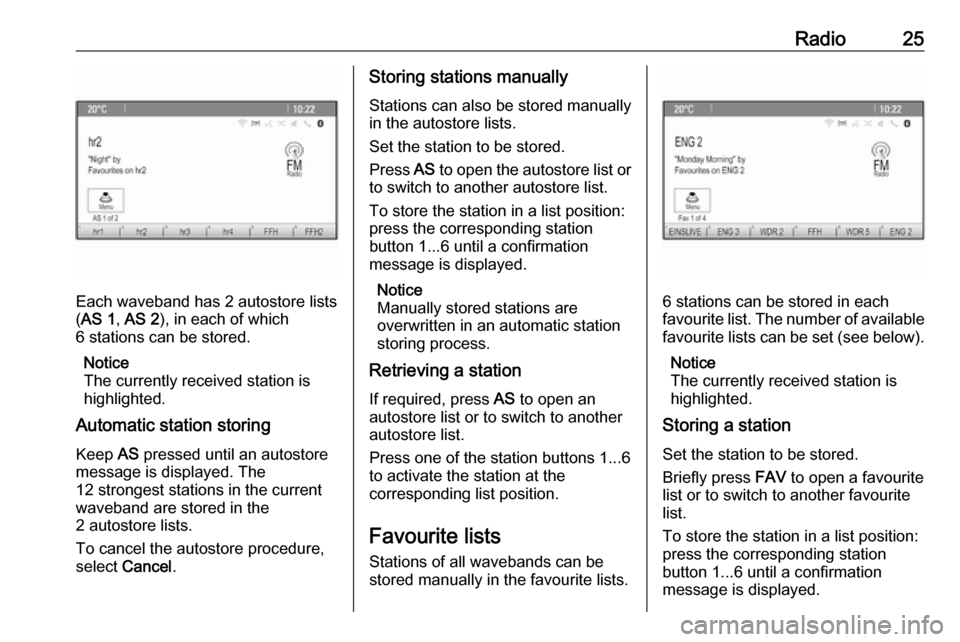
Each waveband has 2 autostore lists( AS 1 , AS 2 ), in each of which
6 stations can be stored.
Notice
The currently received station is highlighted.
Automatic station storing
Keep AS pressed until an autostore
message is displayed. The
12 strongest stations in the current
waveband are stored in the
2 autostore lists.
To cancel the autostore procedure,
select Cancel .
Storing stations manually
Stations can also be stored manually
in the autostore lists.
Set the station to be stored.
Press AS to open the autostore list or
to switch to another autostore list.
To store the station in a list position:
press the corresponding station
button 1...6 until a confirmation
message is displayed.
Notice
Manually stored stations are
overwritten in an automatic station storing process.
Retrieving a station
If required, press AS to open an
autostore list or to switch to another autostore list.
Press one of the station buttons 1...6
to activate the station at the
corresponding list position.
Favourite lists
Stations of all wavebands can be
stored manually in the favourite lists.
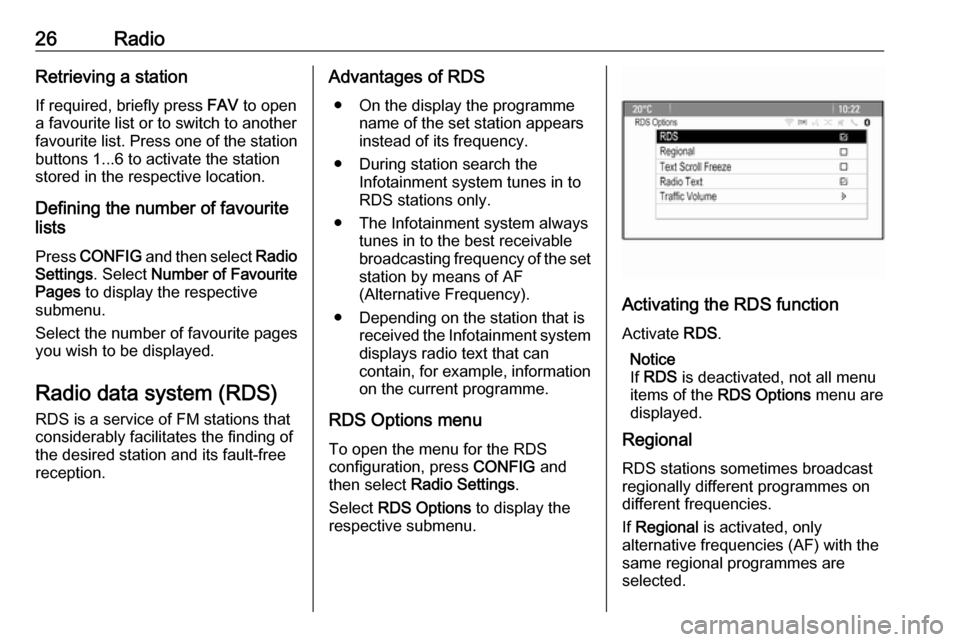
6 stations can be stored in each
favourite list. The number of available favourite lists can be set (see below).
Notice
The currently received station is
highlighted.
Storing a station
Set the station to be stored.
Briefly press FAV to open a favourite
list or to switch to another favourite list.
To store the station in a list position:
press the corresponding station
button 1...6 until a confirmation
message is displayed.
Page 26 of 119

26RadioRetrieving a station
If required, briefly press FAV to open
a favourite list or to switch to another
favourite list. Press one of the station
buttons 1...6 to activate the station
stored in the respective location.
Defining the number of favourite
lists
Press CONFIG and then select Radio
Settings . Select Number of Favourite
Pages to display the respective
submenu.
Select the number of favourite pages
you wish to be displayed.
Radio data system (RDS)
RDS is a service of FM stations that
considerably facilitates the finding of
the desired station and its fault-free
reception.Advantages of RDS
● On the display the programme name of the set station appears
instead of its frequency.
● During station search the Infotainment system tunes in to
RDS stations only.
● The Infotainment system always tunes in to the best receivable
broadcasting frequency of the set station by means of AF
(Alternative Frequency).
● Depending on the station that is received the Infotainment systemdisplays radio text that can
contain, for example, information
on the current programme.
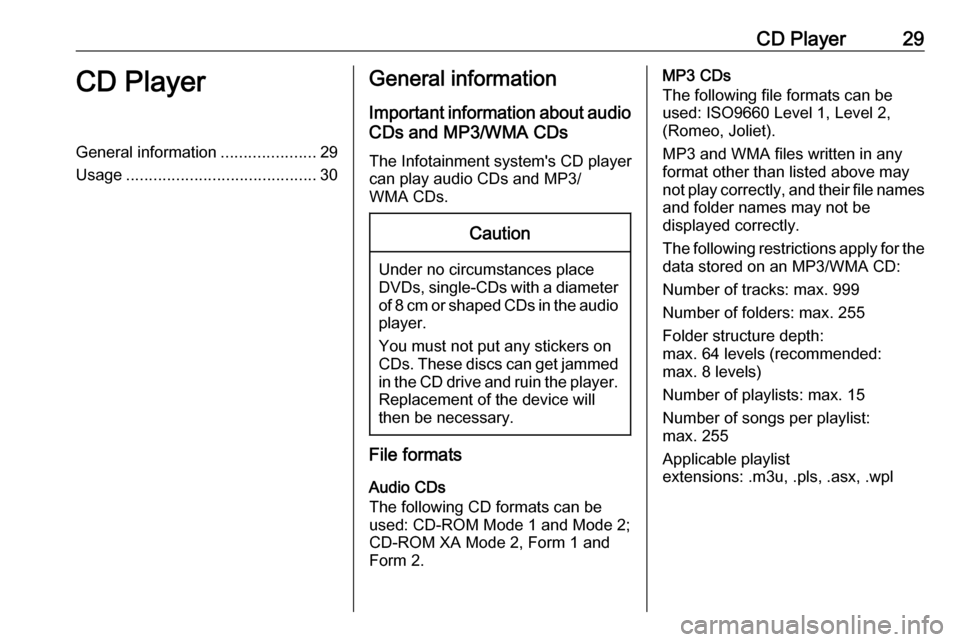
RDS Options menu To open the menu for the RDS
configuration, press CONFIG and
then select Radio Settings .
Select RDS Options to display the
respective submenu.
Activating the RDS function
Activate RDS.
Notice
If RDS is deactivated, not all menu
items of the RDS Options menu are
displayed.
Regional
RDS stations sometimes broadcastregionally different programmes on
different frequencies.
If Regional is activated, only
alternative frequencies (AF) with the same regional programmes are
selected.
Page 27 of 119

Radio27If Regional is deactivated, alternative
frequencies of the stations are
selected without regard to regional
programmes.
Text Scroll Freeze
Some RDS stations do not only show
the programme service name on the
display, but also additional
information on the current
programme. If additional information
is displayed, the programme name is
hidden.
To prevent additional information
from being displayed, activate Text
Scroll Freeze .
Radio Text If RDS and the reception of an RDS
station are activated, information on
the radio programme currently active
or the music track currently playing
are displayed below the programme
name.
To show or hide the information,
activate or deactivate Radio Text.Radio traffic service
(TP = Traffic Programme)
Radio traffic service stations are RDS
stations that broadcast traffic news.
If the radio traffic service is switched
on, radio or media playback is
interrupted for the duration of the
traffic announcement.
Switching the radio traffic service on
and off
To switch the traffic announcement
standby facility of the Infotainment
system on and off, press TP.
● If the radio traffic service is switched on, [ ] is indicated on the
display.
● If the current station is not a radio
traffic service station, a search is
started automatically for the next radio traffic service station.
● If a radio traffic service station has been found, [TP] is indicated
on the display.Traffic Volume
To adjust the volume of traffic
announcements, select Traffic
Volume . The respective submenu is
displayed. Adjust the setting as
desired.
Listening to traffic announcements only
Switch on the radio traffic service and
completely turn down the volume of
the Infotainment system.
Blocking out traffic announcements
To block out a traffic announcement,
e.g. during CD/MP3 playback:
Press TP or select Cancel in the TP
message.
The traffic announcement is
cancelled, but the radio traffic service
remains switched on.
Digital audio broadcasting
Digital audio broadcasting (DAB) is
an innovative and universal
broadcast system.
Page 29 of 119

CD Player29CD PlayerGeneral information.....................29
Usage .......................................... 30General information
Important information about audio CDs and MP3/WMA CDs
The Infotainment system's CD player
can play audio CDs and MP3/
WMA CDs.Caution
Under no circumstances place
DVDs, single-CDs with a diameter
of 8 cm or shaped CDs in the audio
player.
You must not put any stickers on
CDs. These discs can get jammed in the CD drive and ruin the player. Replacement of the device will
then be necessary.
File formats
Audio CDs
The following CD formats can be
used: CD-ROM Mode 1 and Mode 2;
CD-ROM XA Mode 2, Form 1 and
Form 2.
MP3 CDs
The following file formats can be
used: ISO9660 Level 1, Level 2,
(Romeo, Joliet).
MP3 and WMA files written in any
format other than listed above may
not play correctly, and their file names and folder names may not be
displayed correctly.
The following restrictions apply for the data stored on an MP3/WMA CD:
Number of tracks: max. 999
Number of folders: max. 255
Folder structure depth:
max. 64 levels (recommended:
max. 8 levels)
Number of playlists: max. 15
Number of songs per playlist:
max. 255
Applicable playlist
extensions: .m3u, .pls, .asx, .wpl
Page 30 of 119

30CD PlayerUsage
Starting CD playback
Push the CD with the labelled side facing upwards into the CD slot untilit is pulled in.
CD playback starts automatically and the CD or MP3 CD main menu is
displayed.
If there is already a CD inserted, but
the CD or MP3 CD main menu is not
active, press ; and then select CD.
The CD or MP3 CD main menu is
displayed and CD playback is started.Depending on the data stored on the
audio CD or MP3 CD , more or less
detailed information on the CD and
the current music track are shown on
the display.
Notice
When an audio source is already
active, you may toggle between the
different audio sources by
repeatedly pressing SRCE.
Removing a CD
Press d.
The CD is pushed out of the CD slot. If the CD is not removed after
ejection, it will be drawn back in again automatically after a few seconds.
Track List
Turn the multifunction knob to display a list of all tracks on the CD.
Notice
The currently playing track is marked
by i.
Select the desired track.Function buttons
Skipping to previous or next track
Press t or v once or several times
to skip to the previous or next track.
Fast forwarding or rewinding
Press and hold t or v to fast
forward or rewind the current track.
Pausing playback
Press T to pause playback.
Audio menu
Press the multifunction knob to
display the CD or MP3 menu.
Notice
For a description of the functions in
the MP3 menu 3 33.
Shuffle function
To play the tracks on the CD in
random order, activate Shuffle.
To return to the normal playing order, deactivate Shuffle.
Page 31 of 119

External devices31External devicesGeneral information.....................31
Playing audio ............................... 33
Displaying pictures ....................... 34
Using apps ................................... 35General information
Sockets for the connection of external
devices are located in the centre
console hidden behind a cover.
Notice
The sockets must always be kept clean and dry.
AUX input
It is possible to connect e.g. an iPod,
Smartphone or another auxiliary
device with a 3.5 mm jack plug to the AUX input. The Infotainment system
can play music files contained in
auxiliary devices.
When connected to the AUX input,
the audio signal of the auxiliary device
is transmitted via the speakers of the
Infotainment system.
The volume can be adjusted via the Infotainment system. All other control functions must be operated via the
auxiliary device.
Connecting a device
To connect the auxiliary device to the
AUX input socket of the Infotainment
system, use the following cable:3-pole for audio source.
To disconnect the AUX device, select another function and then remove the
AUX device.
USB port An MP3 player, USB device, iPod or
Smartphone can be connected to the
USB port. The Infotainment system
can play music files or display
pictures contained in auxiliary
devices.
When connected to the USB port, the devices mentioned above can be
operated via the controls and menus
of the Infotainment system.
Notice
Not all MP3 players, USB drives,
iPod models or Smartphones are
supported by the Infotainment
system.
Connecting/disconnecting a device
Connect the device to the USB port.
For the iPod, use the appropriate
connection cable.
Page 32 of 119

32External devicesNotice
If a non-readable USB device or
iPod is connected, a corresponding
error message will appear and the
Infotainment system will
automatically switch to the previous
function.
To disconnect the USB device or
iPod, select another function and then
remove the USB storage device.Caution
Avoid disconnecting the device
during playback. This may
damage the device or the
Infotainment system.
Bluetooth
Bluetooth enabled audio sources
(e.g. music mobile phones, MP3
players featuring Bluetooth, etc.),
which support the Bluetooth music
profiles A2DP and AVRCP can be
connected wirelessly to the
Infotainment system.
The Infotainment system can play
music files contained in Bluetooth
devices, e.g. iPod or Smartphone.
Connecting a device
For a detailed description of the
Bluetooth connection 3 63.
File formats Audio files
Only devices formatted in the FAT32,
NTFS and HFS+ file systems are
supported.
Notice
Some files may not be played
properly. This might be due to a
different recording format or the
condition of the file.
Files from online shops to which
Digital Rights Management (DRM)
has been applied cannot be played.
The playable audio file formats
are .mp3, .wma, .aac and .m4a.
When playing a file with ID3 tag
information, the Infotainment system
can display information, e.g. on the
track title and artist.
Picture files
The displayable picture file formats
are .jpg, .jpeg, .bmp, .png and .gif.The files must have a maximum size
of 2048 pixels in width and
2048 pixels in height (4MP).
Gracenote
The Gracenote database contains
information on media data currently
available on the market.
When connecting external devices,
the tracks or files are recognised by
the Gracenote function.
If the Gracenote normalisation
function is activated, spelling
mistakes in MP3 tag data are
automatically corrected. Due to this,
media search results may be
improved.
Press CONFIG and then select Radio
Settings .
Select Gracenote Options to display
the respective submenu.
Activate the Gracenote normalisation
function.