Code 89 VAUXHALL MOKKA 2016 User Guide
[x] Cancel search | Manufacturer: VAUXHALL, Model Year: 2016, Model line: MOKKA, Model: VAUXHALL MOKKA 2016Pages: 231, PDF Size: 6.55 MB
Page 187 of 231

Vehicle care185Tyre designations
E.g. 215/60 R 16 95 H215:tyre width, mm60:cross-section ratio (tyre height
to tyre width), percentageR:belt type: RadialRF:type: RunFlat16:wheel diameter, inches95:load index e.g. 95 is equivalent to 690 kgH:speed code letter
Speed code letter:
Q:up to 100 mphS:up to 112 mphT:up to 118 mphH:up to 130 mphV:up to 150 mphW:up to 168 mph
Choose a tyre appropiate for the
maximum speed of your verhicle.
The maximum speed is achievable at
kerb weight with driver (75 kg) plus
125 kg payload. Optional equipment
could reduce the maximum speed of
the vehicle.
Performance 3 214.
Directional tyres
Fit directional tyres such that they roll
in the direction of travel. The rolling
direction is indicated by a symbol
(e.g. an arrow) on the sidewall.
Tyre pressure
Check the pressure of cold tyres at
least every 14 days and before any
long journey. Do not forget the spare
wheel. This also applies to vehicles
with tyre pressure monitoring system.
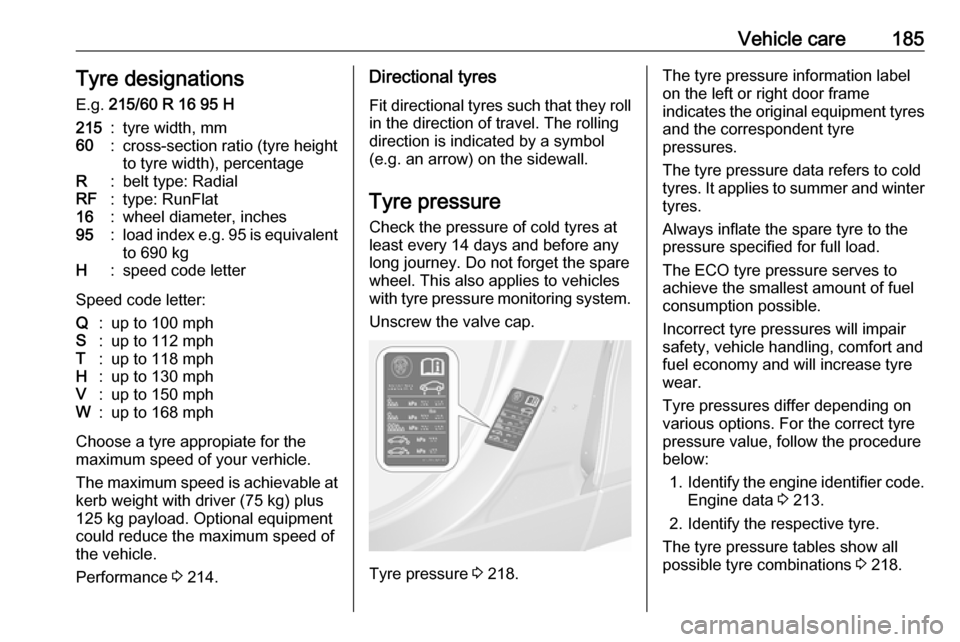
Unscrew the valve cap.
Tyre pressure 3 218.
The tyre pressure information label
on the left or right door frame
indicates the original equipment tyres
and the correspondent tyre
pressures.
The tyre pressure data refers to cold
tyres. It applies to summer and winter tyres.
Always inflate the spare tyre to the
pressure specified for full load.
The ECO tyre pressure serves to
achieve the smallest amount of fuel
consumption possible.
Incorrect tyre pressures will impair
safety, vehicle handling, comfort and
fuel economy and will increase tyre
wear.
Tyre pressures differ depending on
various options. For the correct tyre
pressure value, follow the procedure
below:
1. Identify the engine identifier code.
Engine data 3 213.
2. Identify the respective tyre.
The tyre pressure tables show all possible tyre combinations 3 218.
Page 190 of 231

188Vehicle careEach time the tyres are replaced, tyrepressure monitoring system sensors
must be dismounted and serviced. For the screwed sensor, replace
valve core and sealing ring. For
clipped sensor, replace complete
valve stem.
Vehicle loading status
Adjust tyre pressure to load condition according to tyre information label or
tyre pressure chart 3 218, and select
the relevant setting in the menu Tyre
Load in the Driver Information Centre,
Vehicle Information Menu 3 88. This
setting is the reference for the tyre
pressure warnings.
The Tyre Load menu only appears if
the vehicle is in a standstill and the
parking brake is applied. On vehicles
with automatic transmission the
selector lever has to be in P.
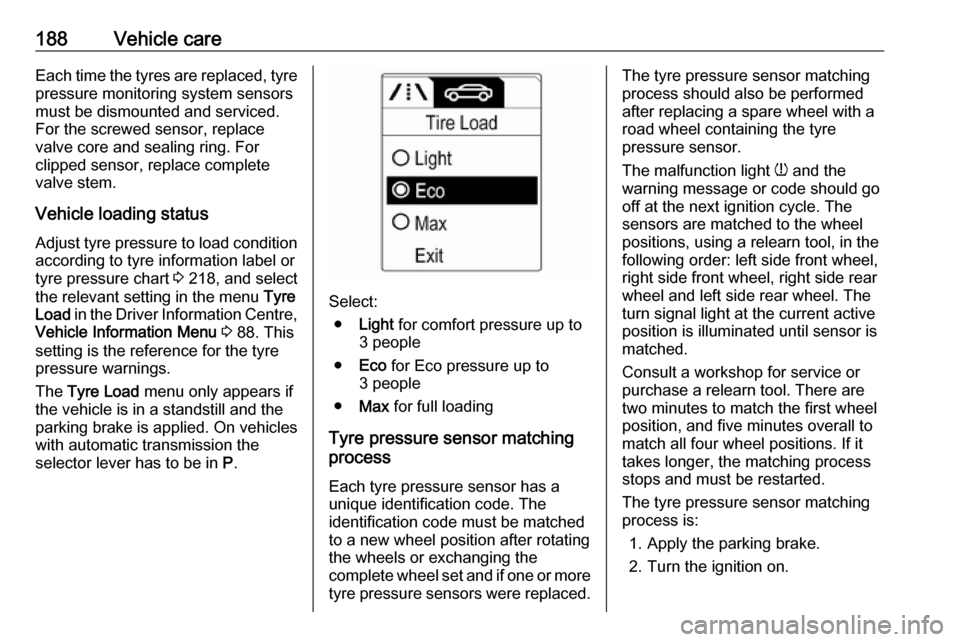
Select:
● Light for comfort pressure up to
3 people
● Eco for Eco pressure up to
3 people
● Max for full loading
Tyre pressure sensor matching
process
Each tyre pressure sensor has a
unique identification code. The
identification code must be matched
to a new wheel position after rotating the wheels or exchanging the
complete wheel set and if one or more tyre pressure sensors were replaced.
The tyre pressure sensor matching
process should also be performed
after replacing a spare wheel with a
road wheel containing the tyre
pressure sensor.
The malfunction light w and the
warning message or code should go
off at the next ignition cycle. The
sensors are matched to the wheel
positions, using a relearn tool, in the following order: left side front wheel,
right side front wheel, right side rear
wheel and left side rear wheel. The
turn signal light at the current active
position is illuminated until sensor is
matched.
Consult a workshop for service or
purchase a relearn tool. There are
two minutes to match the first wheel
position, and five minutes overall to
match all four wheel positions. If it
takes longer, the matching process stops and must be restarted.
The tyre pressure sensor matching
process is:
1. Apply the parking brake.
2. Turn the ignition on.
Page 191 of 231

Vehicle care1893. On vehicles with automatictransmission: set the selector
lever to P.
On vehicles with manual
transmission: select neutral.
4. Press MENU on the turn signal
lever to select the Vehicle
Information Menu in the Driver
Information Centre.
5. Turn the adjuster wheel to scroll to
the tyre pressure menu.
6. Press SET/CLR to begin the
sensor matching process. A
message requesting acceptance
of the process should display.
7. Press SET/CLR again to confirm
the selection. The horn sounds
twice to signal the receiver is in
relearn mode.
8. Start with the left side front wheel.
9. Place the relearn tool against the tyre sidewall, near the valve stem.Then press the button to activate
the tyre pressure sensor. A horn
chirp confirms that the sensor
identification code has been
matched to this tyre and wheel
position.10. Proceed to the right side front wheel, and repeat the procedure
in Step 9.
11. Proceed to the right side rear wheel, and repeat the procedure
in Step 9.
12. Proceed to the left side rear wheel, and repeat the procedure
in Step 9. The horn sounds twice
to indicate the sensor
identification code has been
matched to the driver side rear
wheel, and the tyre pressure
sensor matching process is no
longer active.
13. Turn off the ignition.
14. Set all four tyres to the recommended air pressure level
as indicated on the tyre pressure
information label.
15. Ensure the tyre loading status is set according selected pressure
3 88.
Tread depth
Check tread depth at regular
intervals.Tyres should be replaced for safety
reasons at a tread depth of 2-3 mm
(4 mm for winter tyres).
For safety reasons it is recommended
that the tread depth of the tyres on
one axle should not vary by more than 2 mm.
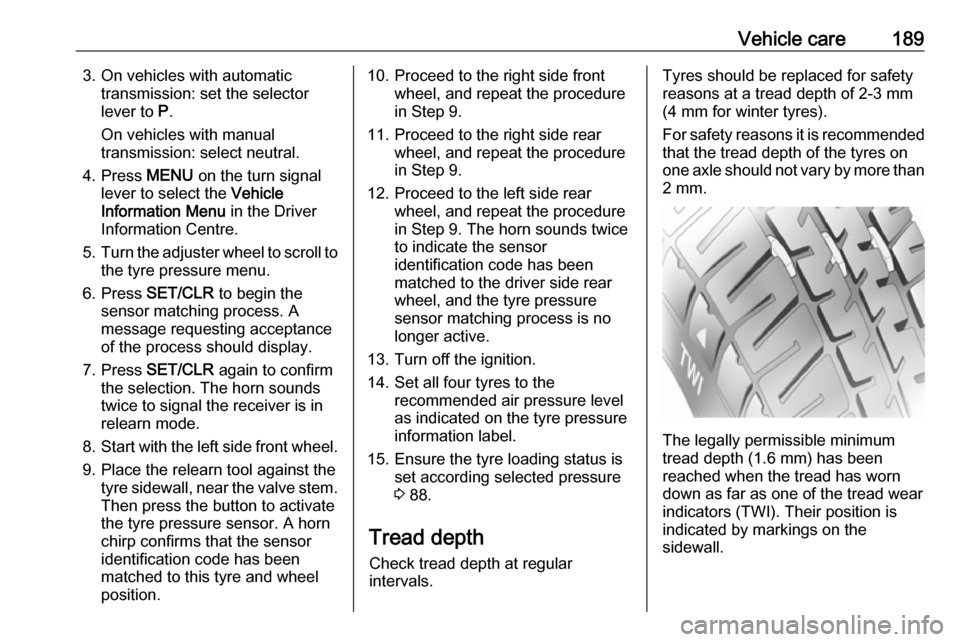
The legally permissible minimum
tread depth (1.6 mm) has been
reached when the tread has worn
down as far as one of the tread wear
indicators (TWI). Their position is
indicated by markings on the
sidewall.
Page 211 of 231

Technical data209Information on identification label:1:manufacturer2:type approval number3:vehicle Identification Number4:permissible gross vehicle weightrating in kg5:permissible gross train weight
in kg6:maximum permissible front axle
load in kg7:maximum permissible rear axle
load in kg
Engine identification
The technical data tables show the
engine identifier code. Engine data
3 213.
To identify the respective engine,
refer to the engine power in the EEC
Certificate of Conformity provided
with your vehicle or other national
registration documents.
The Certificate of Conformity shows
the engine identifier code, other
national publications may show the
engineering code. Check piston
displacement and engine power to identify the respective engine.
Page 215 of 231
![VAUXHALL MOKKA 2016 User Guide Technical data213Engine dataEngine identifier codeA14NETB14NETA16XERA18XERB16DTHSales designation1.41.4 LPG1.61.81.6Engineering codeA14NETB14NETA16XERA18XERB16DTHPiston displacement [cm3
]136413641598 VAUXHALL MOKKA 2016 User Guide Technical data213Engine dataEngine identifier codeA14NETB14NETA16XERA18XERB16DTHSales designation1.41.4 LPG1.61.81.6Engineering codeA14NETB14NETA16XERA18XERB16DTHPiston displacement [cm3
]136413641598](/img/38/19532/w960_19532-214.png)
Technical data213Engine dataEngine identifier codeA14NETB14NETA16XERA18XERB16DTHSales designation1.41.4 LPG1.61.81.6Engineering codeA14NETB14NETA16XERA18XERB16DTHPiston displacement [cm3
]13641364159817961598Engine power [kW]10310385103100at rpm4900-60004900-6000620062003500-4000Torque [Nm]200200155178320at rpm1850-49001850-4900400038002000-2250Fuel typePetrolLiquid Gas/PetrolPetrolPetrolDieselOctane rating RONrecommended95959595possible98989898possible91919191Gas–LPG–––
Page 224 of 231

222Customer informationThis software is provided “as is,”
without warranty of any kind, express
or implied. In no event shall Info-ZIP
or its contributors be held liable for
any direct, indirect, incidental, special
or consequential damages arising out of the use of or inability to use this
software.
Permission is granted to anyone to
use this software for any purpose,
including commercial applications,
and to alter it and redistribute it freely,
subject to the following restrictions:
1. Redistributions of source code must retain the above copyright
notice, definition, disclaimer, and
this list of conditions.
2. Redistributions in binary form (compiled executables) must
reproduce the above copyright
notice, definition, disclaimer, and
this list of conditions in
documentation and/or other
materials provided with the distribution. The sole exception to
this condition is redistribution of a
standard UnZipSFX binary
(including SFXWiz) as part of a
self-extracting archive; that ispermitted without inclusion of this
license, as long as the normal
SFX banner has not been
removed from the binary or
disabled.
3. Altered versions--including, but not limited to, ports to new
operating systems, existing ports
with new graphical interfaces, and dynamic, shared, or static library
versions--must be plainly marked
as such and must not be
misrepresented as being the
original source. Such altered
versions also must not be
misrepresented as being Info-ZIP
releases--including, but not
limited to, labeling of the altered
versions with the names “Info-
ZIP” (or any variation thereof,
including, but not limited to,
different capitalizations), “Pocket
UnZip,” “WiZ” or “MacZip” without
the explicit permission of Info-ZIP. Such altered versions are further
prohibited from misrepresentativeuse of the Zip-Bugs or Info-ZIP e- mail addresses or of the Info-ZIP
URL(s).
4. Info-ZIP retains the right to use the names “Info-ZIP,” “Zip,”
“UnZip,” “UnZipSFX,” “WiZ,”
“Pocket UnZip,” “Pocket Zip,” and
“MacZip” for its own source and
binary releases.
Page 226 of 231

224IndexAAccessories and vehicle modifications .......................... 164
Adaptive forward lighting .....87, 110
Adjustable air vents ...................122
Airbag and belt tensioners ...........83
Airbag deactivation ................47, 83
Airbag label................................... 42 Airbag system .............................. 42
Air conditioning regular operation ................................ 123
Air conditioning system .............. 118
Air intake .................................... 122
Air vents...................................... 122
All-wheel drive ........................... 135
Antilock brake system ................ 136
Antilock brake system (ABS) .......84
Anti-theft alarm system ................25
Anti-theft locking system .............. 25
Appearance care ........................202
Automatic anti-dazzle ..................29
Automatic light control ...............108
Automatic locking ........................23
Automatic transmission .............131
Auxiliary heater ........................... 121
B Battery discharge protection ......116
Battery voltage ............................. 95 Bicycle rack .................................. 56Bonnet ....................................... 165
Bonnet open ................................. 88
Brake and clutch fluid .................206
Brake and clutch system .............84
Brake assist ............................... 137
Brake fluid .................................. 169
Brakes ............................... 136, 169
Breakdown.................................. 200
Bulb replacement ....................... 172
C
Capacities .................................. 217
Catalytic converter .....................131
Central locking system ................21
Centre console storage ...............56
Centre high-mounted brake light 177
Changing tyre and wheel size ...190
Charging system .......................... 84
Child locks ................................... 24
Child restraint installation locations ................................... 49
Child restraints.............................. 48
Child restraint systems ................48
Climate control ............................. 15
Climate control systems .............117
Clock ............................................ 75
Code ............................................. 94
Collision damage repair ..............221
Control indicators.......................... 80
Control of the vehicle .................125