display VAUXHALL MOKKA X 2017 User Guide
[x] Cancel search | Manufacturer: VAUXHALL, Model Year: 2017, Model line: MOKKA X, Model: VAUXHALL MOKKA X 2017Pages: 245, PDF Size: 6.77 MB
Page 82 of 245
80Instruments and controlsIf outside temperature drops to
0.5 °C, a warning message is
displayed in the Driver Information
Centre.9 Warning
The road surface may already be
icy even though the display
indicates a few degrees above 0
°C.
Clock
Date and time are shown in the
Info-Display.
Info-Display 3 100.
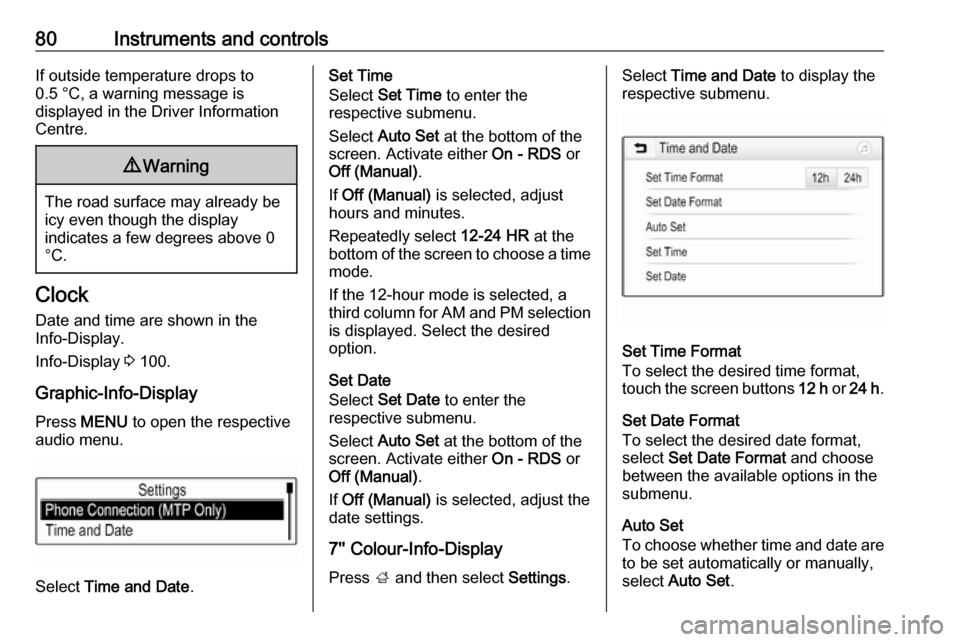
Graphic-Info-Display Press MENU to open the respective
audio menu.
Select Time and Date .
Set Time
Select Set Time to enter the
respective submenu.
Select Auto Set at the bottom of the
screen. Activate either On - RDS or
Off (Manual) .
If Off (Manual) is selected, adjust
hours and minutes.
Repeatedly select 12-24 HR at the
bottom of the screen to choose a time mode.
If the 12-hour mode is selected, a
third column for AM and PM selection
is displayed. Select the desired
option.
Set Date
Select Set Date to enter the
respective submenu.
Select Auto Set at the bottom of the
screen. Activate either On - RDS or
Off (Manual) .
If Off (Manual) is selected, adjust the
date settings.
7'' Colour-Info-Display
Press ; and then select Settings.Select Time and Date to display the
respective submenu.
Set Time Format
To select the desired time format,
touch the screen buttons 12 h or 24 h .
Set Date Format
To select the desired date format,
select Set Date Format and choose
between the available options in the
submenu.
Auto Set
To choose whether time and date are
to be set automatically or manually,
select Auto Set .
Page 83 of 245
Instruments and controls81For time and date to be set
automatically, select On - RDS.
For time and date to be set manually,
select Off - Manual . If Auto Set is set
to Off - Manual , the submenu items
Set Time and Set Date become
available.
Set time and date
To adjust the time and date settings,
select Set Time or Set Date .
Touch + and - to adjust the settings.
8'' Colour-Info-Display
Press ; and then select the
Settings icon.
Select Time and Date .
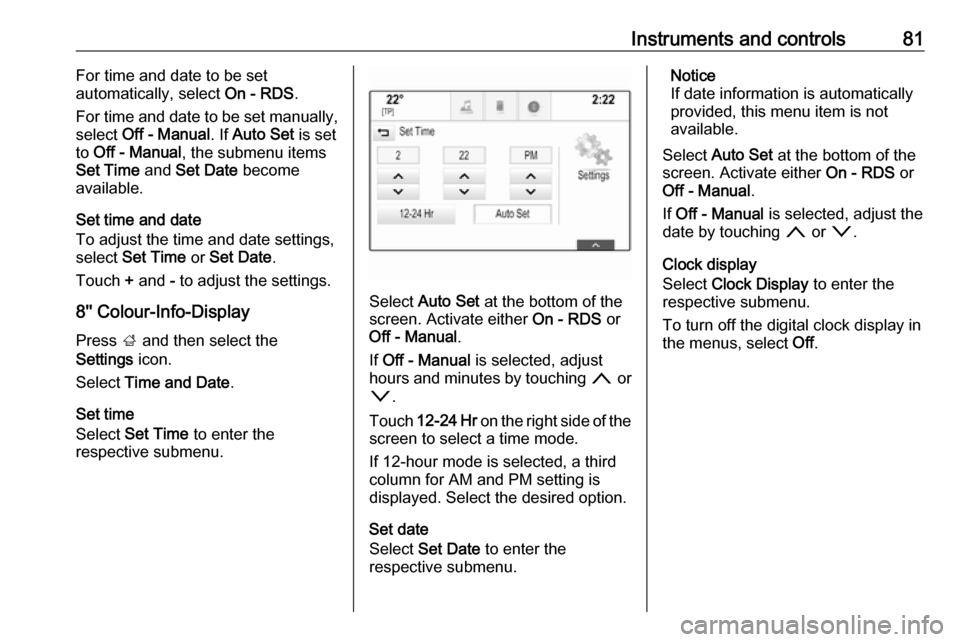
Set time
Select Set Time to enter the
respective submenu.
Select Auto Set at the bottom of the
screen. Activate either On - RDS or
Off - Manual .
If Off - Manual is selected, adjust
hours and minutes by touching n or
o .
Touch 12-24 Hr on the right side of the
screen to select a time mode.
If 12-hour mode is selected, a third
column for AM and PM setting is
displayed. Select the desired option.
Set date
Select Set Date to enter the
respective submenu.
Notice
If date information is automatically
provided, this menu item is not
available.
Select Auto Set at the bottom of the
screen. Activate either On - RDS or
Off - Manual .
If Off - Manual is selected, adjust the
date by touching n or o.
Clock display
Select Clock Display to enter the
respective submenu.
To turn off the digital clock display in
the menus, select Off.
Page 85 of 245
Instruments and controls83Warning lights, gauges
and indicators
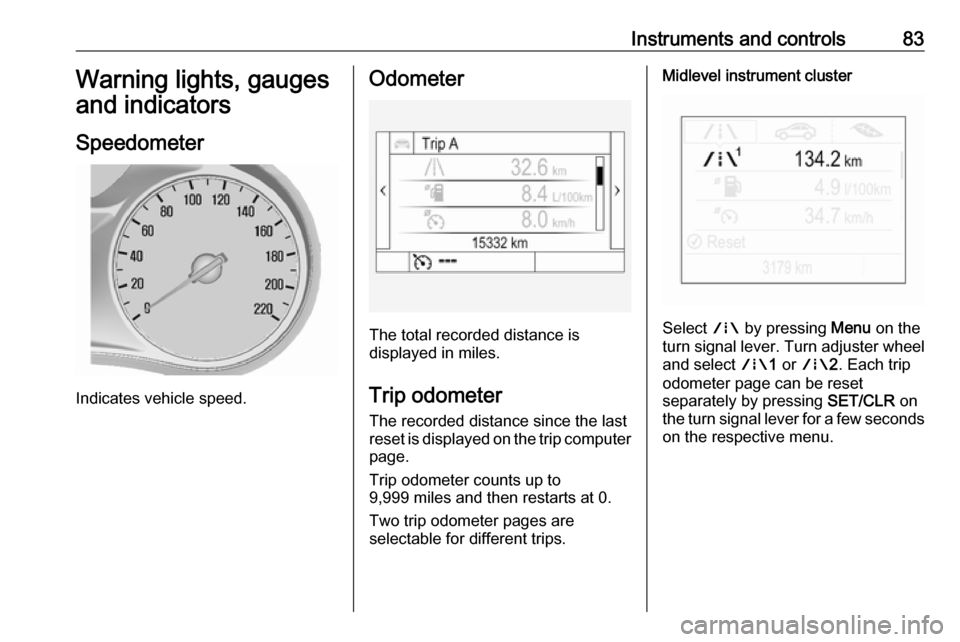
Speedometer
Indicates vehicle speed.
Odometer
The total recorded distance is
displayed in miles.
Trip odometer The recorded distance since the last
reset is displayed on the trip computer
page.
Trip odometer counts up to
9,999 miles and then restarts at 0.
Two trip odometer pages are
selectable for different trips.
Midlevel instrument cluster
Select ; by pressing Menu on the
turn signal lever. Turn adjuster wheel
and select ;1 or ; 2. Each trip
odometer page can be reset
separately by pressing SET/CLR on
the turn signal lever for a few seconds
on the respective menu.
Page 86 of 245
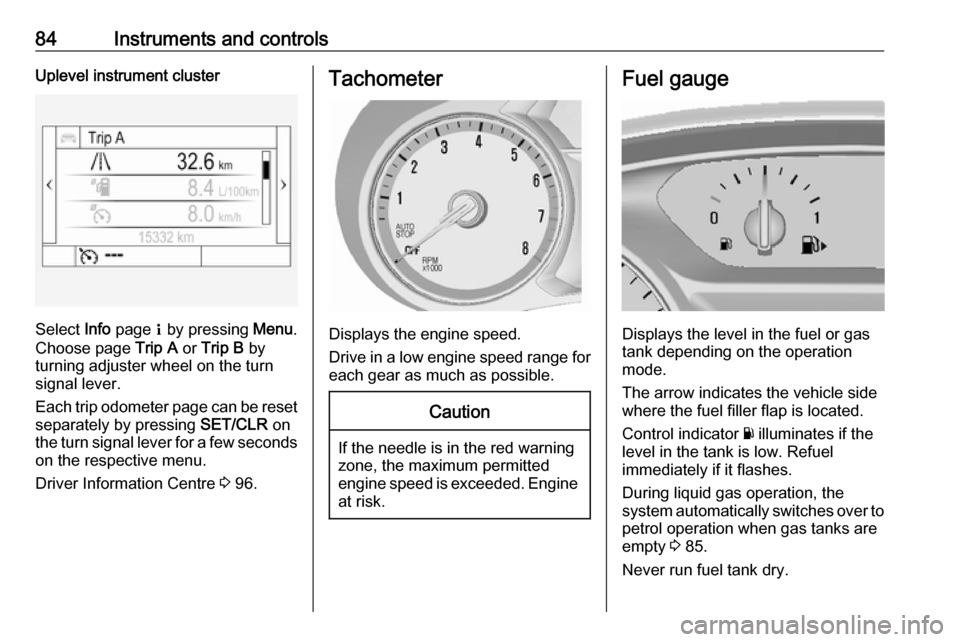
84Instruments and controlsUplevel instrument cluster
Select Info page Q by pressing Menu.
Choose page Trip A or Trip B by
turning adjuster wheel on the turn
signal lever.
Each trip odometer page can be reset separately by pressing SET/CLR on
the turn signal lever for a few seconds
on the respective menu.
Driver Information Centre 3 96.
Tachometer
Displays the engine speed.
Drive in a low engine speed range for each gear as much as possible.
Caution
If the needle is in the red warning
zone, the maximum permitted
engine speed is exceeded. Engine at risk.
Fuel gauge
Displays the level in the fuel or gas
tank depending on the operation mode.
The arrow indicates the vehicle side
where the fuel filler flap is located.
Control indicator Y illuminates if the
level in the tank is low. Refuel
immediately if it flashes.
During liquid gas operation, the
system automatically switches over to
petrol operation when gas tanks are
empty 3 85.
Never run fuel tank dry.
Page 87 of 245
Instruments and controls85Because of the fuel remaining in the
tank, the top-up quantity may be less
than the specified tank capacity.
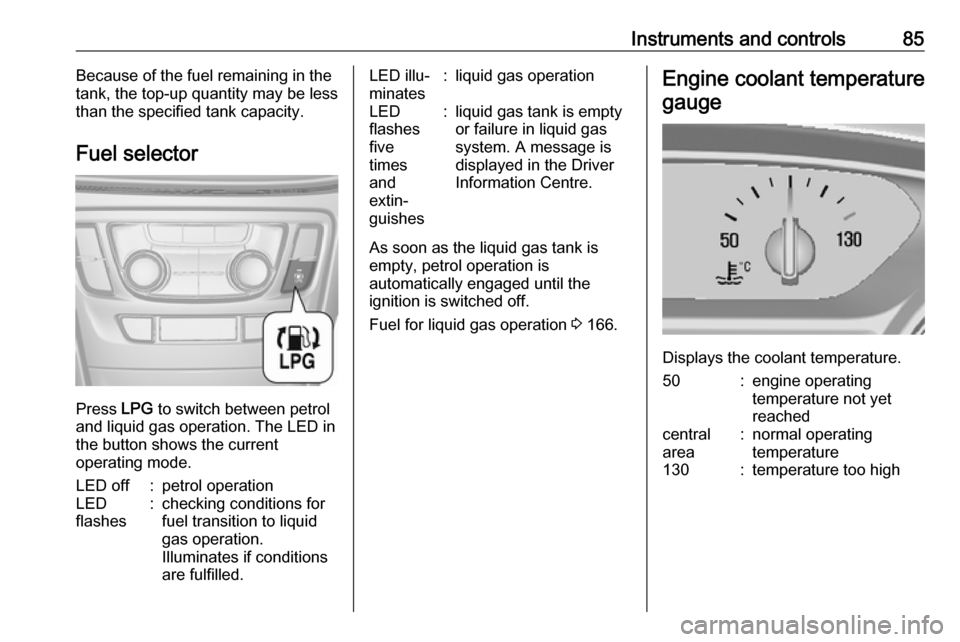
Fuel selector
Press LPG to switch between petrol
and liquid gas operation. The LED in
the button shows the current
operating mode.
LED off:petrol operationLED
flashes:checking conditions for
fuel transition to liquid
gas operation.
Illuminates if conditions
are fulfilled.LED illu‐
minates:liquid gas operationLED
flashes
five
times
and
extin‐
guishes:liquid gas tank is empty
or failure in liquid gas
system. A message is
displayed in the Driver
Information Centre.
As soon as the liquid gas tank is
empty, petrol operation is
automatically engaged until the
ignition is switched off.
Fuel for liquid gas operation 3 166.
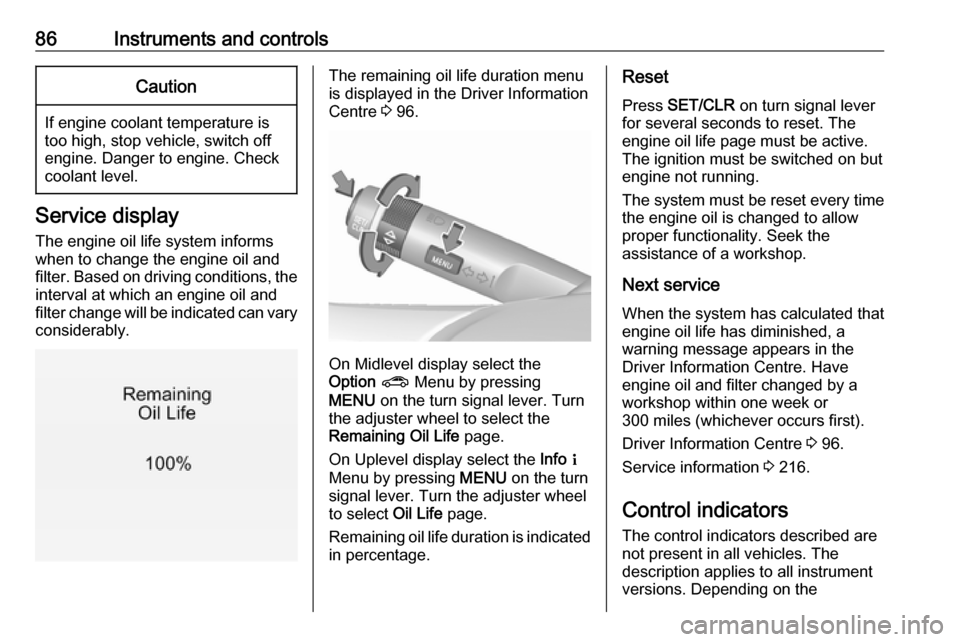
Engine coolant temperature
gauge
Displays the coolant temperature.
50:engine operating
temperature not yet
reachedcentral
area:normal operating
temperature130:temperature too high
Page 88 of 245
86Instruments and controlsCaution
If engine coolant temperature is
too high, stop vehicle, switch off
engine. Danger to engine. Check
coolant level.
Service display
The engine oil life system informs
when to change the engine oil and
filter. Based on driving conditions, the interval at which an engine oil and
filter change will be indicated can vary
considerably.
The remaining oil life duration menu
is displayed in the Driver Information
Centre 3 96.
On Midlevel display select the
Option ? Menu by pressing
MENU on the turn signal lever. Turn
the adjuster wheel to select the
Remaining Oil Life page.
On Uplevel display select the Info Q
Menu by pressing MENU on the turn
signal lever. Turn the adjuster wheel
to select Oil Life page.
Remaining oil life duration is indicated
in percentage.
Reset
Press SET/CLR on turn signal lever
for several seconds to reset. The
engine oil life page must be active.
The ignition must be switched on but
engine not running.
The system must be reset every time
the engine oil is changed to allow
proper functionality. Seek the
assistance of a workshop.
Next service When the system has calculated that
engine oil life has diminished, a
warning message appears in the
Driver Information Centre. Have
engine oil and filter changed by a
workshop within one week or
300 miles (whichever occurs first).
Driver Information Centre 3 96.
Service information 3 216.
Control indicators
The control indicators described are
not present in all vehicles. The
description applies to all instrument
versions. Depending on the
Page 93 of 245

Instruments and controls91Illuminates brieflyThe parking lights are switched on.
Flashes
A turn signal or the hazard warning
flashers are activated.
Rapid flashing: failure of a turn signal
light or associated fuse, failure of turn signal light on trailer.
Bulb replacement 3 185, Fuses
3 189.
Turn signals 3 121.
Seat belt reminder
Seat belt reminder on front seats
X for driver's seat illuminates or
flashes red in the instrument cluster.
k for front passenger seat illuminates
or flashes red in the centre console
when seat is occupied.
Illuminates
After the ignition has been switched on until the seat belt has been
fastened.Flashes
After having started the engine until
the seat belt has been fastened.
Seat belt status on rear seats
(vehicles with Midlevel display)
X illuminates or flashes white or grey
in the Driver Information Centre, after having started the engine.
Illuminates white
Seat belt is unfastened.
Illuminates grey
Seat belt has been fastened.
Flashes white or grey
Fastened seat belt has been
unfastened.
Fastening the seat belt 3 44.
Seat belt status on rear seats
(vehicles with Uplevel display)
X illuminates green or grey or flashes
yellow in the Driver Information
Centre, after having started the
engine.Illuminates grey
Seat belt is unfastened.
Illuminates green
Seat belt has been fastened.
Flashes yellow
Fastened seat belt has been
unfastened.
Fastening the seat belt 3 44.
Airbag and belt tensioners
v illuminates red.
When the ignition is switched on, the control indicator illuminates for a fewseconds. If it does not illuminate,
does not go out after a few seconds
or illuminates whilst driving, there is a
fault in the airbag system. Seek the
assistance of a workshop. The
airbags and belt pretensioners may
fail to trigger in the event of an
accident.
Deployment of the belt pretensioners
or airbags is indicated by continuous
illumination of v.
Page 98 of 245
96Instruments and controlsIlluminates green
Speed limiter is active. Set speed is
indicated near L symbol.
Speed limiter 3 153.
Traffic sign assistant
L displays detected traffic signs as a
control indicator.
Traffic sign assistant 3 160.
Door open h illuminates red.
A door or the tailgate is open.Information displays
Driver Information Centre
The Driver Information Centre is
located in the instrument cluster.
Depending on the version and the
instrument cluster, the Driver
Information Centre is available as
Midlevel display or Uplevel display.
Driver Information Centre indicates
depending on the equipment:
● overall and trip odometer
● vehicle information
● trip/fuel information
● driving economy information ● vehicle and warning messages
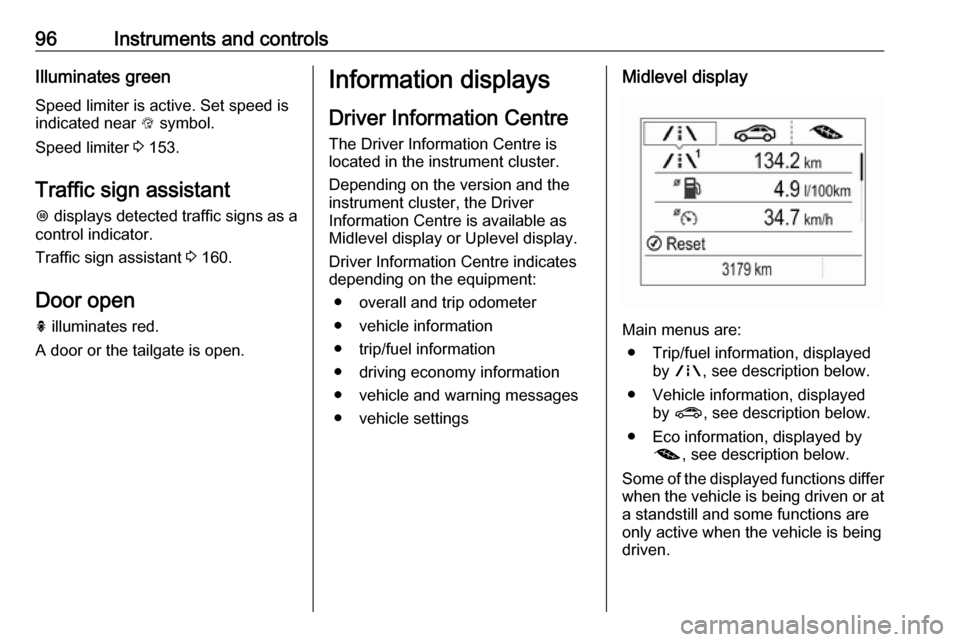
● vehicle settingsMidlevel display
Main menus are: ● Trip/fuel information, displayed by ; , see description below.
● Vehicle information, displayed by ? , see description below.
● Eco information, displayed by @ , see description below.
Some of the displayed functions differ
when the vehicle is being driven or at a standstill and some functions are
only active when the vehicle is being
driven.
Page 99 of 245
Instruments and controls97Uplevel display
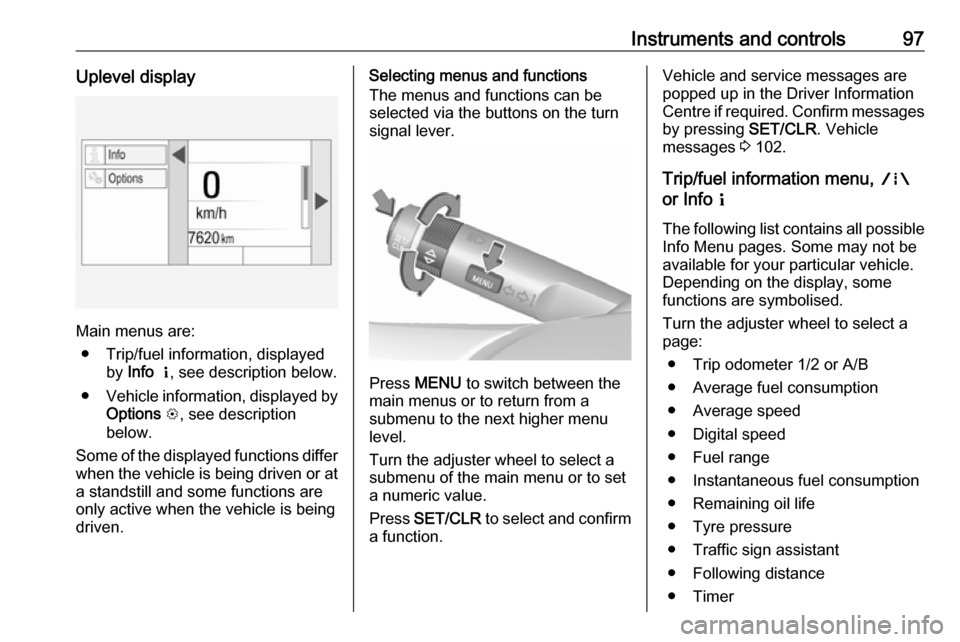
Main menus are:● Trip/fuel information, displayed by Info Q , see description below.
● Vehicle information, displayed by
Options L, see description
below.
Some of the displayed functions differ
when the vehicle is being driven or at a standstill and some functions are
only active when the vehicle is being
driven.
Selecting menus and functions
The menus and functions can be selected via the buttons on the turnsignal lever.
Press MENU to switch between the
main menus or to return from a
submenu to the next higher menu
level.
Turn the adjuster wheel to select a
submenu of the main menu or to set
a numeric value.
Press SET/CLR to select and confirm
a function.
Vehicle and service messages are
popped up in the Driver Information
Centre if required. Confirm messages
by pressing SET/CLR. Vehicle
messages 3 102.
Trip/fuel information menu, ;
or Info Q
The following list contains all possible
Info Menu pages. Some may not be
available for your particular vehicle. Depending on the display, some
functions are symbolised.
Turn the adjuster wheel to select a
page:
● Trip odometer 1/2 or A/B
● Average fuel consumption
● Average speed
● Digital speed
● Fuel range
● Instantaneous fuel consumption ● Remaining oil life
● Tyre pressure
● Traffic sign assistant
● Following distance
● Timer
Page 100 of 245

98Instruments and controlsOn Midlevel display the pages
Remaining Oil Life, Tyre Pressure,
Traffic Sign Assistant and Following
Distance are displayed in the Vehicle
information menu, select ?.
Trip odometer 1/2 or A/B
Trip odometer displays the current
distance since a certain reset.
Trip odometer counts up to a distance of 9,999 miles then restarts at 0.
To reset press SET/CLR for a few
seconds.
The information of trip odometer page
1/A and 2/B can be reset separately
while the respective display is active.
Average Fuel Consumption
Display of average consumption. The measurement can be reset at any
time and starts with a default value.
To reset press SET/CLR for a few
seconds.
Average speed
Display of average speed. The
measurement can be reset at any
time.To reset press SET/CLR for a few
seconds.
Digital speed
Digital display of the instantaneous
speed.
Fuel range
Range is calculated from current fuel
level and current consumption. The
display shows average values.
After refuelling, the range is updated
automatically after a brief delay.
When the level in the fuel tank is low,
a message appears on the display
and the control indicator Y in the fuel
gauge illuminates.
When the fuel tank must be refuelled
immediately, a warning message
appears and remains on the display.
Additionally, the control indicator Y in
the fuel gauge flashes 3 94.
Instantaneous Fuel Consumption
Display of the instantaneous
consumption.Remaining Oil Life
Indicates an estimate of the oil's
useful life. The number in percentage means the remainder of current oil life 3 86.
Tyre Pressure
Checks tyre pressure of all wheels
during driving 3 196.
Traffic sign assistant
Displays the detected traffic signs for
the current route section 3 160.
Following Distance
Displays the distance in seconds to a
preceding moving vehicle 3 156.
Timer
To start and stop follow the
instructions on the display. To reset,
press SET/CLR .
Eco information menu, @
● Top consumers
● Economy trend
● Eco index