wheel VAUXHALL MOKKA X 2017 Owner's Guide
[x] Cancel search | Manufacturer: VAUXHALL, Model Year: 2017, Model line: MOKKA X, Model: VAUXHALL MOKKA X 2017Pages: 245, PDF Size: 6.77 MB
Page 102 of 245
100Instruments and controlsfunctions to be displayed in the Info
page by turning the adjuster wheel
and confirm by pressing SET/CLR.
Selected pages have a 9 in a
checkbox. Non-viewable functions
have a blank checkbox. See Info
Menu above.
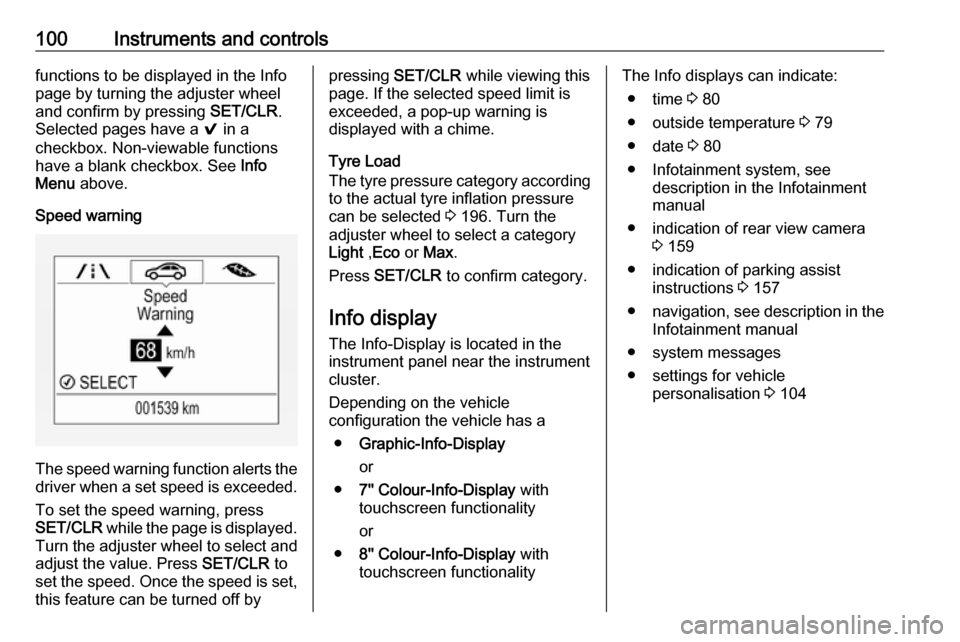
Speed warning
The speed warning function alerts the driver when a set speed is exceeded.
To set the speed warning, press
SET/CLR while the page is displayed.
Turn the adjuster wheel to select and
adjust the value. Press SET/CLR to
set the speed. Once the speed is set, this feature can be turned off by
pressing SET/CLR while viewing this
page. If the selected speed limit is
exceeded, a pop-up warning is
displayed with a chime.
Tyre Load
The tyre pressure category according
to the actual tyre inflation pressure
can be selected 3 196. Turn the
adjuster wheel to select a category Light ,Eco or Max .
Press SET/CLR to confirm category.
Info display
The Info-Display is located in the
instrument panel near the instrument
cluster.
Depending on the vehicle
configuration the vehicle has a
● Graphic-Info-Display
or
● 7'' Colour-Info-Display with
touchscreen functionality
or
● 8'' Colour-Info-Display with
touchscreen functionalityThe Info displays can indicate:
● time 3 80
● outside temperature 3 79
● date 3 80
● Infotainment system, see description in the Infotainment
manual
● indication of rear view camera 3 159
● indication of parking assist instructions 3 157
● navigation, see description in the
Infotainment manual
● system messages
● settings for vehicle personalisation 3 104
Page 119 of 245
Lighting117Headlight range adjustment
Manual headlight range
adjustment
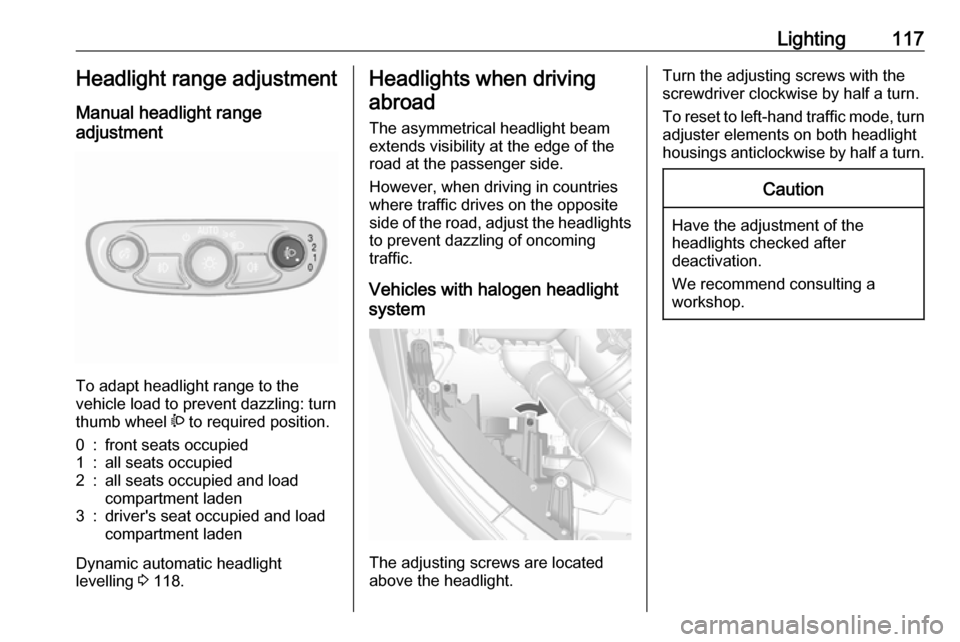
To adapt headlight range to the
vehicle load to prevent dazzling: turn
thumb wheel ? to required position.
0:front seats occupied1:all seats occupied2:all seats occupied and load
compartment laden3:driver's seat occupied and load
compartment laden
Dynamic automatic headlight
levelling 3 118.
Headlights when driving
abroad
The asymmetrical headlight beam
extends visibility at the edge of the
road at the passenger side.
However, when driving in countries
where traffic drives on the opposite
side of the road, adjust the headlights to prevent dazzling of oncoming
traffic.
Vehicles with halogen headlight
system
The adjusting screws are located
above the headlight.
Turn the adjusting screws with the
screwdriver clockwise by half a turn.
To reset to left-hand traffic mode, turn
adjuster elements on both headlight
housings anticlockwise by half a turn.Caution
Have the adjustment of the
headlights checked after
deactivation.
We recommend consulting a
workshop.
Page 123 of 245
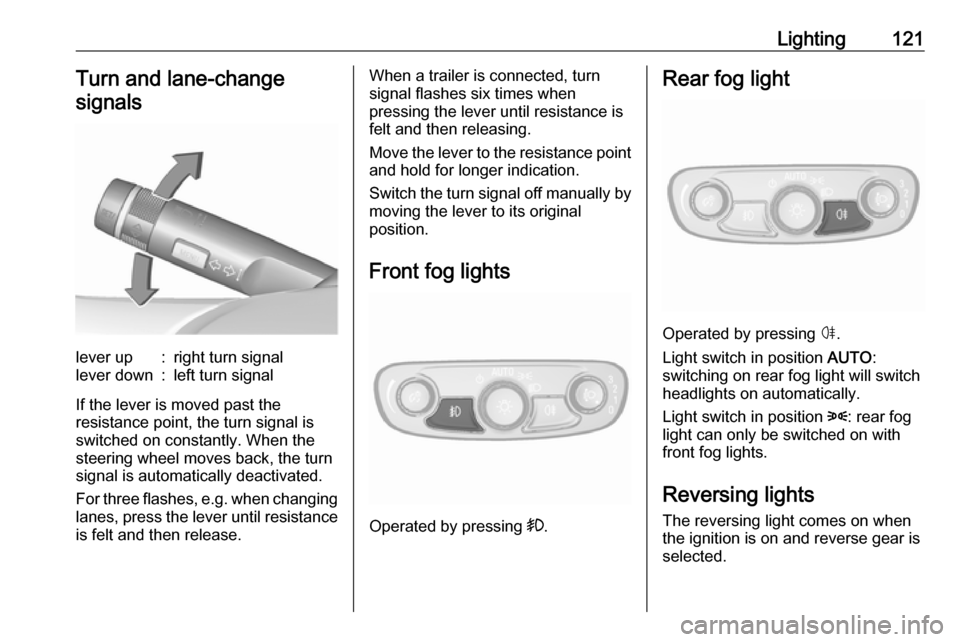
Lighting121Turn and lane-changesignalslever up:right turn signallever down:left turn signal
If the lever is moved past the
resistance point, the turn signal is
switched on constantly. When the
steering wheel moves back, the turn
signal is automatically deactivated.
For three flashes, e.g. when changing
lanes, press the lever until resistance
is felt and then release.
When a trailer is connected, turn
signal flashes six times when
pressing the lever until resistance is
felt and then releasing.
Move the lever to the resistance point
and hold for longer indication.
Switch the turn signal off manually by moving the lever to its original
position.
Front fog lights
Operated by pressing >.
Rear fog light
Operated by pressing ø.
Light switch in position AUTO:
switching on rear fog light will switch
headlights on automatically.
Light switch in position 8: rear fog
light can only be switched on with
front fog lights.
Reversing lights
The reversing light comes on when
the ignition is on and reverse gear is
selected.
Page 124 of 245
122LightingMisted light covers
The inside of the light housing may
mist up briefly in poor, wet and cold
weather conditions, in heavy rain or
after washing. The mist disappears
quickly by itself; to help switch on the
headlights.Interior lighting
Instrument panel illumination control
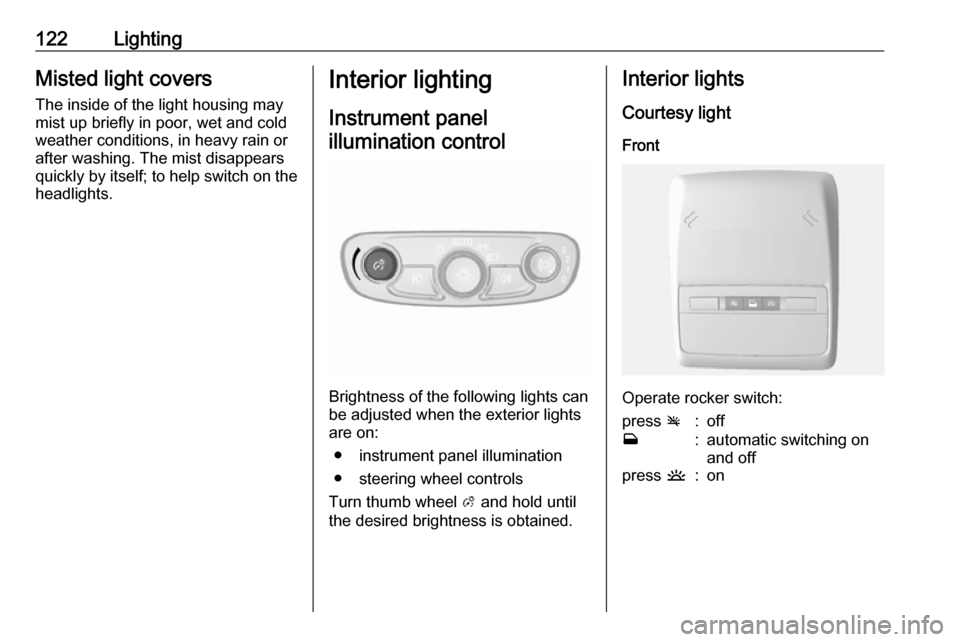
Brightness of the following lights can
be adjusted when the exterior lights
are on:
● instrument panel illumination
● steering wheel controls
Turn thumb wheel A and hold until
the desired brightness is obtained.
Interior lights
Courtesy lightFront
Operate rocker switch:
press v:offw:automatic switching on
and offpress u:on
Page 132 of 245
130Climate controlAir vents
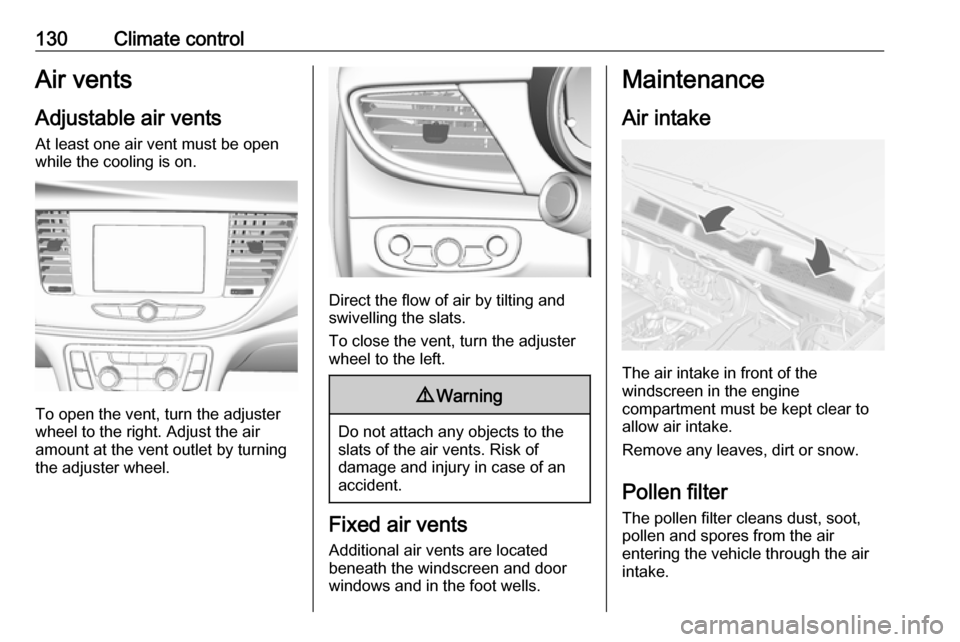
Adjustable air vents At least one air vent must be open
while the cooling is on.
To open the vent, turn the adjuster
wheel to the right. Adjust the air
amount at the vent outlet by turning
the adjuster wheel.
Direct the flow of air by tilting and
swivelling the slats.
To close the vent, turn the adjuster
wheel to the left.
9 Warning
Do not attach any objects to the
slats of the air vents. Risk of
damage and injury in case of an
accident.
Fixed air vents
Additional air vents are located
beneath the windscreen and door windows and in the foot wells.
Maintenance
Air intake
The air intake in front of the
windscreen in the engine
compartment must be kept clear to
allow air intake.
Remove any leaves, dirt or snow.
Pollen filter
The pollen filter cleans dust, soot,
pollen and spores from the air
entering the vehicle through the air
intake.
Page 134 of 245

132Driving and operatingDriving and
operatingDriving hints ............................... 133
Control of the vehicle ...............133
Steering ................................... 133
Starting and operating ...............133
New vehicle running-in ............133
Ignition switch positions ...........134
Power button ........................... 134
Retained power off ..................135
Starting the engine ..................136
Overrun cut-off ........................ 137
Stop-start system ....................137
Parking .................................... 139
Engine exhaust .......................... 140
Diesel particle filter ..................141
Catalytic converter ...................141
Automatic transmission ..............142
Transmission display ...............142
Selector lever .......................... 142
Manual mode ........................... 143
Electronic driving programmes 144
Fault ........................................ 144
Interruption of power supply ....144
Manual transmission ..................145Drive systems ............................ 146
All-wheel drive ......................... 146
Brakes ........................................ 147
Antilock brake system .............147
Parking brake .......................... 147
Brake assist ............................. 148
Hill start assist ......................... 148
Ride control systems .................148
Traction Control system ..........148
Electronic Stability Control ......149
Descent control system ...........150
Driver assistance systems .........151
Cruise control .......................... 151
Speed limiter ........................... 153
Forward collision alert .............154
Following distance indication ...156
Parking assist .......................... 157
Rear view camera ...................159
Traffic sign assistant ................160
Lane departure warning ..........164
Fuel ............................................ 165
Fuel for petrol engines .............165
Fuel for diesel engines ............165
Fuel for liquid gas operation ....166
Refuelling ................................ 168
Fuel consumption - CO 2-
Emissions .............................. 171Trailer hitch................................ 172
General information .................172
Driving characteristics and towing tips .............................. 172
Trailer towing ........................... 172
Towing equipment ...................173
Page 135 of 245

Driving and operating133Driving hints
Control of the vehicle
Never coast with engine not
running (except during Autostop)
Many systems will not function in this
situation (e.g. brake servo unit, power steering). Driving in this manner is a
danger to yourself and others. All
systems function during an Autostop,
but there will be a controlled reduction
in power steering assist and vehicle
speed is reduced.
Stop-start system 3 137.
Pedals To ensure the pedal travel is
uninhibited, there must be no mats in
the area of the pedals.
Use only floor mats, which fit properly
and are fixed by the retainers on the
driver side.Steering
If power steering assist is lost
because the engine stops or due to a system malfunction, the vehicle can
be steered but may require increased
effort.
A vehicle message will be displayed
in the Info-Display.Caution
Vehicles equipped with hydraulic
power steering:
If the steering wheel is turned until it reaches the end of its travel, and
is held in that position for more
than 10 seconds, damage may
occur to the power steering
system and there may be loss of
power steering assist.
Starting and operating
New vehicle running-in
Do not brake unnecessarily hard for
the first few journeys.
During the first drive, smoke may
occur because of wax and oil
evaporating off the exhaust system.
Park the vehicle in the open for a
while after the first drive and avoid
inhaling the fumes.
During the running-in period fuel and engine oil consumption may be
higher and the cleaning process of the diesel particle filter may take
place more often. Autostop may be
inhibited to allow for charging the
battery.
Diesel particle filter 3 141.
Page 136 of 245
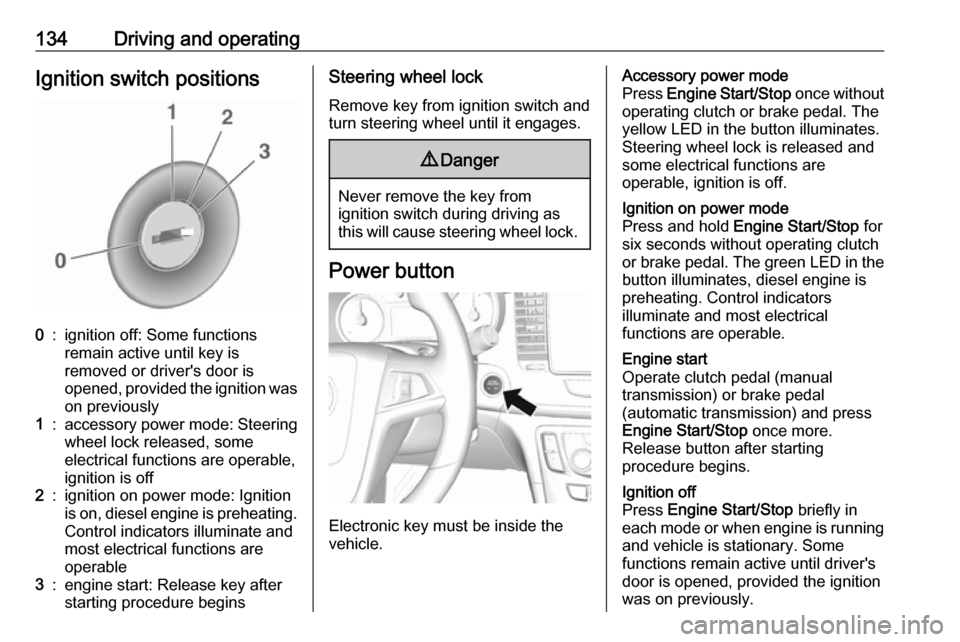
134Driving and operatingIgnition switch positions0:ignition off: Some functions
remain active until key is
removed or driver's door is
opened, provided the ignition was
on previously1:accessory power mode: Steering wheel lock released, some
electrical functions are operable,
ignition is off2:ignition on power mode: Ignition
is on, diesel engine is preheating.
Control indicators illuminate and
most electrical functions are
operable3:engine start: Release key after
starting procedure beginsSteering wheel lock
Remove key from ignition switch and
turn steering wheel until it engages.9 Danger
Never remove the key from
ignition switch during driving as
this will cause steering wheel lock.
Power button
Electronic key must be inside the
vehicle.
Accessory power mode
Press Engine Start/Stop once without
operating clutch or brake pedal. The yellow LED in the button illuminates.
Steering wheel lock is released and
some electrical functions are
operable, ignition is off.Ignition on power mode
Press and hold Engine Start/Stop for
six seconds without operating clutch
or brake pedal. The green LED in the button illuminates, diesel engine is
preheating. Control indicators
illuminate and most electrical
functions are operable.Engine start
Operate clutch pedal (manual
transmission) or brake pedal
(automatic transmission) and press
Engine Start/Stop once more.
Release button after starting
procedure begins.Ignition off
Press Engine Start/Stop briefly in
each mode or when engine is running and vehicle is stationary. Some
functions remain active until driver's
door is opened, provided the ignition
was on previously.
Page 137 of 245
Driving and operating135Emergency shut off during driving
Press Engine Start/Stop for longer
than two seconds or press twice
briefly within five seconds 3 136.
Steering wheel lock The steering wheel lock activates
automatically when:
● The vehicle is stationary.
● The ignition has been switched off.
● The driver's door is opened.
To release steering wheel lock, open
and close driver's door and switch on accessory mode or start the engine
directly.9 Warning
If the vehicle battery is discharged,
the vehicle must not be towed,
tow-started or jump-started as the
steering wheel lock cannot be
disengaged.
Operation on vehicles with
electronic key system in case of
failure
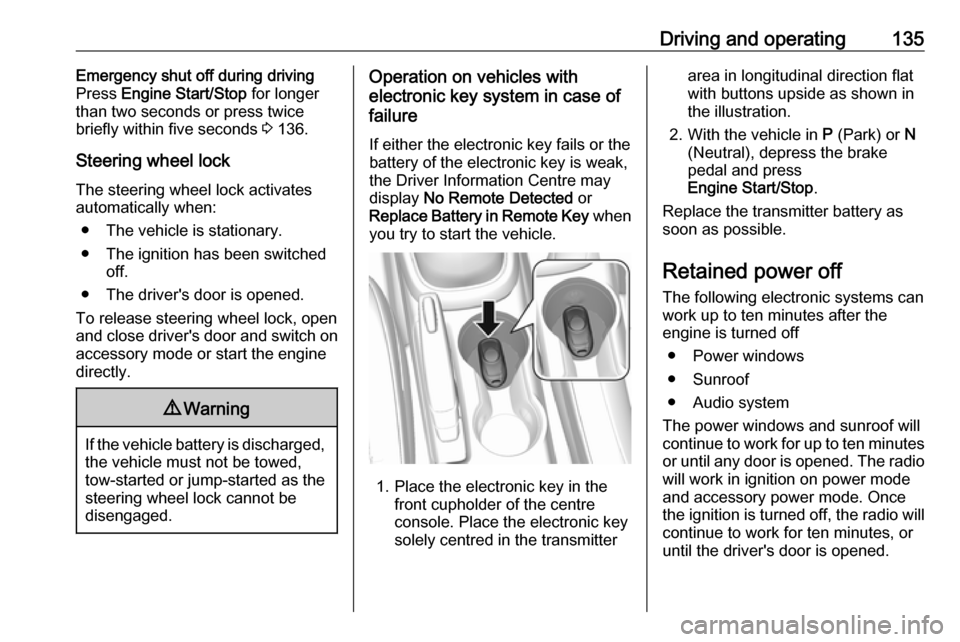
If either the electronic key fails or the
battery of the electronic key is weak,
the Driver Information Centre may
display No Remote Detected or
Replace Battery in Remote Key when
you try to start the vehicle.
1. Place the electronic key in the front cupholder of the centreconsole. Place the electronic key
solely centred in the transmitter
area in longitudinal direction flat
with buttons upside as shown in
the illustration.
2. With the vehicle in P (Park) or N
(Neutral), depress the brake
pedal and press
Engine Start/Stop .
Replace the transmitter battery as
soon as possible.
Retained power off The following electronic systems can
work up to ten minutes after the
engine is turned off
● Power windows
● Sunroof
● Audio system
The power windows and sunroof will
continue to work for up to ten minutes or until any door is opened. The radio
will work in ignition on power mode
and accessory power mode. Once
the ignition is turned off, the radio will
continue to work for ten minutes, or
until the driver's door is opened.
Page 138 of 245
136Driving and operatingStarting the engine
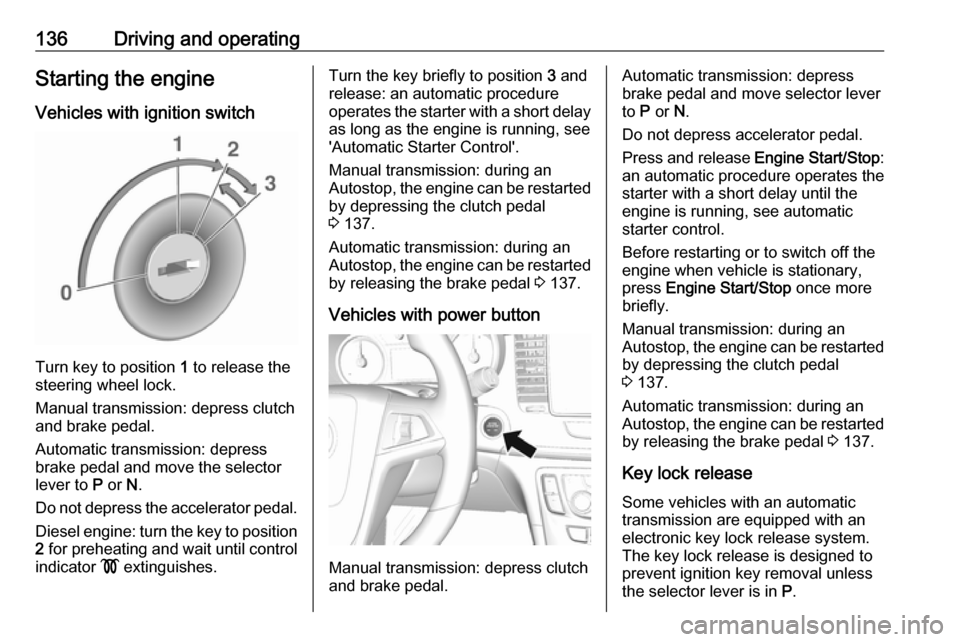
Vehicles with ignition switch
Turn key to position 1 to release the
steering wheel lock.
Manual transmission: depress clutch and brake pedal.
Automatic transmission: depress
brake pedal and move the selector
lever to P or N.
Do not depress the accelerator pedal.
Diesel engine: turn the key to position2 for preheating and wait until control
indicator ! extinguishes.
Turn the key briefly to position 3 and
release: an automatic procedure operates the starter with a short delay
as long as the engine is running, see
'Automatic Starter Control'.
Manual transmission: during an
Autostop, the engine can be restarted
by depressing the clutch pedal
3 137.
Automatic transmission: during an
Autostop, the engine can be restarted
by releasing the brake pedal 3 137.
Vehicles with power button
Manual transmission: depress clutch
and brake pedal.
Automatic transmission: depress
brake pedal and move selector lever
to P or N.
Do not depress accelerator pedal.
Press and release Engine Start/Stop:
an automatic procedure operates the starter with a short delay until the engine is running, see automatic
starter control.
Before restarting or to switch off the
engine when vehicle is stationary,
press Engine Start/Stop once more
briefly.
Manual transmission: during an
Autostop, the engine can be restarted
by depressing the clutch pedal
3 137.
Automatic transmission: during an
Autostop, the engine can be restarted
by releasing the brake pedal 3 137.
Key lock release Some vehicles with an automatic
transmission are equipped with an
electronic key lock release system.
The key lock release is designed to
prevent ignition key removal unless
the selector lever is in P.