display VAUXHALL MOKKA X 2018 Infotainment system
[x] Cancel search | Manufacturer: VAUXHALL, Model Year: 2018, Model line: MOKKA X, Model: VAUXHALL MOKKA X 2018Pages: 155, PDF Size: 2.89 MB
Page 132 of 155

132Basic operationBasic operationBasic operation.......................... 132
Tone settings ............................. 132
Volume settings .........................133
System settings ......................... 133Basic operation
Control panel
MENU knob
The MENU knob is one of the central
control elements for menu operation.Turn: ● to select a screen button or menu
item
● to scroll through a list of menu items
● to change a settings valuePress: ● to activate a selected screen button or menu item
● to confirm a changed settings value
● to switch to a different settings option
● to display the application-specific
submenuNotice
In subsequent chapters, the
operating steps for selecting and
activating a screen button or menu
item will be described as "...select
Page 133 of 155

Basic operation133Press MENU , select Settings and
then select Tone Settings to open the
tone settings menu.
Setting bass, midrange, and
treble
Scroll through the list and select
Bass , Midrange or Treble .
Adjust the setting and confirm.
Setting the volume distribution
between front and rear
Scroll through the list and select
Fader .
Adjust the setting and confirm.
Setting the volume distribution
between right and left
Scroll through the list and select
Balance .
Adjust the setting and confirm.
Selecting a tone style Scroll through the list and select EQ
(Equaliser).The EQ options offer optimised bass, middle, and treble presettings for therelevant style of music.
Turn MENU to toggle through the
different options and then press
MENU to confirm the setting.
Volume settings
Adjusting the speed
compensated volume
Press MENU to open the respective
audio menu.
Scroll through the list and select
Settings .
Select Auto Volume Control .
The Auto Volume function can be
deactivated or the degree of volume adaptation can be selected in the
menu displayed.
Scroll through the list and select the
desired option.
Adjusting the maximum startupvolume
Press MENU to open the respective
audio menu.Scroll through the list and select
Settings .
Select Maximum Startup Volume .
Set the desired value.
Volume of traffic announcements
To adjust the volume of traffic
announcements, set the desired
volume while a traffic announcement is given out by the system.
The respective setting is stored by the system.
System settings Various settings and adaptions for theInfotainment system can be
performed via the settings menu.
Time and date settings
Press MENU to open the respective
audio menu.
Page 134 of 155

134Basic operationSelect Time and Date .
Set Time
Select Set Time to enter the
respective submenu.
Select Auto Set at the bottom of the
screen. Activate either On - RDS or
Off (Manual) .
If Off (Manual) is selected, adjust
hours and minutes.
Repeatedly select 12-24 HR at the
bottom of the screen to choose a time mode.
If the 12-hour mode is selected, a
third column for AM and PM selection
is displayed. Select the desired
option.
Set Date
Select Set Date to enter the
respective submenu.
Select Auto Set at the bottom of the
screen. Activate either On - RDS or
Off (Manual) .
If Off (Manual) is selected, adjust the
date settings.Language
Press MENU to open the respective
audio menu.
Select Settings , scroll through the list
and select Vehicle Settings .
Select Languages .
Scroll through the list and select the
desired language.
Restore Factory Settings
Press MENU to open the respective
audio menu.
Select Settings , scroll through the list
and select Vehicle Settings .
Select Restore Factory Settings to
enter the respective submenu.
Select the desired option and confirm the message.
Software Information The Software Information menu
contains specific information on the
software.
Press MENU to open the respective
audio menu.Select Settings , scroll through the list
and select Vehicle Settings .
Select Software Information .
Valet mode
If valet mode is activated, all vehicle
displays are locked and no changes
may be performed within the system.
Notice
Vehicle-related messages remain
enabled.
Locking the system
Press MENU to open the respective
audio menu.
Select Settings , scroll through the list
and select Vehicle Settings .
Select Valet Mode . A keypad is
displayed.
Enter a four-digit code and select
Enter . The keypad is redisplayed.
To confirm the first input, reenter the
four-digit code and select Lock. The
system is locked.
Unlocking the system
Turn the Infotainment system on. A
keypad is displayed.
Page 136 of 155

136RadioRadioUsage........................................ 136
Station search ............................ 136
Favourite lists ............................. 137
Radio data system (RDS) ..........137
Digital audio broadcasting .........138Usage
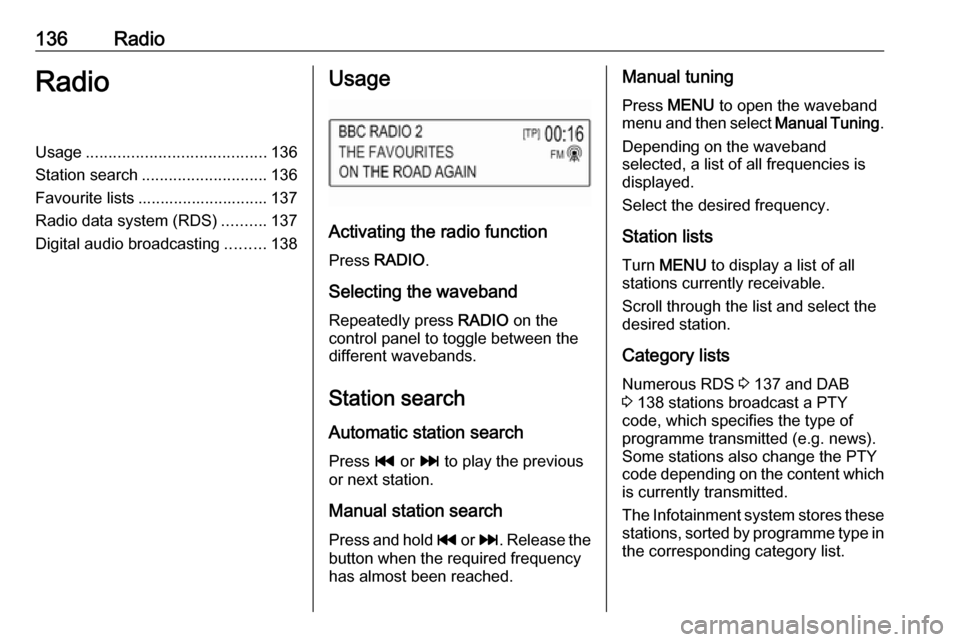
Activating the radio function
Press RADIO .
Selecting the waveband
Repeatedly press RADIO on the
control panel to toggle between the different wavebands.
Station search Automatic station search
Press t or v to play the previous
or next station.
Manual station search
Press and hold t or v . Release the
button when the required frequency
has almost been reached.
Manual tuning
Press MENU to open the waveband
menu and then select Manual Tuning.
Depending on the waveband selected, a list of all frequencies is displayed.
Select the desired frequency.
Station lists Turn MENU to display a list of all
stations currently receivable.
Scroll through the list and select the
desired station.
Category lists
Numerous RDS 3 137 and DAB
3 138 stations broadcast a PTY
code, which specifies the type of
programme transmitted (e.g. news). Some stations also change the PTY
code depending on the content which
is currently transmitted.
The Infotainment system stores these stations, sorted by programme type in
the corresponding category list.
Page 137 of 155

Radio137Notice
The Categories list item is only
available for the FM and the DAB wavebands.
Press MENU to display the respective
waveband menu and select
Categories .
A list of programme type categories currently available is displayed.
Select the desired category. A list of
stations is displayed transmitting a
programme of the selected type.
Select the desired station.
Updating the station lists Press MENU to open the waveband
menu and select Update Station List .
The respective station list is updated.
Notice
If a waveband-specific station list is
updated, the corresponding
category list is also updated.
Favourite lists Stations of all wavebands can be
stored manually in the favourite lists.
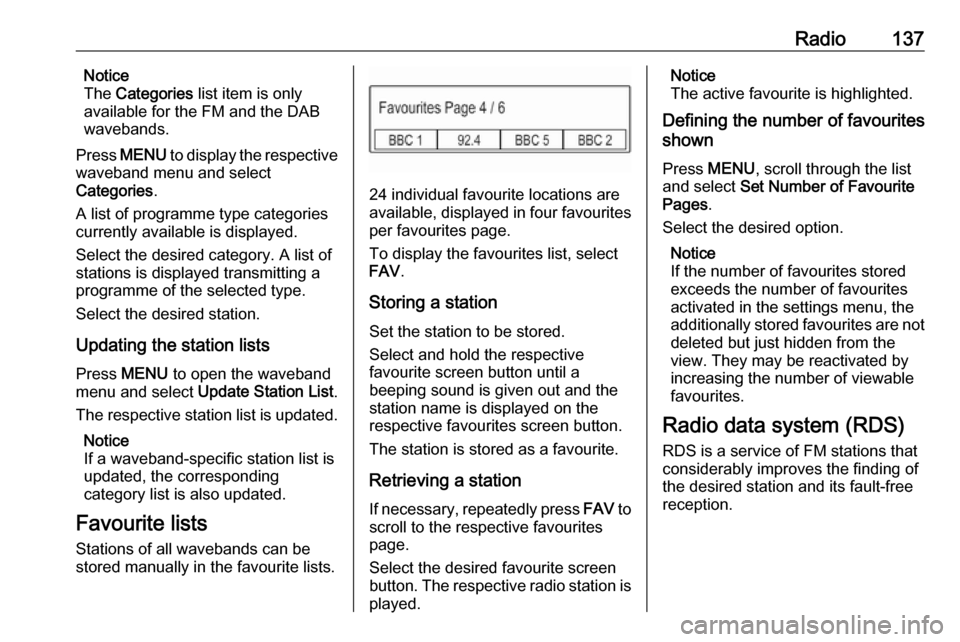
24 individual favourite locations are
available, displayed in four favourites
per favourites page.
To display the favourites list, select
FAV .
Storing a station Set the station to be stored.
Select and hold the respective
favourite screen button until a
beeping sound is given out and the
station name is displayed on the
respective favourites screen button.
The station is stored as a favourite.
Retrieving a station
If necessary, repeatedly press FAV to
scroll to the respective favourites
page.
Select the desired favourite screen
button. The respective radio station is
played.
Notice
The active favourite is highlighted.
Defining the number of favourites
shown
Press MENU , scroll through the list
and select Set Number of Favourite
Pages .
Select the desired option.
Notice
If the number of favourites stored
exceeds the number of favourites
activated in the settings menu, the
additionally stored favourites are not
deleted but just hidden from the
view. They may be reactivated by
increasing the number of viewable favourites.
Radio data system (RDS) RDS is a service of FM stations that
considerably improves the finding of
the desired station and its fault-free
reception.
Page 138 of 155

138RadioAdvantages of RDS● On the display, the programme name of the station appears
instead of its frequency.
● During a station search the Infotainment system tunes in to
RDS stations only.
● The Infotainment system always tunes into the best receivable
broadcasting frequency of the set station by means of AF
(alternative frequency).
● Depending on the station that is received, the Infotainment
system displays radio text that
can contain e.g. information on
the current programme.
RDS settings
To configure the RDS settings
options, activate the radio function
and then select the FM waveband.
Press MENU to display the FM
waveband menu.
RDS
Set RDS to On or Off.Notice
If RDS is set to Off, RDS functions
are not available.
Traffic Programme
Radio traffic service stations are RDS stations that broadcast traffic news. Ifthe traffic service is switched on, the
currently active function is interrupted
for the duration of the traffic
announcement.
Activate or deactivate Traffic Program
(TP) .
If the radio traffic service is activated,
[TP] is shown in the top line of all main
menus. If the current station or media played is not a radio traffic service
station, [ ] is displayed and a search
is started automatically for the next
radio traffic service station. As soon
as a radio traffic service station is
found, [TP] is highlighted. If no radio
traffic service station is found, [ ]
remains on the screen.
If a traffic announcement is
broadcasted on the respective radio
traffic service station, a message is
displayed.To interrupt the announcement and
return to the function previously
activated, dismiss the alert.
Region
Sometimes RDS stations broadcast
regionally different programmes on
different frequencies.
Set Region to On or Off.
If regionalisation is switched on,
alternative frequencies with the same
regional programmes are selected
where necessary.
If regionalisation is switched off,
alternative frequencies of the stations are selected without regard to
regional programmes.
Digital audio broadcasting
DAB broadcasts radio stations
digitally.
Page 139 of 155

Radio139Advantages of DAB● DAB stations are indicated by the
programme name instead of thebroadcasting frequency.
● With DAB, several radio programmes (services) can bebroadcasted on a single
frequency (ensemble).
● Besides high-quality digital audio
services, DAB is also able to
transmit programme-associated data and a multitude of other data services including travel andtraffic information.
● As long as a given DAB receiver can pick up the signal sent out bya broadcasting station (even if
the signal is very weak), sound
reproduction is ensured.
● In the event of poor reception, the
volume is reduced automatically
to avoid the output of
disagreeable noises.
If the DAB signal is too weak to
be picked up by the receiver,
reception is interrupted
completely. This can be avoided
by activating DAB to DABLinking and/or DAB to FM
Linking in the DAB option menu
(see below).
● Interference caused by stations that are on nearby frequencies (aphenomenon that is typical of AMand FM reception) does not
occur with DAB.
● If the DAB signal is reflected by natural obstacles or buildings,
the reception quality of DAB is
improved, whereas AM or FM
reception is considerably
impaired in such cases.
● When DAB reception is enabled, the FM tuner of the Infotainmentsystem remains active in the
background and continually
searches for the best receivable
FM stations. If TP 3 137 is
activated, traffic announcements
of the FM station with the best
reception are issued. Deactivate
TP if DAB reception should not
be interrupted by FM traffic
announcements.DAB settings
To configure the DAB settings
options, activate the radio function
and then select the DAB waveband.
Press MENU to display the DAB
waveband menu.
DAB Announcements
Besides their music programmes, a
lot of DAB stations also broadcast announcements of various
categories. If you activate some or all categories, the currently received
DAB service is interrupted when an
announcement of these categories is
made.
Select DAB Announcements to
display the DAB categories list.
Select the desired categories. The
selected categories are marked with
9 .
Notice
DAB announcements can only be
received if the DAB waveband is
activated.
Page 140 of 155

140RadioDAB to DAB Linking
If this function is activated, the device
switches over to the same service
(programme) on another DAB
ensemble (if available) when the DAB
signal is too weak to be picked up by
the receiver.
Set DAB to DAB Linking to On or Off.
DAB to FM Linking
If this function is activated, the device switches over to a corresponding FM
station of the active DAB service (if
available) when the DAB signal is too
weak to be picked up by the receiver.
Set DAB to FM Linking to On or Off.
L Band
If L Band is activated, the
Infotainment system receives an
additional frequency range (1452 -
1492 MHz).
Set L-Band to On or Off.
Intellitext
The Intellitext function allows for the
reception of additional information
such as announcements, financial
information, sports, news etc.Select one of the categories and
choose a specific item from the list to display detailed information.
Page 142 of 155

142External devicesaudio source while this setting is
activated, you are prompted with a
charging message.
If you wish to play music files stored
on the device, activate Scan Music
Folder Only or Scan All Folder .
Bluetooth Bluetooth enabled audio sources(e.g. music mobile phones, MP3
players featuring Bluetooth, etc.),
which support the Bluetooth music
profiles A2DP and AVRCP can be
connected wirelessly to the
Infotainment system. The
Infotainment system can play music
files contained in these devices.
Connecting/disconnecting a device
For a detailed description of the
Bluetooth connection 3 146.
Bluetooth device list
To access the Bluetooth device list,
activate the Bluetooth audio source,
press MENU and then select Manage
Bluetooth Devices .
For a detailed description of the
Bluetooth device list 3 146.File formats
Only devices formatted in the FAT32, NTFS and HFS+ file systems are
supported.
Notice
Some files may not be played
properly. This might be due to a
different recording format or the
condition of the file.
Files from online shops to which
Digital Rights Management (DRM)
has been applied cannot be played.
The playable audio file formats are
MP3, WMA, AAC and AIF.
When playing a file with ID3 tag
information, the Infotainment system
can display information, e.g. on the
track title and artist.
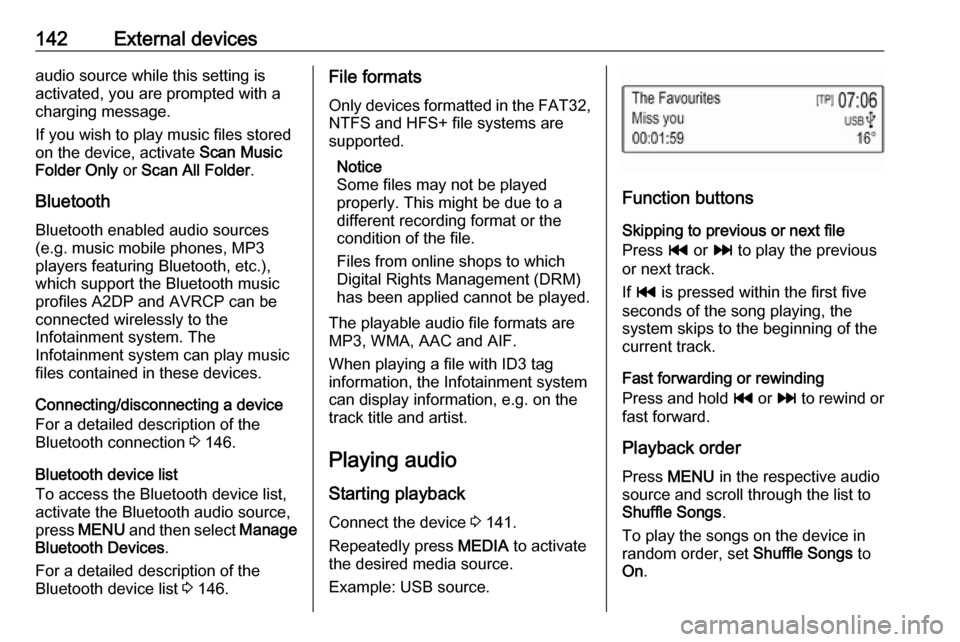
Playing audio Starting playbackConnect the device 3 141.
Repeatedly press MEDIA to activate
the desired media source.
Example: USB source.
Function buttons
Skipping to previous or next file
Press t or v to play the previous
or next track.
If t is pressed within the first five
seconds of the song playing, the
system skips to the beginning of the
current track.
Fast forwarding or rewinding
Press and hold t or v to rewind or
fast forward.
Playback order
Press MENU in the respective audio
source and scroll through the list to
Shuffle Songs .
To play the songs on the device in random order, set Shuffle Songs to
On .
Page 143 of 155

External devices143To play the songs in normal order, set
Shuffle Songs to Off.
Browsing for a song Depending on the device, you may
browse for songs in categories and
subcategories or a folder structure.
Notice
For this function to be available, the
indexing process must be
completed.
Categories
To browse for a song, press MENU in
the respective audio source and then select Browse .
Navigate through the browse
structure and select the desired track.
Folders
To browse a song, press MENU and
then select Folder View . The folder
structure on the respective device is
displayed.
Navigate through the folder structure and select the desired track.