Lights VAUXHALL MOKKA X 2018 Owner's Guide
[x] Cancel search | Manufacturer: VAUXHALL, Model Year: 2018, Model line: MOKKA X, Model: VAUXHALL MOKKA X 2018Pages: 249, PDF Size: 6.83 MB
Page 120 of 249

118LightingHeadlight range adjustment
Manual headlight range
adjustment
To adapt headlight range to the
vehicle load to prevent dazzling: turn
thumb wheel ? to required position.
0:front seats occupied1:all seats occupied2:all seats occupied and load
compartment laden3:driver's seat occupied and load
compartment laden
Dynamic automatic headlight
levelling 3 119.
Headlights when driving
abroad
The asymmetrical headlight beam
extends visibility at the edge of the
road at the passenger side.
However, when driving in countries
where traffic drives on the opposite
side of the road, adjust the headlights to prevent dazzling of oncoming
traffic.
Vehicles with halogen headlight
system
The adjusting screws are located
above the headlight.
Turn the adjusting screws with the
screwdriver clockwise by half a turn.
To reset to left-hand traffic mode, turn
adjuster elements on both headlight
housings anticlockwise by half a turn.Caution
Have the adjustment of the
headlights checked after
deactivation.
We recommend consulting a
workshop.
Page 121 of 249
Lighting119Vehicles with adaptive forward
lighting system
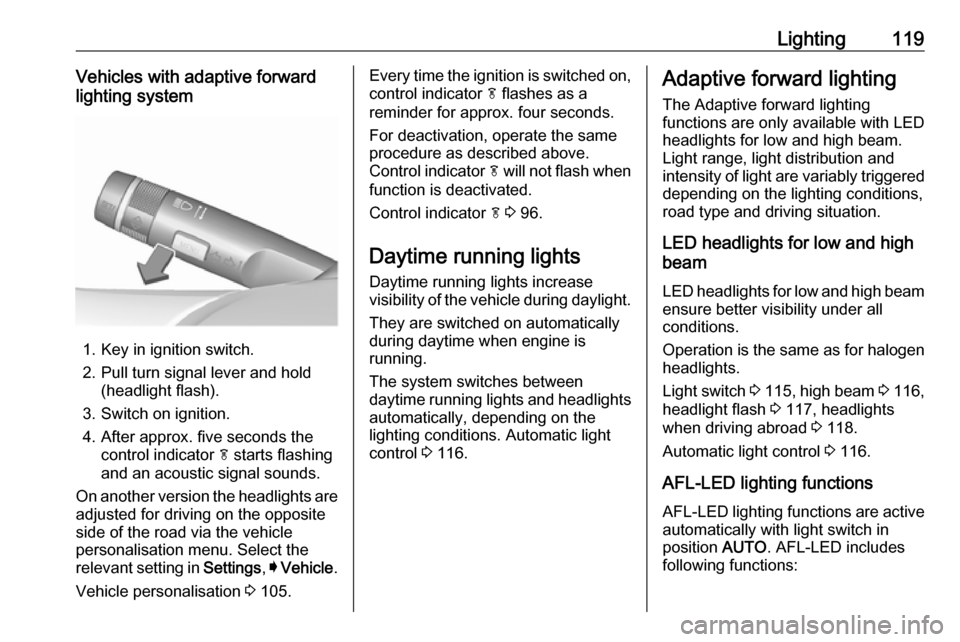
1. Key in ignition switch.
2. Pull turn signal lever and hold (headlight flash).
3. Switch on ignition.
4. After approx. five seconds the control indicator f starts flashing
and an acoustic signal sounds.
On another version the headlights are adjusted for driving on the opposite
side of the road via the vehicle
personalisation menu. Select the
relevant setting in Settings, I Vehicle .
Vehicle personalisation 3 105.
Every time the ignition is switched on,
control indicator f flashes as a
reminder for approx. four seconds.
For deactivation, operate the same
procedure as described above.
Control indicator f will not flash when
function is deactivated.
Control indicator f 3 96.
Daytime running lights Daytime running lights increase
visibility of the vehicle during daylight.
They are switched on automatically
during daytime when engine is
running.
The system switches between
daytime running lights and headlights automatically, depending on the
lighting conditions. Automatic light
control 3 116.Adaptive forward lighting
The Adaptive forward lighting
functions are only available with LED
headlights for low and high beam.
Light range, light distribution and
intensity of light are variably triggered
depending on the lighting conditions,
road type and driving situation.
LED headlights for low and high
beam
LED headlights for low and high beam ensure better visibility under all
conditions.
Operation is the same as for halogen
headlights.
Light switch 3 115 , high beam 3 116,
headlight flash 3 117, headlights
when driving abroad 3 118.
Automatic light control 3 116.
AFL-LED lighting functions AFL-LED lighting functions are active
automatically with light switch in
position AUTO. AFL-LED includes
following functions:
Page 122 of 249
120Lighting● curve and cornering lights
● town light
● country light
● motorway light
● high beam assist
● reverse parking function
● eco mode
● dynamic automatic headlight levelling
Curve and cornering lights
On tight bends or when turning off,
depending on the steering angle or
the indicator light signal, an additional left or right reflector is switched on
which illuminates the road in the
direction of travel. It is activated up to
a speed of 43 mph.
Town light
Activated automatically at a speed up to approx. 34 mph. In situations with
exterior ambient light both cornering
lights are switched on with reduced
intensity. The light is wide and
symmetrical.
Country light
Activated automatically at a speed
range between approx. 33 and
112 mph. The beam of light and the
brightness is different between the
left and the right side.
High beam assist This feature allows high beam to
function as the main driving light at
night and when vehicle speed
exceeds 25 mph.
It switches automatically to low beam
when:
● The camera or a sensor in the windscreen detects the lights of
oncoming or preceding vehicles.
● The vehicle speed drops below 12 mph.
● It is foggy or snowy.
● Driving in urban areas.
If there are no restrictions detected, the system switches back to high
beam.
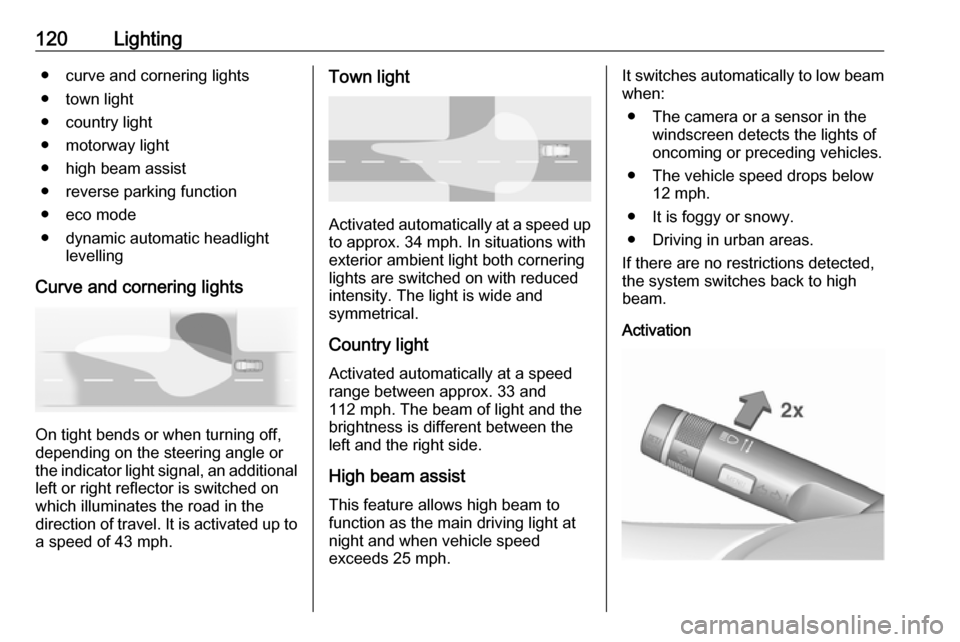
Activation
Page 123 of 249

Lighting121The high beam assist is activated by
pushing the indicator lever twice. The
high beam is switched on
automatically at a speed above
25 mph.
The green control indicator f
illuminates continuously when the
assist is activated, the blue one 7
illuminates when high beam is on.
Control indicator f 3 96.
Deactivation
Push indicator lever once. It is also
deactivated when front fog lights are
switched on.
If a headlight flash is activated when
the high beam is on, the high beam
assist will be deactivated.
If a headlight flash is activated when
the high beam is off, the high beam
assist will remain activated.
The latest setting of the high beam
assist will remain after the ignition is
switched on again.Reverse parking function
To assist driver's orientation when
parking, both corner lights and
reversing light illuminate when
headlights are on and reverse gear is
engaged. They remain illuminated for
a short time after disengaging reverse gear or until driving faster than
4 mph in a forward gear.
Eco modeIf the vehicle stops, e. g. due to traffic
lights, an energy saving mode for headlights is activated.
Dynamic automatic headlight
levelling
To prevent oncoming traffic from
being dazzled, headlight levelling is
automatically adjusted based on
vehicle inclination information.
Fault in AFL-LED lighting system
When the system detects a failure in
the LED headlight system, f
illuminates and a warning is displayed in the Driver Information Centre.Hazard warning flashers
Operated by pressing ¨.
Page 124 of 249

122LightingTurn and lane-changesignalslever up:right turn signallever down:left turn signal
A resistance point can be felt bymoving the lever.
Constant flashing is activated when
the lever is being moved beyond the
resistance point. It is deactivated
when the steering wheel is moved in
the opposite direction or lever is
manually moved back to its neutral
position.
Activate temporary flashing by
holding the lever just before the
resistance point. Turning lights will
flash until lever is being released.
To activate three flashes, tap the
lever briefly without passing the
resistance point.
With a trailer connected, turn signal
flashes six times and tone frequency
changes when pressing the lever until
resistance is felt and then releasing.
Move the lever to the resistance point and hold for flashing until lever is
released.
Front fog lightsOperated by pressing >.
Rear fog light
Operated by pressing ø.
Light switch in position AUTO:
switching on rear fog light will switch
headlights on automatically.
Light switch in position 8: rear fog
light can only be switched on with
front fog lights.
Reversing lights
The reversing light comes on when
the ignition is on and reverse gear is
selected.
Page 125 of 249
Lighting123Misted light covers
The inside of the light housing may
mist up briefly in poor, wet and cold
weather conditions, in heavy rain or after washing. The mist disappears
quickly by itself; to help switch on the
headlights.Interior lighting
Instrument panel
illumination control
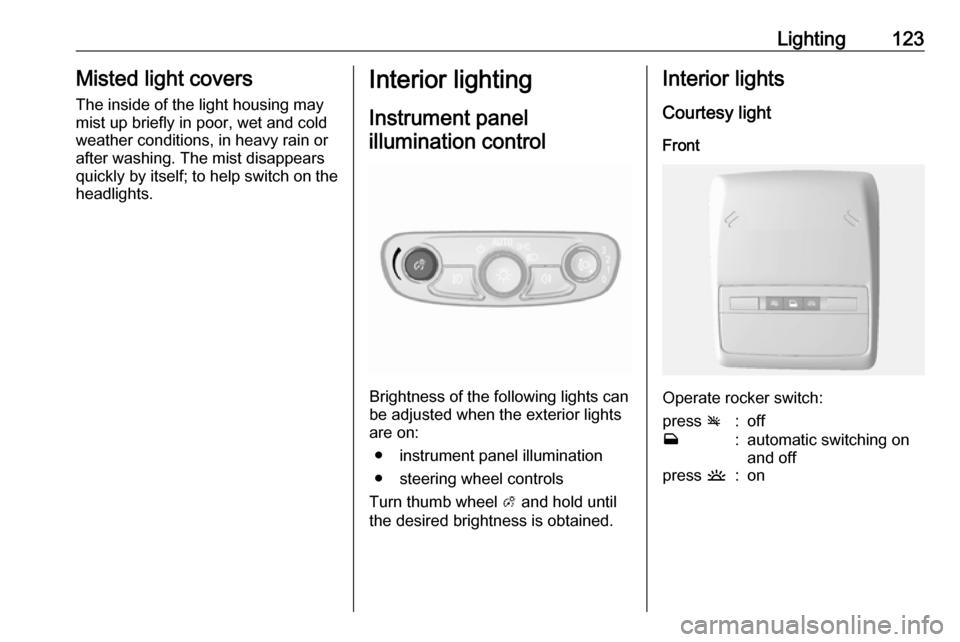
Brightness of the following lights can
be adjusted when the exterior lights
are on:
● instrument panel illumination
● steering wheel controls
Turn thumb wheel A and hold until
the desired brightness is obtained.
Interior lights
Courtesy lightFront
Operate rocker switch:
press v:offw:automatic switching on
and offpress u:on
Page 126 of 249
124LightingRear
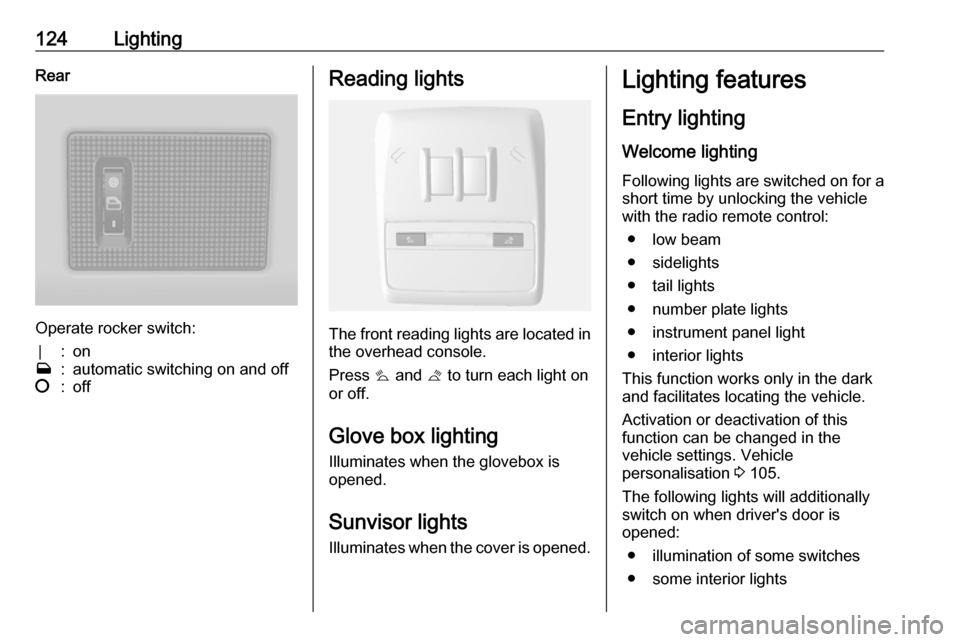
Operate rocker switch:
⃒:onw:automatic switching on and off§:offReading lights
The front reading lights are located inthe overhead console.
Press s and t to turn each light on
or off.
Glove box lighting Illuminates when the glovebox is
opened.
Sunvisor lights Illuminates when the cover is opened.
Lighting features
Entry lighting
Welcome lighting Following lights are switched on for a
short time by unlocking the vehicle
with the radio remote control:
● low beam
● sidelights
● tail lights
● number plate lights
● instrument panel light
● interior lights
This function works only in the dark
and facilitates locating the vehicle.
Activation or deactivation of this
function can be changed in the
vehicle settings. Vehicle
personalisation 3 105.
The following lights will additionally switch on when driver's door is
opened:
● illumination of some switches
● some interior lights
Page 127 of 249

Lighting125Exit lightingLow beam, sidelights and tail lightsilluminate the surrounding area for an
adjustable time after leaving the
vehicle.
Switching on
Activation, deactivation and duration
of lighting of this function can be
changed in the vehicle settings.
Vehicle personalisation 3 105.
1. Switch off ignition.
2. Remove ignition key.
3. Open driver's door.
4. Pull turn signal lever.
5. Close driver's door.
If the driver's door is not closed the
lights switch off after a few seconds.
The lighting is switched off
immediately if the turn signal lever is pulled while the driver's door is open.
Battery discharge protection To prevent discharge of the battery
when the ignition is switched off,
some interior lights are switched off
automatically after some time.
Page 150 of 249

148Driving and operatingBrakes
The brake system comprises two
independent brake circuits.
If a brake circuit fails, the vehicle can
still be braked using the other brake
circuit. However, braking effect is
achieved only when the brake pedal
is depressed firmly. Considerably
more force is needed for this. The
braking distance is extended. Seek the assistance of a workshop before
continuing the journey.
When the engine is not running, the
support of the brake servo unit
disappears once the brake pedal has been depressed once or twice.
Braking effect is not reduced, but
braking requires significantly greater
force. It is especially important to bear this in mind when being towed.
Control indicator R 3 93.
Antilock brake system
Antilock brake system (ABS)
prevents the wheels from locking.ABS starts to regulate brake pressure as soon as a wheel shows a tendency to lock. The vehicle remains
steerable, even during hard braking.
ABS control is made apparent
through a pulse in the brake pedal
and the noise of the regulation
process.
For optimum braking, keep the brake
pedal fully depressed throughout the
braking process, despite the fact that the pedal is pulsating. Do not reduce
the pressure on the pedal.
After starting-off the system performs
a self-test which may be audible.
Control indicator u 3 93.
Adaptive brake light
During full braking, all three brake
lights flash for the duration of ABS
control.Fault9 Warning
If there is a fault in the ABS, the
wheels may be liable to lock due
to braking that is heavier than
normal. The advantages of ABS are no longer available. During
hard braking, the vehicle can no longer be steered and may
swerve.
Have the cause of the fault remedied
by a workshop.
Parking brake
Page 163 of 249
Driving and operating161
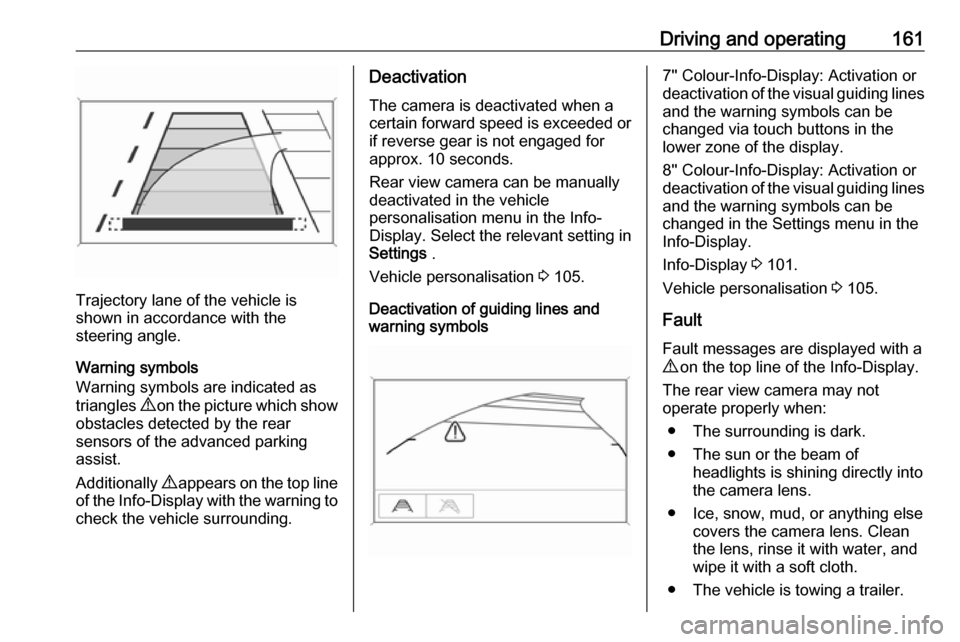
Trajectory lane of the vehicle is
shown in accordance with the
steering angle.
Warning symbols
Warning symbols are indicated as
triangles 9 on the picture which show
obstacles detected by the rear
sensors of the advanced parking
assist.
Additionally 9 appears on the top line
of the Info-Display with the warning to check the vehicle surrounding.
Deactivation
The camera is deactivated when a
certain forward speed is exceeded or
if reverse gear is not engaged for
approx. 10 seconds.
Rear view camera can be manually
deactivated in the vehicle
personalisation menu in the Info-
Display. Select the relevant setting in
Settings .
Vehicle personalisation 3 105.
Deactivation of guiding lines and
warning symbols7'' Colour-Info-Display: Activation or
deactivation of the visual guiding lines and the warning symbols can be
changed via touch buttons in the
lower zone of the display.
8'' Colour-Info-Display: Activation or
deactivation of the visual guiding lines
and the warning symbols can be
changed in the Settings menu in the
Info-Display.
Info-Display 3 101.
Vehicle personalisation 3 105.
Fault
Fault messages are displayed with a
9 on the top line of the Info-Display.
The rear view camera may not
operate properly when:
● The surrounding is dark.
● The sun or the beam of headlights is shining directly into
the camera lens.
● Ice, snow, mud, or anything else covers the camera lens. Clean
the lens, rinse it with water, and
wipe it with a soft cloth.
● The vehicle is towing a trailer.