Menu VAUXHALL MOKKA X 2019 Owner's Guide
[x] Cancel search | Manufacturer: VAUXHALL, Model Year: 2019, Model line: MOKKA X, Model: VAUXHALL MOKKA X 2019Pages: 253, PDF Size: 7.09 MB
Page 121 of 253
Lighting119Vehicles with adaptive forward
lighting system
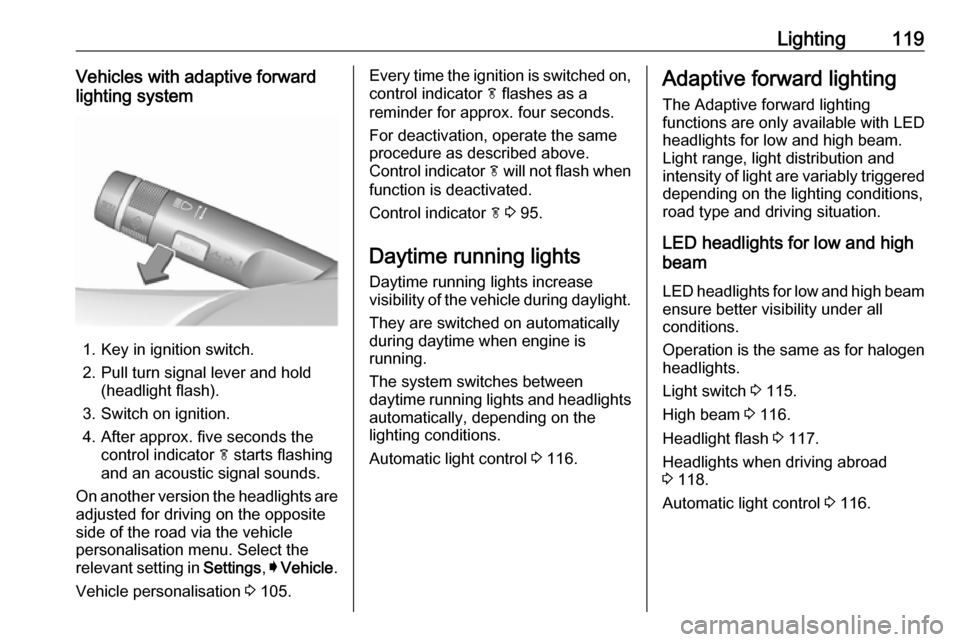
1. Key in ignition switch.
2. Pull turn signal lever and hold (headlight flash).
3. Switch on ignition.
4. After approx. five seconds the control indicator f starts flashing
and an acoustic signal sounds.
On another version the headlights are adjusted for driving on the opposite
side of the road via the vehicle
personalisation menu. Select the
relevant setting in Settings, I Vehicle .
Vehicle personalisation 3 105.
Every time the ignition is switched on,
control indicator f flashes as a
reminder for approx. four seconds.
For deactivation, operate the same
procedure as described above.
Control indicator f will not flash when
function is deactivated.
Control indicator f 3 95.
Daytime running lights Daytime running lights increase
visibility of the vehicle during daylight.
They are switched on automatically
during daytime when engine is
running.
The system switches between
daytime running lights and headlights automatically, depending on the
lighting conditions.
Automatic light control 3 116.Adaptive forward lighting
The Adaptive forward lighting
functions are only available with LED
headlights for low and high beam.
Light range, light distribution and
intensity of light are variably triggered
depending on the lighting conditions,
road type and driving situation.
LED headlights for low and high
beam
LED headlights for low and high beam
ensure better visibility under all
conditions.
Operation is the same as for halogen headlights.
Light switch 3 115.
High beam 3 116.
Headlight flash 3 117.
Headlights when driving abroad
3 118.
Automatic light control 3 116.
Page 145 of 253

Driving and operating143AdBlue
General information
The selective catalytic reduction
(BlueInjection) is a method to
substantially reduce the nitrogen
oxides in the exhaust emission. This
is achieved by injecting a Diesel
Exhaust Fluid into the exhaust
system. The ammonia released by
the fluid reacts with nitrous gases
(NO x) from the exhaust and turns it
into nitrogen and water.
The designation of this fluid is AdBlue
® . It is a non-toxic, non-flammable,
colourless and odourless fluid which
consists of 32% urea and 68% water.9Warning
Avoid contact of your eyes or skin
with AdBlue.
In case of eye or skin contact,
rinse off with water.
Caution
Avoid contact of the paintwork with AdBlue.
In case of contact, rinse off with water.
AdBlue freezes at a temperature of
approx. -11 °C. As the vehicle is
equipped with an AdBlue pre-heater,
the emissions reduction at low
temperatures is ensured. The AdBlue
pre-heater works automatically.
The typical AdBlue consumption is
approx. 2 l per 600 miles, but can also be higher depending on driving
behaviour (e.g. high load or towing).
AdBlue tank The AdBlue tank level can be found in the display menu.
Level warnings
Depending on the calculated range of
AdBlue, different messages are
displayed in the Driver Information
Centre. The messages and the
restrictions are a legal requirement.
The first possible warning is AdBlue
Range: 1500 mi .
This warning will show up once briefly with the calculated range. Driving is
possible without any restrictions.
The next warning level is entered with
a range below 1090 miles. The
message with the current range will
always be displayed when ignition is
switched on and needs to be
confirmed 3 96. Refill AdBlue before
entering the next warning level.
At an AdBlue range below 560 miles,
the following warning messages are
alternately displayed and cannot be
dismissed:
● AdBlue Low Refill Now
● Engine Restart Prevented in 560
miles .
Additionally, control indicator Y
flashes continuously.
Notice
In case of high AdBlue consumption, the Driver Information Centre may
display this warning without the
previous warning stages.
Page 162 of 253
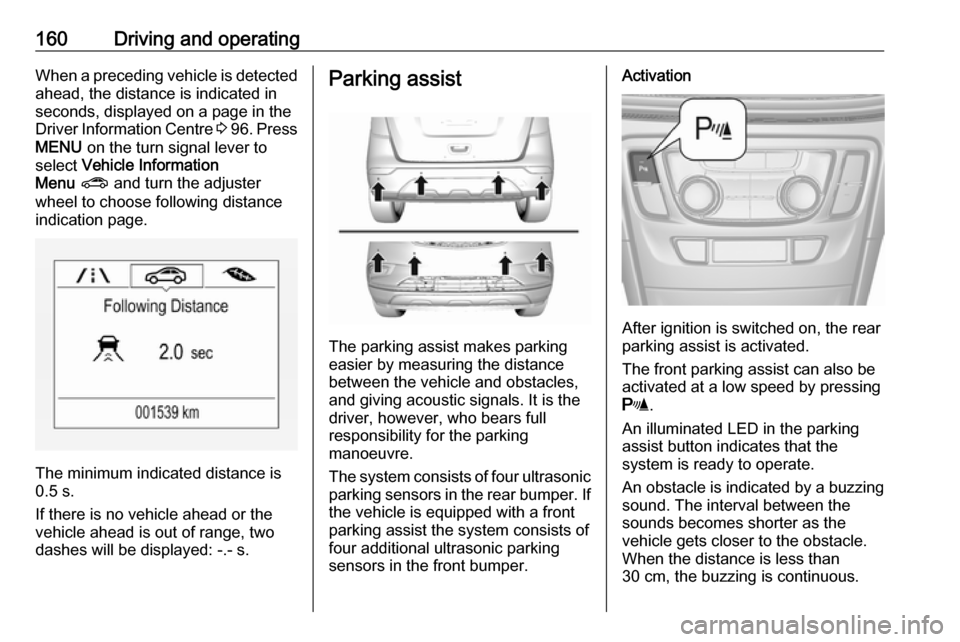
160Driving and operatingWhen a preceding vehicle is detected
ahead, the distance is indicated in
seconds, displayed on a page in the
Driver Information Centre 3 96 . Press
MENU on the turn signal lever to
select Vehicle Information
Menu ? and turn the adjuster
wheel to choose following distance
indication page.
The minimum indicated distance is
0.5 s.
If there is no vehicle ahead or the vehicle ahead is out of range, two
dashes will be displayed: -.- s.
Parking assist
The parking assist makes parking
easier by measuring the distance between the vehicle and obstacles,
and giving acoustic signals. It is the
driver, however, who bears full
responsibility for the parking
manoeuvre.
The system consists of four ultrasonic parking sensors in the rear bumper. If
the vehicle is equipped with a front
parking assist the system consists of
four additional ultrasonic parking
sensors in the front bumper.
Activation
After ignition is switched on, the rear
parking assist is activated.
The front parking assist can also be activated at a low speed by pressing
r .
An illuminated LED in the parking
assist button indicates that the
system is ready to operate.
An obstacle is indicated by a buzzing
sound. The interval between the sounds becomes shorter as the
vehicle gets closer to the obstacle.
When the distance is less than
30 cm, the buzzing is continuous.
Page 165 of 253
Driving and operating163
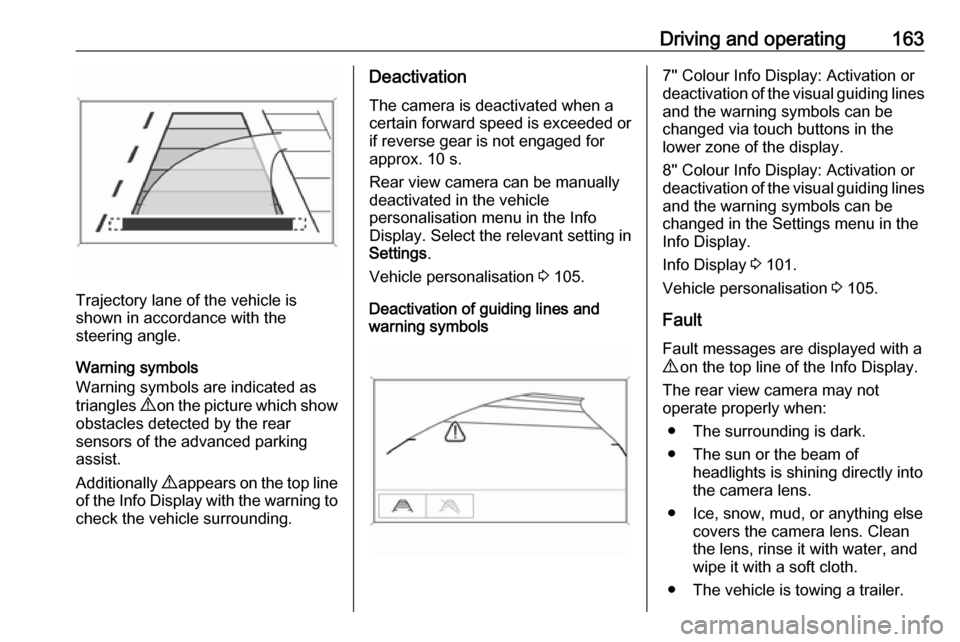
Trajectory lane of the vehicle is
shown in accordance with the
steering angle.
Warning symbols
Warning symbols are indicated as
triangles 9 on the picture which show
obstacles detected by the rear
sensors of the advanced parking
assist.
Additionally 9 appears on the top line
of the Info Display with the warning to
check the vehicle surrounding.
Deactivation
The camera is deactivated when acertain forward speed is exceeded or
if reverse gear is not engaged for
approx. 10 s.
Rear view camera can be manually
deactivated in the vehicle
personalisation menu in the Info
Display. Select the relevant setting in
Settings .
Vehicle personalisation 3 105.
Deactivation of guiding lines and
warning symbols7'' Colour Info Display: Activation or
deactivation of the visual guiding lines and the warning symbols can be
changed via touch buttons in the
lower zone of the display.
8'' Colour Info Display: Activation or
deactivation of the visual guiding lines
and the warning symbols can be
changed in the Settings menu in the
Info Display.
Info Display 3 101.
Vehicle personalisation 3 105.
Fault
Fault messages are displayed with a 9 on the top line of the Info Display.
The rear view camera may not
operate properly when:
● The surrounding is dark.
● The sun or the beam of headlights is shining directly into
the camera lens.
● Ice, snow, mud, or anything else covers the camera lens. Clean
the lens, rinse it with water, and
wipe it with a soft cloth.
● The vehicle is towing a trailer.
Page 167 of 253

Driving and operating165Display indicationInformation about the currently valid
traffic signs is available on the
designated traffic sign assistant page in the Driver Information Centre.
Additionally, the currently valid speed
limit is displayed permanently in the
lower line of the Driver Information
Centre. In case a speed limit with
addon is available, a + symbol is
displayed in this area.Choose ? via MENU and select
traffic sign assistant page with the
adjuster wheel on the turn signal lever 3 96.
When another page on the Driver
Information Centre menu was
selected and then traffic sign
assistant page is chosen again, the
last recognised traffic sign will be
displayed.
Alert function
The alert function can be activated or deactivated in the setting menu of the
traffic sign assistant page.Once activated and when the traffic
sign detection page is currently not
displayed, newly detected speed limit
and no passing signs are displayed
as popup alerts in the Driver
Information Centre.
Page 168 of 253
166Driving and operating
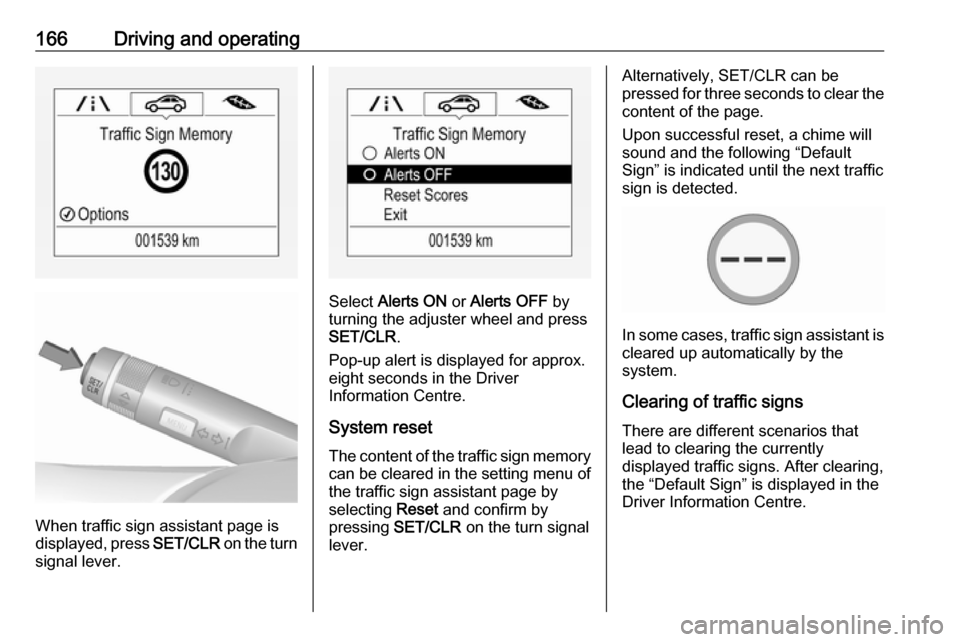
When traffic sign assistant page is
displayed, press SET/CLR on the turn
signal lever.
Select Alerts ON or Alerts OFF by
turning the adjuster wheel and press SET/CLR .
Pop-up alert is displayed for approx.
eight seconds in the Driver
Information Centre.
System reset The content of the traffic sign memory
can be cleared in the setting menu of the traffic sign assistant page by
selecting Reset and confirm by
pressing SET/CLR on the turn signal
lever.
Alternatively, SET/CLR can be
pressed for three seconds to clear the
content of the page.
Upon successful reset, a chime will
sound and the following “Default
Sign” is indicated until the next traffic
sign is detected.
In some cases, traffic sign assistant is
cleared up automatically by the
system.
Clearing of traffic signs
There are different scenarios that
lead to clearing the currently
displayed traffic signs. After clearing,
the “Default Sign” is displayed in the
Driver Information Centre.
Page 202 of 253

200Vehicle careThe driver is responsible for correct
adjustment of tyre pressure.9 Warning
If the pressure is too low, this can
result in considerable tyre warm-
up and internal damage, leading to tread separation and even to tyre
blow-out at high speeds.
9 Warning
For specific tyres the
recommended tyre pressure as
shown in the tyre pressure table may exceed the maximum tyre
pressure as indicated on the tyre.
Never exceed the maximum tyre
pressure as indicated on the tyre.
Temperature dependency
The tyre pressure depends on the
temperature of the tyre. During
driving, tyre temperature and
pressure increase. Tyre pressure
values provided on the tyre
information label and tyre pressure
chart are valid for cold tyres, which means at 20 °C.
The pressure increases by nearly
1.5 psi for a 10 °C temperature
increase. This must be considered
when warm tyres are checked.
The tyre pressure value displayed in
the Driver Information Centre shows
the real tyre pressure. A cooled down
tyre will show a decreased value,
which does not indicate an air leak.
Tyre pressure monitoringsystem
The tyre pressure monitoring system
checks the pressure of all four tyres
once a minute when vehicle speed
exceeds a certain limit.Caution
Tyre pressure monitoring system
warns only about low tyre pressure condition and does not replace
regular tyre maintenance by the
driver.
All wheels must be equipped with pressure sensors and the tyres must
have the prescribed pressure.
Notice
In countries where the tyre pressure
monitoring system is legally
required, the use of wheels without
pressure sensors will invalidate the
vehicle operating permit.
The current tyre pressures can be
shown in the Driver Information
Centre.
Midlevel display:
Select the Tyre pressure page under
the Vehicle Information Menu ? in
the Driver Information Centre 3 96.
Page 203 of 253
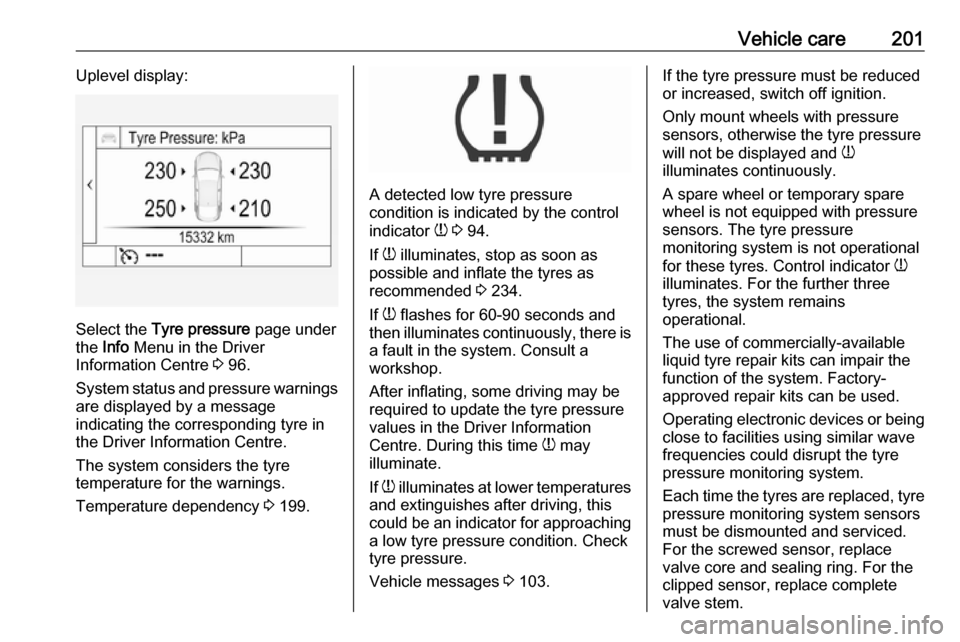
Vehicle care201Uplevel display:
Select the Tyre pressure page under
the Info Menu in the Driver
Information Centre 3 96.
System status and pressure warnings
are displayed by a message
indicating the corresponding tyre in
the Driver Information Centre.
The system considers the tyre
temperature for the warnings.
Temperature dependency 3 199.
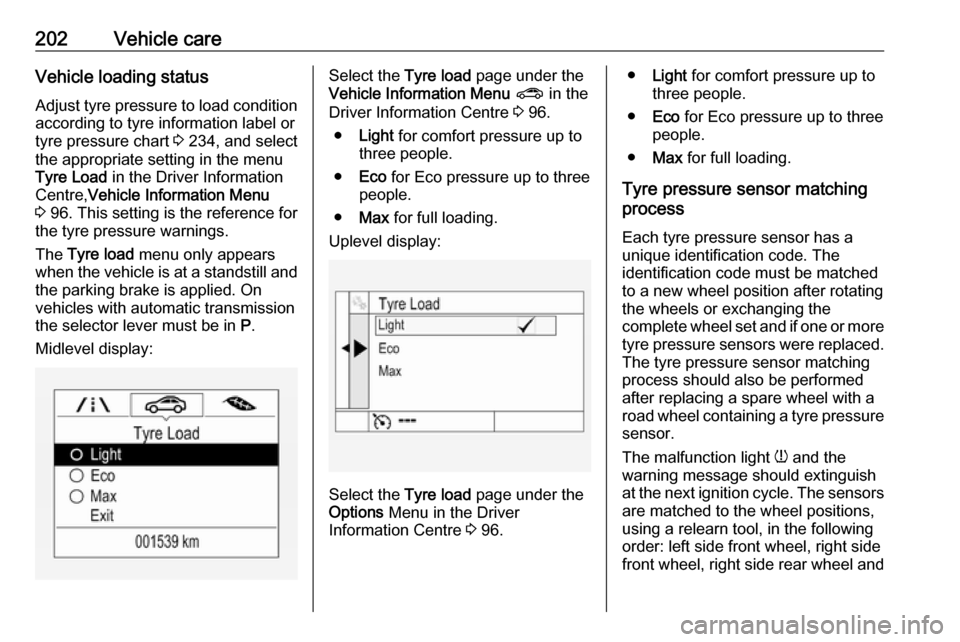
A detected low tyre pressure
condition is indicated by the control
indicator w 3 94.
If w illuminates, stop as soon as
possible and inflate the tyres as
recommended 3 234.
If w flashes for 60-90 seconds and
then illuminates continuously, there is a fault in the system. Consult a
workshop.
After inflating, some driving may be
required to update the tyre pressure
values in the Driver Information
Centre. During this time w may
illuminate.
If w illuminates at lower temperatures
and extinguishes after driving, this
could be an indicator for approaching
a low tyre pressure condition. Check
tyre pressure.
Vehicle messages 3 103.
If the tyre pressure must be reduced
or increased, switch off ignition.
Only mount wheels with pressure
sensors, otherwise the tyre pressure
will not be displayed and w
illuminates continuously.
A spare wheel or temporary spare
wheel is not equipped with pressure
sensors. The tyre pressure
monitoring system is not operational
for these tyres. Control indicator w
illuminates. For the further three
tyres, the system remains
operational.
The use of commercially-available
liquid tyre repair kits can impair the
function of the system. Factory-
approved repair kits can be used.
Operating electronic devices or being close to facilities using similar wave
frequencies could disrupt the tyre
pressure monitoring system.
Each time the tyres are replaced, tyre pressure monitoring system sensors
must be dismounted and serviced.
For the screwed sensor, replace
valve core and sealing ring. For the
clipped sensor, replace complete
valve stem.
Page 204 of 253
202Vehicle careVehicle loading status
Adjust tyre pressure to load condition according to tyre information label or
tyre pressure chart 3 234, and select
the appropriate setting in the menu
Tyre Load in the Driver Information
Centre, Vehicle Information Menu
3 96. This setting is the reference for
the tyre pressure warnings.
The Tyre load menu only appears
when the vehicle is at a standstill and the parking brake is applied. On
vehicles with automatic transmission
the selector lever must be in P.
Midlevel display:Select the Tyre load page under the
Vehicle Information Menu ? in the
Driver Information Centre 3 96.
● Light for comfort pressure up to
three people.
● Eco for Eco pressure up to three
people.
● Max for full loading.
Uplevel display:
Select the Tyre load page under the
Options Menu in the Driver
Information Centre 3 96.
● Light for comfort pressure up to
three people.
● Eco for Eco pressure up to three
people.
● Max for full loading.
Tyre pressure sensor matching process
Each tyre pressure sensor has a
unique identification code. The
identification code must be matched
to a new wheel position after rotating
the wheels or exchanging the
complete wheel set and if one or more tyre pressure sensors were replaced.
The tyre pressure sensor matching
process should also be performed
after replacing a spare wheel with a
road wheel containing a tyre pressure sensor.
The malfunction light w and the
warning message should extinguish
at the next ignition cycle. The sensors
are matched to the wheel positions,
using a relearn tool, in the following
order: left side front wheel, right side
front wheel, right side rear wheel and
Page 205 of 253
Vehicle care203left side rear wheel. The turn signal
light at the current active position is
illuminated until sensor is matched.
Consult a workshop for service. There
are two minutes to match the first
wheel position, and five minutes
overall to match all four wheel
positions. If it takes longer, the
matching process stops and must be
restarted.
The tyre pressure sensor matching
process is:
1. Apply the parking brake.
2. Turn the ignition on.
3. On vehicles with automatic transmission: set the selector
lever to P.
On vehicles with manual
transmission: select neutral.
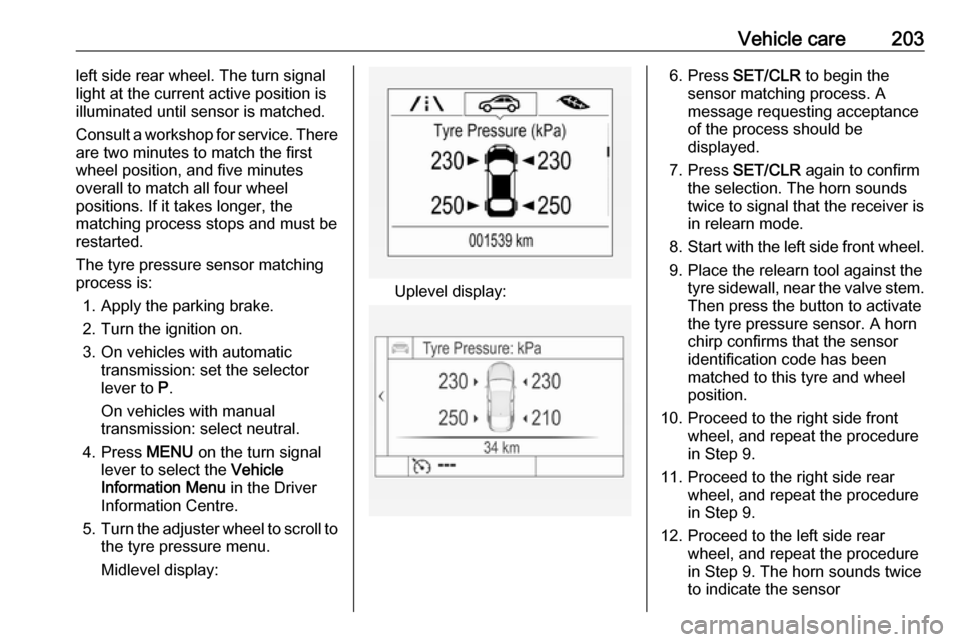
4. Press MENU on the turn signal
lever to select the Vehicle
Information Menu in the Driver
Information Centre.
5. Turn the adjuster wheel to scroll to
the tyre pressure menu.
Midlevel display:
Uplevel display:
6. Press SET/CLR to begin the
sensor matching process. A
message requesting acceptance
of the process should be
displayed.
7. Press SET/CLR again to confirm
the selection. The horn sounds
twice to signal that the receiver is
in relearn mode.
8. Start with the left side front wheel.
9. Place the relearn tool against the tyre sidewall, near the valve stem.Then press the button to activate
the tyre pressure sensor. A horn
chirp confirms that the sensor
identification code has been
matched to this tyre and wheel
position.
10. Proceed to the right side front wheel, and repeat the procedure
in Step 9.
11. Proceed to the right side rear wheel, and repeat the procedure
in Step 9.
12. Proceed to the left side rear wheel, and repeat the procedure
in Step 9. The horn sounds twice
to indicate the sensor