rear compartment VAUXHALL MOKKA X 2019 Owner's Manual
[x] Cancel search | Manufacturer: VAUXHALL, Model Year: 2019, Model line: MOKKA X, Model: VAUXHALL MOKKA X 2019Pages: 253, PDF Size: 7.09 MB
Page 22 of 253

20Keys, doors and windowsKeys, doors and
windowsKeys, locks ................................... 20
Keys .......................................... 20
Radio remote control .................21
Electronic key system ................22
Memorised settings ...................24
Central locking system ..............24
Delayed locking ......................... 27
Automatic locking ......................28
Child locks ................................. 29
Doors ........................................... 29
Load compartment ....................29
Vehicle security ............................ 30
Anti-theft locking system ...........30
Anti-theft alarm system ..............30
Immobiliser ................................ 31
Exterior mirrors ............................ 32
Convex shape ........................... 32
Electric adjustment ....................32
Folding mirrors .......................... 32
Heated mirrors ........................... 33
Interior mirrors ............................. 33
Manual anti-dazzle ....................33
Automatic anti-dazzle ................34Windows...................................... 34
Windscreen ............................... 34
Manual windows ........................34
Power windows ......................... 34
Heated rear window ..................36
Sun visors .................................. 36
Roof ............................................. 36
Sunroof ...................................... 36Keys, locks
KeysCaution
Do not attach heavy or bulky itemsto the ignition key.
Replacement keys
The key number is specified on a
detachable tag.
The key number must be quoted
when ordering replacement keys as it
is a component of the immobiliser
system.
Locks 3 217.
Central locking 3 24.
Starting the engine 3 136.
Radio remote control 3 21.
Electronic key 3 22.
The code number of the adapter for
the locking wheel nuts is specified on
a card. It must be quoted when
ordering a replacement adapter.
Page 31 of 253

Keys, doors and windows29The setting can be saved for the
electronic key being used 3 24.
Child locks9 Warning
Use the child locks whenever
children are occupying the rear
seats.
Using a key or suitable screwdriver,
turn the child lock in the rear door to
the horizontal position. The door
cannot be opened from the inside. For
deactivation turn the child lock to the
vertical position.
Doors
Load compartment Tailgate
Opening
After unlocking, push the touchpad
switch and open the tailgate.
Closing
Use one of the interior handles.
Do not push the touchpad switch or
the brand emblem whilst closing as
this will unlock the tailgate again.
Central locking system 3 24.
General hints for operating
tailgate9 Danger
Do not drive with the tailgate open
or ajar, e.g. when transporting
bulky objects, since toxic exhaust
gases, which cannot be seen or
smelled, could enter the vehicle.
This can cause unconsciousness
and even death.
Caution
Before opening the tailgate, check overhead obstructions, e.g. a
garage door, to avoid damage to
the tailgate. Always check the
moving area above and behind the
tailgate.
Notice
The installation of certain heavy
accessories onto the tailgate may
affect its ability to remain open.
Page 60 of 253

58StorageStorageStorage compartments................58
Glovebox ................................... 58
Cupholders ................................ 58
Front storage ............................. 59
Underseat storage .....................59
Centre console storage .............60
Rear carrier system ...................60
Load compartment .......................70
Load compartment cover ...........71
Rear floor storage cover ............72
Lashing eyes ............................. 72
Warning triangle ........................72
First aid kit ................................. 72
Roof rack system .........................73
Roof rack ................................... 73
Loading information .....................73Storage compartments9Warning
Do not store heavy or sharp
objects in the storage
compartments. Otherwise, the
storage compartment lid could
open and vehicle occupants could be injured by objects being thrown
around in the event of hard
braking, a sudden change in
direction or an accident.
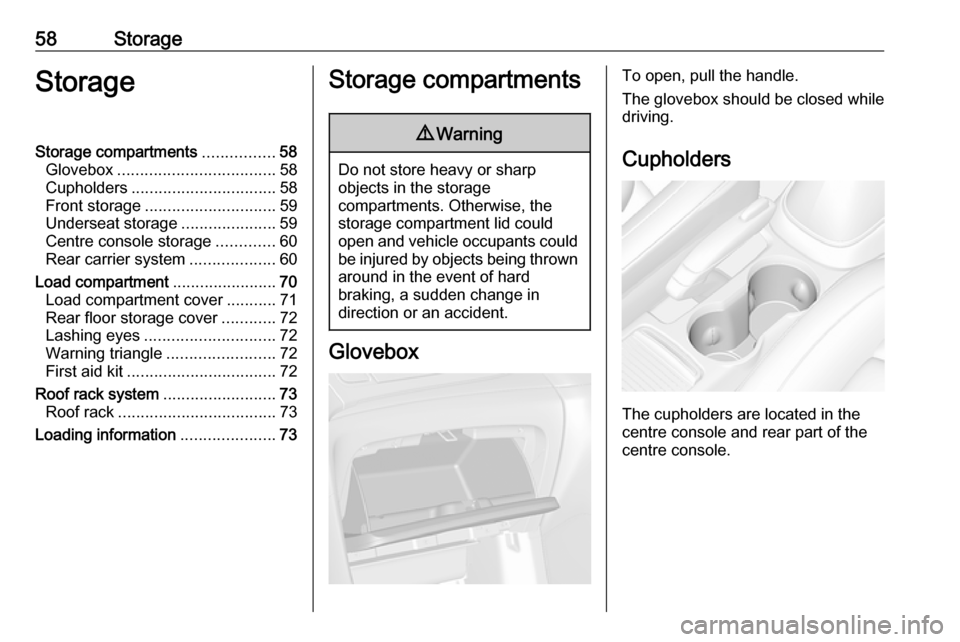
Glovebox
To open, pull the handle.
The glovebox should be closed while
driving.
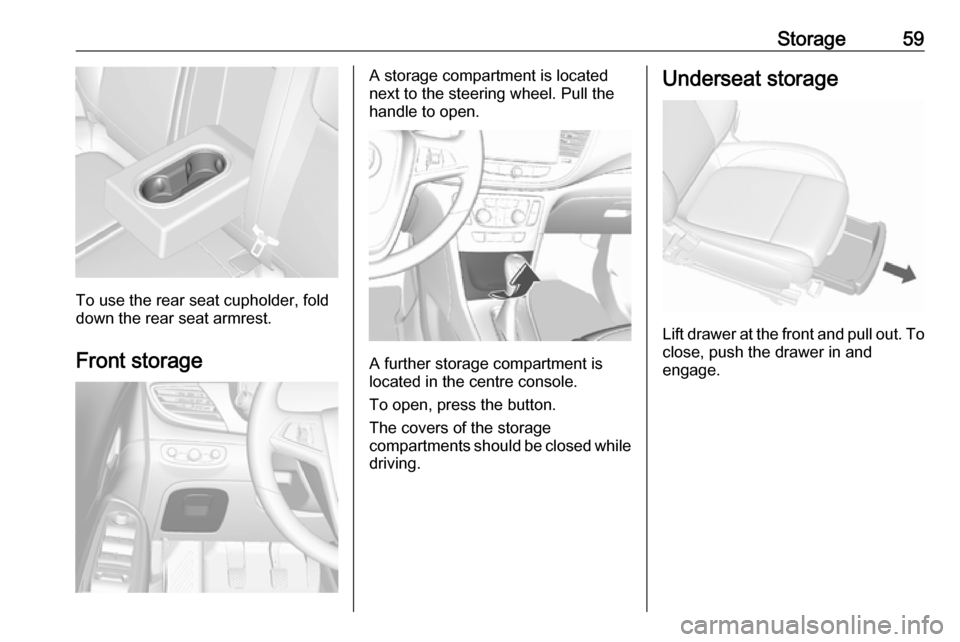
Cupholders
The cupholders are located in the
centre console and rear part of the
centre console.
Page 61 of 253

Storage59
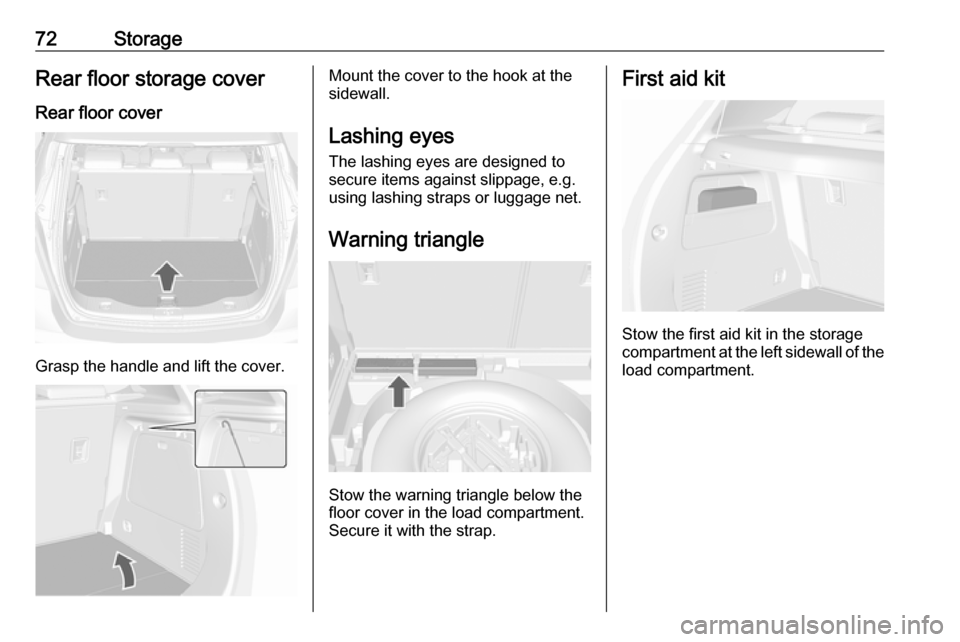
To use the rear seat cupholder, fold
down the rear seat armrest.
Front storage
A storage compartment is located
next to the steering wheel. Pull the
handle to open.
A further storage compartment is
located in the centre console.
To open, press the button.
The covers of the storage
compartments should be closed while
driving.
Underseat storage
Lift drawer at the front and pull out. To close, push the drawer in and
engage.
Page 68 of 253

66Storage
Use the short accessory mounting
bracket to attach the third bicycle.
The bracket must be fixed
between the frames of the second and third bicycle.
6. Additionally, secure both bicycle wheels of the third bicycle to the
wheel recesses using the
tensioning straps.
It is recommended to attach a
warning sign to the rearmost bicycle,
to increase visibility.
Fold the rear carrier system
backwards
The rear carrier system can be folded
backwards to gain access to the load compartment.
● Without attached adapter:
Push the lever ( 1) to disengage
and hold it.
Pull the rack ( 2) backwards to
fold the rear carrier system.
● With attached adapter:9 Warning
Take care when disengaging the
rear carrier system as it will tilt
backwards. Risk of injury.
Hold frame ( 1) of rearmost
bicycle with one hand and pull the
loop ( 2) to disengage.
Hold rearmost bicycle with both
hands and fold the rear carrier
system backwards.
Page 72 of 253

70StorageLoad compartmentLoad compartment extensionCaution
First fold down the rear seat
cushion before folding the rear
seat backrest.
Disregard may lead to damage to
the rear seat.
1. Push head restraints down by pressing the catch.
Notice
To ensure sufficient room for rear
seat cushion operation, slide the
front seat forward and move the front seat backrest upright.
2. Pull the loop under the seat cushion and fold down the seat
cushion.
3. Pull the release lever on top of the
rear backrest.
4. Fold the backrest forward and down.
5.Put the seat belts for the outboard
seats into the belt guides.
Page 73 of 253

Storage71To return the backrest to the original
position, pull out the seat belt from the
belt guides and lift backrest up.
Push backrest firmly into place.9 Warning
When folding up, ensure that
backrests are securely engaged in position before driving. Failure to
do so may result in personal injury or damage to the load or vehicle in
the event of hard braking or a
collision.
Ensure the seat belts are not pinched by the latch.
The centre rear seat belt may lock
when you raise the backrest. If this
happens, allow the belt go back all the
way and repeat operation.
If the seat belt is still locked, fold down the seat cushion and try again.
To return the rear seat cushion, put
the rear part of the seat cushion in its original position ensuring that the
seat belt buckle straps are not twisted
or caught under the seat cushion,
then push the front part of the seat
cushion firmly down until it latches.Caution
When returning rear seat backrest
to the upright position, place the
rear seat belt and buckles
between the rear seat backrest
and one cushion. Make sure the
rear seat belt and buckles do not
get pinched under the rear seat
cushion.
Ensure the seat belts are not twisted or caught in the seat
backrest and are arranged in their proper position.
Load compartment cover
Do not place any objects on the cover.
Removing Unhook retaining straps from tailgate. Lift cover at the rear and push it
upwards at the front.
Remove the cover.
Fitting Engage cover in side guides and fold
downwards.
Attach retaining straps to tailgate.
Page 74 of 253

72StorageRear floor storage coverRear floor cover
Grasp the handle and lift the cover.
Mount the cover to the hook at the
sidewall.
Lashing eyes The lashing eyes are designed to
secure items against slippage, e.g.
using lashing straps or luggage net.
Warning triangle
Stow the warning triangle below the
floor cover in the load compartment. Secure it with the strap.
First aid kit
Stow the first aid kit in the storage
compartment at the left sidewall of the load compartment.
Page 106 of 253

104Instruments and controlsWarning chimesIf several warnings appear at the
same time, only one warning chime
will sound.
When starting the engine or whilst driving
The warning chime regarding unfastened seat belts has priority
over any other warning chime.
● If a door, the tailgate or bonnet is
open.
● If seat belt is not fastened.
● If a certain speed is exceeded with parking brake applied.
● If a programmed speed or speed
limit is exceeded.
● If a warning message appears in the Driver Information Centre.
● If approaching a vehicle ahead too closely.
● If the electronic key is not in the passenger compartment.
● If an unintended lane change occurs.● If the parking assist detects an object.
● If the fuel level is low.
When the vehicle is parked and/or the driver's door is opened
● With exterior lights on.
During an Autostop ● If the driver's door is opened.
● If any condition for an autostart is
not fulfilled.
Battery voltage
When the battery voltage is running low, a warning message or warningcode 174 will appear in the Driver
Information Centre.
1. Switch off immediately any electrical consumers which are
not required for a safe ride, e.g.
seat heating, heated rear window
or other main consumers.
2. Charge the battery by driving continuously for a while or by
using a charging device.The warning message or warning
code will disappear after the engine
has been started twice consecutively without a voltage drop.
If the battery cannot be recharged,
have the cause of the fault remedied
by a workshop.
Page 178 of 253

176Driving and operatingTrailer towingTrailer loadsThe permissible trailer loads are
vehicle and engine-dependent
maximum values which must not be
exceeded. The actual trailer load is
the difference between the actual
gross weight of the trailer and the
actual coupling socket load with the
trailer coupled.
The permissible trailer loads are
specified in the vehicle documents. In
general, they are valid for gradients
up to max. 12%.
The permitted trailer loads apply up to the specified incline and up to an
altitude of 1000 m above sea level.
Since engine power decreases as
altitude increases due to the air
becoming thinner, therefore reducing
climbing ability, the permissible gross
train weight also decreases by 10%
for every 1000 m of additional
altitude. The gross train weight does
not have to be reduced when driving
on roads with slight inclines (less than 8%, e.g. motorways).The permissible gross train weight
must not be exceeded. This weight is
specified on the identification plate
3 223.
Vertical coupling load
The vertical coupling load is the load
exerted by the trailer on the coupling
ball. It can be varied by changing the
weight distribution when loading the
trailer.
The maximum permissible vertical
coupling load (75 kg) is specified on
the towing equipment identification
plate and in the vehicle documents.
Always aim for the maximum load,
especially in the case of heavy
trailers. The vertical coupling load
should never fall below 25 kg.
Rear axle load
The permissible axle loads (see
identification plate or vehicle
documents) must not be exceeded.Towing equipmentCaution
When operating without a trailer,
remove the coupling ball bar.
Stowage of coupling ball bar
The bag with the coupling ball bar is
stowed in the rear stowage
compartment on the floor.
Place the strap through the lashing
eye, wrap around twice and tighten
the strap to secure the bag.