steering wheel VAUXHALL MOVANO_B 2018.5 User Guide
[x] Cancel search | Manufacturer: VAUXHALL, Model Year: 2018.5, Model line: MOVANO_B, Model: VAUXHALL MOVANO_B 2018.5Pages: 269, PDF Size: 6.41 MB
Page 104 of 269
102Instruments and controlsIlluminates together with control
indicator A to indicate a system
failure or as a warning that engine
starting may not be possible after a
certain distance. Seek the assistance
of a workshop immediately.
A corresponding message may
appear in the Driver Information
Centre 3 104.
AdBlue 3 145.
Tyre pressure monitoring
system
w illuminates or flashes yellow.
Illuminates briefly when the ignition is
switched on.
Illuminates
Tyre pressure loss. Stop immediately
and check tyre pressure.
Control indicator w illuminates
together with C 3 100 and a
corresponding message appears in
the Driver Information Centre when a puncture or severely under-inflatedtyre is detected.Flashes
Fault in system. After a delay the
control indicator illuminates
continuously. Consult a workshop.
Control indicator w illuminates
together with A 3 99 and a
corresponding message appears in the Driver Information Centre when a tyre without a pressure sensor is
mounted (e.g. spare wheel).
Tyre pressure monitoring system
3 205.
Engine oil pressure
I illuminates red.
Illuminates briefly when the ignition is switched on.
Illuminates when the engine is
runningCaution
Engine lubrication may be
interrupted. This may result in
damage to the engine and/or
locking of the drive wheels.
1. Depress clutch.
2. Select neutral gear, set selector lever to N.
3. Move out of the flow of traffic as quickly as possible without
impeding other vehicles.
4. Switch off ignition.9 Warning
When the engine is off,
considerably more force is needed
to brake and steer. During an
Autostop the brake servo unit will still be operational.
Do not remove key until vehicle is stationary, otherwise the steeringwheel lock could engage
unexpectedly.
Check oil level before seeking
assistance of a workshop 3 181.
Low fuel
Y illuminates yellow.
Illuminates when the ignition is
switched on and extinguishes shortly
after the engine starts.
Page 115 of 269
Lighting113Headlights when driving
abroad
The asymmetrical headlight beam
extends visibility at the edge of the
road at the passenger side.
However, when driving in countries
where traffic drives on the opposite
side of the road, adjust the headlights to prevent dazzling of oncoming
traffic.
Have the headlights adjusted by a
workshop.
Daytime running lights Daytime running lights increase
visibility of the vehicle during daylight.
The lights operate automatically
when the ignition is switched on.
If the vehicle is equipped with the
automatic light control function, the
system switches between daytime
running lights and headlights
automatically depending on the
lighting conditions.
Automatic light control 3 110.Cornering lights
Depending on the steering angle,
vehicle speed and gear selected
when cornering, an additional light
will illuminate the corner of the road
on the respective side when the
headlights are switched on.
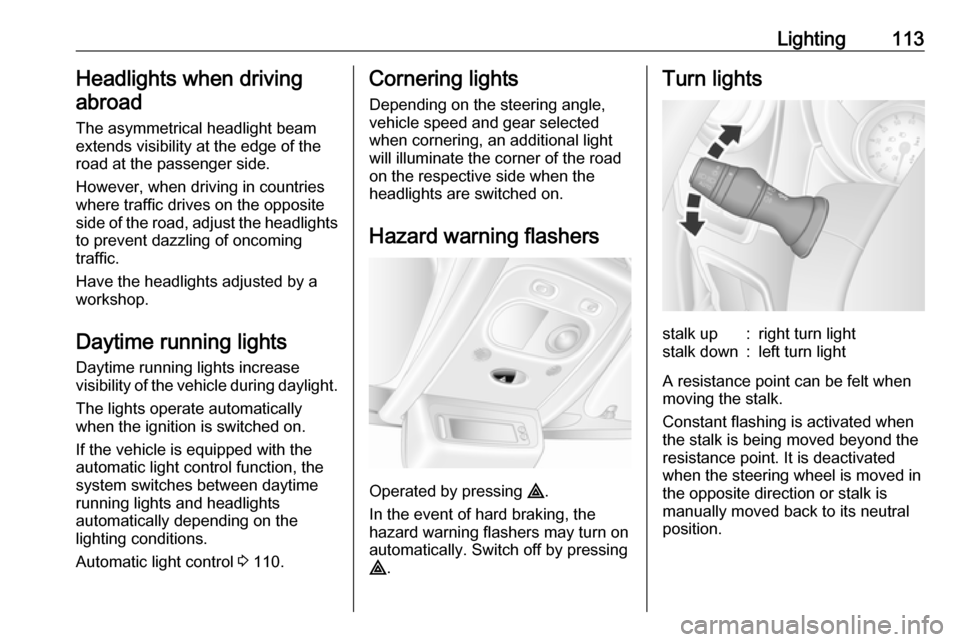
Hazard warning flashers
Operated by pressing ¨.
In the event of hard braking, the
hazard warning flashers may turn on automatically. Switch off by pressing
¨ .
Turn lightsstalk up:right turn lightstalk down:left turn light
A resistance point can be felt when
moving the stalk.
Constant flashing is activated when
the stalk is being moved beyond the
resistance point. It is deactivated
when the steering wheel is moved in
the opposite direction or stalk is
manually moved back to its neutral
position.
Page 119 of 269
Lighting117Lighting features
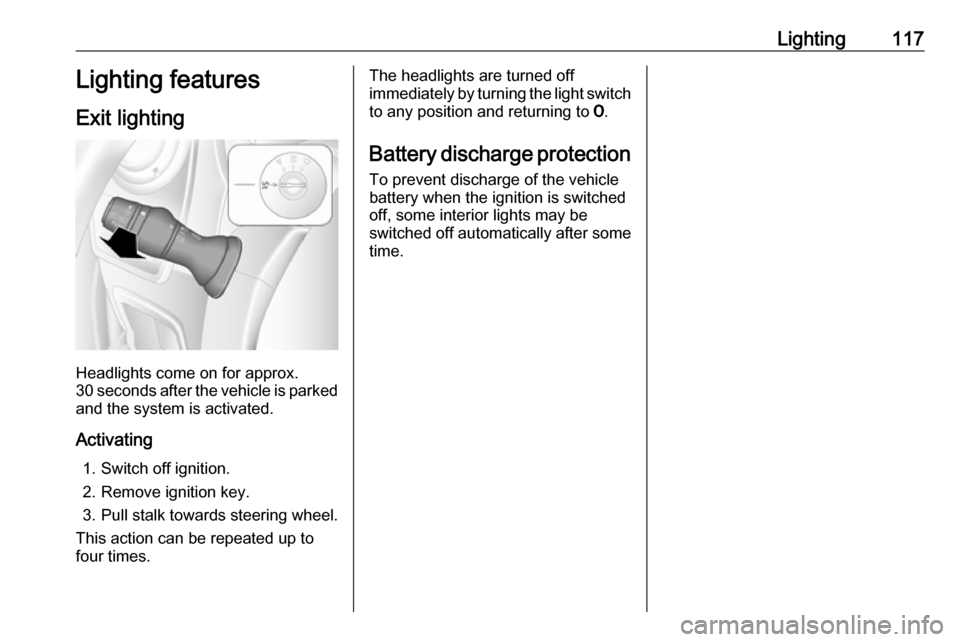
Exit lighting
Headlights come on for approx.
30 seconds after the vehicle is parked
and the system is activated.
Activating 1. Switch off ignition.
2. Remove ignition key.
3. Pull stalk towards steering wheel.
This action can be repeated up to
four times.
The headlights are turned off immediately by turning the light switch
to any position and returning to 7.
Battery discharge protection To prevent discharge of the vehicle
battery when the ignition is switched
off, some interior lights may be
switched off automatically after some
time.
Page 138 of 269
136Driving and operatingCaution
Vehicles equipped with hydraulic
power steering:
If the steering wheel is turned until it reaches the end of its travel, and
is held in that position for more
than 15 seconds, damage may
occur to the power steering
system and there may be loss of
power steering assist.
Starting and operating
New vehicle running-in
Do not brake unnecessarily hard for
the first few journeys and after new
disc brake pads have been fitted.
During the first drive, smoke may
occur because of wax and oil
evaporating off the exhaust system.
Park the vehicle in the open for a
while after the first drive and avoid
inhaling the fumes.
During the running-in period fuel and engine oil consumption may be
higher and the cleaning process of the diesel particle filter may take
place more often. Autostop may be
inhibited to allow for charging the
vehicle battery.
Stop-start system 3 138.
Diesel particle filter 3 144.
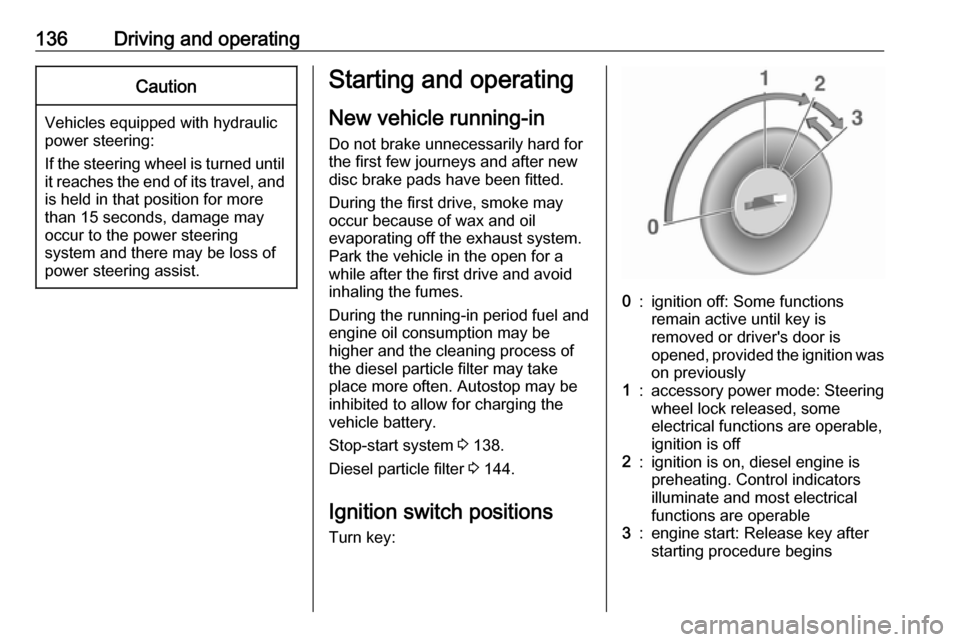
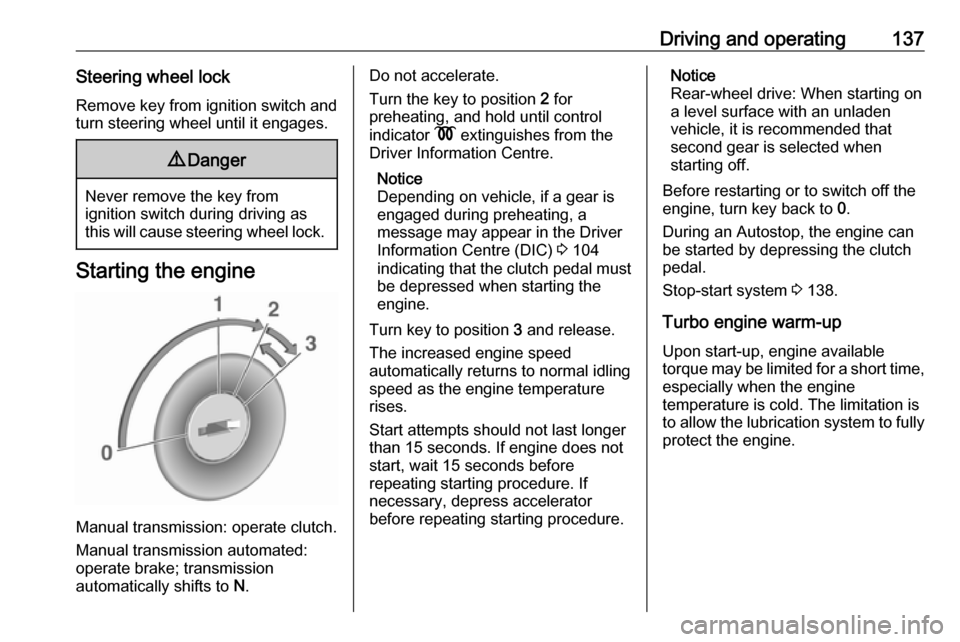
Ignition switch positions Turn key:0:ignition off: Some functions
remain active until key is
removed or driver's door is
opened, provided the ignition was
on previously1:accessory power mode: Steering wheel lock released, some
electrical functions are operable,
ignition is off2:ignition is on, diesel engine is
preheating. Control indicators
illuminate and most electrical
functions are operable3:engine start: Release key after
starting procedure begins
Page 139 of 269
Driving and operating137Steering wheel lockRemove key from ignition switch and
turn steering wheel until it engages.9 Danger
Never remove the key from
ignition switch during driving as
this will cause steering wheel lock.
Starting the engine
Manual transmission: operate clutch.
Manual transmission automated:
operate brake; transmission
automatically shifts to N.
Do not accelerate.
Turn the key to position 2 for
preheating, and hold until control
indicator N extinguishes from the
Driver Information Centre.
Notice
Depending on vehicle, if a gear is
engaged during preheating, a
message may appear in the Driver
Information Centre (DIC) 3 104
indicating that the clutch pedal must be depressed when starting the
engine.
Turn key to position 3 and release.
The increased engine speed
automatically returns to normal idling
speed as the engine temperature
rises.
Start attempts should not last longer
than 15 seconds. If engine does not
start, wait 15 seconds before
repeating starting procedure. If
necessary, depress accelerator
before repeating starting procedure.Notice
Rear-wheel drive: When starting on
a level surface with an unladen
vehicle, it is recommended that
second gear is selected when
starting off.
Before restarting or to switch off the
engine, turn key back to 0.
During an Autostop, the engine can
be started by depressing the clutch
pedal.
Stop-start system 3 138.
Turbo engine warm-up
Upon start-up, engine available
torque may be limited for a short time, especially when the engine
temperature is cold. The limitation is
to allow the lubrication system to fully
protect the engine.
Page 144 of 269
142Driving and operating● Close the windows.
● Turn the ignition key to position
0 and remove it. Turn the
steering wheel until the
steering wheel lock is felt to
engage.
Lock the vehicle 3 24 and activate the
anti-theft locking system 3 35 and
anti-theft alarm system 3 36.
Air suspension
Operates automatically when the
vehicle is driven. The air suspension
system constantly adjusts the ride
height according to the vehicle load.
Caution
To ensure safe operation of the air
suspension system, do not exceed the maximum permissible gross
vehicle weight rating. Refer to
identification plate 3 228 or the
vehicle documents.
For further information on the air
suspension system, refer to the
operating instructions supplied.
Master switchCaution
The air suspension system must
be switched off when the vehicle is being towed, jump‐started, raised
off the ground or transported.
Do not switch off the air
suspension system when driving.
Jump starting 3 217.
Towing the vehicle 3 219.
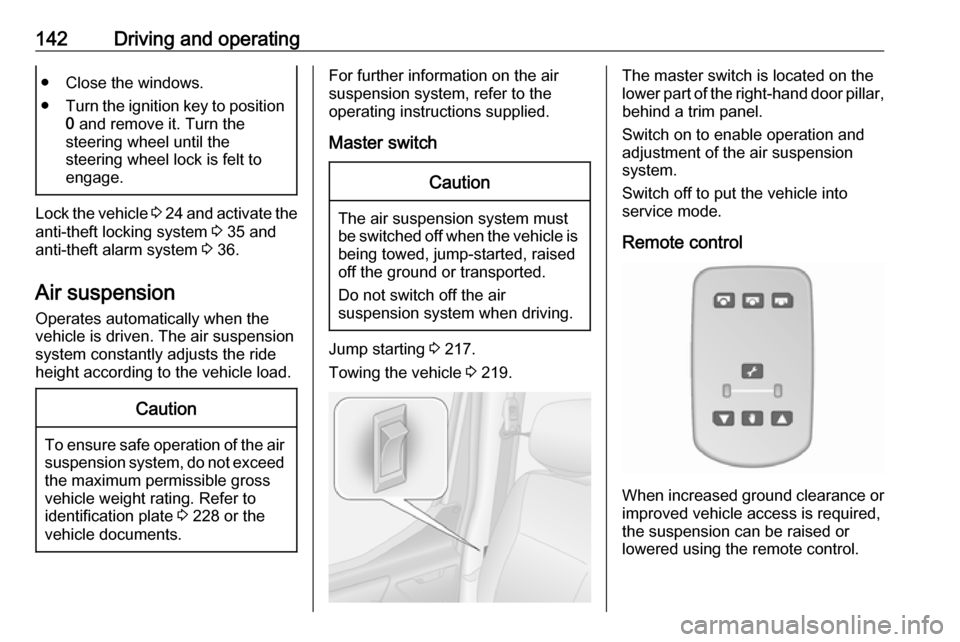
The master switch is located on the
lower part of the right-hand door pillar,
behind a trim panel.
Switch on to enable operation and
adjustment of the air suspension
system.
Switch off to put the vehicle into
service mode.
Remote control
When increased ground clearance or improved vehicle access is required,
the suspension can be raised or
lowered using the remote control.
Page 172 of 269
170Driving and operatingThe area displayed by the camera is
limited. The distance of the image that
appears on the display differs from
the actual distance.
Notice
To achieve the optimum visibility, the
rear view camera must not be
obscured by dirt, snow or ice.
Activation
Interior mirror display screen
Rear view camera display is
automatically activated when reverse
gear is engaged. An audible signal
confirms activation.
Info Display
In vehicles with navigation system,
the rear view camera display is shown
on the Info Display.
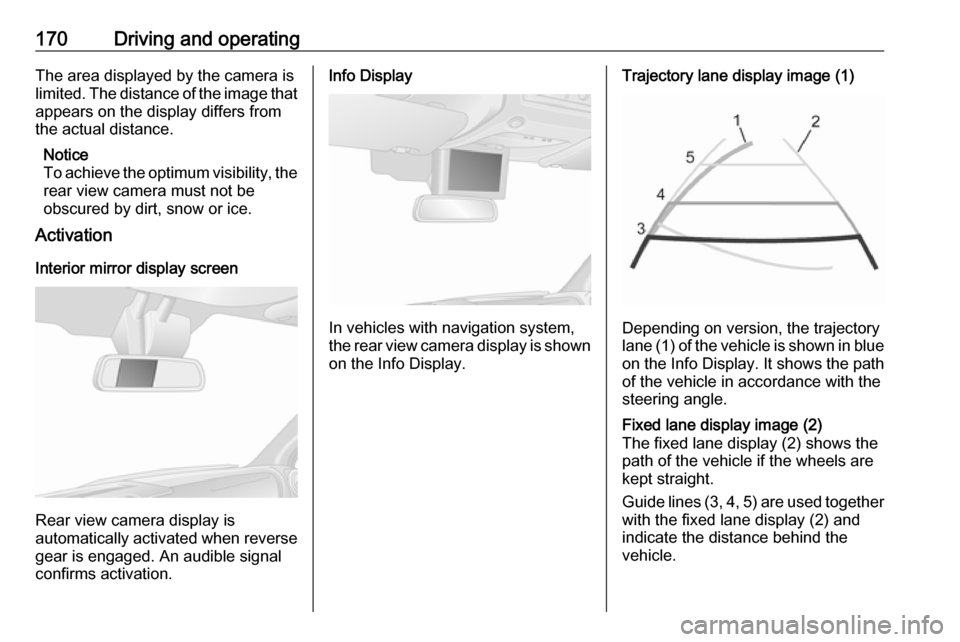
Trajectory lane display image (1)
Depending on version, the trajectory
lane (1) of the vehicle is shown in blue
on the Info Display. It shows the path of the vehicle in accordance with the
steering angle.
Fixed lane display image (2)
The fixed lane display (2) shows the
path of the vehicle if the wheels are
kept straight.
Guide lines (3, 4, 5) are used together
with the fixed lane display (2) and
indicate the distance behind the
vehicle.
Page 178 of 269
176Driving and operatingIn the case of trailer loads of
1200 kg or more, the vertical coupling load should not be less than 50 kg.
Rear axle load When the trailer is coupled and the
towing vehicle fully loaded (including all occupants), the permissible rear
axle load (see identification plate or
vehicle documents) must not be
exceeded.
Towing equipmentCaution
When operating without a trailer,
remove the coupling ball bar.
Towing equipment audible
warning
For vehicles fitted with towing
equipment, when connected to a
trailer the pitch of the audible warning
changes upon operation of the turn
lights.
The pitch of the audible warning will
change if a turn light on the trailer or
the towing vehicle fails.
Trailer stability assist
If the system detects snaking
movements, engine power is reduced
and the vehicle/trailer combination is
selectively braked until the snaking ceases. While the system is working,keep steering wheel as still as
possible.
Trailer stability assist (TSA) is a
function of the Electronic Stability
Program (ESP) 3 160.Auxiliary features
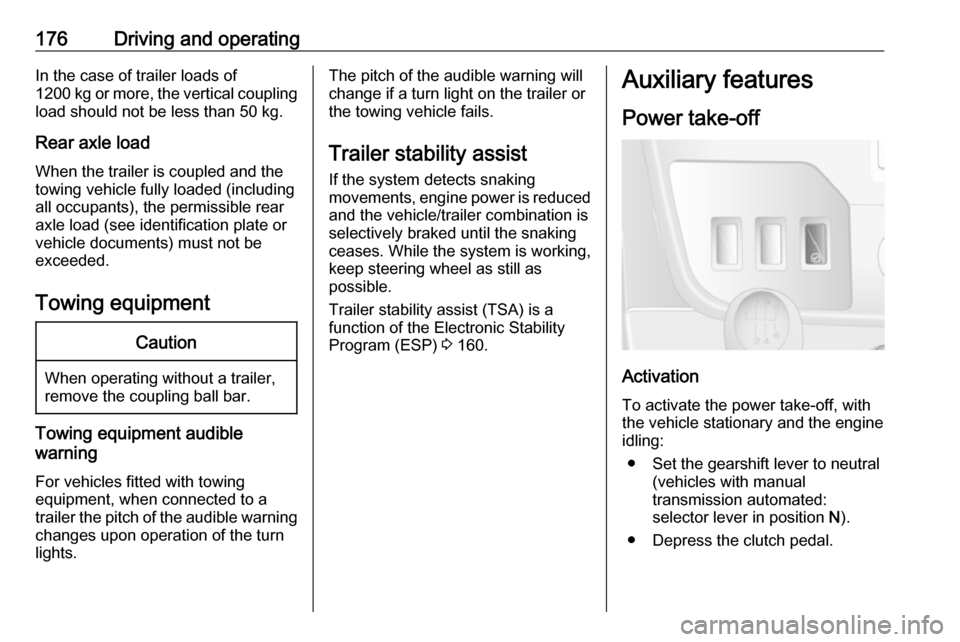
Power take-off
Activation
To activate the power take-off, with
the vehicle stationary and the engine
idling:
● Set the gearshift lever to neutral (vehicles with manual
transmission automated:
selector lever in position N).
● Depress the clutch pedal.
Page 180 of 269

178Vehicle careVehicle careGeneral Information...................179
Accessories and vehicle modifications .......................... 179
Vehicle storage ........................179
End-of-life vehicle recovery .....180
Vehicle checks ........................... 180
Performing work ......................180
Bonnet ..................................... 180
Engine oil ................................. 181
Engine coolant ......................... 183
Power steering fluid .................183
Washer fluid ............................ 184
Brakes ..................................... 185
Brake fluid ............................... 185
Vehicle battery ......................... 185
Diesel fuel filter ........................187
Diesel fuel system bleeding .....188
Wiper blade replacement ........188
Bulb replacement .......................189
Headlights ............................... 189
Fog lights ................................. 192
Front turn lights .......................192
Tail lights ................................. 193
Side turn lights ......................... 195Centre high-mounted brake
light ......................................... 195
Number plate light ...................196
Interior lights ............................ 197
Instrument panel illumination ...198
Electrical system ........................198
Fuses ....................................... 198
Engine compartment fuse box . 199
Instrument panel fuse box .......200
Load compartment fuse box ....201
Vehicle tools .............................. 203
Tools ........................................ 203
Wheels and tyres .......................204
Tyres ....................................... 204
Winter tyres ............................. 204
Tyre designations ....................204
Tyre pressure .......................... 204
Tyre pressure monitoring system .................................... 205
Tread depth ............................. 207
Changing tyre and wheel size . 208 Wheel covers ........................... 208
Tyre chains .............................. 208
Tyre repair kit .......................... 209
Wheel changing .......................212
Spare wheel ............................ 214
Jump starting ............................. 217Towing....................................... 219
Towing the vehicle ...................219
Towing another vehicle ...........220
Appearance care .......................221
Exterior care ............................ 221
Interior care ............................. 223
Page 185 of 269
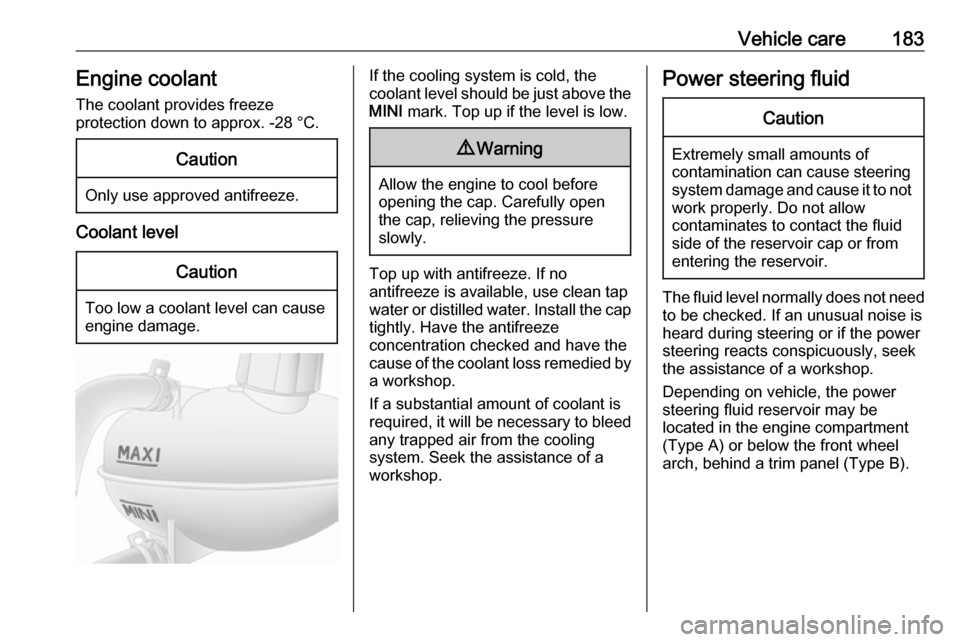
Vehicle care183Engine coolant
The coolant provides freeze
protection down to approx. -28 °C.Caution
Only use approved antifreeze.
Coolant level
Caution
Too low a coolant level can cause engine damage.
If the cooling system is cold, the
coolant level should be just above the
MINI mark. Top up if the level is low.9Warning
Allow the engine to cool before
opening the cap. Carefully open
the cap, relieving the pressure
slowly.
Top up with antifreeze. If no
antifreeze is available, use clean tap
water or distilled water. Install the cap
tightly. Have the antifreeze
concentration checked and have the
cause of the coolant loss remedied by a workshop.
If a substantial amount of coolant is
required, it will be necessary to bleed
any trapped air from the cooling
system. Seek the assistance of a
workshop.
Power steering fluidCaution
Extremely small amounts of
contamination can cause steering
system damage and cause it to not work properly. Do not allow
contaminates to contact the fluid
side of the reservoir cap or from
entering the reservoir.
The fluid level normally does not need
to be checked. If an unusual noise is
heard during steering or if the power
steering reacts conspicuously, seek
the assistance of a workshop.
Depending on vehicle, the power
steering fluid reservoir may be
located in the engine compartment
(Type A) or below the front wheel
arch, behind a trim panel (Type B).