stop start VAUXHALL VIVA 2018.5 Owner's Guide
[x] Cancel search | Manufacturer: VAUXHALL, Model Year: 2018.5, Model line: VIVA, Model: VAUXHALL VIVA 2018.5Pages: 201, PDF Size: 5.36 MB
Page 116 of 201
114Driving and operatingCaution
It is not advisable to drive with thehand resting on the selector lever.
Upshift indication 3 73.
Stop-start system 3 109.
Manual transmission
automated
The automated manual transmission permits manual gearshifting (manual
mode) or automatic gearshifting
(automatic mode), both with
automatic clutch control.
Manual shifting is possible by tapping the selector lever in manual mode.
Notice
When unlocking or opening a
vehicle door, a sound may be
audible caused by the hydraulic
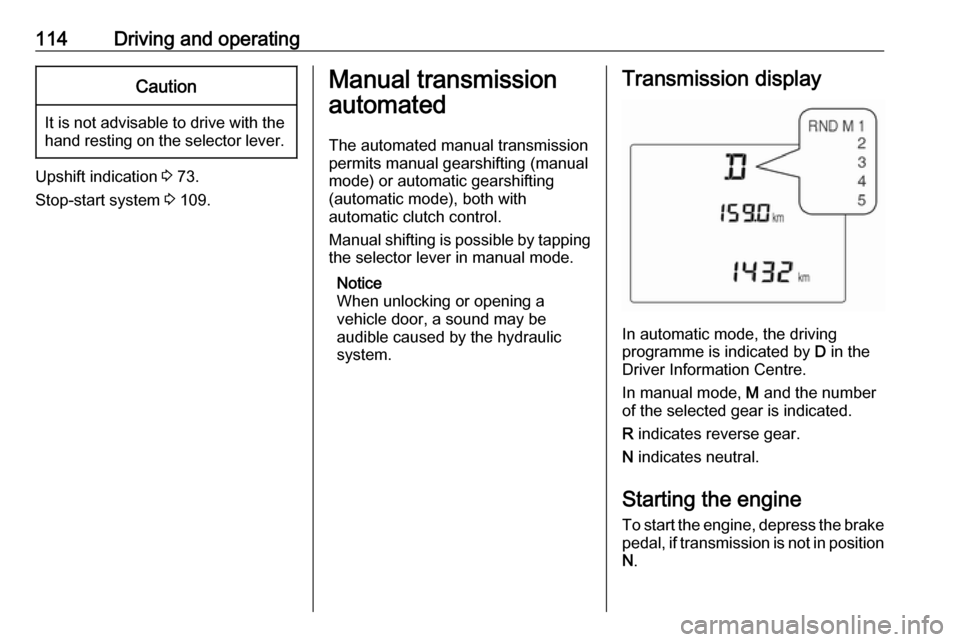
system.Transmission display
In automatic mode, the driving
programme is indicated by D in the
Driver Information Centre.
In manual mode, M and the number
of the selected gear is indicated.
R indicates reverse gear.
N indicates neutral.
Starting the engine
To start the engine, depress the brake
pedal, if transmission is not in position N .
Page 117 of 201

Driving and operating115Transmission automatically shifts to
N upon starting. There may be a slight
delay.
Starting is not possible if all brake
lights fail.
Selector lever
Always move the selector lever in the
appropriate direction as far as it will
go. Upon release, it automatically
returns to the centre position.
Notice
Do not hold the selector lever in an
intermediate position. Not fully
engaging a gear may lead to
malfunction and the error code 81
may be displayed in the Driver
Information Centre.
Return the selector lever to the
centre position. After a short while N
will be displayed in the Driver
Information Centre and the system
will operate normally again.
Vehicle messages 3 82.N:neutral positionD/M:switch between automatic (D)
and manual (M) shift mode.
The transmission display
shows either D or M with the
selected gear<:upshifting in manual mode]:downshifting in manual modeR:reverse gear. Engage only
when vehicle is stationary
If selector lever is moved from R to the
left, D is directly engaged.
If selector lever is moved from D to
< or ], manual mode M is selected
and the transmission shifts.
Starting off
Depress the brake pedal and move
the selector lever to D/M or R. If D is
selected, transmission is in automatic mode and first gear is engaged. If R
is selected, reverse gear is engaged.
The vehicle starts to move when the
brake pedal is released.
To start off immediately without
depressing the brake pedal, move the selector lever to D or R. D or R will
flash for a short time in the Driver
Information Centre. Accelerate as
long as D or R flashes. The selected
gear is engaged and the vehicle starts moving.
If the accelerator pedal is not
depressed as long as D or R are
flashing in the Driver Information
Centre, no gear is engaged.
Stopping the vehicle In D, first gear is engaged and the
clutch is released when the vehicle is
stopped. In R, reverse gear remains
engaged.
Page 120 of 201
118Driving and operatingFault9Warning
If there is a fault in the ABS, the
wheels may be liable to lock due
to braking that is heavier than
normal. The advantages of ABS are no longer available. During
hard braking, the vehicle can no longer be steered and may
swerve.
Have the cause of the fault remedied
by a workshop.
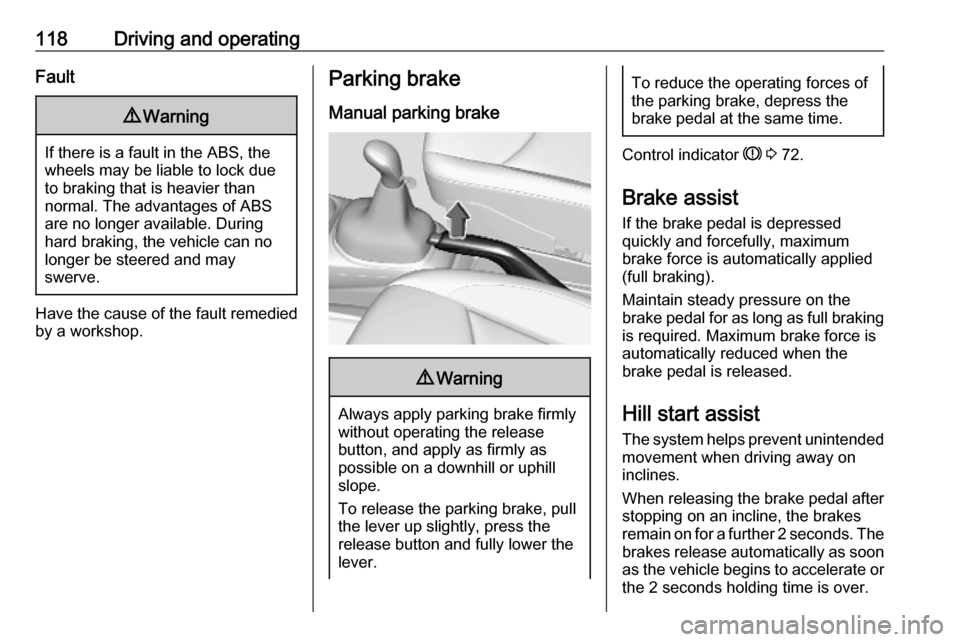
Parking brake
Manual parking brake9 Warning
Always apply parking brake firmly
without operating the release
button, and apply as firmly as
possible on a downhill or uphill
slope.
To release the parking brake, pull
the lever up slightly, press the
release button and fully lower the
lever.
To reduce the operating forces of
the parking brake, depress the
brake pedal at the same time.
Control indicator R 3 72.
Brake assist
If the brake pedal is depressed
quickly and forcefully, maximum
brake force is automatically applied
(full braking).
Maintain steady pressure on the
brake pedal for as long as full braking is required. Maximum brake force is
automatically reduced when the
brake pedal is released.
Hill start assist
The system helps prevent unintended movement when driving away on
inclines.
When releasing the brake pedal after
stopping on an incline, the brakes
remain on for a further 2 seconds. The brakes release automatically as soon
as the vehicle begins to accelerate or the 2 seconds holding time is over.
Page 123 of 201
Driving and operating121ESC is reactivated by pressing t
again. If the TC system was
previously disabled, both TC and
ESC are reactivated. k and t
extinguish when TC and ESC are
reactivated.
ESC is also reactivated the next time
the ignition is switched on.
Fault
If there is a fault in the system, the control indicator b illuminates
continuously and a warning code
appears in the Driver Information
Centre. The system is not
operational.
Have the cause of the fault remedied
by a workshop.
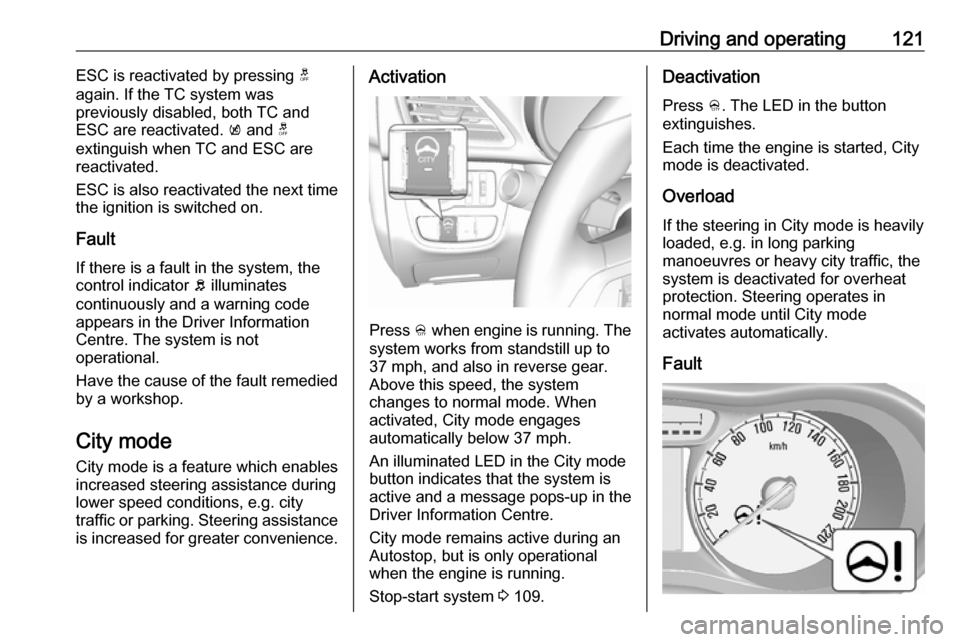
City mode City mode is a feature which enablesincreased steering assistance during
lower speed conditions, e.g. city
traffic or parking. Steering assistance
is increased for greater convenience.Activation
Press B when engine is running. The
system works from standstill up to
37 mph, and also in reverse gear. Above this speed, the system
changes to normal mode. When
activated, City mode engages
automatically below 37 mph.
An illuminated LED in the City mode
button indicates that the system is
active and a message pops-up in the
Driver Information Centre.
City mode remains active during an
Autostop, but is only operational when the engine is running.
Stop-start system 3 109.
Deactivation
Press B. The LED in the button
extinguishes.
Each time the engine is started, City
mode is deactivated.
Overload If the steering in City mode is heavily
loaded, e.g. in long parking
manoeuvres or heavy city traffic, the
system is deactivated for overheat
protection. Steering operates in
normal mode until City mode
activates automatically.
Fault
Page 138 of 201
136Vehicle care9Warning
When the engine is hot, touch the
bonnet support rod at the foam
padding only.
Lift the bonnet, remove the bonnet
support rod from the holder and
secure the bonnet support rod
properly.
If the bonnet is opened during an
Autostop, the engine will be restarted automatically for safety reasons.
Closing
Before closing the bonnet, make sure that all caps are closed properly, then
press the support into the holder.
Lower the bonnet and allow it to fall
into the latch from a low height
(20-25 cm). Check that the bonnet is
engaged.
Caution
Do not press the bonnet into the
latch, to avoid dents.
Engine oil
Check the engine oil level manually
on a regular basis to prevent damage
to the engine.
Ensure that the correct specification
of oil is used.
Recommended fluids and lubricants
3 173.
The maximum engine oil
consumption is 0.6 l per 1000 km.
Check with the vehicle on a level
surface. The engine must be at
operating temperature and switched
off for at least 5 minutes.Caution
It is the owner's responsibility to
maintain the proper level of an
appropriate quality oil in the
engine.
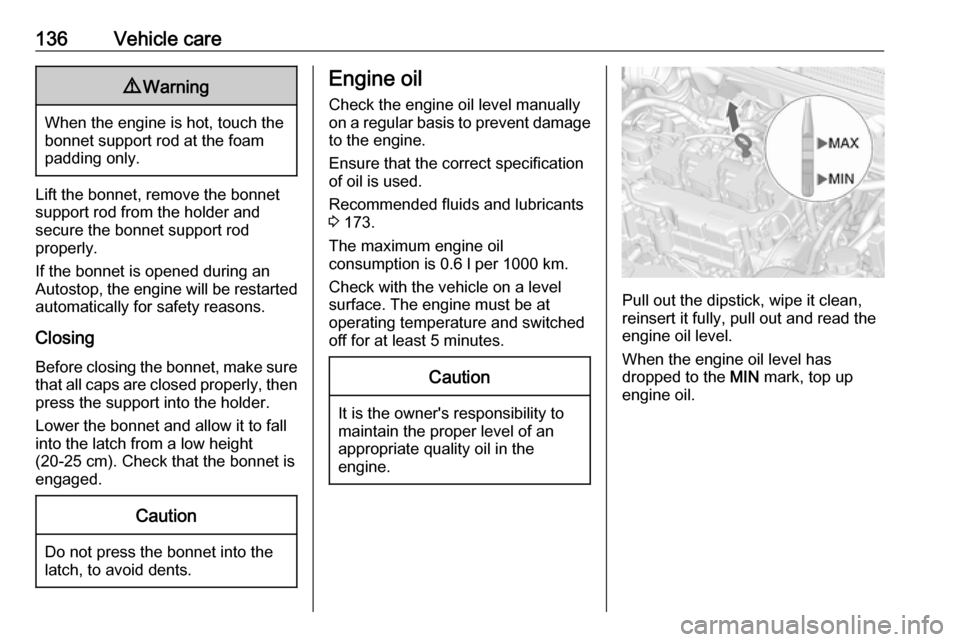
Pull out the dipstick, wipe it clean,
reinsert it fully, pull out and read the
engine oil level.
When the engine oil level has
dropped to the MIN mark, top up
engine oil.
Page 141 of 201
Vehicle care139
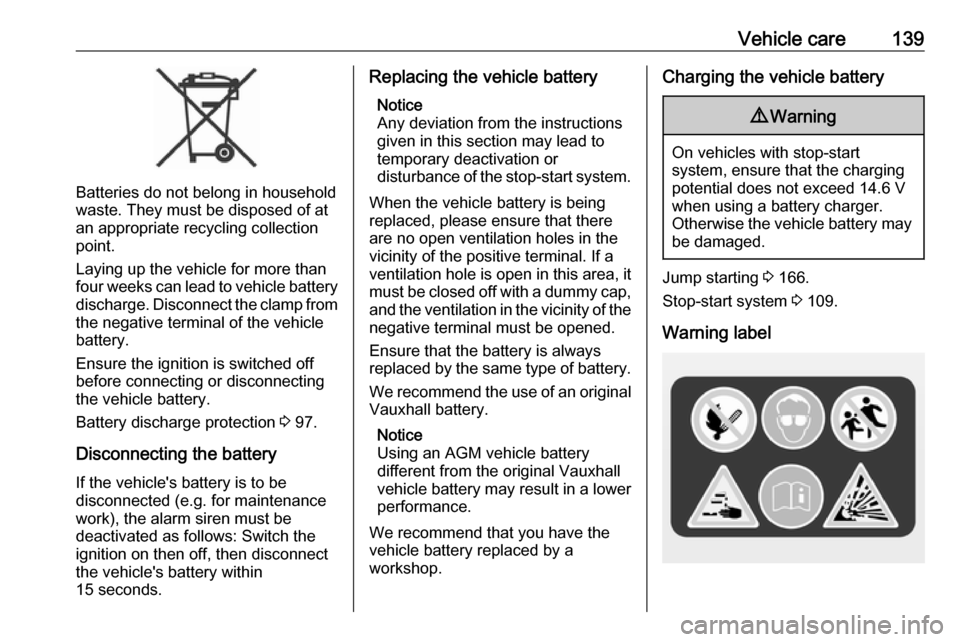
Batteries do not belong in household
waste. They must be disposed of at
an appropriate recycling collection
point.
Laying up the vehicle for more than
four weeks can lead to vehicle battery
discharge. Disconnect the clamp from
the negative terminal of the vehicle
battery.
Ensure the ignition is switched off
before connecting or disconnecting
the vehicle battery.
Battery discharge protection 3 97.
Disconnecting the battery
If the vehicle's battery is to be
disconnected (e.g. for maintenance
work), the alarm siren must be
deactivated as follows: Switch the
ignition on then off, then disconnect
the vehicle's battery within
15 seconds.
Replacing the vehicle battery
Notice
Any deviation from the instructions
given in this section may lead to
temporary deactivation or
disturbance of the stop-start system.
When the vehicle battery is being
replaced, please ensure that there
are no open ventilation holes in the
vicinity of the positive terminal. If a
ventilation hole is open in this area, it
must be closed off with a dummy cap, and the ventilation in the vicinity of the
negative terminal must be opened.
Ensure that the battery is always
replaced by the same type of battery.
We recommend the use of an original
Vauxhall battery.
Notice
Using an AGM vehicle battery
different from the original Vauxhall
vehicle battery may result in a lower performance.
We recommend that you have the
vehicle battery replaced by a
workshop.Charging the vehicle battery9 Warning
On vehicles with stop-start
system, ensure that the charging potential does not exceed 14.6 V
when using a battery charger.
Otherwise the vehicle battery may be damaged.
Jump starting 3 166.
Stop-start system 3 109.
Warning label
Page 158 of 201
156Vehicle careThe Tyre Load menu only appears if
the vehicle is in a standstill and the
parking brake is applied. On vehicles
with automatic transmission the
selector lever has to be in P.
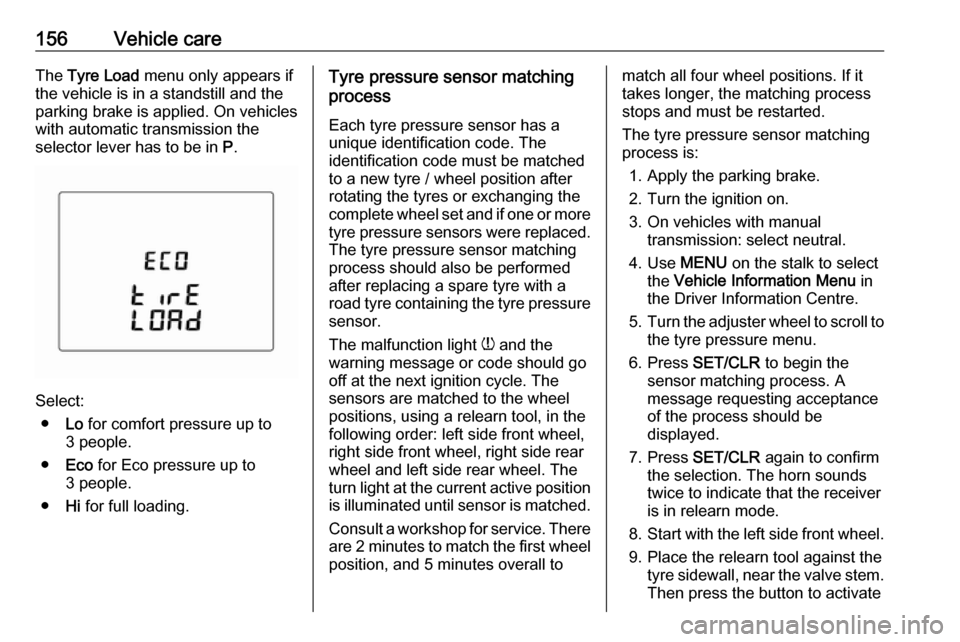
Select:
● Lo for comfort pressure up to
3 people.
● Eco for Eco pressure up to
3 people.
● Hi for full loading.
Tyre pressure sensor matching
process
Each tyre pressure sensor has a
unique identification code. The
identification code must be matched
to a new tyre / wheel position after
rotating the tyres or exchanging the
complete wheel set and if one or more
tyre pressure sensors were replaced. The tyre pressure sensor matching
process should also be performed
after replacing a spare tyre with a
road tyre containing the tyre pressure sensor.
The malfunction light w and the
warning message or code should go
off at the next ignition cycle. The
sensors are matched to the wheel
positions, using a relearn tool, in the
following order: left side front wheel,
right side front wheel, right side rear
wheel and left side rear wheel. The
turn light at the current active position
is illuminated until sensor is matched.
Consult a workshop for service. There
are 2 minutes to match the first wheel position, and 5 minutes overall tomatch all four wheel positions. If it
takes longer, the matching process
stops and must be restarted.
The tyre pressure sensor matching
process is:
1. Apply the parking brake.
2. Turn the ignition on.
3. On vehicles with manual transmission: select neutral.
4. Use MENU on the stalk to select
the Vehicle Information Menu in
the Driver Information Centre.
5. Turn the adjuster wheel to scroll to
the tyre pressure menu.
6. Press SET/CLR to begin the
sensor matching process. A
message requesting acceptance
of the process should be
displayed.
7. Press SET/CLR again to confirm
the selection. The horn sounds
twice to indicate that the receiver
is in relearn mode.
8. Start with the left side front wheel.
9. Place the relearn tool against the tyre sidewall, near the valve stem.Then press the button to activate
Page 174 of 201

172Service and maintenanceService and
maintenanceGeneral information ...................172
Service information ..................172
Recommended fluids, lubricants
and parts .................................... 173
Recommended fluids and lubricants ................................ 173General information
Service information In order to ensure economical and
safe vehicle operation and to
maintain the value of your vehicle, it
is of vital importance that all
maintenance work is carried out at the proper intervals as specified.
The detailed, up-to-date service
schedule for your vehicle is available
at the workshop.
Service display 3 67.
European service intervals
Maintenance of your vehicle is
required every 20,000 miles or after
one year, whichever occurs first. Additional engine oil and filter change is indicated by the engine oil life
system, when required earlier than
maintenance.
A shorter service interval can be valid
for severe driving behaviour, e.g. for
taxis and police vehicles.
The European service intervals are
valid for the following countries:Andorra, Austria, Belgium, Bosnia-
Herzegovina, Bulgaria, Croatia,
Cyprus, Czech Republic, Denmark, Estonia, Finland, France, Germany,
Greece, Greenland, Hungary,
Iceland, Ireland, Italy, Latvia,
Liechtenstein, Lithuania,
Luxembourg, Macedonia, Malta,
Monaco, Montenegro, Netherlands,
Norway, Poland, Portugal, Romania,
San Marino, Serbia, Slovakia,
Slovenia, Spain, Sweden,
Switzerland, United Kingdom.
Service display 3 67.
International service intervals Maintenance of your vehicle is
required every 10,000 miles or after one year, whichever occurs first.
Additional engine oil and filter change is indicated by the engine oil life
system, when required earlier than
maintenance.
Severe operating conditions exist if
one or more of the following
circumstances occur frequently: Cold
starting, stop and go operation, trailer operation, mountain driving, driving
on poor and sandy road surfaces,
Page 199 of 201

197SSafety belts ................................... 37
Seat adjustment ....................... 7, 35 Seat belt ........................................ 8
Seat belt reminder .......................71
Seat belts ..................................... 37
Seat heating ................................. 36
Seat position ................................ 34
Selector lever ............................. 115
Service ....................................... 105
Service display ............................ 67
Service information ....................172
Service vehicle soon .................... 72
Side airbag system ......................43
Sidelights ...................................... 92
Side turn lights ........................... 145
Software acknowledgement .......188
Spare wheel ............................... 164
Speed limiter......................... 75, 123
Speedometer ............................... 63
Starting and operating ................107
Starting off ................................... 16
Starting the engine ............108, 114
Steering ...................................... 107
Steering wheel adjustment ......9, 59
Steering wheel controls ...............59
Stop-start system........................ 109
Storage ......................................... 51
Storage compartments .................51
Sunroof ........................................ 31Sun visors .................................... 31
Symbols ......................................... 4
T
Tachometer ................................. 64
Tail lights ................................... 144
Three-point seat belt .................... 38
Tools .......................................... 151
Towing ........................................ 167
Towing the vehicle .....................167
Traction Control system ............. 119
Traction Control system off........... 74
Transmission ............................... 15
Transmission display .................114
Tread depth ............................... 157
Trip odometer .............................. 64
Turn lights .............................. 70, 94
Tyre chains ................................ 158
Tyre designations ......................152
Tyre pressure ............................ 153
Tyre pressure monitoring system ............................... 74, 154
Tyre pressures ........................... 184
Tyre repair kit ............................. 158
U Ultrasonic parking assist ...... 73, 125
Upholstery .................................. 170
Using this manual ..........................3V
Valet mode ................................... 81
Vehicle battery ........................... 138
Vehicle checks............................ 135
Vehicle data ................................ 177
Vehicle data recording and privacy ..................................... 190
Vehicle dimensions .................... 182
Vehicle Identification Number ....175
Vehicle jack ................................ 151
Vehicle messages .......................82
Vehicle personalisation ...............85
Vehicle specific data ......................3
Vehicle storage ........................... 134
Vehicle tools ............................... 151
Vehicle unlocking ........................... 6
Vehicle weight ........................... 181
Ventilation ..................................... 98
W
Warning chimes ........................... 84
Warning lights ............................... 63
Warning triangle .......................... 55
Washer and wiper systems .........13
Washer fluid ............................... 138
Wheel changing .........................161
Wheel covers ............................. 158
Wheels and tyres .......................152
Windows ....................................... 28
Windscreen................................... 28