warning VAUXHALL VIVARO 2018 User Guide
[x] Cancel search | Manufacturer: VAUXHALL, Model Year: 2018, Model line: VIVARO, Model: VAUXHALL VIVARO 2018Pages: 233, PDF Size: 5.73 MB
Page 32 of 233
30Keys, doors and windowsfive seconds. When closing the rear
doors / tailgate, they are locked
automatically.
Automatic locking 3 30.
Handsfree operation is automatically
disabled when e is pressed. To re-
enable handsfree operation, restart the engine.
Electronic key system 3 22.
Automatic locking
Automatic locking after driving off This security feature can be
configured to automatically lock the
doors and load compartment as soon as the vehicle is driven.
Activation
With the engine running, press and hold e on the central locking switch for
approx. five seconds. An audible
signal confirms activation.Deactivation
With the engine running, press and
hold e on the central locking switch for
approx. five seconds. An audible
signal confirms deactivation.
Central locking switch 3 24.
Child locks
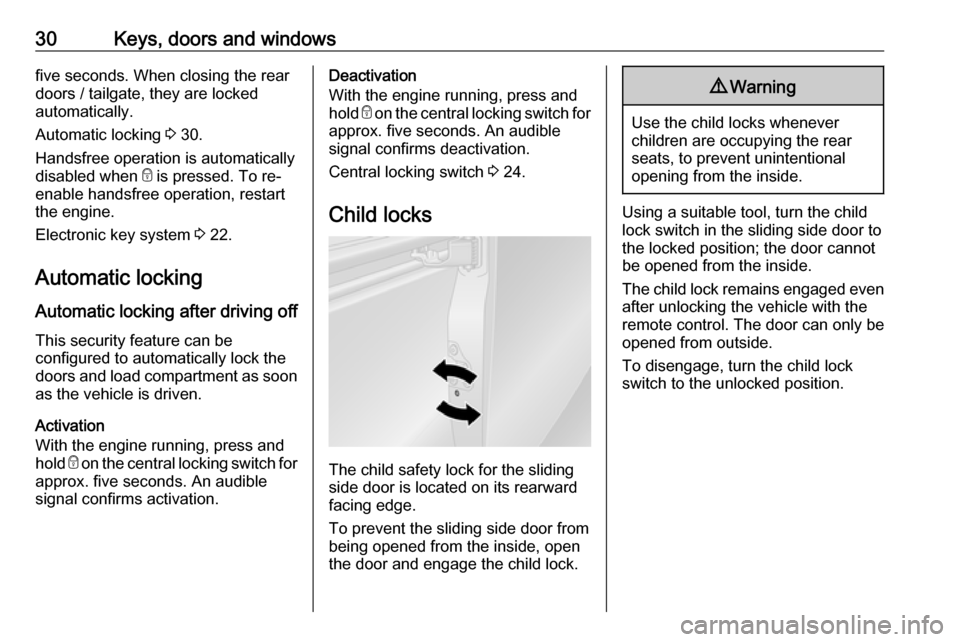
The child safety lock for the sliding
side door is located on its rearward
facing edge.
To prevent the sliding side door from being opened from the inside, open
the door and engage the child lock.
9 Warning
Use the child locks whenever
children are occupying the rear
seats, to prevent unintentional
opening from the inside.
Using a suitable tool, turn the child
lock switch in the sliding side door to
the locked position; the door cannot
be opened from the inside.
The child lock remains engaged even after unlocking the vehicle with the
remote control. The door can only be
opened from outside.
To disengage, turn the child lock
switch to the unlocked position.
Page 33 of 233
Keys, doors and windows31Doors
Sliding door
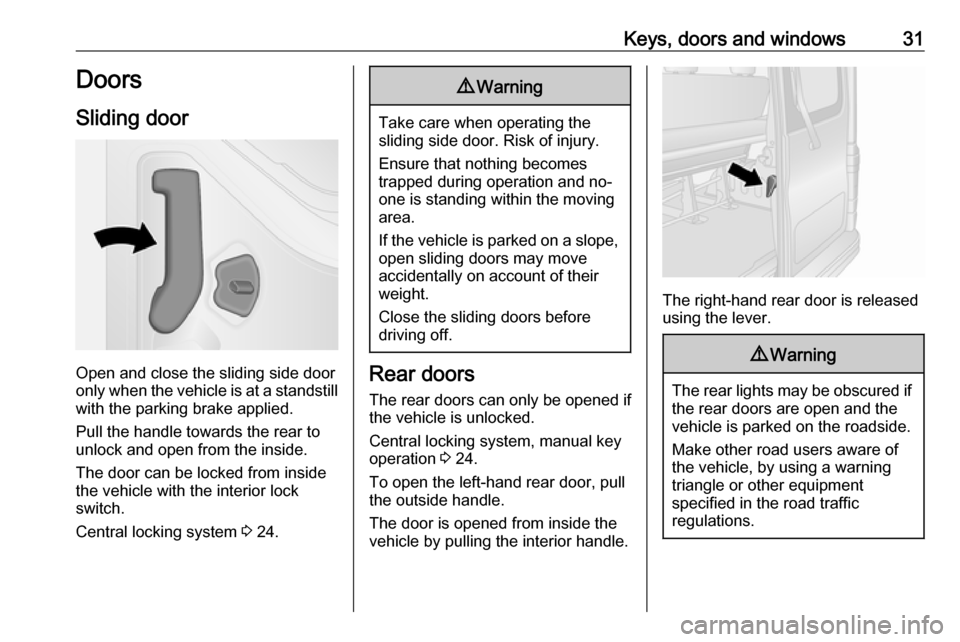
Open and close the sliding side door
only when the vehicle is at a standstill
with the parking brake applied.
Pull the handle towards the rear to
unlock and open from the inside.
The door can be locked from inside
the vehicle with the interior lock
switch.
Central locking system 3 24.
9 Warning
Take care when operating the
sliding side door. Risk of injury.
Ensure that nothing becomes
trapped during operation and no-
one is standing within the moving
area.
If the vehicle is parked on a slope,
open sliding doors may move
accidentally on account of their
weight.
Close the sliding doors before
driving off.
Rear doors
The rear doors can only be opened if
the vehicle is unlocked.
Central locking system, manual key
operation 3 24.
To open the left-hand rear door, pull
the outside handle.
The door is opened from inside the
vehicle by pulling the interior handle.
The right-hand rear door is released
using the lever.
9 Warning
The rear lights may be obscured if
the rear doors are open and the
vehicle is parked on the roadside.
Make other road users aware of the vehicle, by using a warning
triangle or other equipment
specified in the road traffic
regulations.
Page 34 of 233
32Keys, doors and windows
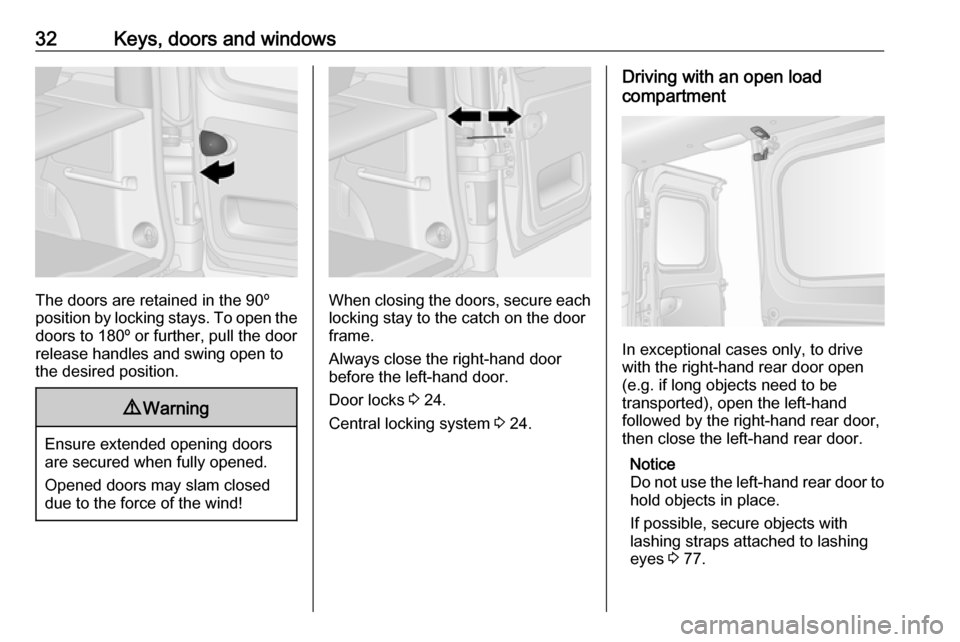
The doors are retained in the 90º
position by locking stays. To open the
doors to 180º or further, pull the door
release handles and swing open to
the desired position.
9 Warning
Ensure extended opening doors
are secured when fully opened.
Opened doors may slam closed due to the force of the wind!
When closing the doors, secure each locking stay to the catch on the door
frame.
Always close the right-hand door
before the left-hand door.
Door locks 3 24.
Central locking system 3 24.
Driving with an open load
compartment
In exceptional cases only, to drive
with the right-hand rear door open
(e.g. if long objects need to be
transported), open the left-hand
followed by the right-hand rear door,
then close the left-hand rear door.
Notice
Do not use the left-hand rear door to
hold objects in place.
If possible, secure objects with
lashing straps attached to lashing
eyes 3 77.
Page 37 of 233
Keys, doors and windows35Notice
The installation of certain heavy
accessories onto the tailgate may
affect its ability to remain open.Vehicle security
Anti-theft locking system9 Warning
Do not use the system if there are
people in the vehicle! The doorscannot be unlocked from the
inside.
The system deadlocks all doors and the load compartment.
All doors and the load compartment
must be closed or the system cannot
be activated.
Notice
The anti-theft locking system cannot be activated when the hazard
warning lights or sidelights are
switched on.
Activation and deactivation are not possible with the central locking
switch.
Central locking system 3 24.
2-button and 3-button remote
control operation
Operation is confirmed by the hazard warning flashers flashing five times.
Activation
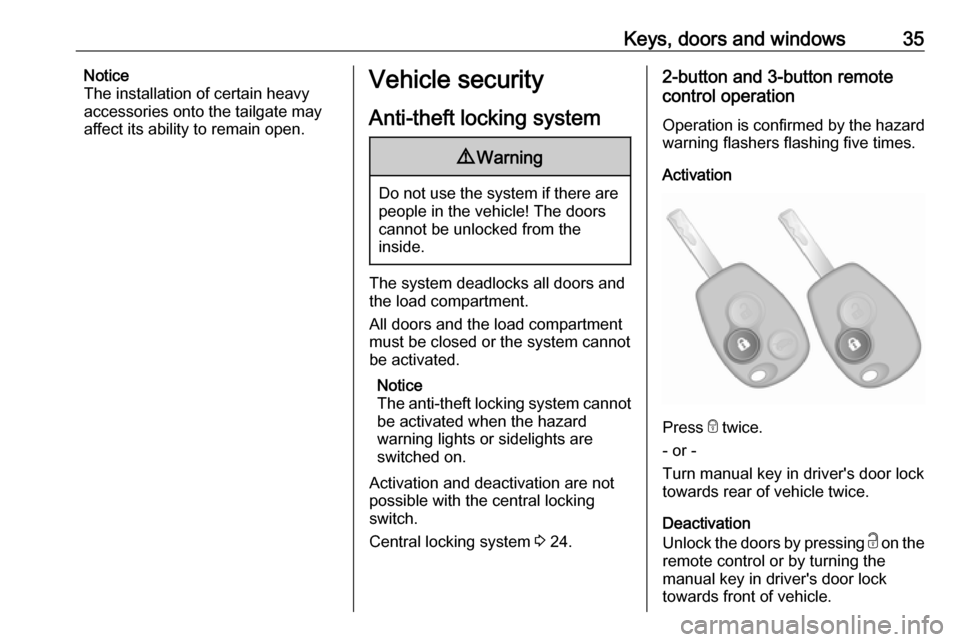
Press e twice.
- or -
Turn manual key in driver's door lock
towards rear of vehicle twice.
Deactivation
Unlock the doors by pressing c on the
remote control or by turning the
manual key in driver's door lock
towards front of vehicle.
Page 38 of 233
36Keys, doors and windowsElectronic key system operationOperation is confirmed by the hazard
warning flashers.
Activation
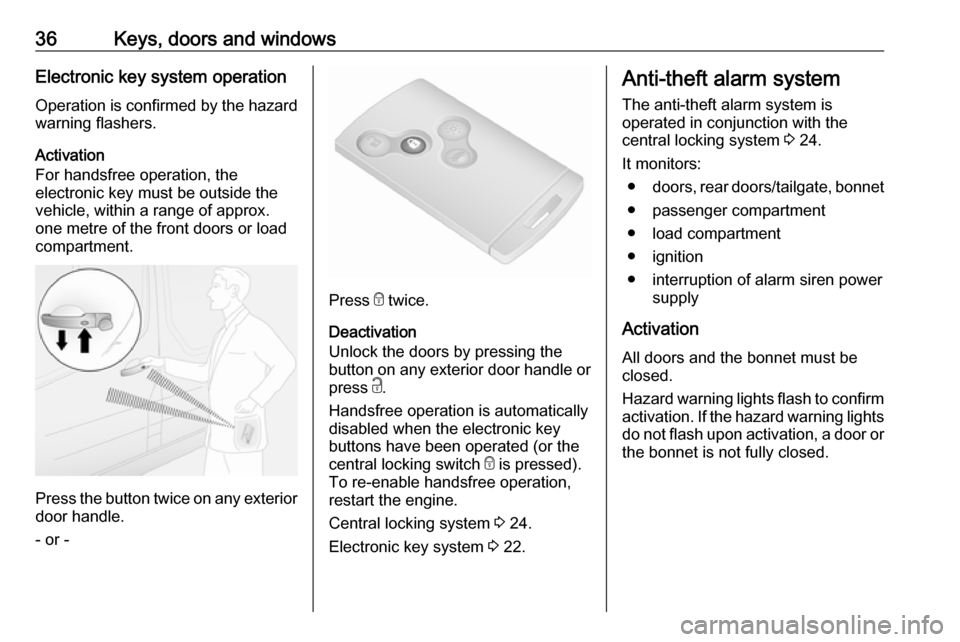
For handsfree operation, the
electronic key must be outside the
vehicle, within a range of approx.
one metre of the front doors or load compartment.
Press the button twice on any exterior
door handle.
- or -
Press e twice.
Deactivation
Unlock the doors by pressing the
button on any exterior door handle or
press c.
Handsfree operation is automatically disabled when the electronic key
buttons have been operated (or the
central locking switch e is pressed).
To re-enable handsfree operation,
restart the engine.
Central locking system 3 24.
Electronic key system 3 22.
Anti-theft alarm system
The anti-theft alarm system is
operated in conjunction with the
central locking system 3 24.
It monitors: ● doors, rear doors/tailgate, bonnet
● passenger compartment
● load compartment
● ignition
● interruption of alarm siren power supply
Activation
All doors and the bonnet must be
closed.
Hazard warning lights flash to confirm activation. If the hazard warning lights do not flash upon activation, a door or
the bonnet is not fully closed.
Page 39 of 233
Keys, doors and windows372-button and 3-button remote control
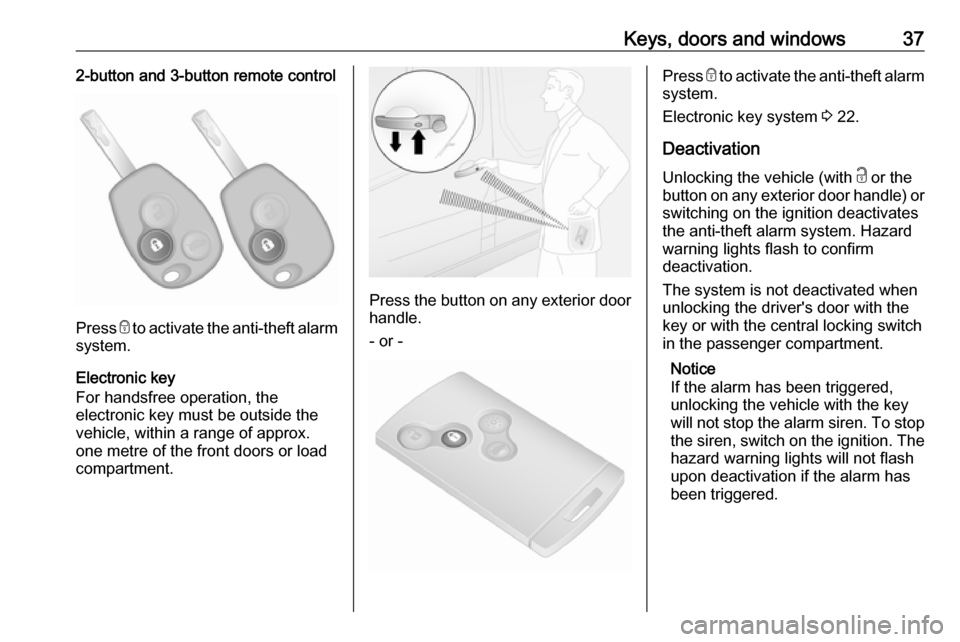
Press e to activate the anti-theft alarm
system.
Electronic key
For handsfree operation, the
electronic key must be outside the
vehicle, within a range of approx.
one metre of the front doors or load compartment.
Press the button on any exterior door
handle.
- or -
Press e to activate the anti-theft alarm
system.
Electronic key system 3 22.
Deactivation
Unlocking the vehicle (with c or the
button on any exterior door handle) or switching on the ignition deactivates
the anti-theft alarm system. Hazard
warning lights flash to confirm
deactivation.
The system is not deactivated when
unlocking the driver's door with the
key or with the central locking switch
in the passenger compartment.
Notice
If the alarm has been triggered,
unlocking the vehicle with the key
will not stop the alarm siren. To stop the siren, switch on the ignition. The
hazard warning lights will not flash
upon deactivation if the alarm has
been triggered.
Page 40 of 233

38Keys, doors and windowsActivation without monitoring of
passenger compartment
Disable monitoring of the passenger
compartment, e.g. when animals are
being left in the vehicle, or if the
auxiliary heater has been set for a
timed or remote controlled start
3 120.
Press and hold e on the remote
control or electronic key; an audible signal will sound as confirmation.
The status will remain until the doors
are unlocked.
Alarm When triggered, the alarm sounds via a separate battery-backed power
sounder, and the hazard warning
lights flash simultaneously. The
number and duration of alarm signals are stipulated by legislation.
If the vehicle battery is disconnected
or its power supply is interrupted, the
alarm siren will be triggered. First
deactivate the anti-theft alarm system
if the vehicle battery must be
disconnected.To silence the alarm siren (if
triggered) and therefore deactivate
the anti-theft alarm system, reconnect vehicle battery and unlock the vehicle
or switch on the ignition.
Immobiliser
The immobiliser is part of the ignition
switch and checks whether the
vehicle is allowed to be started with
the key being used.
The immobiliser is activated
automatically after the key has been removed from the ignition switch and
also if the key is left in the ignition
switch when the engine is turned off.
If the engine cannot be started, switch off the ignition and remove key, wait
approx. two seconds and then repeat
the start attempt. If start attempt is
unsuccessful, attempt to start the
engine using the spare key and seek
the assistance of a workshop.Notice
Radio Frequency Identification
(RFID) tags may cause interference with the key. Do not have it placednear the key when starting the
vehicle.
Notice
The immobiliser does not lock the doors. You should always lock the
vehicle after leaving it and switch on
the anti-theft alarm system 3 24,
3 36.
Page 44 of 233
42Keys, doors and windowsPower windows9Warning
Take care when operating the
power windows. Risk of injury,
particularly to children.
Keep a close watch on the
windows when closing them.
Ensure that nothing becomes
trapped in them as they move.
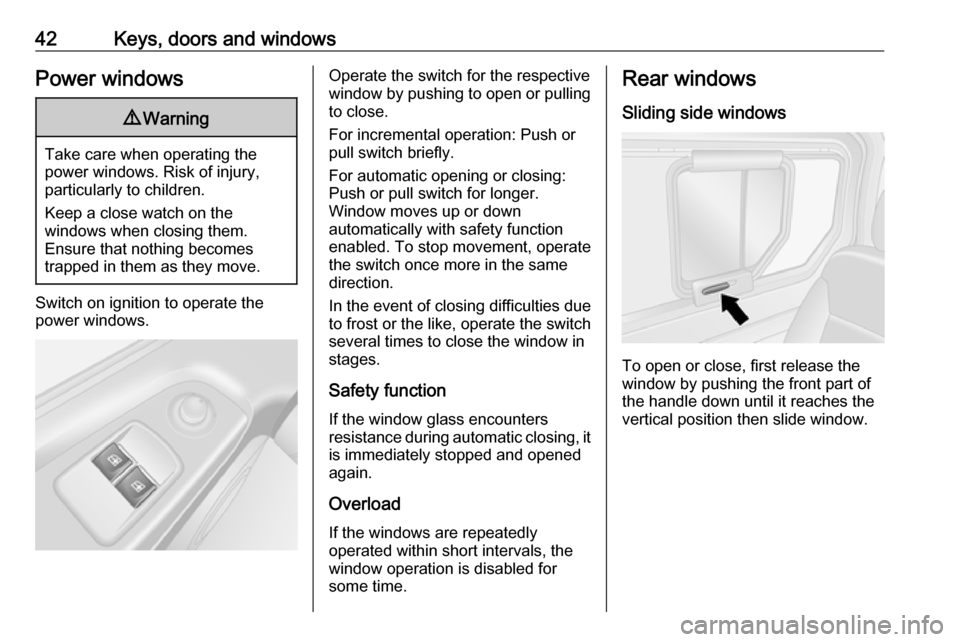
Switch on ignition to operate the power windows.
Operate the switch for the respective
window by pushing to open or pulling to close.
For incremental operation: Push or
pull switch briefly.
For automatic opening or closing:
Push or pull switch for longer.
Window moves up or down
automatically with safety function
enabled. To stop movement, operate
the switch once more in the same
direction.
In the event of closing difficulties due to frost or the like, operate the switch
several times to close the window in
stages.
Safety function
If the window glass encounters
resistance during automatic closing, it is immediately stopped and opened
again.
Overload
If the windows are repeatedly
operated within short intervals, the window operation is disabled for
some time.Rear windows
Sliding side windows
To open or close, first release the
window by pushing the front part of
the handle down until it reaches the
vertical position then slide window.
Page 46 of 233
44Seats, restraintsSeats, restraintsHead restraints............................ 44
Front seats ................................... 45
Seat position .............................. 45
Seat adjustment ........................46
Seat folding ............................... 48
Armrest ...................................... 48
Heating ...................................... 48
Rear seats ................................... 49
Seat belts ..................................... 53
Three-point seat belt .................54
Airbag system .............................. 57
Front airbag system ...................61
Side airbag system ....................61
Curtain airbag system ...............62
Airbag deactivation ....................62
Child restraints ............................. 63
Child restraint systems ..............63
Child restraint installation locations ................................... 66Head restraints
Position9 Warning
Only drive with the head restraint
set to the proper position.
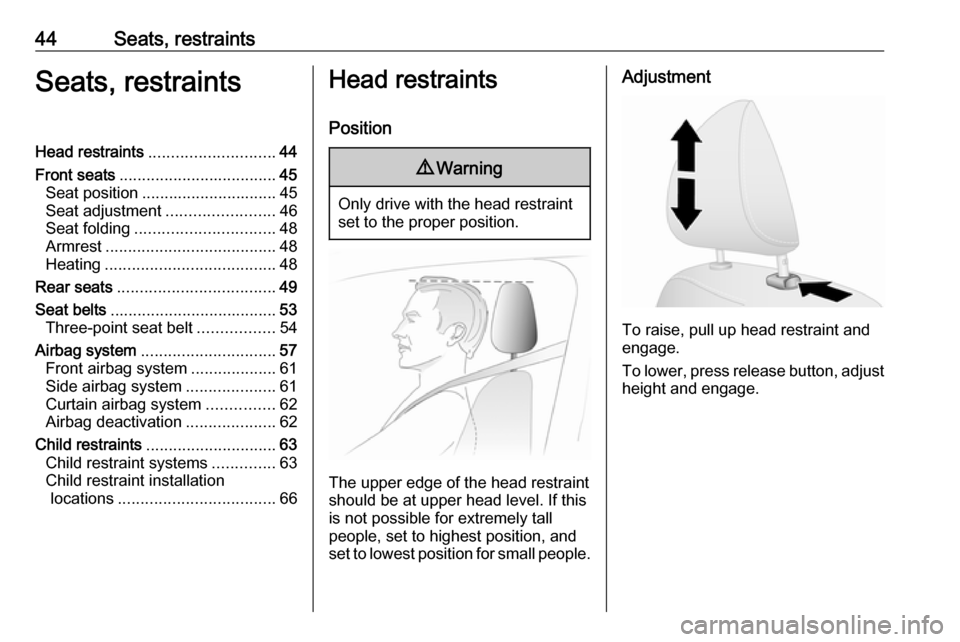
The upper edge of the head restraint
should be at upper head level. If this
is not possible for extremely tall
people, set to highest position, and
set to lowest position for small people.
Adjustment
To raise, pull up head restraint and
engage.
To lower, press release button, adjust
height and engage.
Page 47 of 233
Seats, restraints45
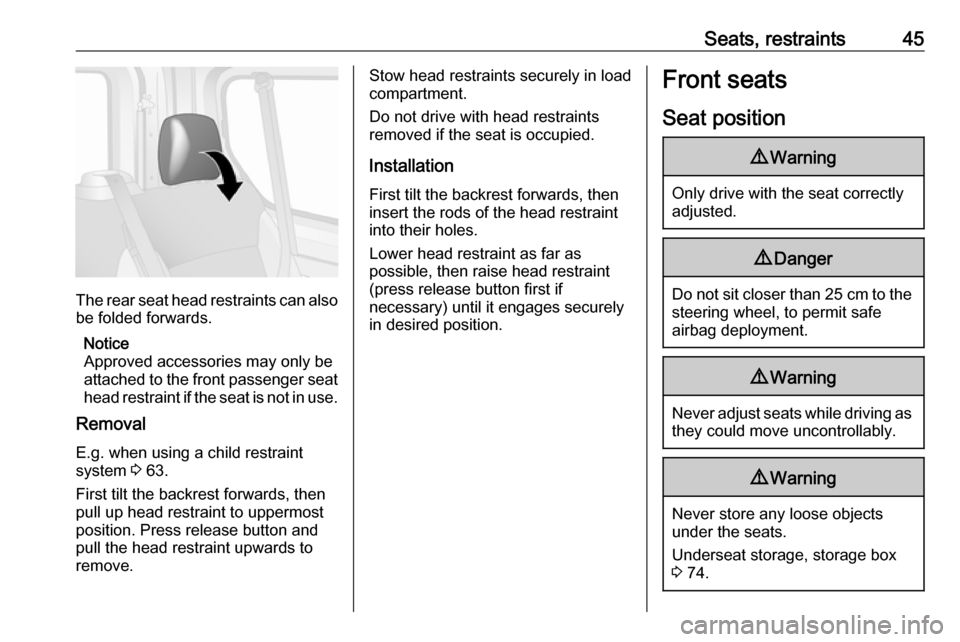
The rear seat head restraints can also
be folded forwards.
Notice
Approved accessories may only be
attached to the front passenger seat head restraint if the seat is not in use.
Removal
E.g. when using a child restraint
system 3 63.
First tilt the backrest forwards, then
pull up head restraint to uppermost
position. Press release button and
pull the head restraint upwards to
remove.
Stow head restraints securely in load
compartment.
Do not drive with head restraints
removed if the seat is occupied.
Installation First tilt the backrest forwards, then
insert the rods of the head restraint
into their holes.
Lower head restraint as far as
possible, then raise head restraint
(press release button first if
necessary) until it engages securely
in desired position.Front seats
Seat position9 Warning
Only drive with the seat correctly
adjusted.
9 Danger
Do not sit closer than 25 cm to the
steering wheel, to permit safe
airbag deployment.
9 Warning
Never adjust seats while driving as
they could move uncontrollably.
9 Warning
Never store any loose objects
under the seats.
Underseat storage, storage box 3 74.