Position light VAUXHALL VIVARO C 2020 User Guide
[x] Cancel search | Manufacturer: VAUXHALL, Model Year: 2020, Model line: VIVARO C, Model: VAUXHALL VIVARO C 2020Pages: 289, PDF Size: 10.16 MB
Page 133 of 289
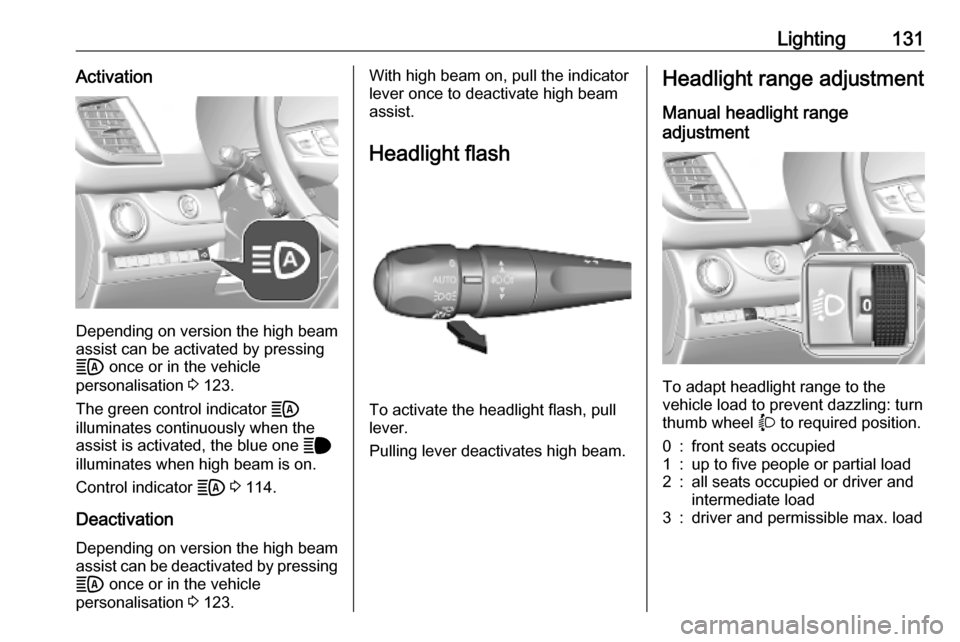
Lighting131Activation
Depending on version the high beam
assist can be activated by pressing B once or in the vehicle
personalisation 3 123.
The green control indicator B
illuminates continuously when the
assist is activated, the blue one C
illuminates when high beam is on.
Control indicator B 3 114.
Deactivation Depending on version the high beamassist can be deactivated by pressing B once or in the vehicle
personalisation 3 123.
With high beam on, pull the indicator
lever once to deactivate high beam
assist.
Headlight flash
To activate the headlight flash, pull
lever.
Pulling lever deactivates high beam.
Headlight range adjustment
Manual headlight range
adjustment
To adapt headlight range to the
vehicle load to prevent dazzling: turn thumb wheel X to required position.
0:front seats occupied1:up to five people or partial load2:all seats occupied or driver and
intermediate load3:driver and permissible max. load
Page 135 of 289
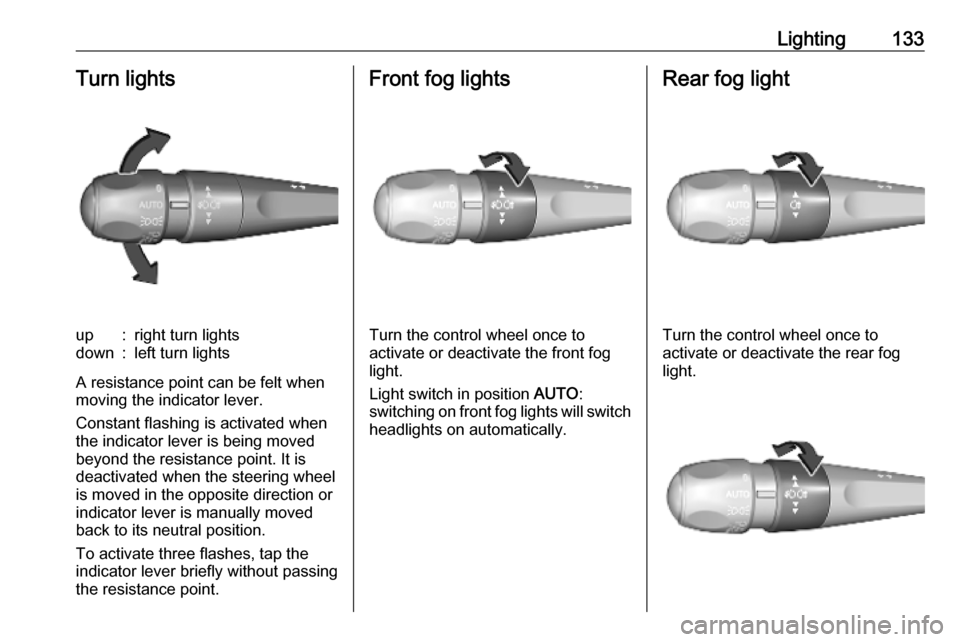
Lighting133Turn lightsup:right turn lightsdown:left turn lights
A resistance point can be felt when
moving the indicator lever.
Constant flashing is activated when
the indicator lever is being moved
beyond the resistance point. It is
deactivated when the steering wheel
is moved in the opposite direction or
indicator lever is manually moved
back to its neutral position.
To activate three flashes, tap the indicator lever briefly without passing
the resistance point.
Front fog lights
Turn the control wheel once to
activate or deactivate the front fog
light.
Light switch in position AUTO:
switching on front fog lights will switch headlights on automatically.
Rear fog light
Turn the control wheel once to
activate or deactivate the rear fog
light.
Page 136 of 289
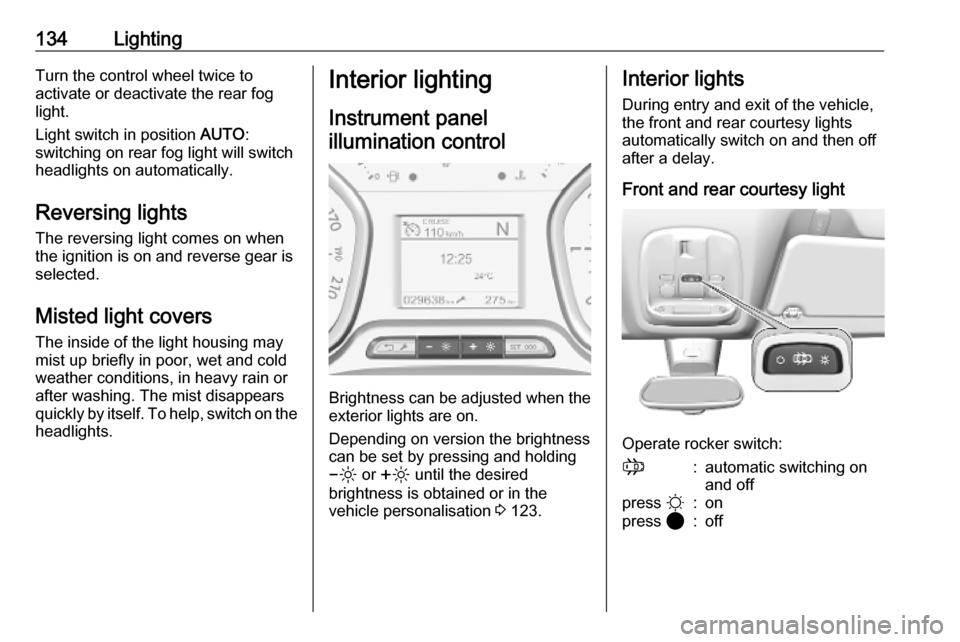
134LightingTurn the control wheel twice to
activate or deactivate the rear fog
light.
Light switch in position AUTO:
switching on rear fog light will switch
headlights on automatically.
Reversing lights
The reversing light comes on when
the ignition is on and reverse gear is
selected.
Misted light covers
The inside of the light housing may
mist up briefly in poor, wet and cold weather conditions, in heavy rain or
after washing. The mist disappears
quickly by itself. To help, switch on the headlights.Interior lighting
Instrument panel illumination control
Brightness can be adjusted when the exterior lights are on.
Depending on version the brightness
can be set by pressing and holding
0 or ß until the desired
brightness is obtained or in the
vehicle personalisation 3 123.
Interior lights
During entry and exit of the vehicle,
the front and rear courtesy lights
automatically switch on and then off
after a delay.
Front and rear courtesy light
Operate rocker switch:
;:automatic switching on
and offpress §:onpress 2:off
Page 139 of 289
Lighting137Manual path lighting
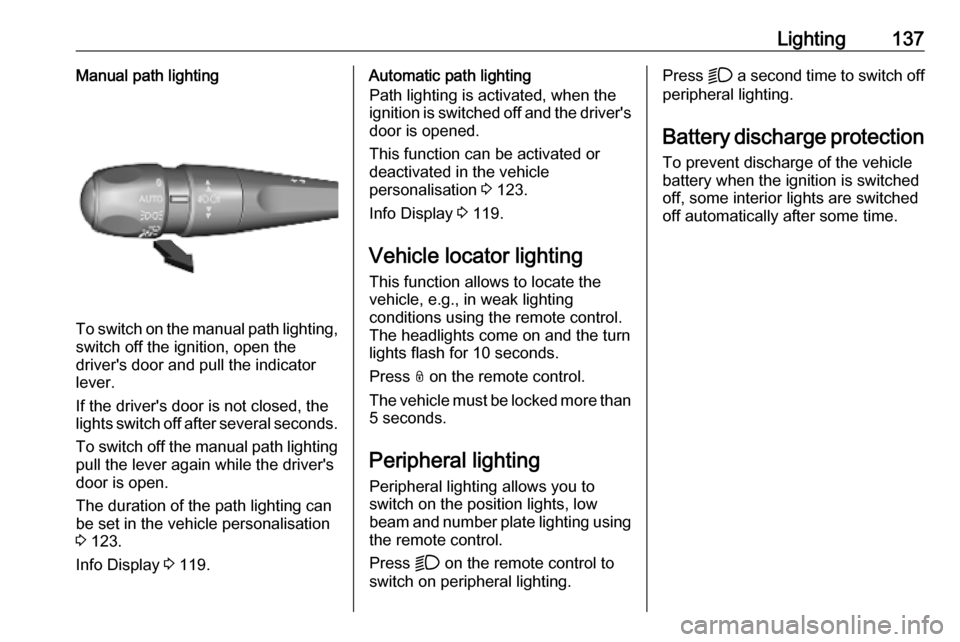
To switch on the manual path lighting,switch off the ignition, open the
driver's door and pull the indicator
lever.
If the driver's door is not closed, the
lights switch off after several seconds.
To switch off the manual path lighting
pull the lever again while the driver's
door is open.
The duration of the path lighting can
be set in the vehicle personalisation
3 123.
Info Display 3 119.
Automatic path lighting
Path lighting is activated, when the
ignition is switched off and the driver's door is opened.
This function can be activated or
deactivated in the vehicle
personalisation 3 123.
Info Display 3 119.
Vehicle locator lighting This function allows to locate the
vehicle, e.g., in weak lighting
conditions using the remote control.
The headlights come on and the turn
lights flash for 10 seconds.
Press N on the remote control.
The vehicle must be locked more than
5 seconds.
Peripheral lighting Peripheral lighting allows you to
switch on the position lights, low
beam and number plate lighting using the remote control.
Press D on the remote control to
switch on peripheral lighting.Press D a second time to switch off
peripheral lighting.
Battery discharge protection To prevent discharge of the vehicle
battery when the ignition is switched
off, some interior lights are switched
off automatically after some time.
Page 149 of 289
Climate control147Multimedia / Multimedia NaviPress d.
Press Temperature conditioning .
Activate Temperature conditioning by
pressing ON.
Press Settings .
Select Heating or Ventilation .
Press Time 1 or Time 2 to select the
desired timer.
Define the time of the selected timer.
Press 6 to save the settings and set
the timer.
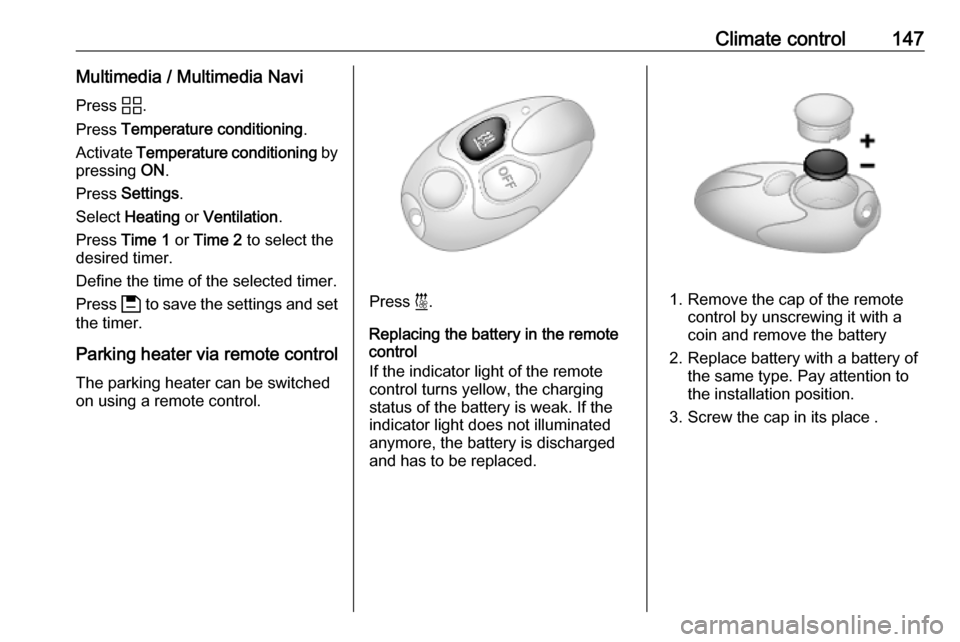
Parking heater via remote control The parking heater can be switched
on using a remote control.
Press i.
Replacing the battery in the remote
control
If the indicator light of the remote
control turns yellow, the charging
status of the battery is weak. If the
indicator light does not illuminated
anymore, the battery is discharged
and has to be replaced.1. Remove the cap of the remote control by unscrewing it with a
coin and remove the battery
2. Replace battery with a battery of the same type. Pay attention to
the installation position.
3. Screw the cap in its place .
Page 157 of 289
Driving and operating155Turn key briefly to position 2 and
release after engine has been
started.
Manual transmission: during an
Autostop, the engine can be started
by depressing the clutch pedal
3 156.
Automatic transmission: during an
Autostop, the engine can be started
by releasing the brake pedal 3 156.
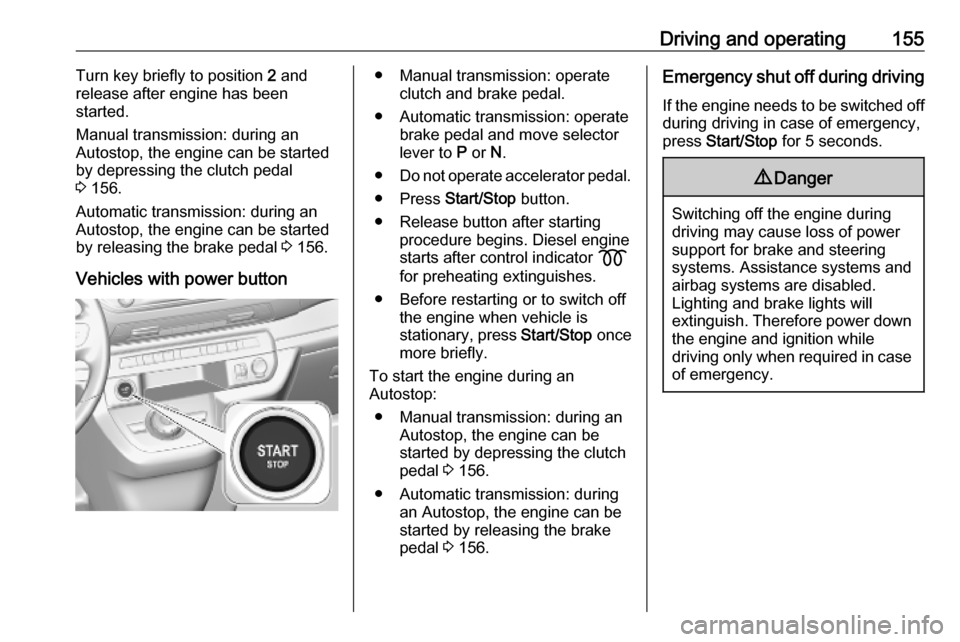
Vehicles with power button● Manual transmission: operate clutch and brake pedal.
● Automatic transmission: operate brake pedal and move selector
lever to P or N.
● Do not operate accelerator pedal.
● Press Start/Stop button.
● Release button after starting procedure begins. Diesel engine
starts after control indicator z
for preheating extinguishes.
● Before restarting or to switch off the engine when vehicle is
stationary, press Start/Stop once
more briefly.
To start the engine during an
Autostop:
● Manual transmission: during an Autostop, the engine can be
started by depressing the clutch
pedal 3 156.
● Automatic transmission: during an Autostop, the engine can be
started by releasing the brake pedal 3 156.Emergency shut off during driving
If the engine needs to be switched offduring driving in case of emergency,
press Start/Stop for 5 seconds.9Danger
Switching off the engine during
driving may cause loss of power
support for brake and steering
systems. Assistance systems and
airbag systems are disabled.
Lighting and brake lights will
extinguish. Therefore power down the engine and ignition while
driving only when required in case of emergency.
Page 158 of 289

156Driving and operatingStarting the vehicle at low
temperatures
Starting the engine without additional
heaters is possible down to -25 °С for diesel engines and -30 °C for petrol
engines. Required is an engine oil
with the correct viscosity, the correct
fuel, performed services and a
sufficiently charged vehicle battery.
With temperatures below -30 °C the
automatic transmission requires a
warming phase of approx. 5 minutes.
The selector lever must be in position P .
Turbo engine warm-up Upon start-up, engine available
torque may be limited for a short time,
especially when the engine
temperature is cold. The limitation is
to allow the lubrication system to fully protect the engine.
Overrun cut-off
The fuel supply is automatically cut off
during overrun, i.e. when the vehicle
is driven with a gear engaged but accelerator pedal is released.Depending on driving conditions, the
overrun cut-off may be deactivated.
Stop-start system
The stop-start system helps to save
fuel and to reduce the exhaust
emissions. When conditions allow, it
switches off the engine as soon as the vehicle is at a low speed or at a
standstill, e.g. at a traffic light or in a
traffic jam.
Activation
The stop-start system is available as soon as the engine is started, the
vehicle starts-off and the conditions
as stated below in this section are
fulfilled.Without touchscreen
The system is ready to operate when
the LED in the button D is not
illuminated. To activate the system
when the system is deactivated,
press D. If the stop-start system is
temporarily not available and the
button D is pressed, the LED in the
button flashes.With touchscreen
The system can be activated in the
vehicle personalisation 3 123. If the
stop-start system is temporarily not
available, the control indicator D
flashes for a few seconds.
DeactivationWithout touchscreen
Press D to deactivate the stop-start
system. The deactivation is indicated
when the LED in the button
illuminates.
Page 182 of 289
180Driving and operatinglights to overtake a slower vehicle, theadaptive cruise control allows the
vehicle to temporarily approach the
vehicle ahead to help passing it.
However, the set speed will never be
exceeded.
If the vehicle ahead is moving too
slowly and the selected following
distance cannot be maintained
anymore, a warning chime is given
and a message is displayed in the
Driver Information Centre. The
message prompts the driver to take
back control of the vehicle. On
vehicles with automatic transmission,
the system can brake the vehicle until a full stop.
The adaptive cruise control can store
set speeds over 25 mph and 93 mph.
Additionally at least the third gear
must be engaged on manual
transmission, on automatic
transmission position D / A or the
second or a higher gear in position M must be selected.9 Warning
The complete driver attention is
always required while driving with adaptive cruise control. The driver stays fully in control of the vehicle
because the brake pedal and the accelerator pedal have priority
over any adaptive cruise control operation.
Switching on the system
The adaptive cruise control can be
switched on manually at a speed
between 25 mph and 93 mph.
A precondition is that adaptive cruise
control is not deactivated in the
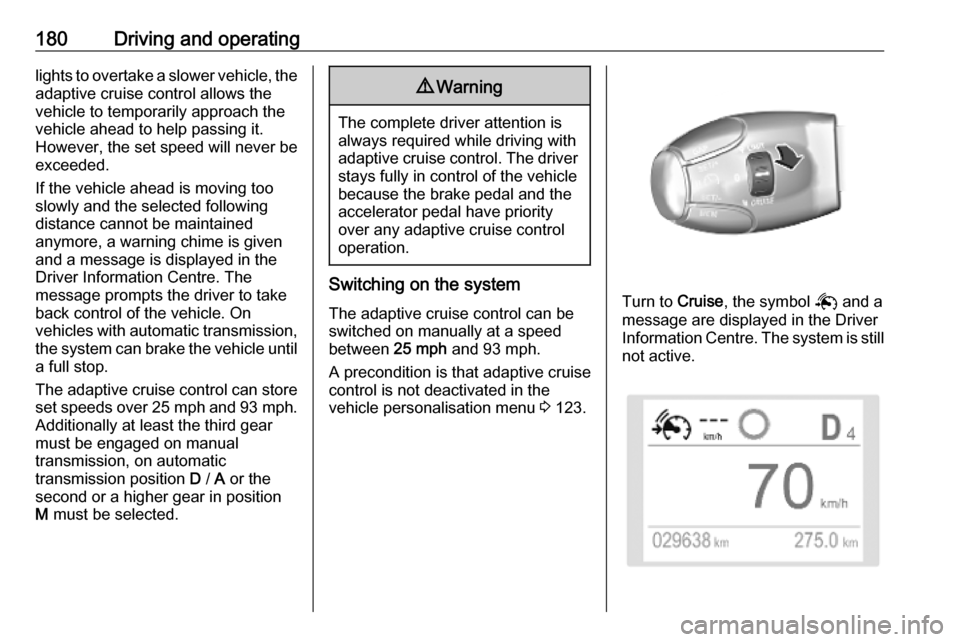
vehicle personalisation menu 3 123.Turn to Cruise, the symbol Q and a
message are displayed in the Driver Information Centre. The system is still not active.
Page 206 of 289
204Driving and operatingArctic grade diesel fuel can be used
in extreme low temperatures below
-20 °C. Using this fuel grade in warm
or hot climates is not recommended
and may cause engine stalling, poor
starting or damage on the fuel
injection system.
Refuelling9 Danger
Before refuelling, switch off
ignition and any external heaters
with combustion chambers.
Follow the operating and safety
instructions of the filling station
when refuelling.
9 Danger
Fuel is flammable and explosive.
No smoking. No naked flames or
sparks.
If a smell of fuel can be noticed
inside the vehicle, have the cause of this remedied immediately by aworkshop.
A label with symbols at the fuel filler
flap is indicating the allowed fuel
types. In Europe the pump nozzles of the filling stations are marked with
these symbols. Refuel only the
allowed fuel type.Caution
In case of misfuelling, do not
switch on ignition.
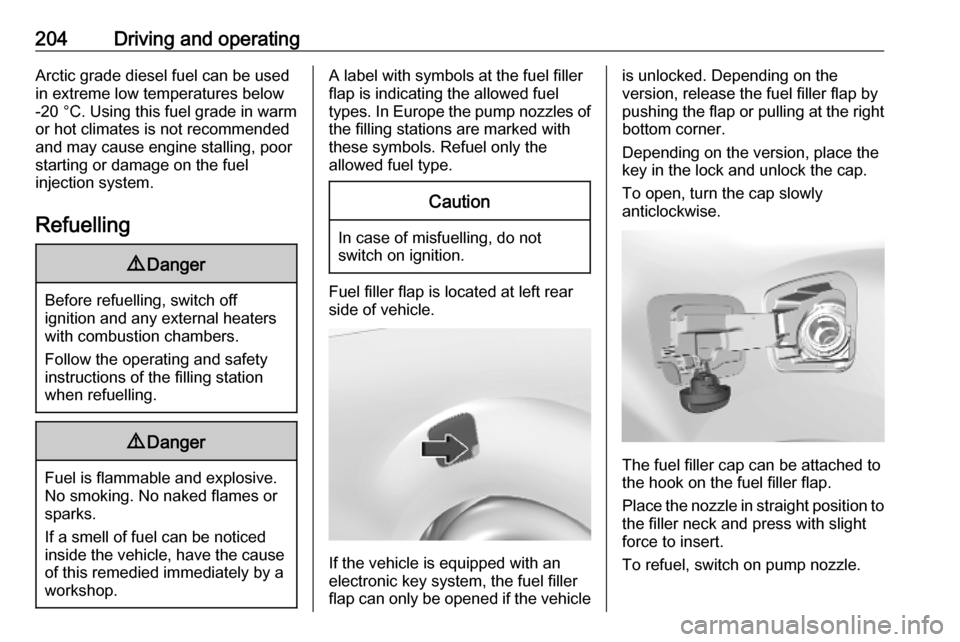
Fuel filler flap is located at left rear
side of vehicle.
If the vehicle is equipped with an
electronic key system, the fuel filler
flap can only be opened if the vehicle
is unlocked. Depending on the
version, release the fuel filler flap by
pushing the flap or pulling at the right bottom corner.
Depending on the version, place the
key in the lock and unlock the cap.
To open, turn the cap slowly
anticlockwise.
The fuel filler cap can be attached to
the hook on the fuel filler flap.
Place the nozzle in straight position to the filler neck and press with slight
force to insert.
To refuel, switch on pump nozzle.
Page 221 of 289
Vehicle care2196. Close the bonnet.
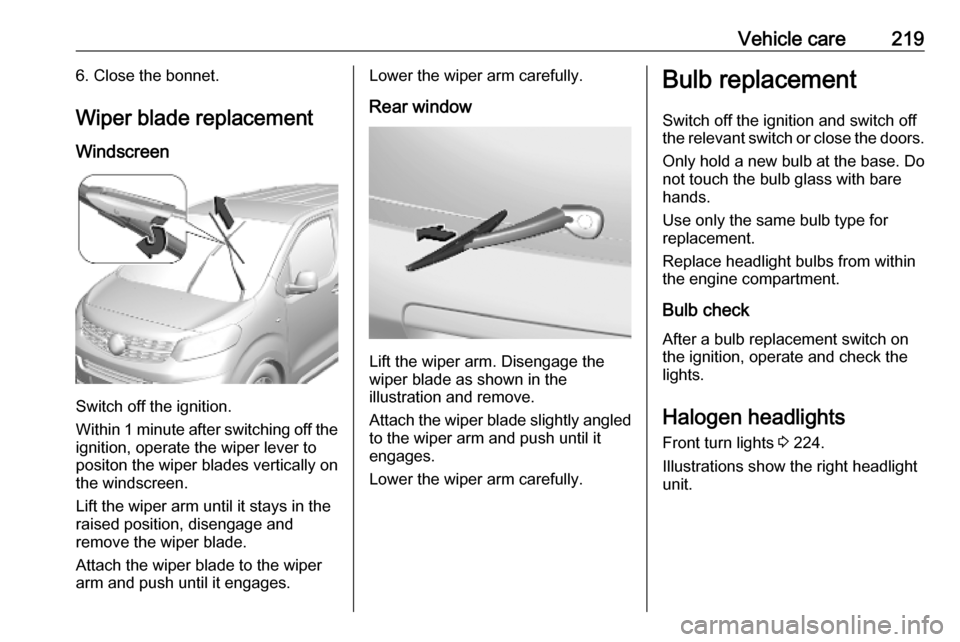
Wiper blade replacement Windscreen
Switch off the ignition.
Within 1 minute after switching off the ignition, operate the wiper lever to
positon the wiper blades vertically on
the windscreen.
Lift the wiper arm until it stays in the
raised position, disengage and
remove the wiper blade.
Attach the wiper blade to the wiper
arm and push until it engages.
Lower the wiper arm carefully.
Rear window
Lift the wiper arm. Disengage the
wiper blade as shown in the
illustration and remove.
Attach the wiper blade slightly angled
to the wiper arm and push until it
engages.
Lower the wiper arm carefully.
Bulb replacement
Switch off the ignition and switch off
the relevant switch or close the doors.
Only hold a new bulb at the base. Do not touch the bulb glass with bare
hands.
Use only the same bulb type for
replacement.
Replace headlight bulbs from within
the engine compartment.
Bulb check
After a bulb replacement switch on
the ignition, operate and check the
lights.
Halogen headlights Front turn lights 3 224.
Illustrations show the right headlight
unit.