change wheel VAUXHALL ZAFIRA TOURER 2018.5 Owner's Manual
[x] Cancel search | Manufacturer: VAUXHALL, Model Year: 2018.5, Model line: ZAFIRA TOURER, Model: VAUXHALL ZAFIRA TOURER 2018.5Pages: 339, PDF Size: 10.02 MB
Page 13 of 339

In brief111Power windows .....................31
2 Exterior mirrors .....................28
3 Cruise control .....................218
Speed limiter ....................... 220
Adaptive cruise control .......221
Forward collision alert .........228
4 Turn and lane-change
signals, headlight flash,
low beam and high beam,
high beam assist ................134
Exit lighting ......................... 137
Parking lights ...................... 135
Buttons for Driver
Information Centre ..............116
5 Instruments ........................ 102
6 Driver Information Centre .... 116
7 Steering wheel controls .......96
8 Windscreen wiper,
windscreen washer
system, headlight washer
system, rear wiper, rear
washer system ......................97
9 Info-Display ........................ 12110Central locking system ..........21
Hazard warning flashers ....134
Sport mode ........................ 217
Tour mode .......................... 217
Fuel selector ....................... 104
Control indicator for airbag deactivation ........................ 111
11 Anti-theft alarm system
status LED ........................... 26
12 Centre air vents .................. 194
13 Side air vents ...................... 194
14 Glovebox .............................. 65
15 Climate control system ........ 188
16 USB input .............................. 10
Power outlet ........................ 100
17 Selector lever, manual
transmission ....................... 211
Automatic transmission ......208
18 Traction Control system .....215
Electronic Stability Control . 216
Lane departure warning .....243
19 Electric parking brake .........21220Manual parking brake .........212
21 Parking assist systems .......233
Eco button for stop-start
system ................................. 200
22 Ignition switch with
steering wheel lock ............197
23 Horn ..................................... 97
Driver airbag ........................ 56
24 Bonnet release lever ..........259
25 Fuse box ............................ 277
Storage compartment ...........67
26 Light switch ........................ 129
Headlight range
adjustment ......................... 131
Front fog lights ...................134
Rear fog light ...................... 135
Instrument illumination .......136
27 Steering wheel adjustment ..96
Page 55 of 339
Seats, restraints53Airbag system
The airbag system consists of a
number of individual systems
depending on the scope of
equipment.
When triggered the airbags inflate
within milliseconds. They also deflate
so quickly that it is often unnoticeable during the collision.9 Warning
The airbag system deploys in an
explosive manner, repairs must be performed by skilled personnel
only.
9 Warning
Adding accessories that change
the vehicle's frame, bumper
system, height, front end or side
sheet metal, may keep the airbag
system from working properly. The operation of the airbag system can
also be affected by changing any
parts of the front seats, seat belts,
airbag sensing and diagnostic
module, steering wheel,
instrument panel, inner door seals including the speakers, any of the
airbag modules, ceiling or pillar
trim, front sensors, side impact
sensors or airbag wiring.
Notice
The airbag systems and belt
pretensioner control electronics are
located in the centre console area.
Do not put any magnetic objects in
this area.
Do not affix any objects onto the
airbag covers and do not cover them with other materials. Have damagedcovers replaced by a workshop.
Each airbag is triggered only once.
Have deployed airbags replaced by
a workshop. Furthermore, it may be
necessary to have the steering
wheel, the instrument panel, parts of
the panelling, the door seals,
handles and the seats replaced.
Do not make any modifications to
the airbag system as this will
invalidate the vehicle operating
permit.
Control indicator v for airbag systems
3 110.
Child restraint systems on front passenger seat with airbag
systems
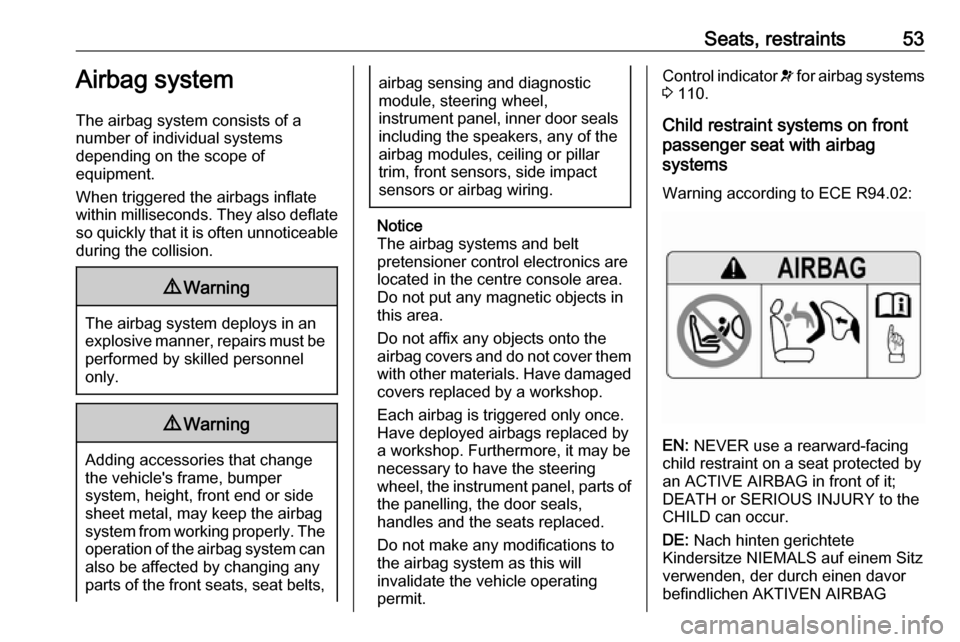
Warning according to ECE R94.02:
EN: NEVER use a rearward-facing
child restraint on a seat protected by
an ACTIVE AIRBAG in front of it;
DEATH or SERIOUS INJURY to the
CHILD can occur.
DE: Nach hinten gerichtete
Kindersitze NIEMALS auf einem Sitz
verwenden, der durch einen davor
befindlichen AKTIVEN AIRBAG
Page 67 of 339
Storage65StorageStorage compartments................65
Glovebox ................................... 65
Cupholders ................................ 65
Front storage ............................. 67
Door panel storage ....................67
Overhead console .....................67
Underseat storage .....................67
Armrest storage .........................68
Centre console storage .............68
Rear carrier system ...................69
Load compartment .......................78
Rear storage .............................. 80
Load compartment cover ...........80
Rear floor storage cover ............82
Load rails and hooks .................87
Lashing eyes ............................. 87
Cargo management system ......87
Safety net .................................. 89
Folding tray ................................ 91
Warning triangle ........................91
First aid kit ................................. 91
Roof rack system .........................92
Roof rack ................................... 92
Loading information .....................93Storage compartments9Warning
Do not store heavy or sharp
objects in the storage
compartments. Otherwise, the
storage compartment lid could
open and vehicle occupants could be injured by objects being thrown
around in the event of hard
braking, a sudden change in
direction or an accident.
Glovebox
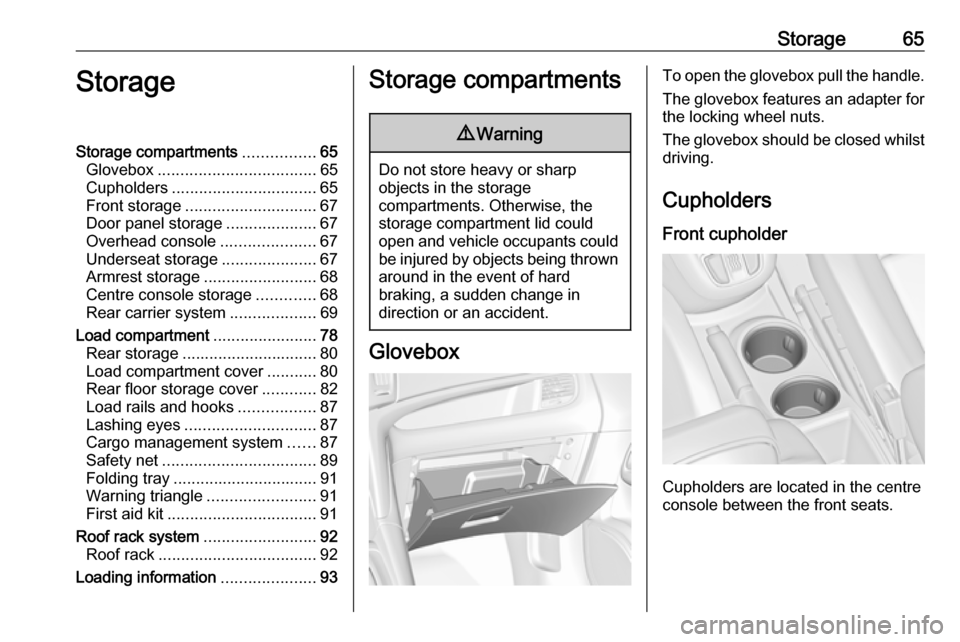
To open the glovebox pull the handle.
The glovebox features an adapter for the locking wheel nuts.
The glovebox should be closed whilst
driving.
Cupholders
Front cupholder
Cupholders are located in the centre
console between the front seats.
Page 109 of 339
Instruments and controls107This can be an additional engine oil
and filter change or part of a regular
service.
The remaining oil life duration menu
is displayed in the Driver Information
Centre 3 116.
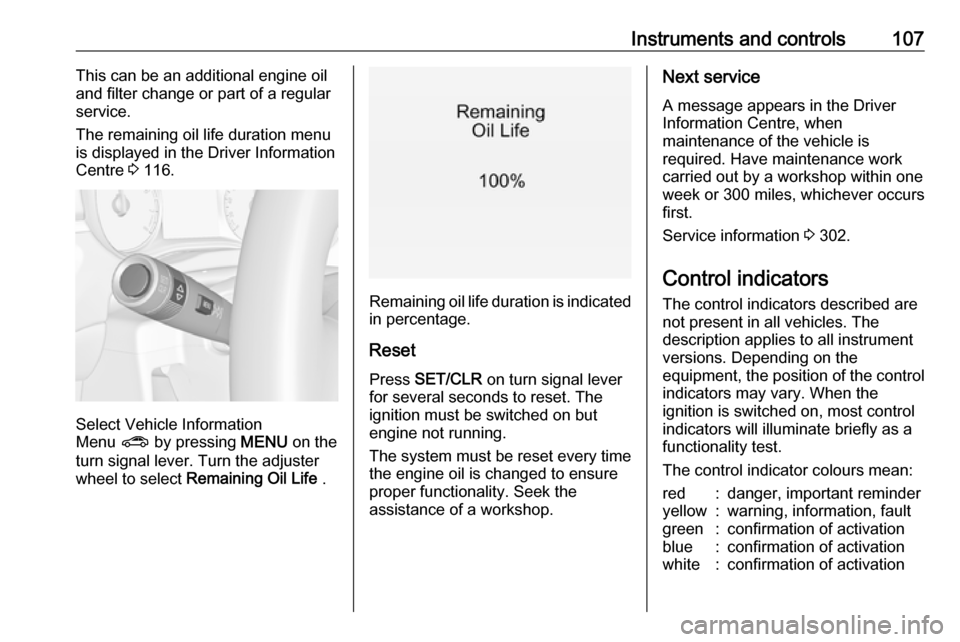
Select Vehicle Information
Menu ? by pressing MENU on the
turn signal lever. Turn the adjuster wheel to select Remaining Oil Life .
Remaining oil life duration is indicated
in percentage.
ResetPress SET/CLR on turn signal lever
for several seconds to reset. The
ignition must be switched on but
engine not running.
The system must be reset every time
the engine oil is changed to ensure
proper functionality. Seek the
assistance of a workshop.
Next service
A message appears in the Driver
Information Centre, when
maintenance of the vehicle is
required. Have maintenance work
carried out by a workshop within one
week or 300 miles, whichever occurs
first.
Service information 3 302.
Control indicators
The control indicators described are
not present in all vehicles. The
description applies to all instrument
versions. Depending on the
equipment, the position of the control indicators may vary. When the
ignition is switched on, most control
indicators will illuminate briefly as a
functionality test.
The control indicator colours mean:red:danger, important reminderyellow:warning, information, faultgreen:confirmation of activationblue:confirmation of activationwhite:confirmation of activation
Page 122 of 339
120Instruments and controlsRemaining oil life
Indicates an estimate of the oil's
useful life. The number in percentage means the current remaining oil life
and indicates when to change the
engine oil and filter 3 106.
Tyre pressure
Tyre pressures of all wheels are
displayed on this page during driving
3 282.
Tyre load
The tyre pressure category according
to the actual tyre inflation pressure
can be selected 3 282.
Following distance
Displays the distance in seconds to a preceding moving vehicle 3 231. If
Adaptive cruise control is active this
page shows the following distance
setting instead.
Traffic sign assistant
Displays the detected traffic signs for
the current route section 3 239.Economy information menu @
Possible pages are: ● economy trend
● economy index
● top consumers
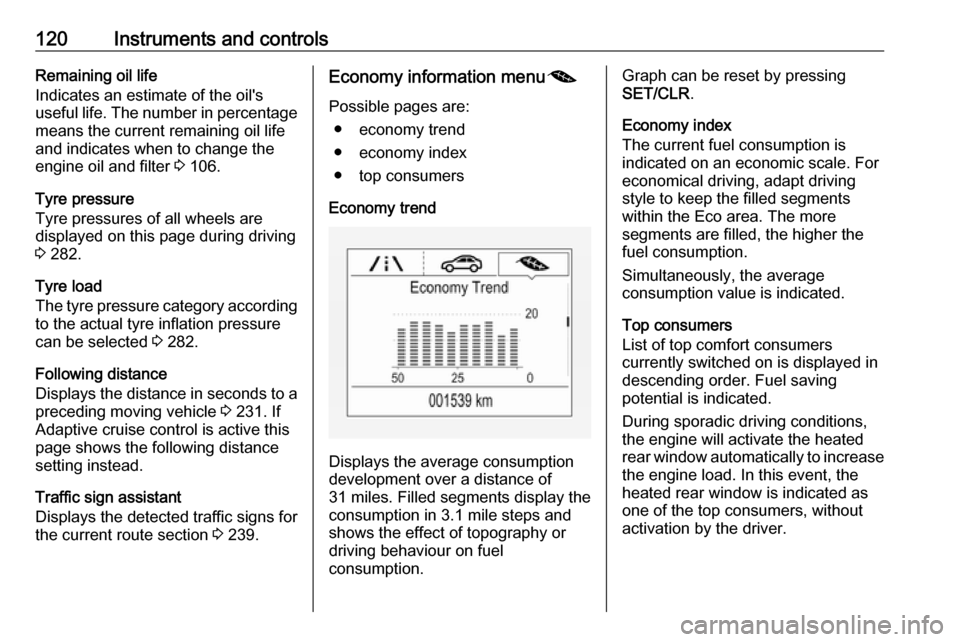
Economy trend
Displays the average consumption
development over a distance of
31 miles. Filled segments display the
consumption in 3.1 mile steps and
shows the effect of topography or
driving behaviour on fuel
consumption.
Graph can be reset by pressing
SET/CLR .
Economy index
The current fuel consumption is
indicated on an economic scale. For
economical driving, adapt driving
style to keep the filled segments
within the Eco area. The more
segments are filled, the higher the
fuel consumption.
Simultaneously, the average
consumption value is indicated.
Top consumers
List of top comfort consumers
currently switched on is displayed in descending order. Fuel saving
potential is indicated.
During sporadic driving conditions,
the engine will activate the heated
rear window automatically to increase
the engine load. In this event, the
heated rear window is indicated as
one of the top consumers, without
activation by the driver.
Page 124 of 339
122Instruments and controlsVehicle messagesMessages are indicated mainly in the
Driver Information Centre, in some
cases together with a warning and
signal chime.
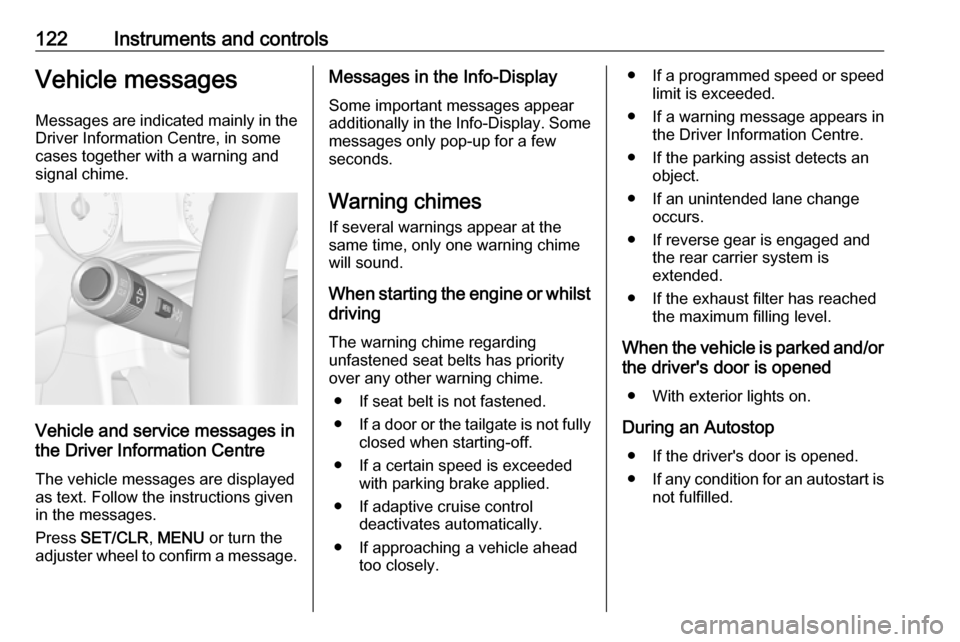
Vehicle and service messages in
the Driver Information Centre
The vehicle messages are displayed
as text. Follow the instructions given
in the messages.
Press SET/CLR , MENU or turn the
adjuster wheel to confirm a message.
Messages in the Info-Display
Some important messages appear
additionally in the Info-Display. Some messages only pop-up for a few
seconds.
Warning chimes If several warnings appear at the
same time, only one warning chime will sound.
When starting the engine or whilst
driving
The warning chime regarding
unfastened seat belts has priority
over any other warning chime.
● If seat belt is not fastened.
● If a door or the tailgate is not fully
closed when starting-off.
● If a certain speed is exceeded with parking brake applied.
● If adaptive cruise control deactivates automatically.
● If approaching a vehicle ahead too closely.●If a programmed speed or speed
limit is exceeded.
● If a warning message appears in the Driver Information Centre.
● If the parking assist detects an object.
● If an unintended lane change occurs.
● If reverse gear is engaged and the rear carrier system is
extended.
● If the exhaust filter has reached the maximum filling level.
When the vehicle is parked and/or
the driver's door is opened
● With exterior lights on.
During an Autostop ● If the driver's door is opened.
● If any condition for an autostart is
not fulfilled.
Page 142 of 339
140Infotainment systempanel, the controls on the steeringwheel, or - if provided by your mobile
phone - via speech recognition.
The well-thought-out design of the
control elements, the touch screen
and the clear display enable you to
control the system easily and
intuitively.
Notice
This manual describes all options
and features available for the
various Infotainment systems.
Certain descriptions, including those
for display and menu functions, may
not apply to your vehicle due to
model variant, country
specifications, special equipment or
accessories.
Important information on
operation and traffic safety9 Warning
The Infotainment system must be
used so that the vehicle can be
driven safely at all times. If in
doubt, stop the vehicle and
operate the Infotainment system
while the vehicle is stationary.9 Warning
In some areas one-way streets
and other roads and entrances
(e.g. pedestrian zones) that you
are not allowed to turn into are not marked on the map. In such areas
the Infotainment system may
issue a warning that must be
accepted. Here you must pay
particular attention to one-way
streets, roads and entrances that
you are not allowed to drive into.
Radio reception
Radio reception may be disrupted by
static, noise, distortion or loss of
reception due to:
● changes in distance from the transmitter
● multipath reception due to reflection
● shadowing
Theft-deterrent feature
The Infotainment system is equipped
with an electronic security system for
the purpose of theft deterrence.
The Infotainment system therefore
functions only in your vehicle and is
worthless to a thief.
Page 146 of 339
144Infotainment systemUsage
Control elements
The Infotainment system is operated
via function buttons, a touch screen
and menus that are shown on the
display.
Inputs are made optionally via: ● the central control unit in the control panel 3 141
● the touch screen 3 146
● audio controls on the steering wheel 3 141
● the speech recognition 3 178
Switching the Infotainment
system on or off
Short press X to switch the system
on. After switching on, the last
selected Infotainment source
becomes active.
Long press X to switch the system
off.Automatic switch-off
If the Infotainment system has been
switched on by pressing X while the
ignition is switched off, it will switch off
again automatically 10 minutes after
the last user input.
Setting the volume Turn X. The current setting is shown
on the display.
When the Infotainment system is
switched on, the last selected volume
is set, provided that it is lower than the maximum start-up volume. For a
detailed description 3 149.
Speed compensated volume
When the speed compensated
volume is activated 3 149, the
volume is adapted automatically to
make up for the road and wind noise
as you drive.
Mute
Press X to mute the Infotainment
system.
To cancel the mute function, press
X again. The last selected volume is
set again.Modes of operation
Press ; to display the home menu.
Notice
For a detailed description of menu
operation via touch screen 3 146.
Audio
Select Audio to open the main menu
of the last selected audio mode.
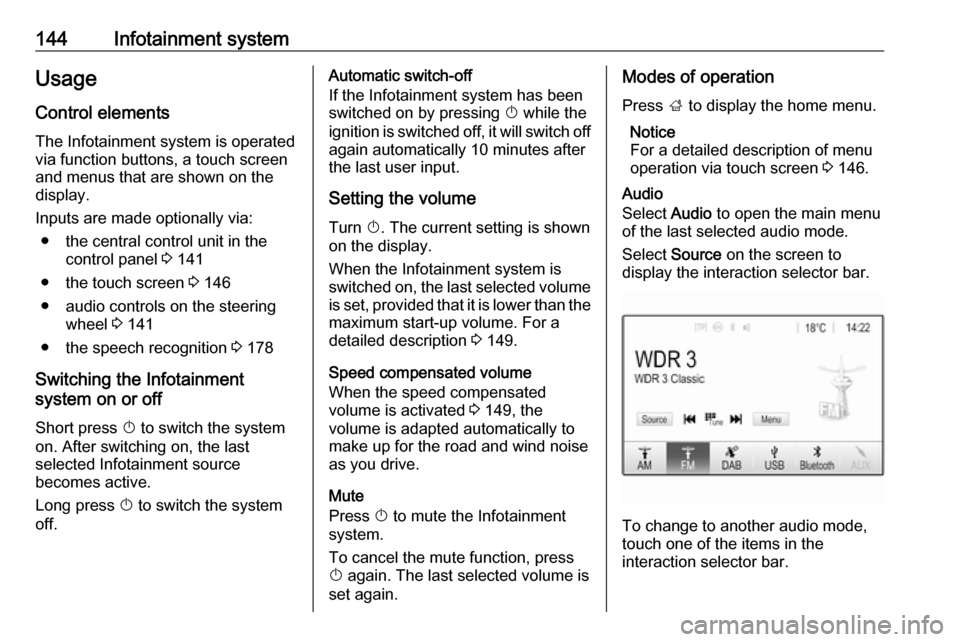
Select Source on the screen to
display the interaction selector bar.
To change to another audio mode,
touch one of the items in the
interaction selector bar.
Page 191 of 339
Climate control189Air conditioning system
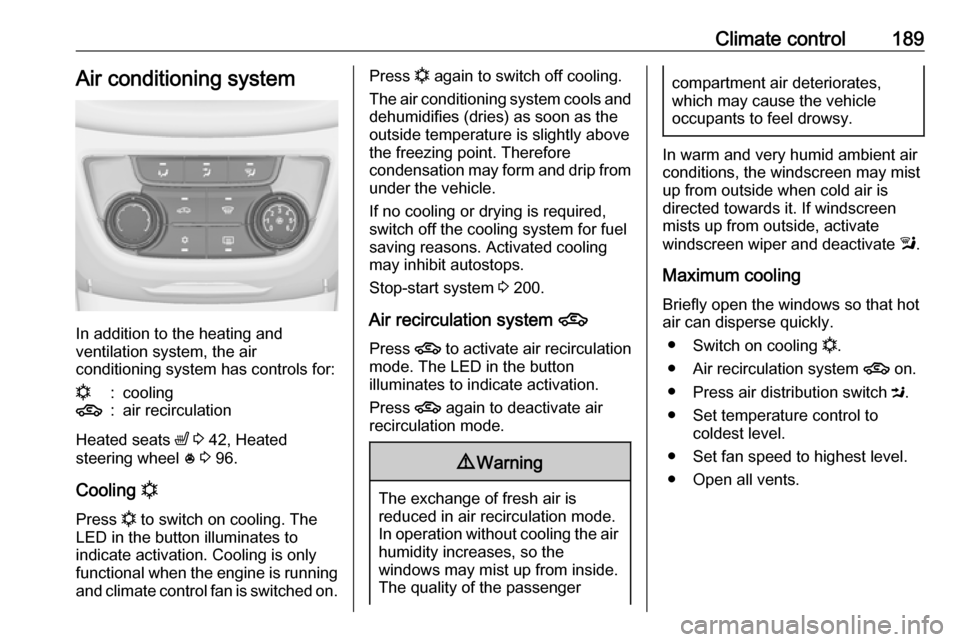
In addition to the heating and
ventilation system, the air
conditioning system has controls for:
n:cooling4:air recirculation
Heated seats ß 3 42, Heated
steering wheel * 3 96.
Cooling n
Press n to switch on cooling. The
LED in the button illuminates to
indicate activation. Cooling is only
functional when the engine is running and climate control fan is switched on.
Press n again to switch off cooling.
The air conditioning system cools and
dehumidifies (dries) as soon as the
outside temperature is slightly above
the freezing point. Therefore
condensation may form and drip from under the vehicle.
If no cooling or drying is required,
switch off the cooling system for fuel
saving reasons. Activated cooling
may inhibit autostops.
Stop-start system 3 200.
Air recirculation system 4
Press 4 to activate air recirculation
mode. The LED in the button
illuminates to indicate activation.
Press 4 again to deactivate air
recirculation mode.9 Warning
The exchange of fresh air is
reduced in air recirculation mode.
In operation without cooling the air humidity increases, so the
windows may mist up from inside.
The quality of the passenger
compartment air deteriorates,
which may cause the vehicle
occupants to feel drowsy.
In warm and very humid ambient air conditions, the windscreen may mist
up from outside when cold air is
directed towards it. If windscreen
mists up from outside, activate
windscreen wiper and deactivate l.
Maximum cooling
Briefly open the windows so that hot
air can disperse quickly.
● Switch on cooling n.
● Air recirculation system 4 on.
● Press air distribution switch M.
● Set temperature control to coldest level.
● Set fan speed to highest level.
● Open all vents.
Page 196 of 339
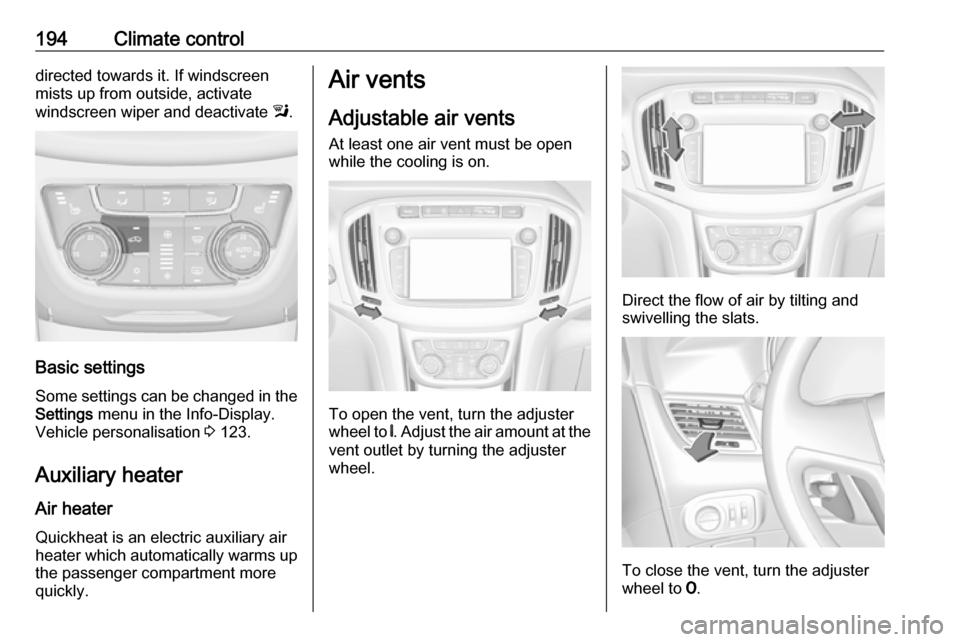
194Climate controldirected towards it. If windscreen
mists up from outside, activate
windscreen wiper and deactivate l.
Basic settings
Some settings can be changed in the
Settings menu in the Info-Display.
Vehicle personalisation 3 123.
Auxiliary heater Air heater
Quickheat is an electric auxiliary air
heater which automatically warms up
the passenger compartment more
quickly.
Air vents
Adjustable air vents
At least one air vent must be open
while the cooling is on.
To open the vent, turn the adjuster
wheel to B. Adjust the air amount at the
vent outlet by turning the adjuster
wheel.
Direct the flow of air by tilting and swivelling the slats.
To close the vent, turn the adjuster
wheel to 7.