instrument cluster VOLKSWAGEN BEETLE 2010 User Guide
[x] Cancel search | Manufacturer: VOLKSWAGEN, Model Year: 2010, Model line: BEETLE, Model: VOLKSWAGEN BEETLE 2010Pages: 138, PDF Size: 48.59 MB
Page 22 of 138
Downloaded from www.Manualslib.com manuals search engine Volkswagen information system
o::n Introduction
This chapter contains information on the following subjects:
Overview of the menu structure . . . . . . . . . . . . 26
Using the selection menu in the instrument cluster . . . . . . . . . . . . . . . . . . . . . . . . . . . . . . . . . 27 Button for the driver assist systems 28
Selection menu . . . . . . . . . . . . . . . . . . . . . . . . . 28 Driving data . . . . . . . . . . . . . . . . . . . . . . . . . . . . 29
Assist systems menu . . . . . . . . . . . . . 30
When the ignition is switched on, the various display functions can be accessed via the selection menu, e.g . the driving data disp lay (multifunction display (MFD)).
There are no buttons on the windscreen wiper lever in vehicles equipped with a multifunction steering wheel. Operation is exclusiv ely via the buttons on the multifunction steering wheel.
The scope of the menus and information shown in the instrument cluster display depends on the vehicle electronics and the vehicle equ ipment level.
A
qualified workshop can program and modify other functions depending on the vehicle equipment
level. Volkswagen recommends us ing a Volkswagen dealership for this purpose.
If any priority 1 warn ing reports are being displayed, you will be unable to access any menus or information displays. A few warning messages can
Overview of the menu structure
r-'('n First read and observe the introductory l....-J=,ll information and safety warnings & on
page 26.
The following menu structure shows how the Volkswagen information system menus in the instrument cluster display are structured . The size and layout of the Volkswagen information system menu depends on the vehicle electronics and the
level of vehicle equipment.
Driving data ~page 29
• Since start
• Since refuel
• Long-term
• Traffic sign recognition
26 Overview of the vehicle
be confirmed and hidden by pressing the OK/RESET button on the windscreen wiper lever or the OK button on the multifunction steering wheel.
Additional information and warnings:
• lnfotainment system ~page 31
• Driver assist systems ~page 196
• Radio or navigation system ~Booklet Radio or ~Booklet Navigation system
• Provision for mobile telephone ~Booklet Provision for mobile telephone
A WARNING -Accidents and injuries can occur if the driver is distracted.
• Never open the menus on the instrument cluster display while the vehicle is in motion.
r::l After starting the engine with a discharged ~ vehicle battery, or after the battery has been
changed , system settings (time, date, personal
convenience settings and programming) may have
been changed or deleted .
Check and correct the
settings as necessary once the vehicle battery has
been sufficiently charged.
• Digital speed
• Fuel range
• Convenience consumers
Driver assist systems ~page 28
• Lane Assist on/off
• Front Assist on/off
• Adaptive cruise control (ACC)
Navigation ~Booklet Navigation system
Audio ~Booklet Radio or ~Booklet Navigation system
Telephone ~Booklet Provision for a mobile tel· ephone
Vehicle status ~page 28
,J
--------
Page 23 of 138
Downloaded from www.Manualslib.com manuals search engine 0
0
Using the selection menu in the instrument cluster
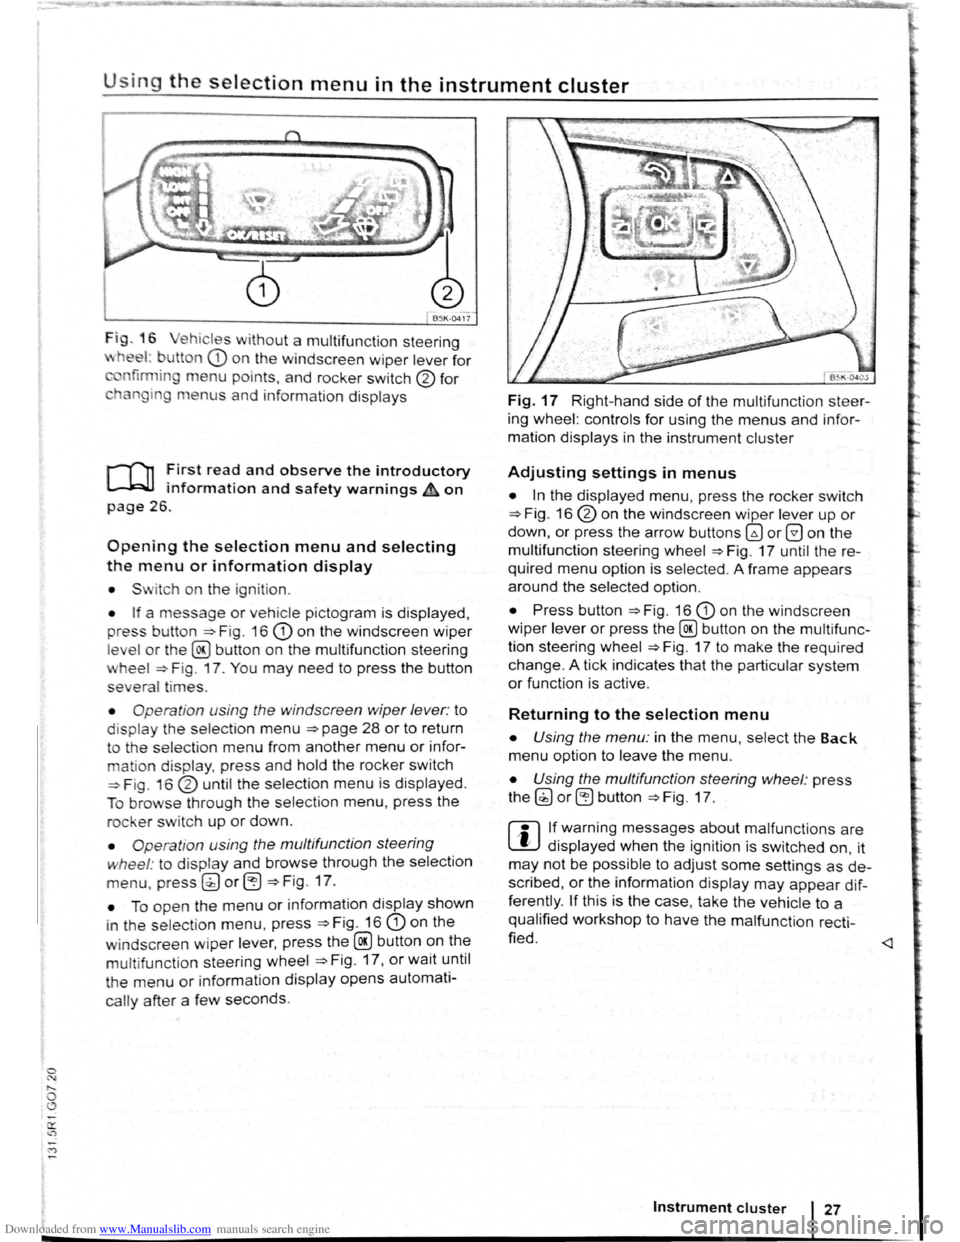
Fig . 16 ehicl es w ithout a multifunct ion steering
wheel: b utton CD o n th e windscreen wiper lever for
nfirmin g menu points, and ro cker switch 0 for
h n gin g m e
nus and info rm ation displays
r-T'n First read and observe the introductory
l.-.W.I information and safety warnings&, on
page 26.
Opening the selection menu and selecting
the menu or information display
• Sw itch on th e ig nit io n.
• If a messag e or vehicle p ictogram is displayed,
p res s bu tton
=>F ig . 16 CD on the windscreen wiper
level or the @ button on the multifunction steering
wheel => F ig . 17. You may need to press the button
several ti
mes .
• Opera tion u sin g the windscreen wiper lever: to
dis p lay the selection menu =>page 28 or to return
to the selection menu from another menu or infor
mation dis play, press and hold the rocker switch
=>Fig. 1 6 0 until the select ion menu is displayed.
To
brows e through the select ion menu, press the
rocker switch up or down.
• Operatio n using the multifunction steering
wh
eel : to display and browse through the selection
menu, press g) or eJ =>Fig. 17.
• To open the menu or information display shown
i n th e s election
menu, press =>Fig . 16 CD on the
w i
ndscreen wiper lever, press the @ button on the
multifunct ion steering wheel =>Fig . 17, or wait until
th e
menu or information display opens automati
cally after a few seconds.
Fig. 17 Right-hand side of the multifunction steer
ing wheel: controls
for using the menus and infor
mation displays in the instrument cluster
Adjusting settings in menus
• In the displayed menu, press the rocker switch
=>Fig. 16 0 on the windscreen wiper lever up or
down, or press the arrow buttons~ or G on the
multifunction steering wheel
=>Fig. 17 until the re
quired menu option is selected . A frame appea rs
around the selected option .
• Press button =>Fig. 16 CD on the windscreen
wiper lever
or press the@ button on the mult ifunc
tion steering wheel
=>Fig. 17 to make the requir ed
change.
A tick indicates that the part icular system
or function is act ive .
Returning to the selection menu
• Using the menu: in the menu , select the Back
menu option to leave the menu .
• Using the multifunction steering wheel: p ress
the (;) or ~ button => Fig . 17 .
r:l If warning messages about malfunctions are
L!J displayed when the ignition is switched on, it
may not be possible to adjust some settings as de
scribed ,
or the information display may appear dif
ferently .
If this is the case, take the vehicle to a
qualified workshop to have the malfunction
recti
fied .
Instrument cluster 27
Page 25 of 138
Downloaded from www.Manualslib.com manuals search engine Driving data
r-T'n ~irst rea~ and observe the introductory
L......kJJ mformat1on and safety warnings ~on
page 26.
• Since start
• Since refuel
• long-term
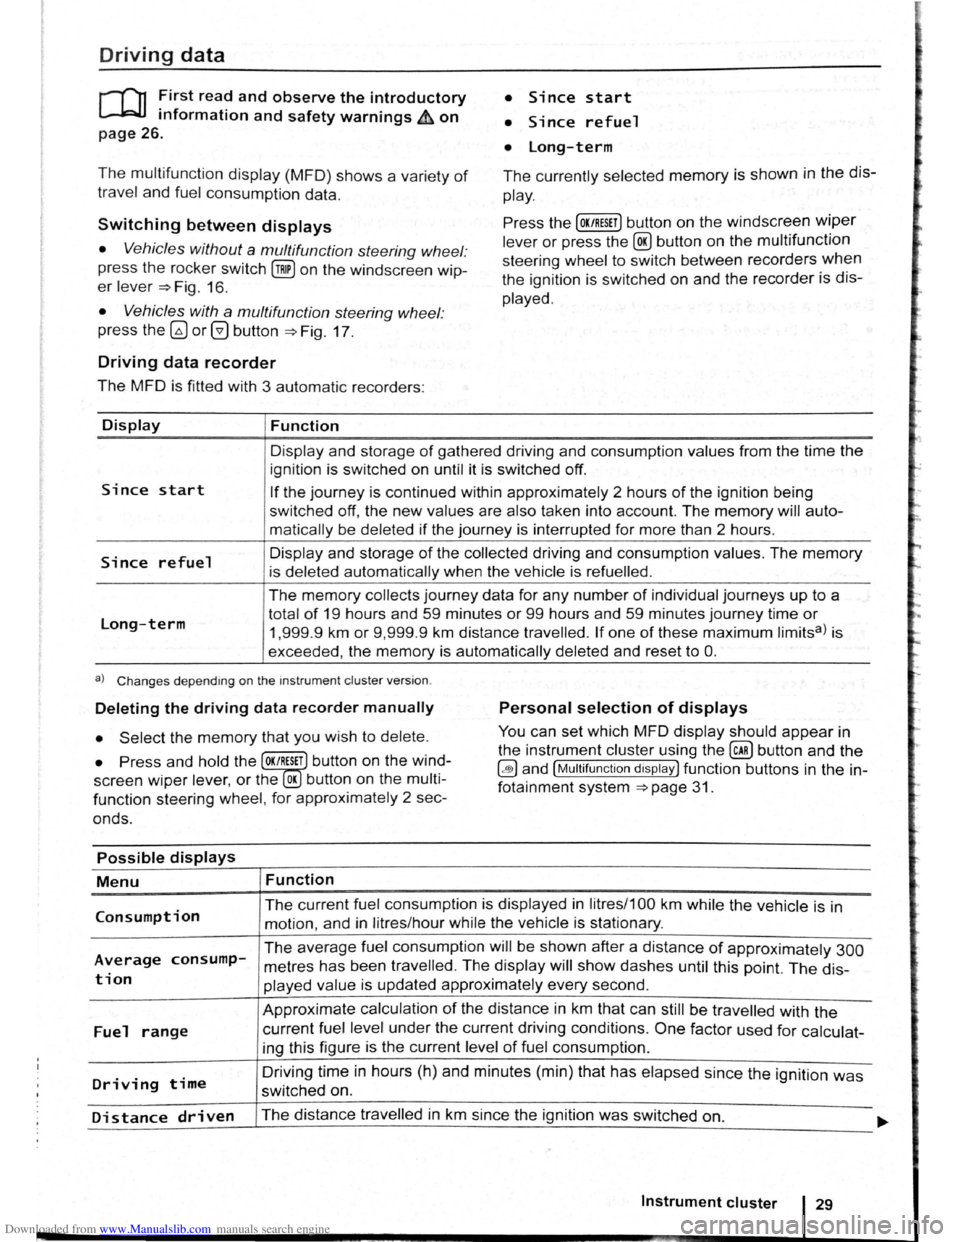
The multifunction display (MFD) shows a variety of
travel and fuel consumption data.
The currently selected memory is shown in the dis
play.
Switching between displays Press the [OK/RESET] button on the windscreen wiper
lever or press the @ button on the multifunction
steering wheel to switch between recorders
when
the ignition is switched on and the recorder is dis
played.
• Vehicles without a multifunction steering wheel:
press the rocker switch
(!ill on the windscreen wip
er lever ~Fig. 16.
• Vehicles with a multifunction steering wheel:
press
the~ or@ button ~Fig. 17 .
Driving data recorder
The MFD is fitted with 3 automatic recorders:
Display
Since start
Since refuel
Long-term
Function
Display and storage of gathered driving and consumption values from the time the
ignition is switched on until it is switched off.
If the journey is continued within approximately 2 hours of the ignition being
switched
off, the new values are also taken into account. The memory will auto
matically be deleted
if the journey is interrupted for more than 2 hours.
Display and storage
of the collected driving and consumption values. The memory
is deleted automatically when the vehicle is refuelled .
The memory collects journey data for any number of individual journeys up to a
total
of 19 hours and 59 minutes or 99 hours and 59 minutes journey time or
1,999.9 km or 9,999 .9 km distance travelled. If one of these maximum limitsa) is
exceeded, the
memory is automatically deleted and reset to 0.
a) Changes depending on the instrument cluster version.
Deleting the driving data recorder manually Personal selection of displays
• Select the memory that you wish to delete. You can set which MFD display should appear in
the instrument cluster using the
@ill button and the
~and [Multifunction display) function buttons in the in
fotainment system
~page 31.
• Press and hold the OK/RESET button on the wind
screen
wiper lev er, or the OK button on the multi
function steering wheel, for approximately 2 sec
onds.
Possible displays
Menu
Consumption
Average consump
tion
Fuel range
Driving time
Function
The current fuel consumption is displayed in litres/1 00 km while the vehicle is in
motion, and in litres/hour while the vehicle is stationary.
The average fuel consumption will be shown after a distance of approximately 300
metres has been travelled . The display will show dashes until this point. The dis
played value is updated approximately every second.
Approximate calculation
of the distance in km that can still be travelled with the
current fuel level under the current driving conditions . One factor used for calculat
ing this figure is the current level
of fuel consumption .
Driving
time in hours (h) and minutes (min) that has elapsed since the ignition was
switched on.
Distance driven The distance travelled in km since the ignition was switched on. ..... ~~~--------~--------------------------~----------------------------~
Instrument cluster 29
Page 44 of 138
Downloaded from www.Manualslib.com manuals search engine A wARNING
A tailgate that is not closed properly could
op~n suddenly while the vehicle is in motion.
This could lead to severe injuries.
Opening the tailgate
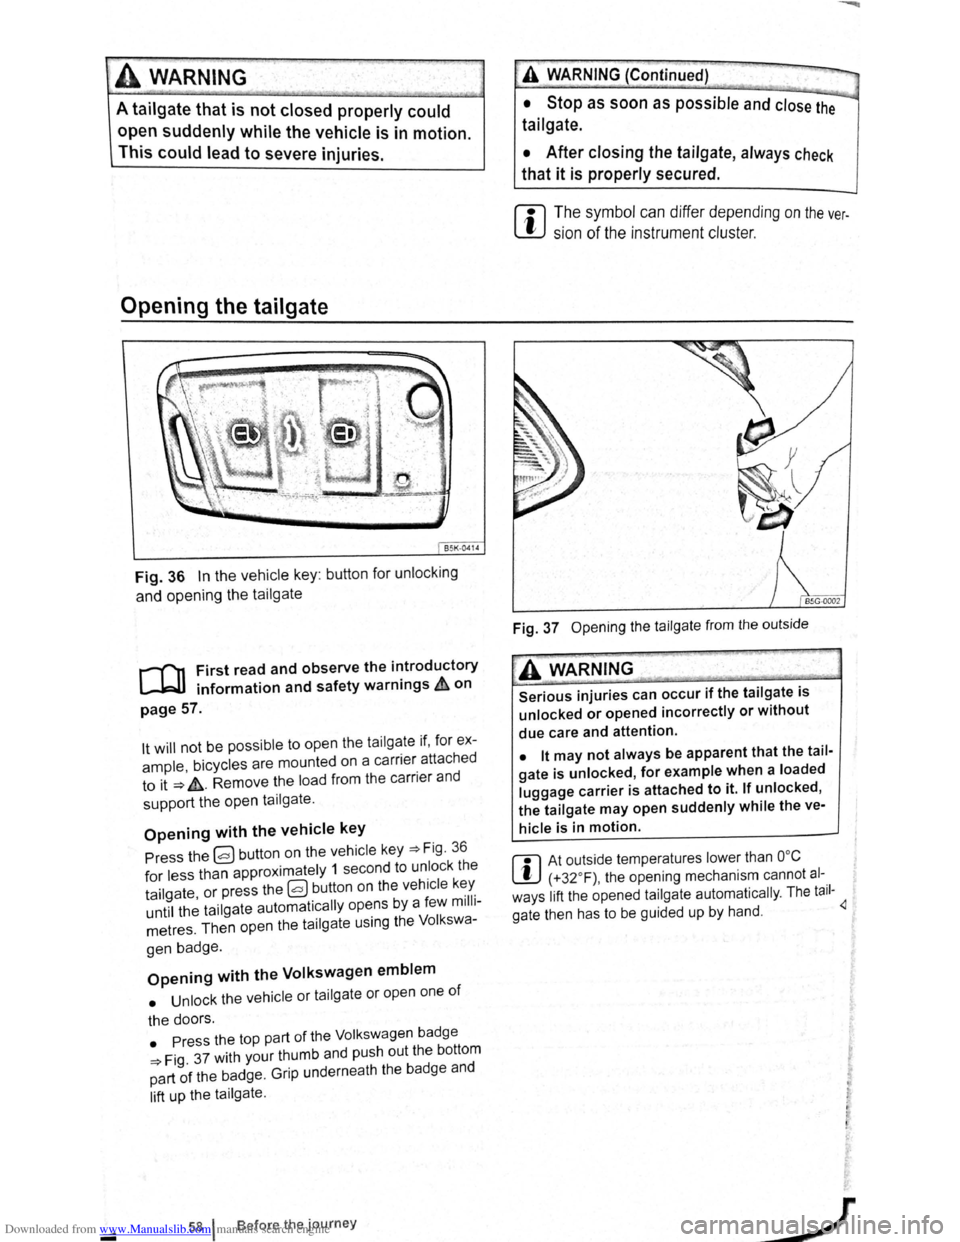
B5K -041 4
Fig. 36 In the vehicle key: button for unlocking
and opening the tailgate
r-('n First read and observe the introductory
l...-Jr=JJ information and safety warnings £ on
page 57.
lt will not be possible to open the tailgate if, for ex
ample,
bicycles are mounted on a carrier attached
to it
~ £. Remove the load from the carrier and
support the open tailgate.
Opening with the vehicle key
Press the~ button on the vehicle key~ Fig. 36
for less than approximately 1 second to unlock the
tailgate,
or press the ~ button on the vehicle key
until the tailgate automatically opens by a few milli
metres . Then open the tailgate using the Volkswa -
gen badge .
Opening with the Volkswagen emblem
• Unlock the vehicle or tailgate or open one of
the doors .
• Press the top part of the Volk swagen badge
~Fig. 37 with your thumb and push out the bottom
part
of the badge. Grip underneath the badge and
lift up the tailgate .
58 I Before the journey
1, A WARNING (Continued) --
•
Stop as soon as possible and close th --...d
tailgate. e
• After closing the tailgate, always check
that it is properly secured.
r::l The symbol can differ depending on the ver
L!J si on of the instrument cluster.
Fig. 37 Opening the tailgate from the outside
--,..
A WARNING
Serious injuries can occur if the tailgate is
unlocked or opened incorrectly or without
due care and attention.
• lt may not always be apparent that the tail
gate is unlocked, for example when a loaded
luggage
carrier is attached to it. If unlocked,
the tailgate may open suddenly while the ve
hicle is in motion.
r:l At outside temperatures lower than ooc
L!J (+32 °F), the opening mechanism cannot al
ways lift the opened
tailgate automatically . The tail-
gate then has to be guided up by hand .
Page 65 of 138
Downloaded from www.Manualslib.com manuals search engine To adjust, turn the control CD to:
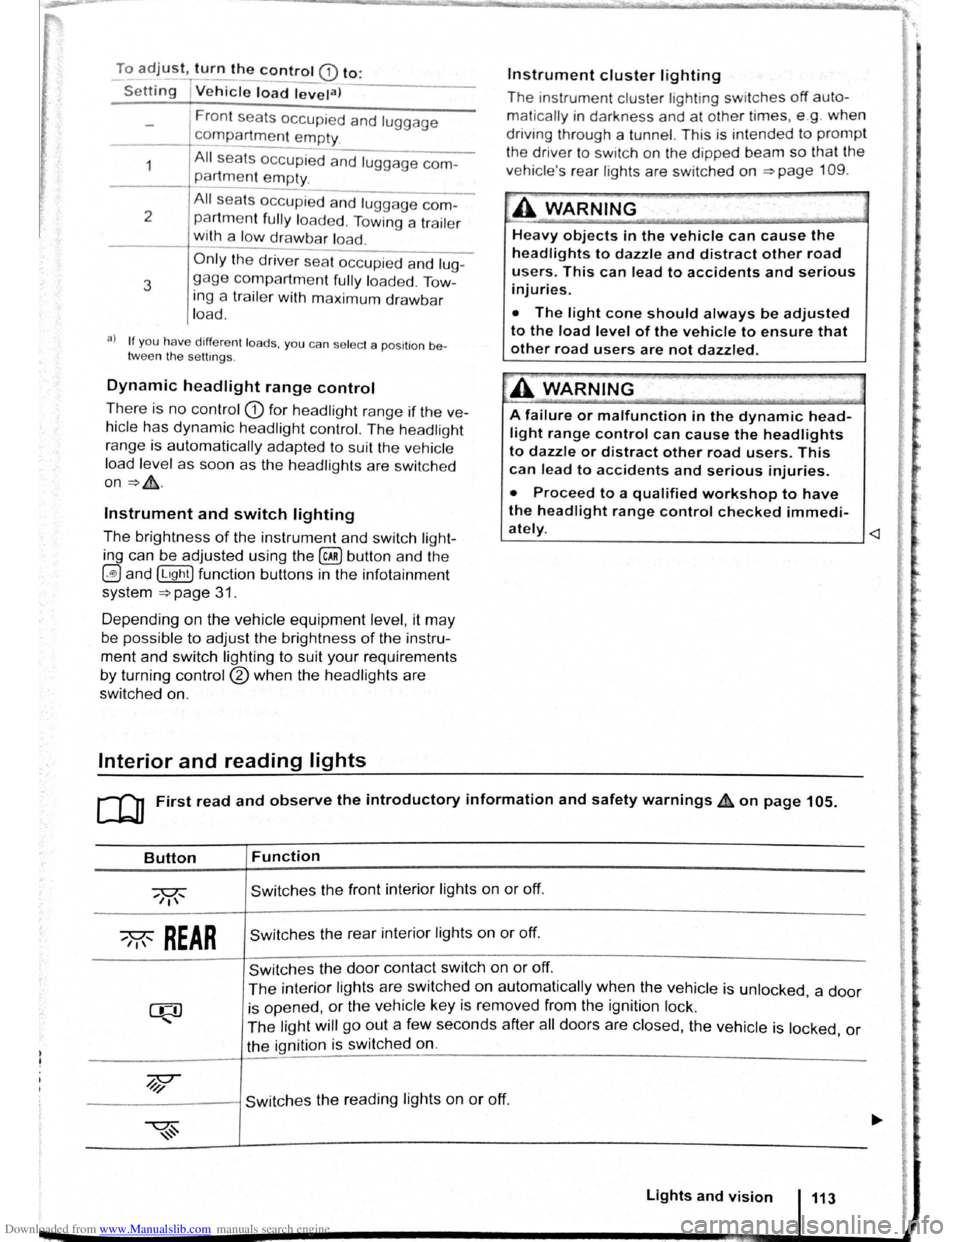
-Set~ng I Vehicle load lev~la) -------
1
2
3
Fron t seats occupied and luggage
compa rtment
empty.
All seats occupied and luggage com
partment empty.
All sea ts occ upi ed and luggage com
partm ent fully loaded . Towing a trai le r
wit h a
lo w drawbar load .
Only the driver sea t occupi ed and lug
ga ge compartm ent fully load ed . Tow
ing a trai le r w ith maximum drawbar
l
oad.
a) If you have diff ere nt loads. you can select a positi on be
tween th e settings.
Dynamic headlight range control
Th ere is no control CD for headlight range if the ve
hicle
has dynamic headli ght control. The head light
r ange is
automatically adapted to suit the ve hicle
load level as soon as the headli ghts are switched
on~&.
Instrument and switch lighting
The brightness of the in strument and switch li gh t
ing can be adjusted using the @ill button and the
~and !Ltght] function buttons in the infot ainm ent
system
~page 31 .
Depending on the vehicle equipment level, it may
be possible to adjust the brightness of the instru
ment and switch lighting to suit your requirements
by turning control® when the headlights are
switched on.
Interior and reading lights
Instrument cluster lighting
The instrumen t cl uste r ligh ting sw it c hes off auto
mati cally
in darkness and at other times, e.g . when
driving through a tunnel. This is in tended to prompt
the driver to switch on the dipped beam so that the
v e hi cle' s rea r l
ights are swit c hed on ~page 109.
.A WARNING
-
Heavy objects in the vehicle can cause the
headlights to dazzle and distract other road
users. This can lead to accidents and serious
injuries.
• The light cone should always be adjusted
to the load level of the vehicle to ensure that
other road users are not dazzled.
A WARNING
A failure or malfunction in the dynamic head
light range control can cause the headlights
to dazzle or distract other road users. This
can lead to accidents and serious injuries.
• Proceed to a qualified workshop to have
the headlight range control checked immedi
I
ately. ~--------------- --------------------~
ClJ] First read and observe the introductory information and safety warnings & on page 105.
Button
~REAR
Function
Switches the front interior lights on or off.
Switches the rear interior lights on or off.
Switches the door contact switch on or off.
The interior lights are switche d on automatically when the vehicle is unlocked , a door
is opened, or the ve hicle key is removed from the ignition lock.
The light will go out a few seconds after all doors are closed, the vehicle is locked, or
the ignition is switched on.
/q'j/
---------j Switches the reading lights on or off.
Lights and vision 113
Page 75 of 138
Downloaded from www.Manualslib.com manuals search engine CD
Please note the following to help avoid damag o
and premature wear:
• Do not rest your hand on the g ear le ve r
when
driving. The pressure from your hand is
passed onto the selector forks in the gearbox.
Automatic gearbox: selecting a gear
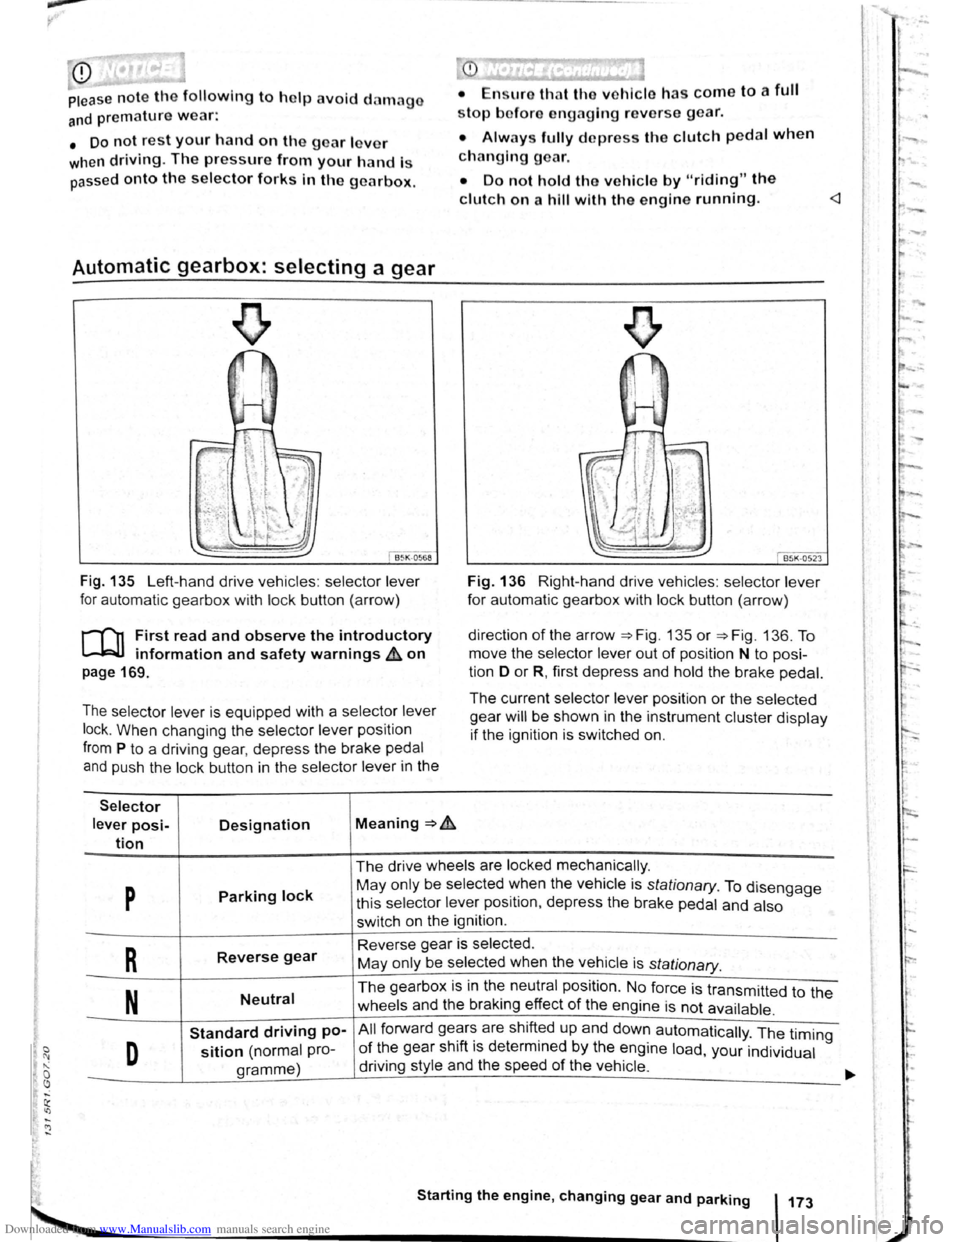
Fig . 135 Left-hand drive vehicles : selector lever
for automatic gearbox with lock button (arrow)
r-('n First read and observe the introductory
~ information and safety warnings & on
page 169.
The selector lever is equipped with a selector lever
lock .
When changing the selector lever position
from P to a driving gear, depress the brake pedal
and push the lock button in the selector lever in the
Selector
lever posi-Designation Meaning ~ .&.
tion
stop bofore engaging re verse gear.
• Always fully d epress the clutch pedal when
changing gear.
• Do not hold the vehicle by "riding" the
clutch on a hill with the engine running.
Fig. 136 Right-hand drive vehicles : selector lever
for automatic gearbox with lock button (arrow)
direction
of the arrow ~Fig. 135 or ~Fig. 136. To
move the selector
lever out of position N to posi
tion D
or R, first depress and hold the brake pedal.
The current selector lever position or the selected
gear
will be shown in the instrument cluster display
if the ignition is switched on.
The drive wheels are locked mechanically .
p Parking lock May only be selected ~hen the vehicle is stationary. To disengage
this selector lever pos1t1on, depress the brake pedal and also
switch on the ignition .
R Reverse gear Reverse gear is selected.
May only be selected when the vehicle is
stationary.
N Neutral The gearbox is in the neutral position . No force is transmitted to the
wheels and the braking effect
of the engine is not available .
Standard driving po-All forward ge~r~ are shift~d up and down automatically . The timing
D sition (normal pro-of the gear sh1ft 1s determmed by the engine load, your individual
gramme) driving
style and the speed
of the vehicle . -
Starting the engine, changing gear and parking 173
Page 80 of 138
Downloaded from www.Manualslib.com manuals search engine Gear-change indicator
B~K-O~Y8
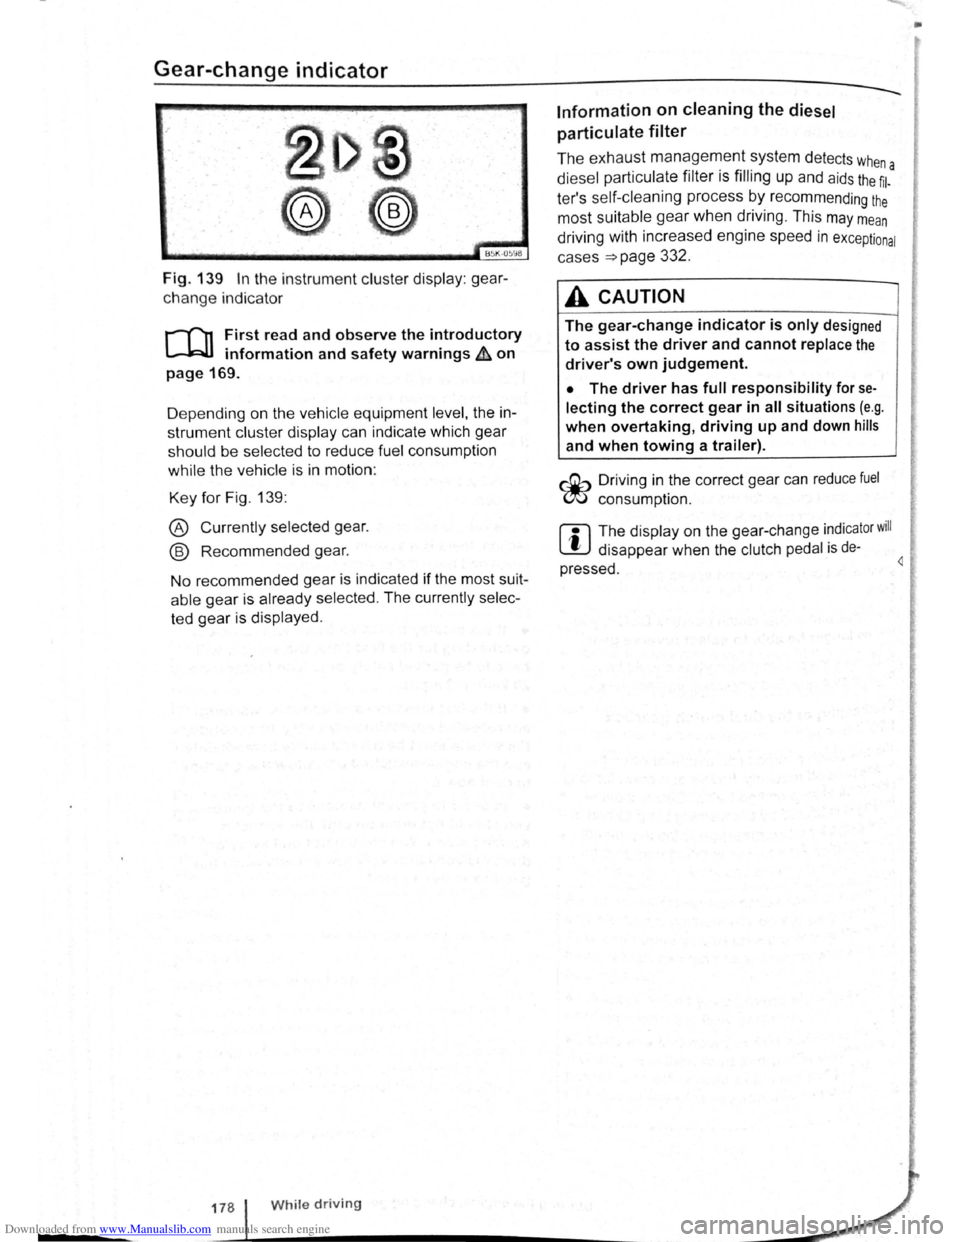
Fig. 139 In the instrument cluster display: gear
change indicator
r-T'n First read and observe the introductory
L-.WI information and safety warnings ~ on
page 169.
D epending on the vehicle equipment
level, the in
strument cluster display can indicate which gear
should be selected to reduce fuel consumption
while the vehicle is in motion :
Key for Fig. 139:
® Currently selected gear.
@ Recommended gear.
No recommended gear is indicated if the most suit
able gear is already selected . The currently selec
ted gear is displayed .
178 While driving
Information on cleaning the diesel
particulate
filter
The exhaust management system detects whe
diesel particulate filter is filling up and aids the ~l-a
ter's self-cleaning process by recommending the
most suitable gear when driving . This may mean
driving with increased engine speed in exceptional
cases
=>page 332 .
A CAUTION
The gear-change indicator is only designed
to assist the driver and cannot replace the
driver's own judgement.
• The driver has full responsibility for se
lecting the correct gear in all situations (e.g .
when overtaking, driving up and down hills
and when towing a trailer).
r::Gb Driv ing in the correct gear can reduce fuel
W consumpt ion.
m The display on the gear-change indicator will
W disappear when the clutch pedal is de·
pressed . 4
•
Page 81 of 138
Downloaded from www.Manualslib.com manuals search engine • o;;--"cc A WAR'I'G (Contmued)
tf the brake warning lamp 0 does not go
'Jt or if it lights up when driving, the brake Ol , . • fluid level in the reservoir IS too low or there
is a fault in the brake system. Stop the vehi
c le immediately and seek expert assistance
=>page 188 , Brake fluid.
, tf the brake warning lamp ID lights up to
gether with the ABS indicator lamp 8, the
control function of the ABS may have failed.
This can cause the rear wheels to lock quick
ly when you brake. Locked rear wheels can
lead to a loss of control of the vehicle. If pos
s ible, reduce your speed and drive carefully
at low speed to the nearest qualified work
shop in order to have the brake system tes
ted . Avoid sudden braking and driving ma
noeuvres on the way.
• The ABS is not functioning correctly if the
ABS indicator lamp Et does not go out or
com es on while the vehicle is in motion. The
Electronic parking brake
BSIV)•~9
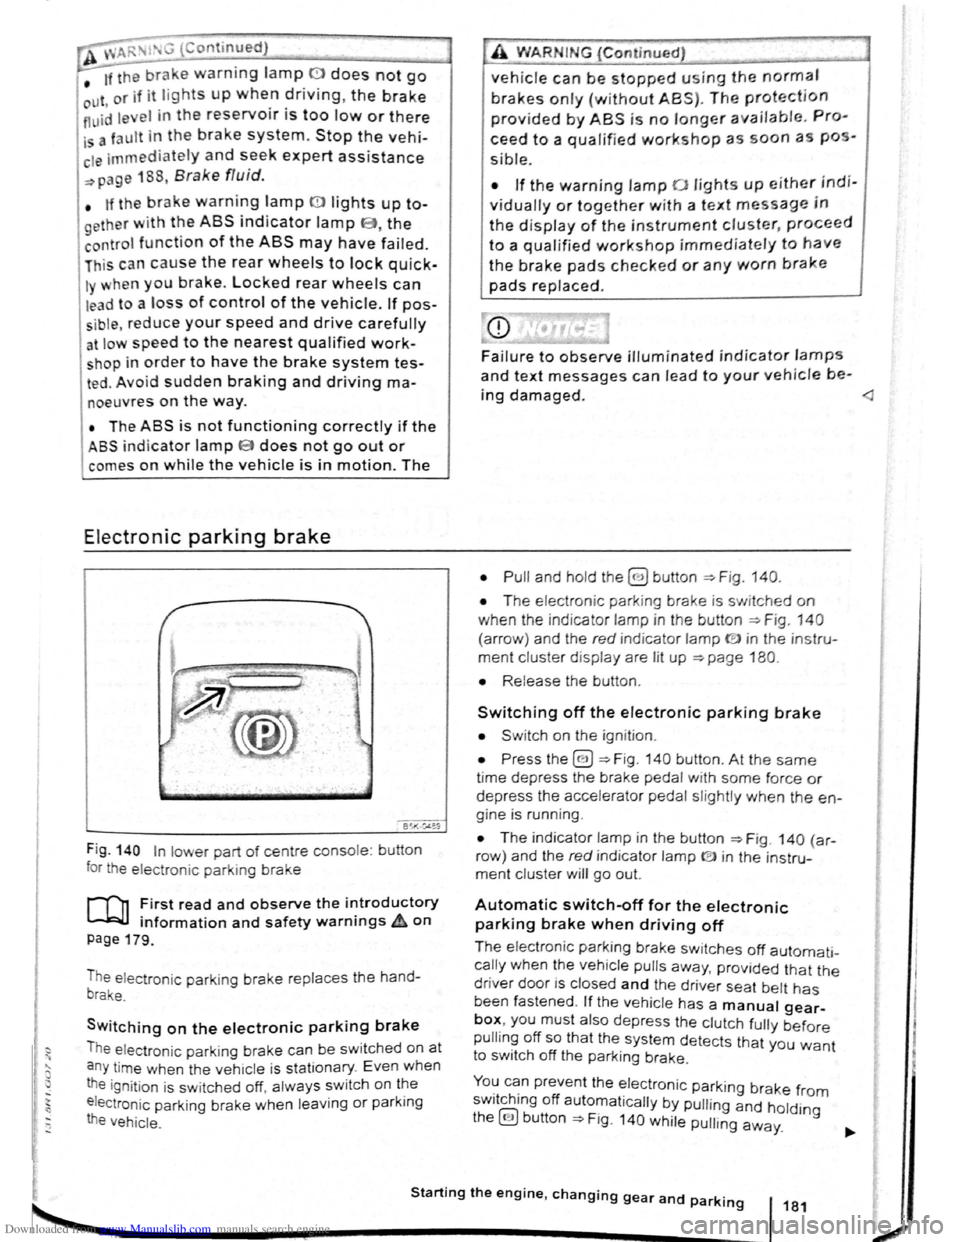
Fig . 140 In lower part of centre console : bu tton
for the electron ic parkin g brake
rf'n First read and observe the i~troductory
~ information and safety warnmgs A on
page 179.
The electronic parking brake replaces the hand
brake.
Switching on the electronic parking brake
The elec tron ic park ing brake can be swit ched on at
a n y time when the vehic le
is stationary . Even when
the ignition is sw itched off, always switch on the
e lectroni c parking brake when leaving
or parking
the vehicle .
_,
A WARN IN.G (Continued) .,~ ,1
vehicle can be stopped using the normal
brakes only {without ABS). The protection
provided by ABS is no longer available. Pro
ceed to a qualified workshop as soon a s pos
s ible.
• If the warning lamp 0 lights up either indi
vidually or together with a text message in
the d isplay of the instrument cluster, proceed
to a qualified workshop immediately to have
the brake pads checked or any worn brake
pads replaced.
Fa i
lure to observe illuminated indicator lamps
and text messages can lead to your vehicle be-
ing damaged.
• T he electron ic park ing brake is switched on
when the indicato r lamp in the button ::;;. Fig. 140
(a rro w) and the red indicator lamp ID in the instru
ment cluster displ ay are lit up ::;;. page 180.
• Release the button .
Switching off the electronic parking brake
• Swit ch on the ignition .
• Press the@) ::;;. Fig . 140 button . At the same
time depress the brake pedal with some force or
depress the accele rator pedal slightly when the en
gine is run ning .
• The indicator lamp in the button =:;.Fig . 140 (a r
row ) and the red indicator lamp ® in the instru
ment cluster will go out.
Automatic switch-off for the electronic
parking brake when driving off
The elec tronic parking brake switches off automati
cally when the vehi cle pulls away, prov ided that the
driver door is closed and the drive r sea t belt has
been fastened . If the vehicle has a manual gear
box, you must also depress the clutch fully before
pulling off so that the system detects that you want
to switch off the parking brake.
You can prevent the electronic parking brake f 0 . h. ff r m sw1tc 1ng o automat ically by pulling and hold.
the@) button::;;. Fig. 140 while pulling away. lng
Starting the engine, changing gear and parking 181
2
Page 83 of 138
Downloaded from www.Manualslib.com manuals search engine ... .....
Hot function
------------------------------------ ---------
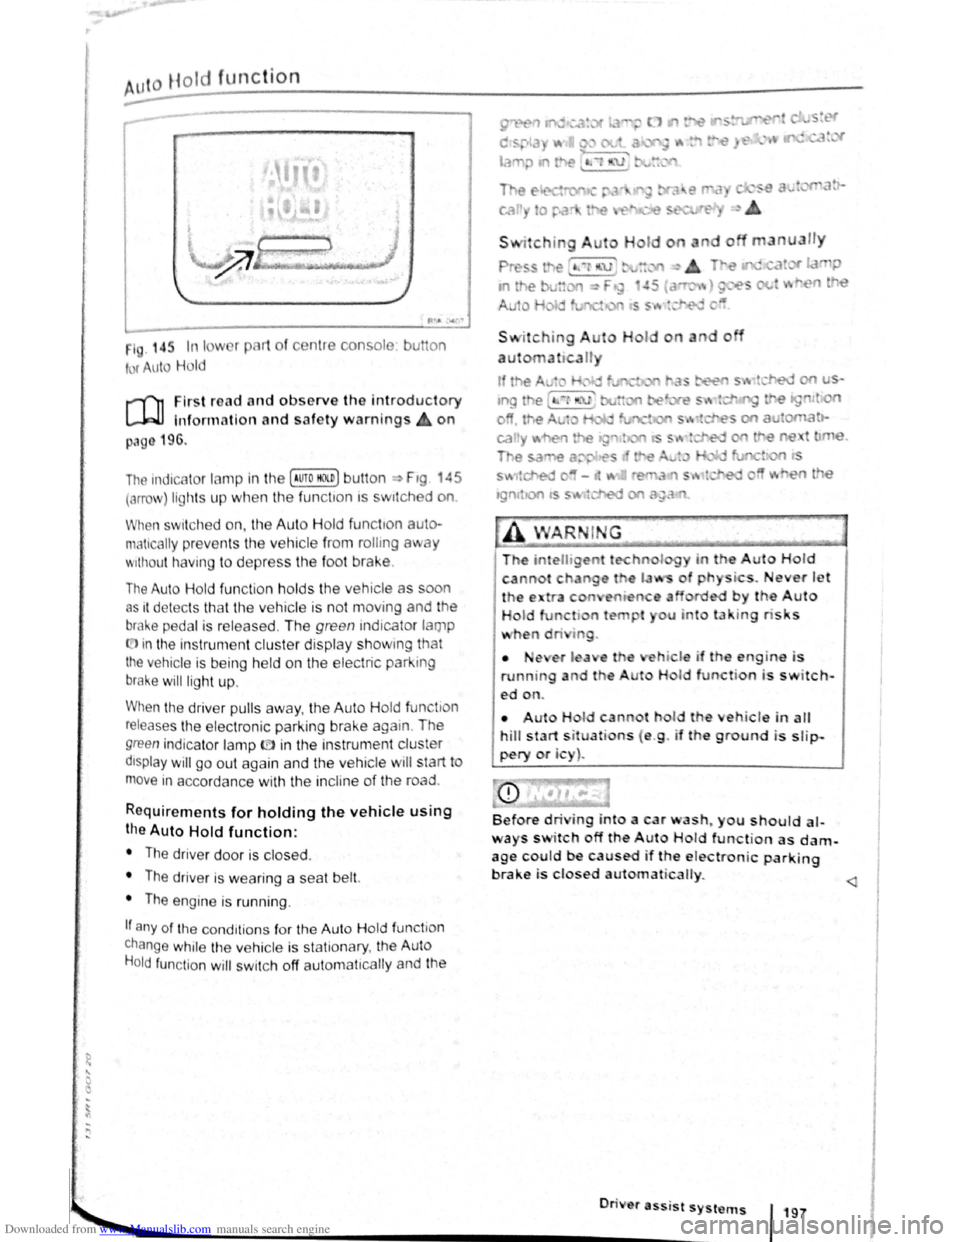
1 . 14r. In I w 1 pl 1t of c nt1 consol
t r uto Hold
u on
r-('n First re ad a nd observe the introductory
L-.W1 lnfon nation and safety warnings on
p:~g 196.
The indicc.lor lamp in the (Auto HO n) butt on ~ Ftg 45
(orro\J ) lights up when the fun ctton ts swttched on
When swit ch ed on, the Auto Hold functton auto·
matically preven ts th e vehi cle from rollmg away
'' 1thout h avi ng to depress the foot brake .
The Auto Hold fun ctio n h olds the vehicle as oon
as 1t det ec ts th at th e ve hicle is not moving and the
bral-.e pedal is relea sed . Th e green indicator lamp
(.[)in the instrument cluster display showm g that
the vehicle is being held on the electric park ing
brake will ligh t up .
When the driver pulls away , th e Auto H old fun tio n
releases th e e lectroni c parking brake again . The
green indica to r lamp ID in the instrun1 ent cluster
dtsplay will go out again and the vehicle w ill start to
move in accorda nce with the incline of the road .
Requirements for holding the vehic le using
the Auto Hold function:
• The driver door is closed .
• The driver is weari ng a seat belt.
• The engine is runn ing .
If any of the cond1tion s fo r th e Aut o Hold functio n
change while the vehicle is stationary , the Auto
H o
ld function will swi tc h off aut oma t1cally and the
• •e ,er l a e
running a d t e
ed on.
I o
a u n
do
i . ever J t '
by the Auto
u u to la · tng ris s
hi le if th engin-e i s
H I function is switch-
• Aut H Id cann t hol d th eh icle in alt
hill start s it uati ns ( e .g . if th e ground is slip
pery or i )~
Before dri ing into a car wash~ you should al
ways s itch off the A ut Hold function as dam
age c~uld be caused if the e lectronic parking
brake 1s closed au1ornat icalty.
............. ._ _________________________ •O• n· · • e• r• a•ss- 'i s• t• s•y•s-t _"_l~S-f 197
•
Page 84 of 138
Downloaded from www.Manualslib.com manuals search engine ~S~ta~~~st~o~p~s~y~s~te~m~--------------------------------------
BSG-0005
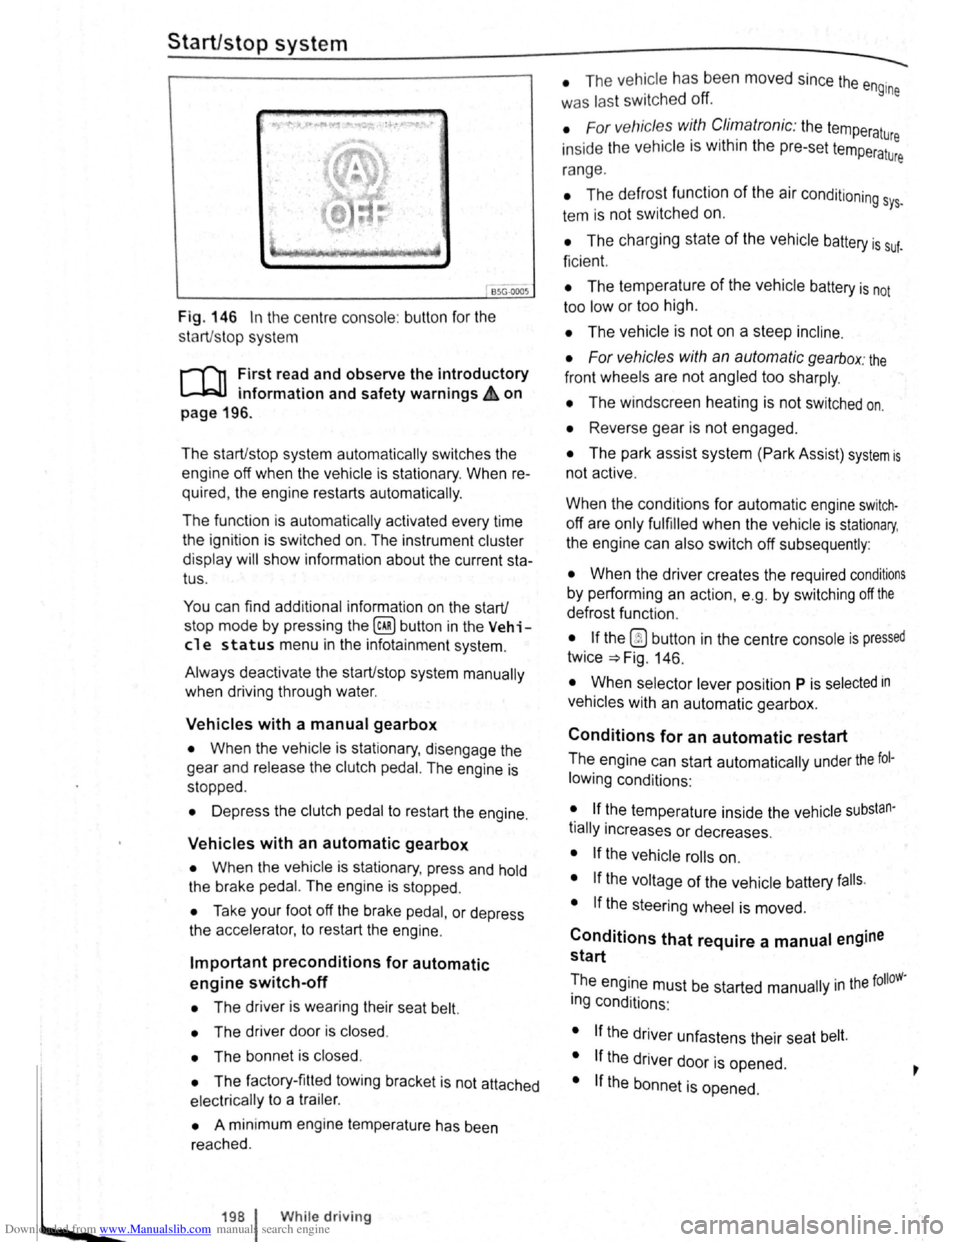
Fig. 146 In the centre consol e: butt on for the
s tart/s top syst em
r-T'n First read and observe the introductory
L-lcJJ information and safety warnings .&. on
page
196.
The start/stop system automatically switches the
engine off when the vehicle is stationary . When re
quired , the engine restarts automatically .
The function is automatically activated every time
the ignit ion is switched on. The instrument cluster
display will show information about the current sta
tus .
You can find additional information on the start/
stop mode by pressing
the~ button in the Vehi
cl e status menu in the infota inment system .
Always deactivate the start/stop system manually
when driving through water.
Vehicles with a manual gearbox
• When the vehicle is stat ionary , d isengage the
g e
ar and release the clutch pedal. The engine is
stopped .
• Depress the clutch pedal to restart the engine .
Vehicles with an automatic gearbox
• When the vehicle is stationary , press and hold
the brake pedal. The engine
is stopped.
• Ta ke your foot off the brake pedal, or depress
the acce lerator, to restart the engine .
Important preconditions for automatic
engine switch-off
• The driv er is wearing their seat belt.
• The driver door is closed .
• The bonnet is closed .
• The factory-fitted towing bracket is not attached
ele ctrically to a trailer .
• A minimum engine temperature has been
rea ched .
198 I While driving
• The ve hicle has been moved since the engine
was las t switc he d off.
• F or v ehicle s with Climatronic: the temperatu
inside the ve hicle is within the pre-set temperat~~e
ra nge .
• The de frost function of the air conditioning sys.
tem is not switched on.
• The charging state of the vehicle battery is suf.
ficient.
• The temperature of the vehicle battery is not
too
low or too high .
• The vehicle is not on a steep incline.
• For vehicles with an automatic gearbox: the
front wheels are not angled too sharply .
• The windscreen heating is not switched on.
• Reverse gear is not engaged .
• The park assist system (Park Assist) system is
not active .
When the condit ions
for automatic engine swit ch
off are only fulfilled when the vehicle is stationary,
the engine can also switch off subsequently :
• When the driver creates the required conditions
by performing an action , e .g . by switching off the
defrost function .
• If the @ button in the centre console is pressed
twice ~Fig. 146.
• When selector lever position P is selected in
vehicles with an automatic gearbox.
Conditions for an automatic restart
The engine can start automatically under the fol
lowing conditions :
• If the temperature inside the vehicle substan
tially increases or decreases .
• If the vehicle rolls on.
• If the voltage of the vehicle battery falls.
• If the steering wheel is moved.
Conditions that require a manual engine
start
The engine must be started manually in the folloW·
ing conditions :
• If the driver unfastens their seat belt.
• If the driver door is opened .
• If the bonnet is opened.