charging VOLKSWAGEN CORRADO 1993 User Guide
[x] Cancel search | Manufacturer: VOLKSWAGEN, Model Year: 1993, Model line: CORRADO, Model: VOLKSWAGEN CORRADO 1993Pages: 920, PDF Size: 6.92 MB
Page 395 of 920
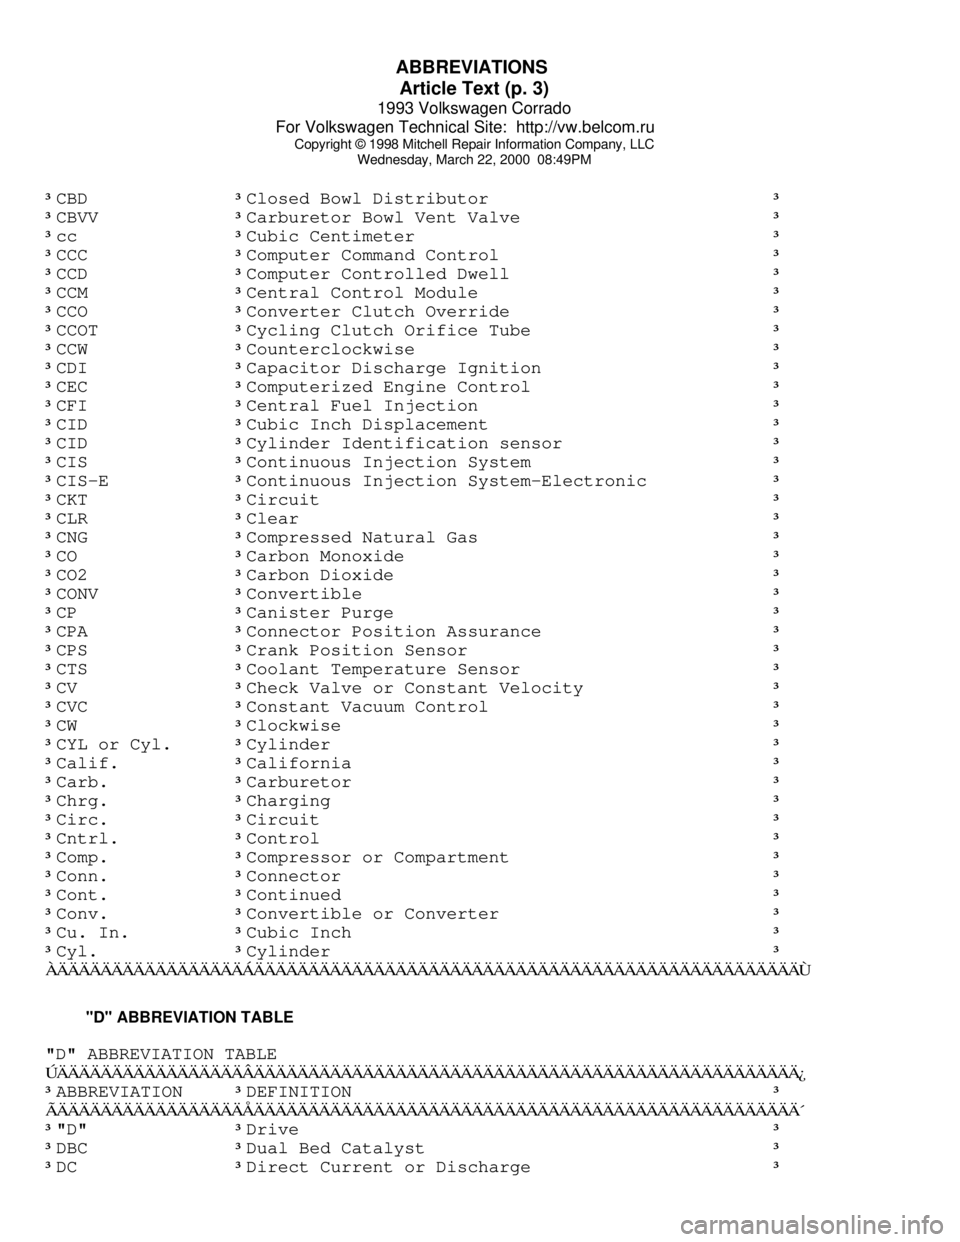
ABBREVIATIONS
Article Text (p. 3)
1993 Volkswagen Corrado
For Volkswagen Technical Site: http://vw.belcom.ru
Copyright © 1998 Mitchell Repair Information Company, LLC
Wednesday, March 22, 2000 08:49PM³CBD ³Closed Bowl Distributor ³
³CBVV
³Carburetor Bowl Vent Valve ³
³cc
³Cubic Centimeter ³
³CCC
³Computer Command Control ³
³CCD
³Computer Controlled Dwell ³
³CCM
³Central Control Module ³
³CCO
³Converter Clutch Override ³
³CCOT
³Cycling Clutch Orifice Tube ³
³CCW
³Counterclockwise ³
³CDI
³Capacitor Discharge Ignition ³
³CEC
³Computerized Engine Control ³
³CFI
³Central Fuel Injection ³
³CID
³Cubic Inch Displacement ³
³CID
³Cylinder Identification sensor ³
³CIS
³Continuous Injection System ³
³CIS-E
³Continuous Injection System-Electronic ³
³CKT
³Circuit ³
³CLR
³Clear ³
³CNG
³Compressed Natural Gas ³
³CO
³Carbon Monoxide ³
³CO2
³Carbon Dioxide ³
³CONV
³Convertible ³
³CP
³Canister Purge ³
³CPA
³Connector Position Assurance ³
³CPS
³Crank Position Sensor ³
³CTS
³Coolant Temperature Sensor ³
³CV
³Check Valve or Constant Velocity ³
³CVC
³Constant Vacuum Control ³
³CW
³Clockwise ³
³CYL or Cyl.
³Cylinder ³
³Calif.
³California ³
³Carb.
³Carburetor ³
³Chrg.
³Charging ³
³Circ.
³Circuit ³
³Cntrl.
³Control ³
³Comp.
³Compressor or Compartment ³
³Conn.
³Connector ³
³Cont.
³Continued ³
³Conv.
³Convertible or Converter ³
³Cu. In.
³Cubic Inch ³
³Cyl.
³Cylinder ³
ÀÄÄÄÄÄÄÄÄÄÄÄÄÄÄÄÄÄÁÄÄÄÄÄÄÄÄÄÄÄÄÄÄÄÄÄÄÄÄÄÄÄÄÄÄÄÄÄÄÄÄÄÄÄÄÄÄÄÄÄÄÄÄÄÄÄÄÄÄÙ "D" ABBREVIATION TABLE
"D" ABBREVIATION TABLE
ÚÄÄÄÄÄÄÄÄÄÄÄÄÄÄÄÄÄÂÄÄÄÄÄÄÄÄÄÄÄÄÄÄÄÄÄÄÄÄÄÄÄÄÄÄÄÄÄÄÄÄÄÄÄÄÄÄÄÄÄÄÄÄÄÄÄÄÄÄ¿
³ABBREVIATION
³DEFINITION ³
ÃÄÄÄÄÄÄÄÄÄÄÄÄÄÄÄÄÄÅÄÄÄÄÄÄÄÄÄÄÄÄÄÄÄÄÄÄÄÄÄÄÄÄÄÄÄÄÄÄÄÄÄÄÄÄÄÄÄÄÄÄÄÄÄÄÄÄÄÄ´
³"D"
³Drive ³
³DBC
³Dual Bed Catalyst ³
³DC
³Direct Current or Discharge ³
Page 630 of 920
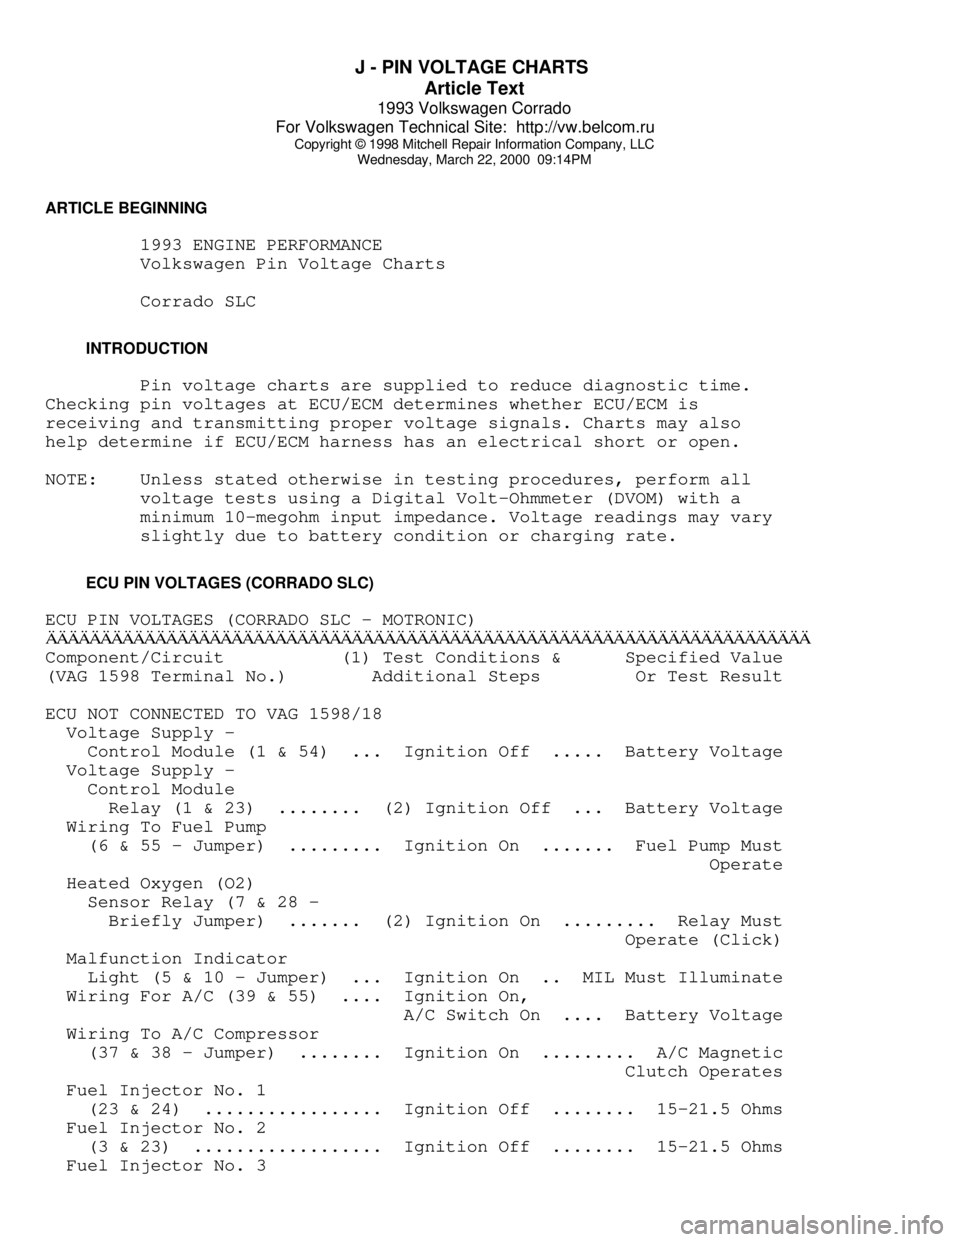
J - PIN VOLTAGE CHARTS
Article Text
1993 Volkswagen Corrado
For Volkswagen Technical Site: http://vw.belcom.ru
Copyright © 1998 Mitchell Repair Information Company, LLC
Wednesday, March 22, 2000 09:14PM
ARTICLE BEGINNING
1993 ENGINE PERFORMANCE
Volkswagen Pin Voltage Charts
Corrado SLC
INTRODUCTION
Pin voltage charts are supplied to reduce diagnostic time.
Checking pin voltages at ECU/ECM determines whether ECU/ECM is
receiving and transmitting proper voltage signals. Charts may also
help determine if ECU/ECM harness has an electrical short or open.
NOTE: Unless stated otherwise in testing procedures, perform all
voltage tests using a Digital Volt-Ohmmeter (DVOM) with a
minimum 10-megohm input impedance. Voltage readings may vary
slightly due to battery condition or charging rate.
ECU PIN VOLTAGES (CORRADO SLC)
ECU PIN VOLTAGES (CORRADO SLC - MOTRONIC)ÄÄÄÄÄÄÄÄÄÄÄÄÄÄÄÄÄÄÄÄÄÄÄÄÄÄÄÄÄÄÄÄÄÄÄÄÄÄÄÄÄÄÄÄÄÄÄÄÄÄÄÄÄÄÄÄÄÄÄÄÄÄÄÄÄÄÄÄÄÄComponent/Circuit (1) Test Conditions & Specified Value
(VAG 1598 Terminal No.) Additional Steps Or Test Result
ECU NOT CONNECTED TO VAG 1598/18
Voltage Supply -
Control Module (1 & 54) ... Ignition Off ..... Battery Voltage
Voltage Supply -
Control Module
Relay (1 & 23) ........ (2) Ignition Off ... Battery Voltage
Wiring To Fuel Pump
(6 & 55 - Jumper) ......... Ignition On ....... Fuel Pump Must
Operate
Heated Oxygen (O2)
Sensor Relay (7 & 28 -
Briefly Jumper) ....... (2) Ignition On ......... Relay Must
Operate (Click)
Malfunction Indicator
Light (5 & 10 - Jumper) ... Ignition On .. MIL Must Illuminate
Wiring For A/C (39 & 55) .... Ignition On,
A/C Switch On .... Battery Voltage
Wiring To A/C Compressor
(37 & 38 - Jumper) ........ Ignition On ......... A/C Magnetic
Clutch Operates
Fuel Injector No. 1
(23 & 24) ................. Ignition Off ........ 15-21.5 Ohms
Fuel Injector No. 2
(3 & 23) .................. Ignition Off ........ 15-21.5 Ohms
Fuel Injector No. 3
Page 727 of 920
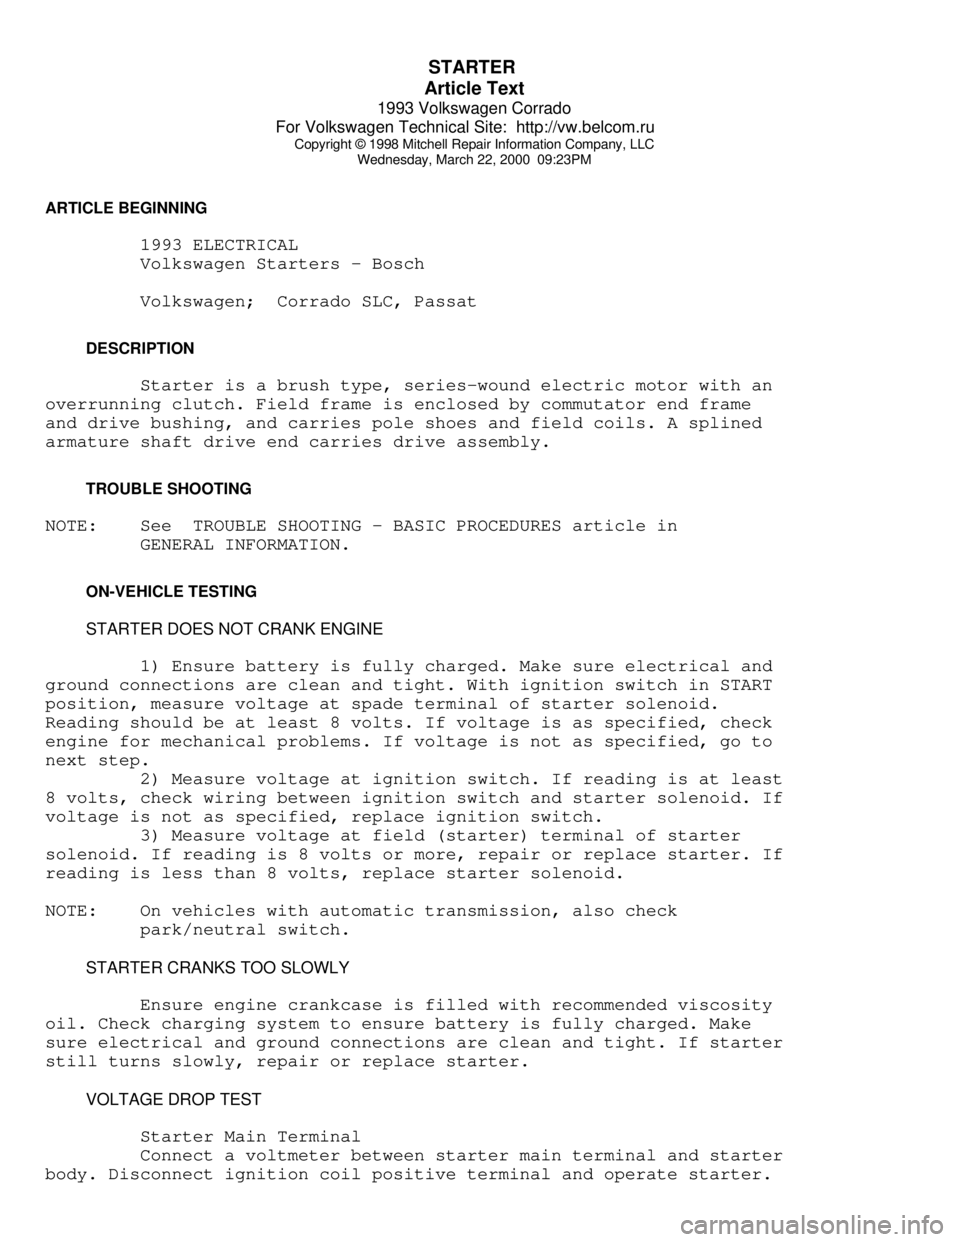
STARTER
Article Text
1993 Volkswagen Corrado
For Volkswagen Technical Site: http://vw.belcom.ru
Copyright © 1998 Mitchell Repair Information Company, LLC
Wednesday, March 22, 2000 09:23PM
ARTICLE BEGINNING
1993 ELECTRICAL
Volkswagen Starters - Bosch
Volkswagen; Corrado SLC, Passat
DESCRIPTION
Starter is a brush type, series-wound electric motor with an
overrunning clutch. Field frame is enclosed by commutator end frame
and drive bushing, and carries pole shoes and field coils. A splined
armature shaft drive end carries drive assembly.
TROUBLE SHOOTING
NOTE: See TROUBLE SHOOTING - BASIC PROCEDURES article in
GENERAL INFORMATION.
ON-VEHICLE TESTING
STARTER DOES NOT CRANK ENGINE
1) Ensure battery is fully charged. Make sure electrical and
ground connections are clean and tight. With ignition switch in START
position, measure voltage at spade terminal of starter solenoid.
Reading should be at least 8 volts. If voltage is as specified, check
engine for mechanical problems. If voltage is not as specified, go to
next step.
2) Measure voltage at ignition switch. If reading is at least
8 volts, check wiring between ignition switch and starter solenoid. If
voltage is not as specified, replace ignition switch.
3) Measure voltage at field (starter) terminal of starter
solenoid. If reading is 8 volts or more, repair or replace starter. If
reading is less than 8 volts, replace starter solenoid.
NOTE: On vehicles with automatic transmission, also check
park/neutral switch.
STARTER CRANKS TOO SLOWLY
Ensure engine crankcase is filled with recommended viscosity
oil. Check charging system to ensure battery is fully charged. Make
sure electrical and ground connections are clean and tight. If starter
still turns slowly, repair or replace starter.
VOLTAGE DROP TEST
Starter Main Terminal
Connect a voltmeter between starter main terminal and starter
body. Disconnect ignition coil positive terminal and operate starter.
Page 799 of 920

TROUBLE SHOOTING - BASIC PROCEDURES
Article Text (p. 8)
1993 Volkswagen Corrado
For Volkswagen Technical Site: http://vw.belcom.ru
Copyright © 1998 Mitchell Repair Information Company, LLC
Wednesday, March 22, 2000 09:25PM
FUEL SYSTEMS
Carburetor idle or transfer Inspect system and
system plugged remove restriction
Frozen or binding heated air Inspect heated air
inlet door for bindingÄÄÄÄÄÄÄÄÄÄÄÄÄÄÄÄÄÄÄÄÄÄÄÄÄÄÄÄÄÄÄÄÄÄÄÄÄÄÄÄÄÄÄÄÄÄÄÄÄÄÄÄÄÄÄÄÄÄÄÄÄÄÄÄÄÄÄÄÄÄHesitation With Defective accelerator pump Replace pump, see
Heavy Gas Pedal FUEL SYSTEMS
Movement
Metering rod carrier Remove restriction
sticking or binding
Large vacuum leak Inspect vacuum
system and repair
leak
Float level setting too Reset float level,
low see FUEL SYSTEMS
Defective fuel pump, lines Inspect pump, lines
or filter and filter
Air door setting incorrect Adjust air door
setting, see FUEL
ÄÄÄÄÄÄÄÄÄÄÄÄÄÄÄÄÄÄÄÄÄÄÄÄÄÄÄÄÄÄÄÄÄÄÄÄÄÄÄÄÄÄÄÄÄÄÄÄÄÄÄÄÄÄÄÄÄÄÄÄÄÄÄÄÄÄÄÄÄÄ CHARGING SYSTEM TROUBLE SHOOTING
WARNING: This is GENERAL information. This article is not intended
to be specific to any unique situation or individual vehicle
configuration. The purpose of this Trouble Shooting
information is to provide a list of common causes to
problem symptoms. For model-specific Trouble Shooting,
refer to SUBJECT, DIAGNOSTIC, or TESTING articles available
in the section(s) you are accessing.
BASIC CHARGING SYSTEM TROUBLE SHOOTING CHART
ÄÄÄÄÄÄÄÄÄÄÄÄÄÄÄÄÄÄÄÄÄÄÄÄÄÄÄÄÄÄÄÄÄÄÄÄÄÄÄÄÄÄÄÄÄÄÄÄÄÄÄÄÄÄÄÄÄÄÄÄÄÄÄÄÄÄÄÄÄÄCONDITION POSSIBLE CAUSE CORRECTION
ÄÄÄÄÄÄÄÄÄÄÄÄÄÄÄÄÄÄÄÄÄÄÄÄÄÄÄÄÄÄÄÄÄÄÄÄÄÄÄÄÄÄÄÄÄÄÄÄÄÄÄÄÄÄÄÄÄÄÄÄÄÄÄÄÄÄÄÄÄÄVehicle Will Not Dead battery Check battery cells,
Start alternator belt
tension and alternator
output
Loose or corroded battery Check all charging
connections system connections
Ignition circuit or switch Check and replace as
Page 800 of 920

TROUBLE SHOOTING - BASIC PROCEDURES
Article Text (p. 9)
1993 Volkswagen Corrado
For Volkswagen Technical Site: http://vw.belcom.ru
Copyright © 1998 Mitchell Repair Information Company, LLC
Wednesday, March 22, 2000 09:25PM
malfunction necessaryÄÄÄÄÄÄÄÄÄÄÄÄÄÄÄÄÄÄÄÄÄÄÄÄÄÄÄÄÄÄÄÄÄÄÄÄÄÄÄÄÄÄÄÄÄÄÄÄÄÄÄÄÄÄÄÄÄÄÄÄÄÄÄÄÄÄÄÄÄÄAlternator Light Loose or worn alternator Check alternator drive
Stays On With drive belt tension and
Engine Running condition, See Belt
Adjustment in TUNE-UP
article in the
TUNE-UP section
Loose alternator wiring Check all charging
connections system connections
Short in alternator light See Indicator Warning
wiring Lights in STANDARD
INSTRUMENTS in the
ACCESSORIES &
EQUIPMENT section
Defective alternator stator See Bench Tests in
or diodes ALTERNATOR article
Defective regulator See Regulator Check in
ALTERNATOR article
ÄÄÄÄÄÄÄÄÄÄÄÄÄÄÄÄÄÄÄÄÄÄÄÄÄÄÄÄÄÄÄÄÄÄÄÄÄÄÄÄÄÄÄÄÄÄÄÄÄÄÄÄÄÄÄÄÄÄÄÄÄÄÄÄÄÄÄÄÄÄAlternator Blown fuse See WIRING DIAGRAMS
Light Stays Off
With Ignition
Switch ON
Defective alternator See Testing in
ALTERNATOR article
Defective indicator light See Indicator Warning
bulb or socket Lights in STANDARD
INSTRUMENTS in the
ACCESSORIES &
EQUIPMENT section
ÄÄÄÄÄÄÄÄÄÄÄÄÄÄÄÄÄÄÄÄÄÄÄÄÄÄÄÄÄÄÄÄÄÄÄÄÄÄÄÄÄÄÄÄÄÄÄÄÄÄÄÄÄÄÄÄÄÄÄÄÄÄÄÄÄÄÄÄÄÄAlternator Short in alternator wiring See On-Vehicle Tests
Light Stays OFF in ALTERNATOR article
With Ignition
Switch ON
Defective rectifier bridge See Bench Tests in
ALTERNATOR article
ÄÄÄÄÄÄÄÄÄÄÄÄÄÄÄÄÄÄÄÄÄÄÄÄÄÄÄÄÄÄÄÄÄÄÄÄÄÄÄÄÄÄÄÄÄÄÄÄÄÄÄÄÄÄÄÄÄÄÄÄÄÄÄÄÄÄÄÄÄÄLights or Fuses Defective alternator wiring See On-Vehicle Tests
Burn Out in ALTERNATOR article
Frequently
Defective regulator See Regulator Check in
ALTERNATOR article
Page 801 of 920

TROUBLE SHOOTING - BASIC PROCEDURES
Article Text (p. 10)
1993 Volkswagen Corrado
For Volkswagen Technical Site: http://vw.belcom.ru
Copyright © 1998 Mitchell Repair Information Company, LLC
Wednesday, March 22, 2000 09:25PM
Defective battery Check and replace as
necessaryÄÄÄÄÄÄÄÄÄÄÄÄÄÄÄÄÄÄÄÄÄÄÄÄÄÄÄÄÄÄÄÄÄÄÄÄÄÄÄÄÄÄÄÄÄÄÄÄÄÄÄÄÄÄÄÄÄÄÄÄÄÄÄÄÄÄÄÄÄÄAmmeter Gauge Loose or worn drive belt Check alternator drive
Shows Discharge belt tension and
condition. See Belt
Adjustment in TUNE-UP
article in the
TUNE-UP section
Defective wiring Check all wires and
wire connections
Defective alternator or See Bench Tests and
regulator On-Vehicle Tests in
ALTERNATOR article
Defective ammeter, or See Testing in
improper ammeter wiring STANDARD INSTRUMENTS
connection in the ACCESSORIES &
EQUIPMENT section
ÄÄÄÄÄÄÄÄÄÄÄÄÄÄÄÄÄÄÄÄÄÄÄÄÄÄÄÄÄÄÄÄÄÄÄÄÄÄÄÄÄÄÄÄÄÄÄÄÄÄÄÄÄÄÄÄÄÄÄÄÄÄÄÄÄÄÄÄÄÄNoisy Loose drive pulley Tighten drive pulley
Alternator attaching nut
Loose mounting bolts Tighten all alternator
mounting bolts
Worn or dirty bearings See Bearing
Replacement
ALTERNATOR article
Defective diodes or stator See Bench Test in
ALTERNATOR article
ÄÄÄÄÄÄÄÄÄÄÄÄÄÄÄÄÄÄÄÄÄÄÄÄÄÄÄÄÄÄÄÄÄÄÄÄÄÄÄÄÄÄÄÄÄÄÄÄÄÄÄÄÄÄÄÄÄÄÄÄÄÄÄÄÄÄÄÄÄÄBattery Does Loose or worn drive belt Check alternator drive
Stay Charged belt tension and
condition. See
Belt Adjustment in
appropriate TUNE-UP
article in the
TUNE-UP section
Loose or corroded battery Check all charging
connections system connections
Loose alternator connections Check all charging
system connections
Defective alternator or See On-Vehicle Tests
battery and Bench Tests in