ECU VOLKSWAGEN GOLF 1992 Owners Manual
[x] Cancel search | Manufacturer: VOLKSWAGEN, Model Year: 1992, Model line: GOLF, Model: VOLKSWAGEN GOLF 1992Pages: 274, PDF Size: 28.67 MB
Page 30 of 274
Automatic Locking Retractor (ALA)
The
aut omatic loc kin g retractor is necessary to sec ure child r estraint systems.
The
ret rac to rs for th e fron t passenger and
rear outboard three-point safety belts are
equipped with an automatic locking feature
in addition
to the emergency locking feature.
you need to restraint system
at an outer seating position of the rear seat,
it must be secured by use of the
the way out.
tongue into the buckle for
that seating position with your hand back
in
that the
retractor is deactivated by un
f asten ing th e safety and the
safe ty to ret rac t to its stowed
position. The safety can now be use d as an ordinary three-point safety without
the additional
a person sitting in the rear w earing the
s af ety activate the re tractor, then the sa fety mus t b e unfastened in order to deactivate the ing retractor.
Never unfasten the safety retractor is in motion.
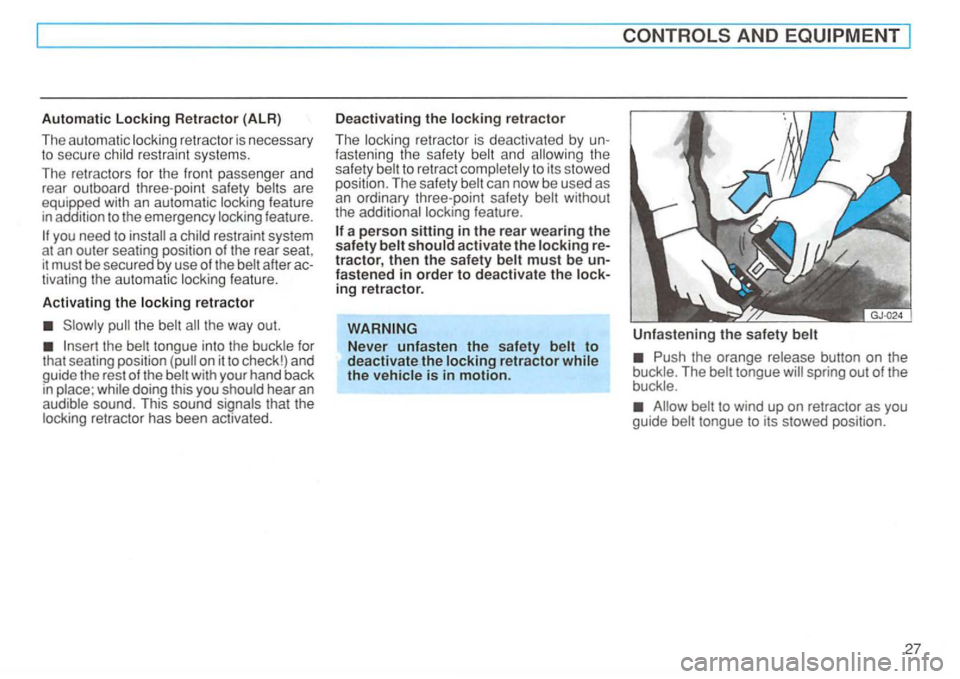
Push the orange button on the spring out of the
tongue to its stow ed position.
27
Page 31 of 274
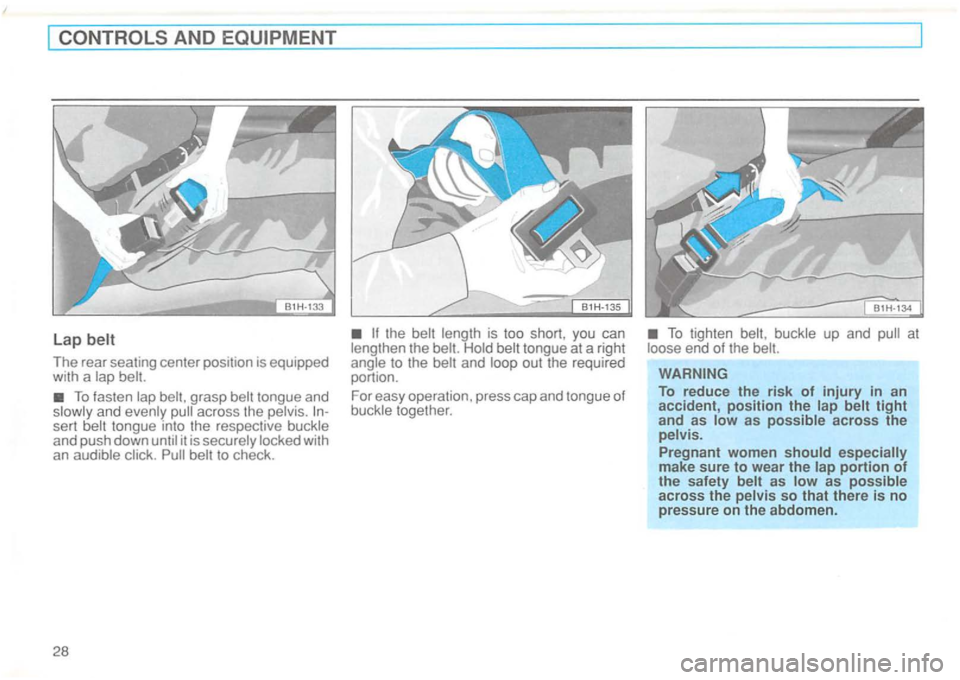
The rear seating center position is equipped
with a
To fasten
sert it is securely locked with
an audible click.
to the and
buckle up and end of the
Page 48 of 274
To reduce the risk of serious personal injury in an accident, front seat passengers must never ride in a
moving with the seatback
reclined . The risk of personal injury increases with increasing rearward of the seatback .
are properly positioned on the body. positioned safety can cause serious personal injury in an accident.
For driver's and pas senger 's protection, make sure front seats and
seatbacks are securely in
Never store items under the seats.
Loose objects can inte rfere with the
seat latching mechanism and can cause injury in an accident .
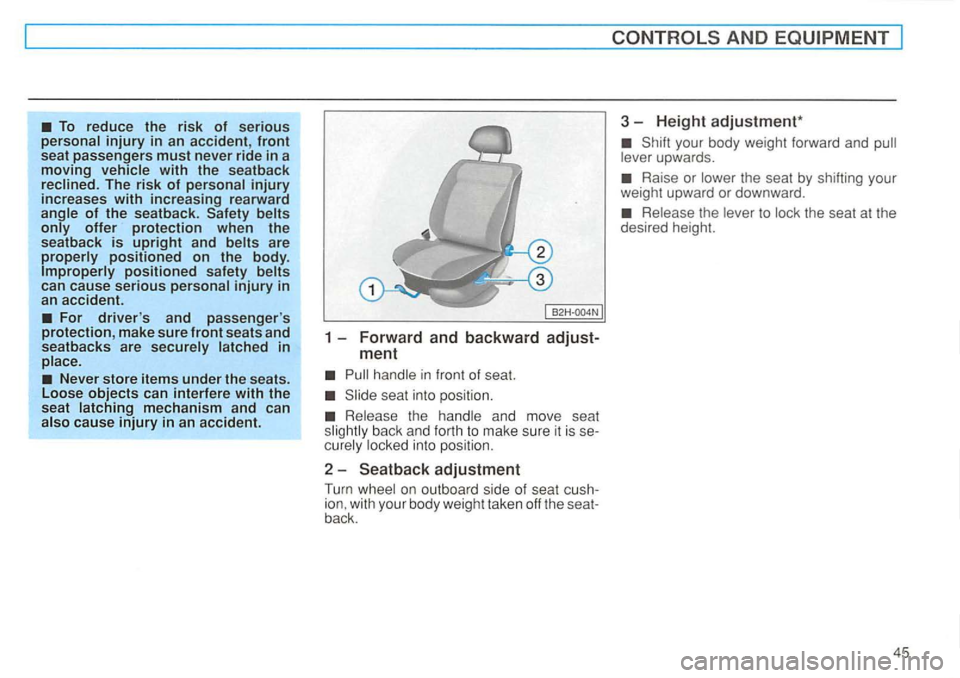
1 -Forward and backward adjust-
ment
in f ront of seat.
s eat into positi on.
curely lock ed int o posit ion .
2-Seatback adjustment
Turn wheel on outboard side of seat ion , with your body weight ta ken off the back .
AN D
you r body weight fo rw ard and
Page 152 of 274
Dust and
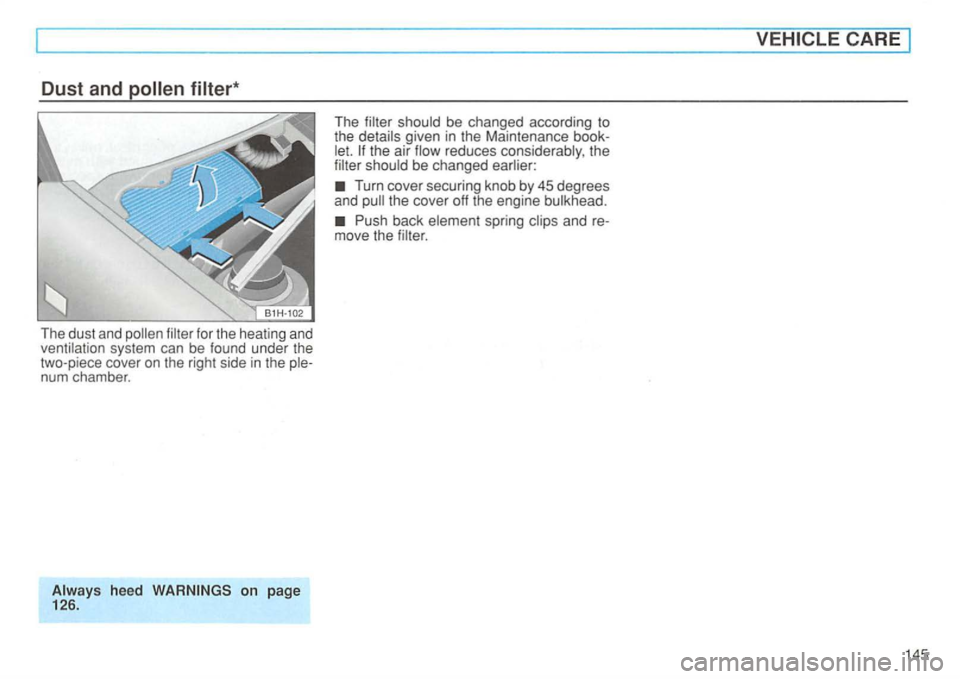
Turn cover securing knob by 4 5 degr ees
and
CARE
14 5
Page 158 of 274
Excessive speed, underinflation, or excessive either
with tir es or
tory ,
For reasons it is not from other -under certain conditions not even from the same
and shape must be used.
The secure fit of the er functioning oft he brake system are pendent upon this.
mounted on rims,
They have the essary to advise you which
CARE
The use of tires, that do not meet specifications of the equipment
and may cause an accident and injury.
are installed , make sure the for
Page 163 of 274
------------------------------------------------------------------------~
Jack and
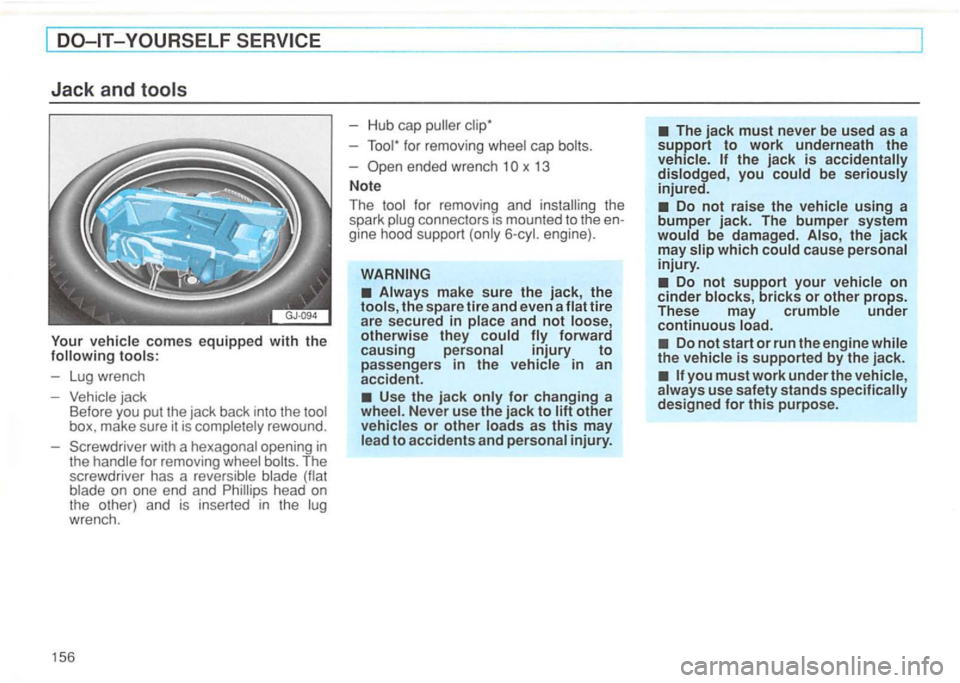
vehicle comes equipped with the
Vehicle jack
Before you put the jack back into the tool
box. make sure it is completely rewound.
Screwdriver with a hexagonal opening
in the handle for removing wheel
x 13
Note
The
Always make sure the jack, the
tools, the spare tire and even a flat tire
are secured in place and
not loose,
otherwise they could forward
causing personal injury to passengers in the vehicle in an
accident.
Use the jack only for changing a
The jack must never be used as a support to work underneath the
vehicle . the jack is accidentally
dislodged , you could be seriously injured.
Do not raise the vehicle using a
bumper jack. The bumper system
would be damaged. Also, the jack may slip which could cause personal
injury.
Do not support your vehicle on cinder blocks, bricks or other props.
These may crumble under
continuous load.
Do not start or run the engine while
the vehicle is supported by the jack.
Page 164 of 274
[ _________ _
Compact spare
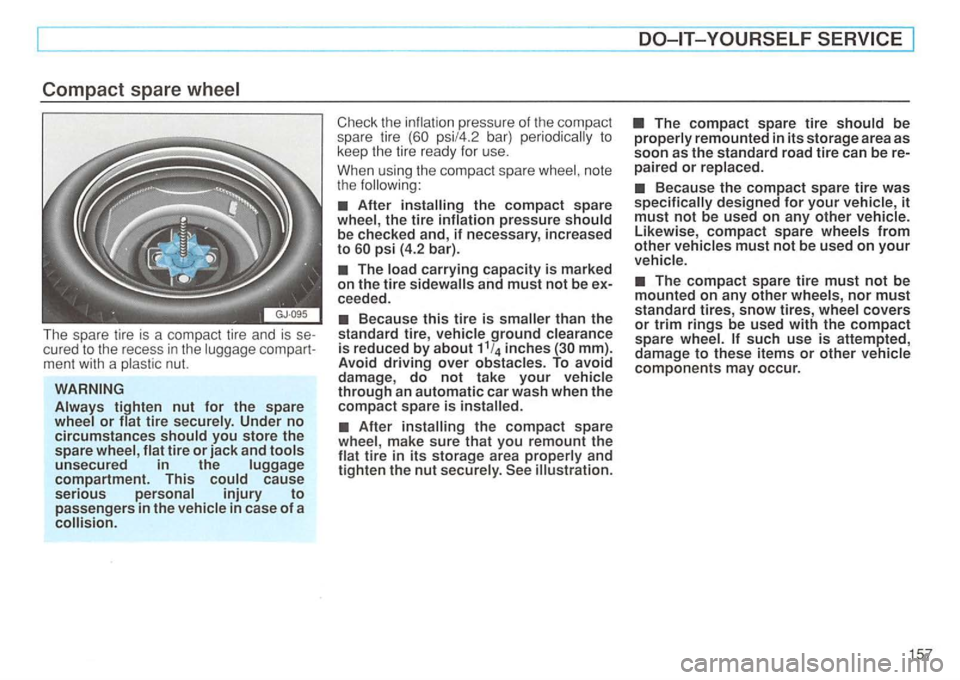
The spare tire is a compact tire and is
men t with a plastic nut.
unsecured in the luggage compartment. This
Check the pressure of the compact
spa re tire
After the compact spare wheel , the tire inflation pressure should be checked and, if necessary, increased to
The load carrying capacity is marked on the tire
Because this tire is
mm). Avoid driving over obstacles. To avoid damage, do not take your vehicle through an automatic car wash when the compact spare i s
After the compact spare whee l, make sure that you remount the
The compact spare tire should be properly remounted in its storage area as soon as the standard road tire can be paired or replaced.
such use is attempted, damage to these items or other vehicle components may occur.
157
Page 168 of 274
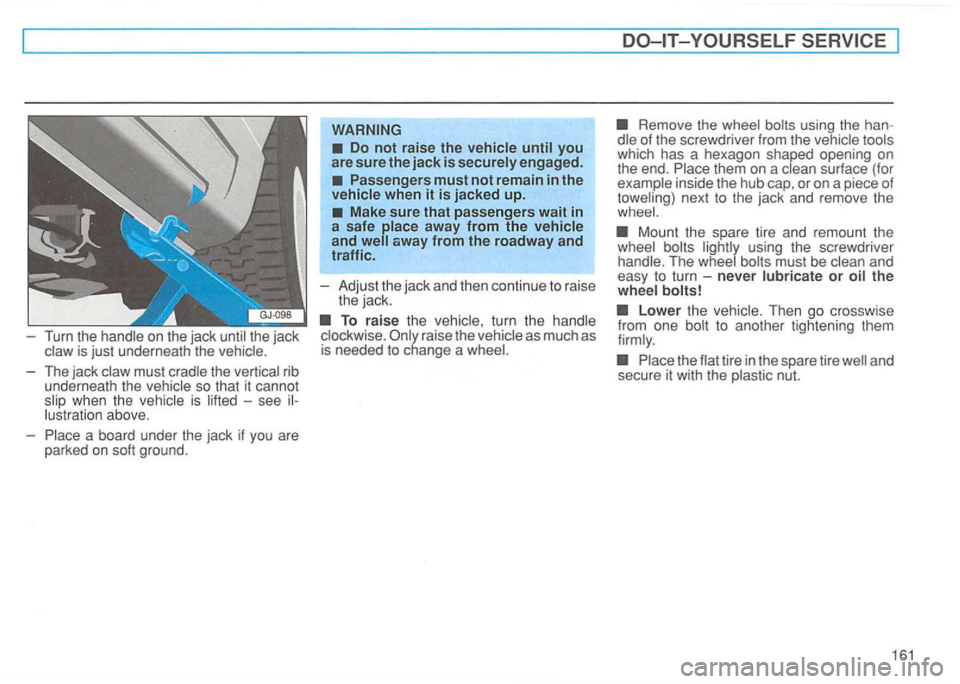
Turn the handle on the jack until the jack
Do not raise the vehicle until you
are sure the jack is securely engaged.
Passengers must not remain in the
vehicle when it is jacked up.
Make sure that passengers wait in a safe place away from the vehicle
and well away from the roadway and
traffic .
- Adjust the jack and then contin ue to raise
the jack.
To raise the turn the handle raise the
Remove the wheel bolts using the han
d le of th e sc rewdriver from the
Mount the spare tire and remount the
wheel bolts lightly using the screwdriver
handle . The wheel
must be
Lower the Then go crossw ise
from one bolt to another tighteni ng them
firm ly .
Page 169 of 274
Notes
Please read the informatio n on pages
148 and 157 if you are going to be using the spare wheel or a spare tire which is
di fferen t from the tires on your vehicle .
After you change a tire:
Check the tire air pressure immediately.
Have the wheel
tightening torque
steel and wheel rims, the should have a torque of 80ft
you notice while changing a tire that the
wheel bolts are corroded and difficult to turn
then they should be replaced before
check the tightening torq ue.
Until then, drive with extra care and
at
the flat tire re paired as quickly as poss1ble and remounted on your Remou nt the wheel cover.
jack and tools securely in luggage compartment.
for temporary use only!
Page 176 of 274
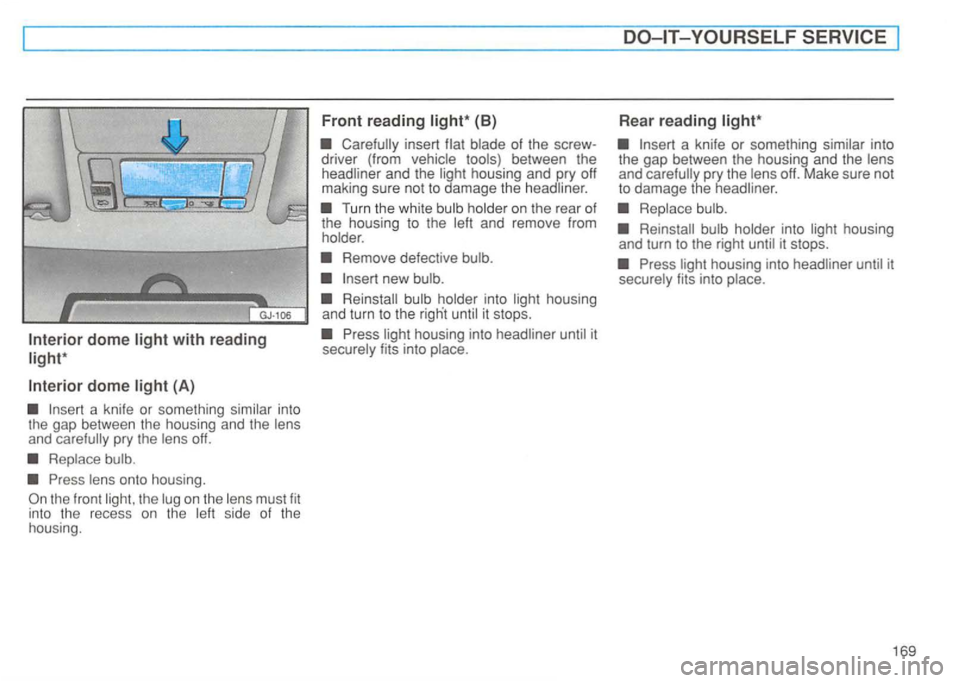
Replace bulb.
lens onto housing.
(B)
driver (from vehicle tools) between the
headliner and the light housing and pry off
making sure not to damage the headliner.
Remove defective bulb.
Insert new bulb.
until it stops.
light housing into headliner until it securely fits into place.
Insert a knife or something similar into
the gap between the housing and the lens
and carefully pry the lens off. Make sure not
to damage the headliner.
Replace bulb.