headlights VOLKSWAGEN GOLF 1993 1H / 3.G Owners Manual
[x] Cancel search | Manufacturer: VOLKSWAGEN, Model Year: 1993, Model line: GOLF, Model: VOLKSWAGEN GOLF 1993 1H / 3.GPages: 156, PDF Size: 6.36 MB
Page 37 of 156
Downloaded from www.Manualslib.com manuals search engine CONTROLS AND EQUIPMENT
Height adjustable
steering wheel*
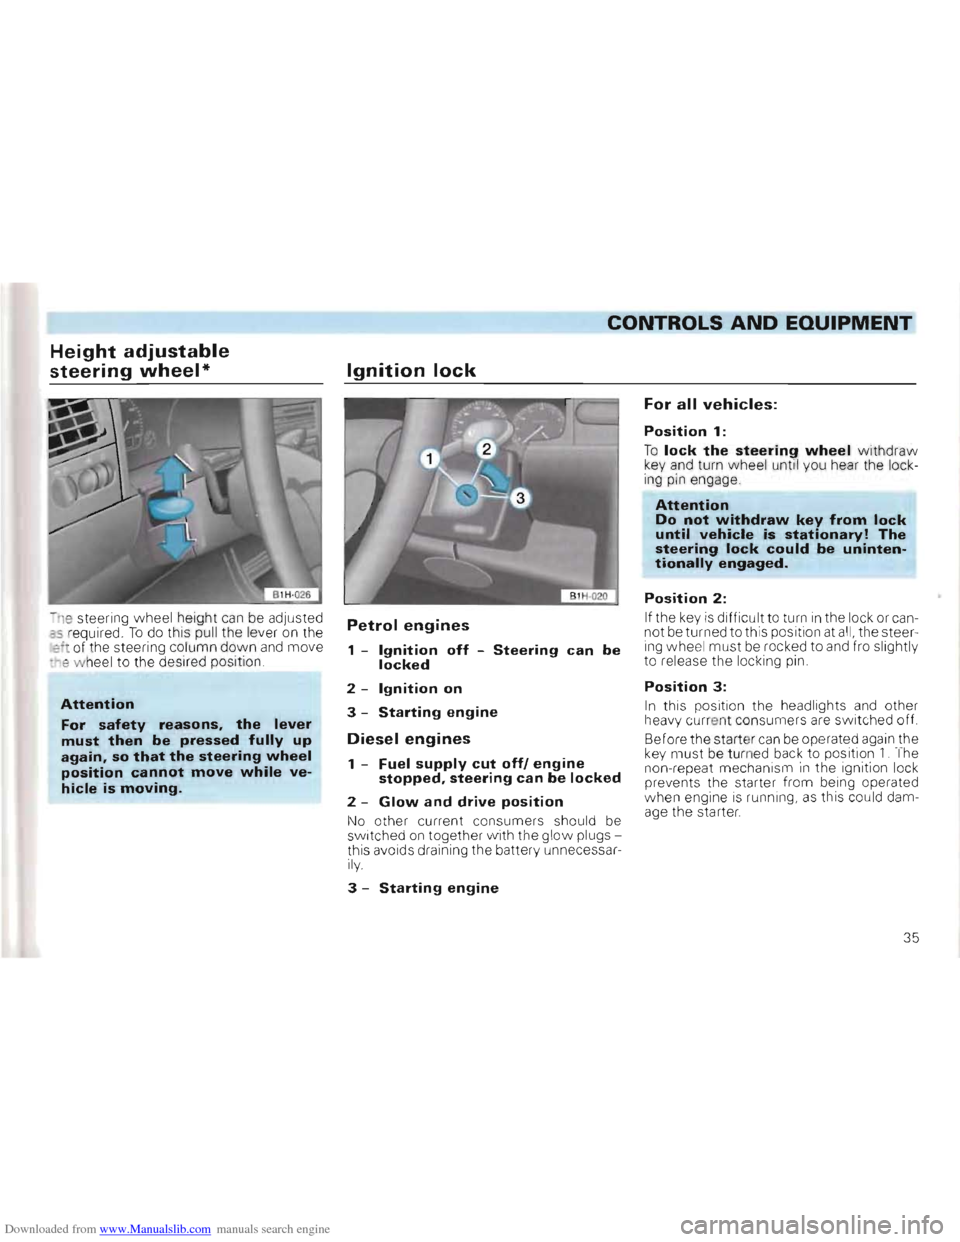
-n e steering wheel height can be adjusted as r equired . To do this pull the lever on the :::1 of th e stee ring co lumn down and move -~e w hee l to the desir ed position
Attention
For safety reasons, the lever
must then be pressed fully up again, so that the steering wheel position cannot move while ve
hicle is moving.
Ignition lock
Petrol engines
1 -Ignition off -Steering can be locked
2 -Ignition on
3 -Starting engine
Diesel engines
1 -Fuel supply cut off! engine stopped, steering can be locked
2 -Glow and drive position
No other current co nsumer s should be sw itc hed on together w ith the glow plugs
this aVOi d s dra ining the batte ry unn ecessa rily.
3 -Starting engine
For all vehicles:
Position 1:
To lock the steering wheel withdraw key and turn wheel unti l you hear the lock
ing pin engage
Attention Do not withdraw key from lock until vehicle is stationary! The steering lock could be unintentionally engaged.
Position 2:
If the key is difficult to turn in the lock or can
not be turned to this position at all, the steer
ing wheel must be rocked to and fro slightly
to release the locking pin .
Position 3:
In this pos ition the headlights and other
h eavy cu rre nt consume rs are switched off.
Before the start er
can be operated again the key must be turned back to position 1. The
non-repeat mechanism in the ignition lock
prevents th e starter from being operated
w hen engine
is ru nning, as this could dam
age the starter.
35
Page 52 of 156
Downloaded from www.Manualslib.com manuals search engine CONTROLS AND EQUIPMENT
Switches
Note
• On vehicles with right-hand drive the arrangement of the switches differs. The
symbols on the switches are however the
same as on vehicles wit h left-hand drive.
• The use of the lighting described here is subject to local regulations.
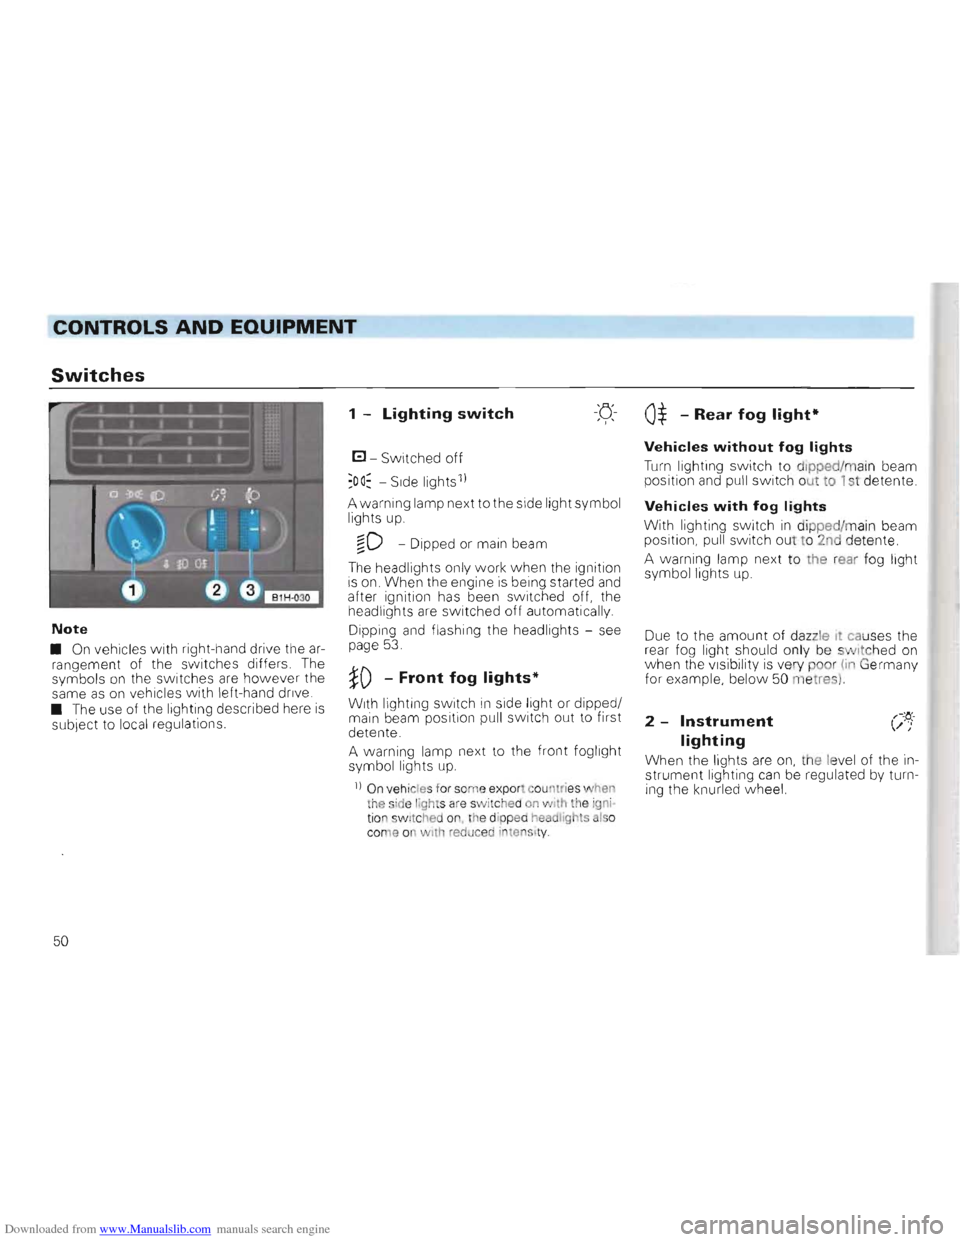
1 -Lighting swit ch -'0, , '
El Switched off
:oo~ -Side lights 1)
Awarning lamp next to the side light symbol
lights up.
§D -Dipped or main beam
The headlights only w ork when the ignition
is on . When the engine is being started and after ignition has been switched off, the
headlights are switc hed off automatically.
Dipping
and flashing the headlights -see
page 53.
~D -Front fog lights*
With li ghting switch in side light or dippe d/
main beam position pull sw itch out to first
d etente .
A w arning lamp next to the front foglight
symbol lights up.
'I) On vehic le s fo r so me expo rt co untri es when
the side li ght s are switchea on with the igni
tio n sWit ched on, the dip p ed headlig hts als o
c o me on with reduc ed inte slty.
0$ -Rear fog light-
Vehicles without fog lights
Turn lighting switch to dipped/ main beam
positi on and pull switc h out to 1st detente.
Vehicles with fog lights
With lighting sw itc h in d ipped/ main beam
position, pull svvitch out to 2nd detente.
A warning lamp next to the rear fog light
symbol lights up.
Due to the amount of dazzle it causes the
rear fog light should only be sWitc hed on when the visib ility is ve ry poor (in Germany
for example, below 50 m etres)
2 -Instrument ()~;"
lighting
When the lights are on, th e level of the in
st rument lighting can be re gul ated by turn
ing the knurled wheel.
50
Page 53 of 156
Downloaded from www.Manualslib.com manuals search engine ____CONTROLS AND EQUIPMENT
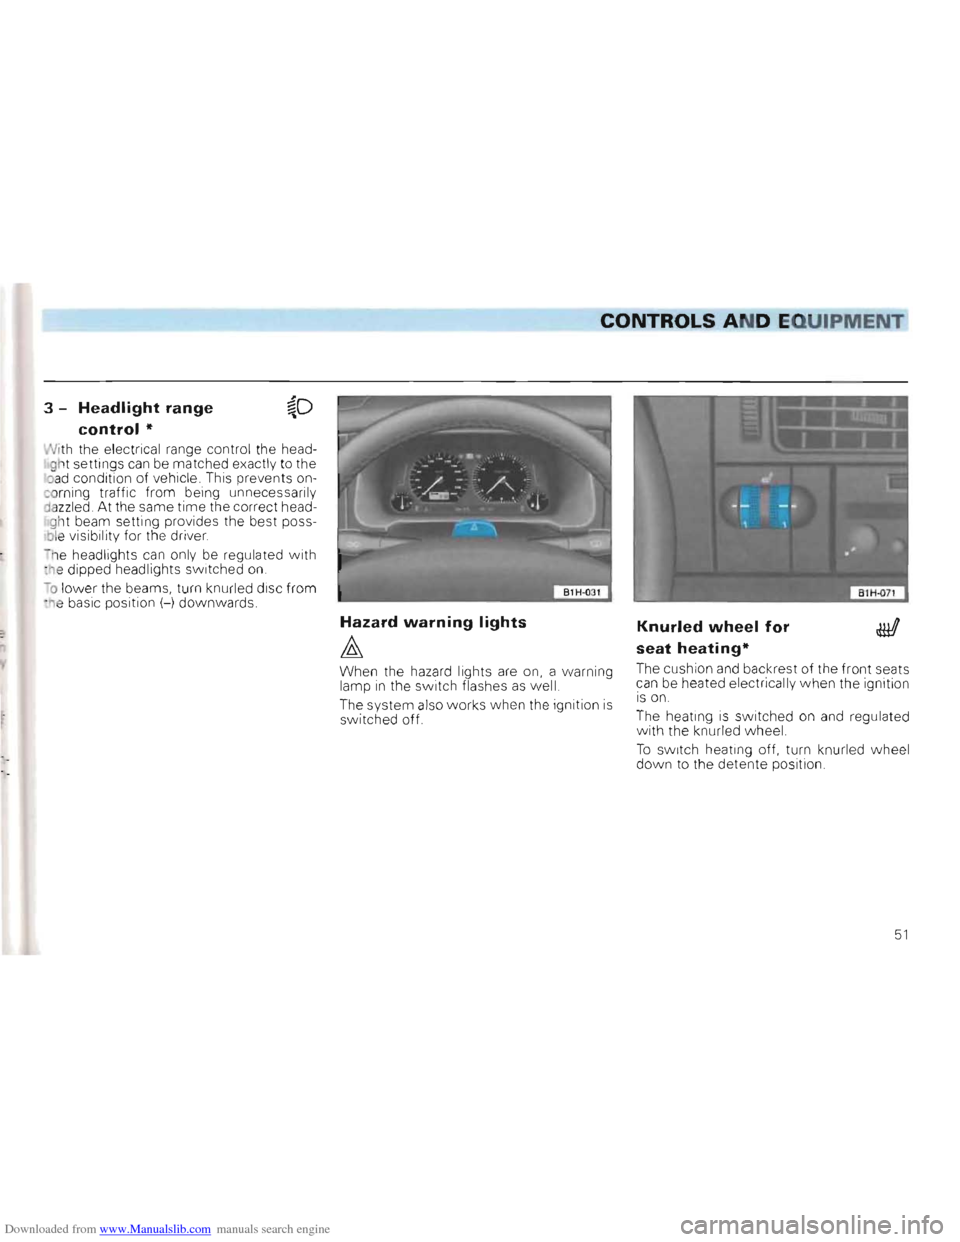
3 -Headlight range
control *
lIJith the electrical range control the head ght settings can be matched exactly to the
o ad condition of vehicle. This prevents on
:::oming traffic from being unnecessaril y
d a zzled . At the same time the correct head
gh t beam setting provides the best poss
ble v is ibilit y for the driver.
-he hea dlight s can only be regulated with
: h e dipped headlights switched on .
To lower the beams, turn knurled disc from :he basic position H downwards .
Hazard warning lights
~
When the hazard lights are on, a warn ing lamp in the switch flash es as well.
The system
also works when th e ignitio n is switched off.
Knurled wheel for
seat heating*
The cushion and backrest of the front seats
can be heated electrically w hen the ignition
is on.
The heating is switched
on and regu lated
w ith the knurled w heel.
T o
sWitch heating off, turn knurled whee l
down to the detent e posit ion .
51
Page 55 of 156
Downloaded from www.Manualslib.com manuals search engine CONTROLS AND EQUIPMENT
Tu rn signal and dip lever
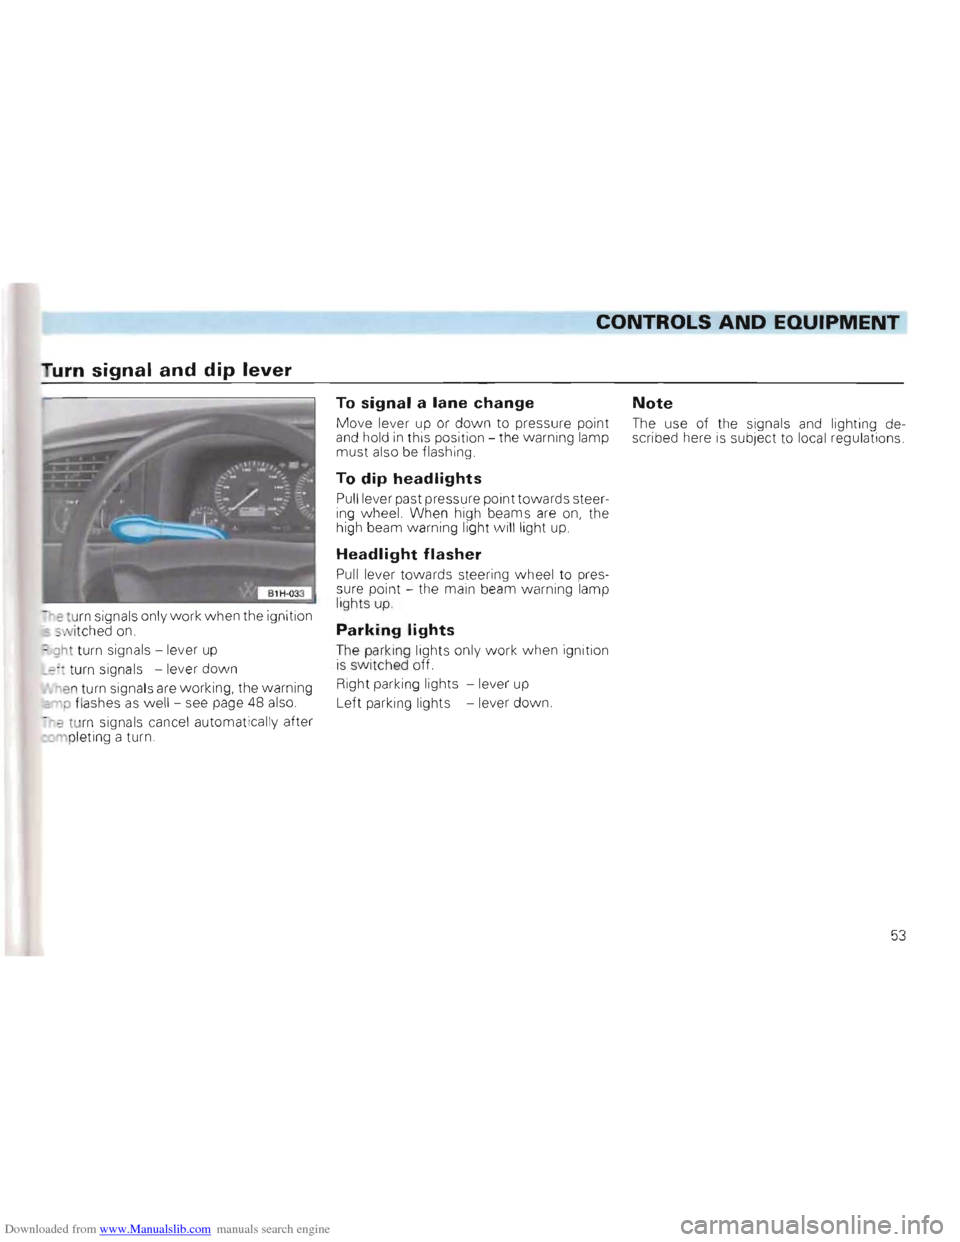
~eturn sign als only w ork when the ignition -wit ched on.
~ gh t turn signa ls -lever up
_z turn signa ls -lever down
"en turn signa ls are working, the warning
p flashes as well - see page 48 also.
-'? tur n signa ls cance l automatica lly after rnplet ing a turn
To signal a lane change Note
Move le ve r up or do w n to pres sure point The use of the signals and lighting deand hold in th is position the w arning lamp
scribed he re is subje ct to local regu lations
must also be f lash ing
To dip headlights
Pull le ve r past pressure point towards steering w heel. When high beams are on, the
high beam warning lig ht w ill light up
Headlight flasher
Pull lever towards steeri ng wh eel to pres
sure poin t - the main beam wa rning lamp
light s up .
Parking lights
The park ing lights on ly work when ignition is s w itched off.
Right park
ing lights -lever up
L
eft park ing li ghts -lever dow n.
53
Page 112 of 156
Downloaded from www.Manualslib.com manuals search engine GENERAL MAINTENANCE
Driving abroad
If the vehicle IS to be taken abroad, the following must also be borne in mind:
• If the
ve hicle has a petrol engine and catalytic converter, one must ensure that
u nleaded petrol will be available dur ing the
jo urney -see page 92. The automobi le
clubs offer information about the unleaded
filling station network.
• Although there are more than
10 000 Volkswagen dealers all over the world to
service Vol k swagen vehicles there are countries in which only a limited amount of service is avai lab le or none at all.
• In certain countries it is also possib le
that your vehicle model is not sold so that
certain spare parts will not
be available or
that the Volkswagen personnel are not fam
iliar with the repair procedure should any
thing go wrong.
The Volkswagen
Sa les Centres in Germany
or the Importer concerned will be only too
pleased to give advice on the necessary
technical preparation of the vehicle, on the
maintenance required and on th e rep air poss ibilities.
The addresses are given in the v
ehicle
wall et.
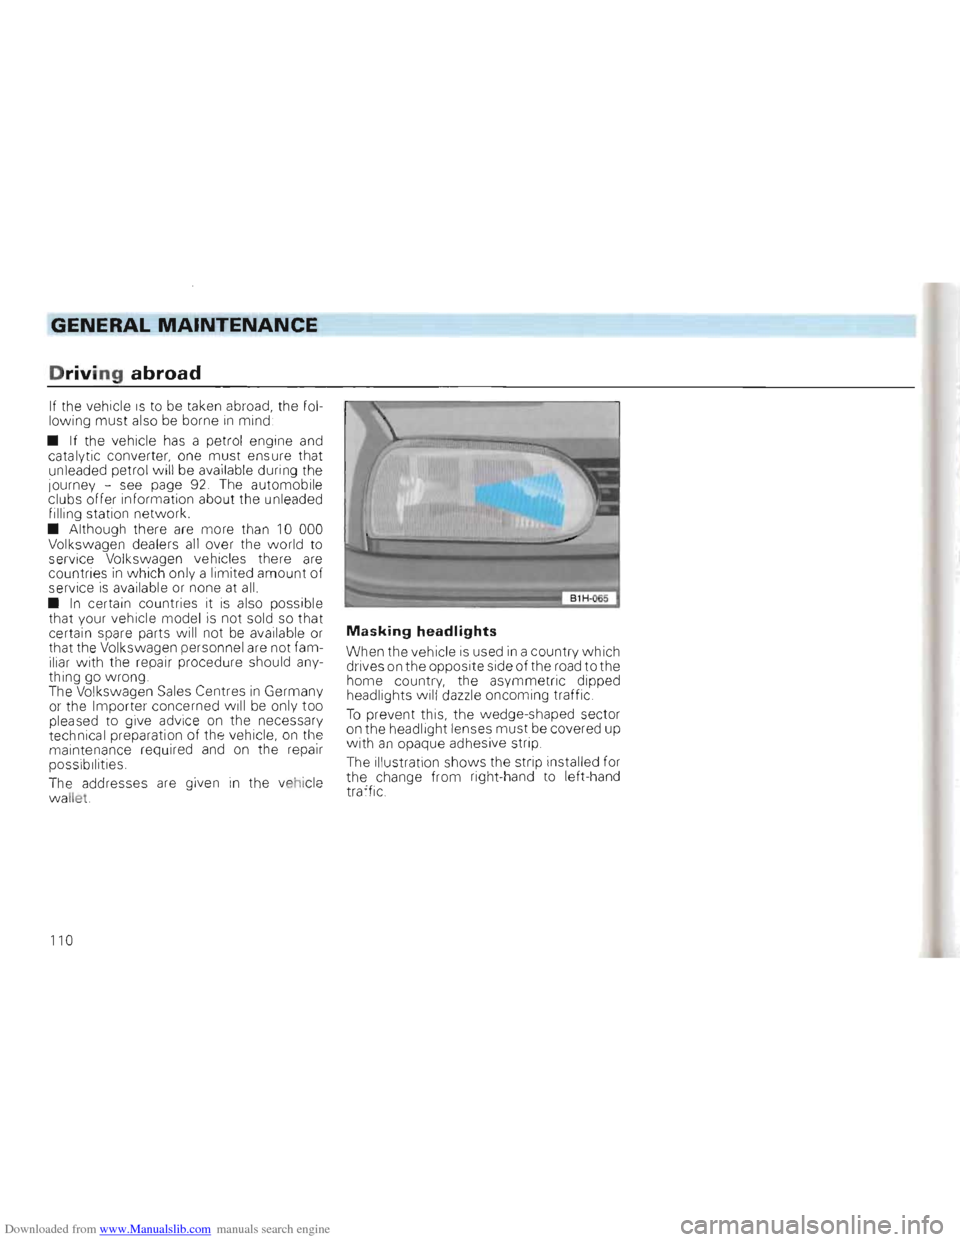
Masking headlights
When the vehicle is used in a country which
drives on the opposite side of the road tothe home country, the asymmetr ic dipped
headlights wil l dazzle oncoming traffic .
To prevent this, the wedge-shaped sector on the head light le nses must be covered up
w it h an opaque adhesive strip.
The illust ration shows the strip insta
lled for
the change from right-hand to left-hand
traff
ic.
110
Page 124 of 156
Downloaded from www.Manualslib.com manuals search engine DO-lT-YOURSELF
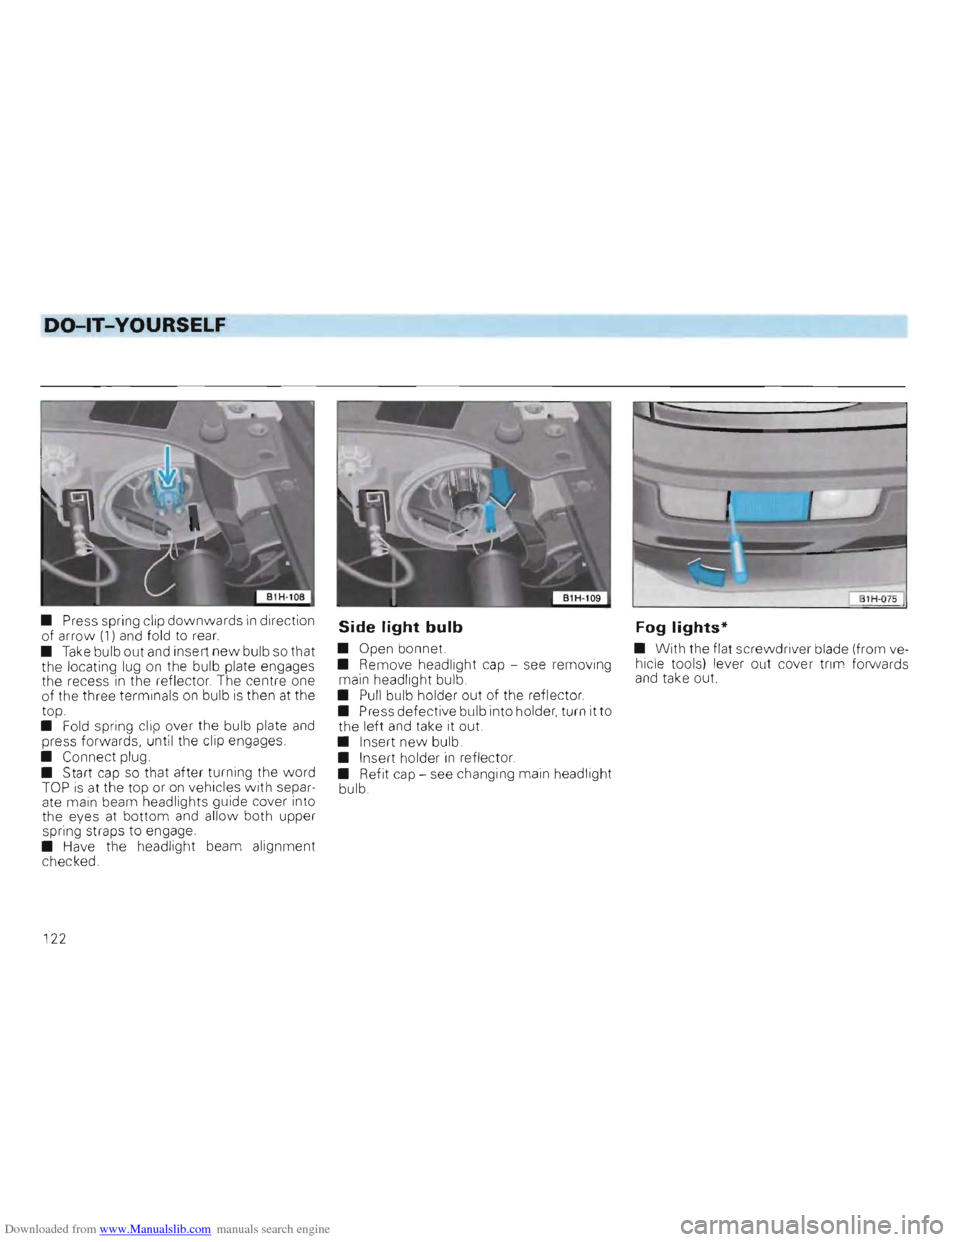
• Press spring clip downwards in direction
of arro\lv (1) and fold to rear.
• Take bulb out and insert new bulb so that
the locating lug on the bulb plate engages
the recess in the reflector. The centre one
of the three terminals on bulb is then at the
top.
• Fold spring clip over the bulb plate
and press forwards, until the clip engages .
• Connect plug.
• Start
cap so that after turning the word TOP is at the top or on vehicles with separ
ate main beam headlights guide cover into
the eyes at bottom
and allo w both upper
spring str aps to engage .
•
Have the headlight beam alignment
chec ked .
Side light bulb Fog lights*
• Open bonnet. •
With the flat screwdriver blade (from ve
• Remove headlight cap -see removing hicle
tools) lever out cover trim forwa rds
main headlight bulb. and take out.
• Pull bulb holder out of the reflector.
• Press defective bulb into holder , turn it to
the left
and take it out.
• Insert
new bulb.
• Insert holder in reflector.
• Refit cap -see chang ing main headlight
bulb.
122
Page 125 of 156
Downloaded from www.Manualslib.com manuals search engine DO-lT-YOURSELF
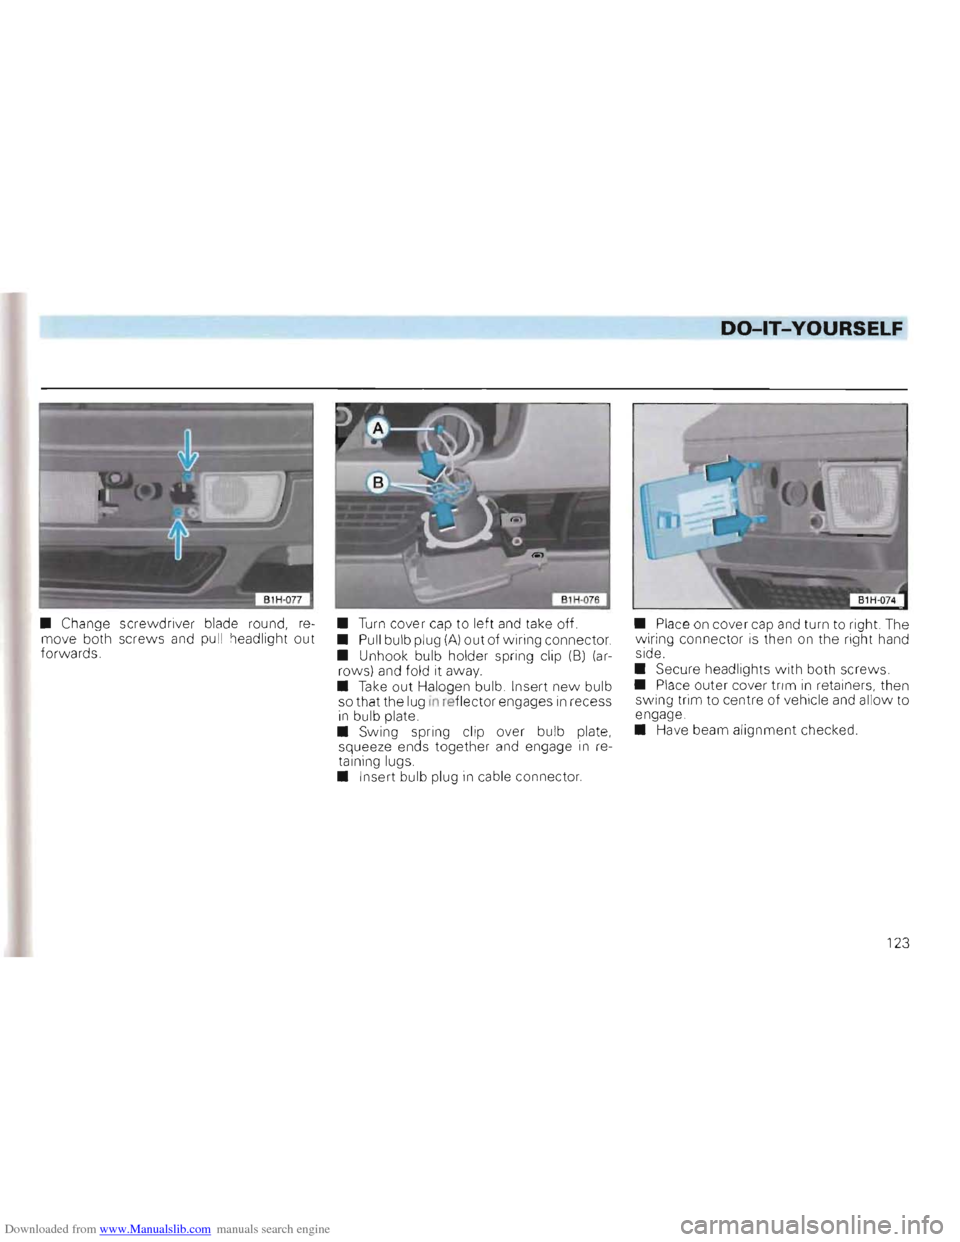
• Change screwdriver blade round, re
move both screws and pull headlight out forw ards. •
Turn cover
cap to left and take off.
• Pull bulb plug (A) out of wiring connector.
• Unhook bulb holder spring clip (8) (arrows) and fold it away.
•
Take out Halogen bulb. Insert new bulb
so that the lug in reflector engages in recess in bulb plate.
• Sw ing spring clip over bulb plate,
squeeze ends together and engage in
re
taining lugs.
• Inse rt bulb plug
in cable connector. •
Plac e
on cover cap and turn to right. The wiring connector is then on the right hand
side.
• Sec ure headlights
with both screws.
• Place outer cover trim in retainers, then
swing trim to centre of vehicle and allow to
engage.
• Have beam alignment checked .
123
Page 152 of 156
Downloaded from www.Manualslib.com manuals search engine ALPHABETICAL INDEX
J Jack 11 4, 117 Jack sockets . 117
Jumper cable 128
K Keys. 6 Kick-down
33
L Lap belt 16
Leather care ....... .
87
L ifting vehicle . . .......... .
13 1
Lighting ....... .
50
Lighting sw itch .
50
Locks . .
... 9 Lubricant add iti ves .
96
Lubricants .
92
Luggage boot
light
.. 67, 126
Luggage compartment 28
Luggage compartment cover . 30
Luggage compartment light 67, 126
Lumbar support 26
M M + S tyres 109,
139
Maintenance .. 2 M ake-up mirror . . 66 M anual gearbo x 31 Masking headlights 110 Max
imu m speed ..... .. .. . 136 Mesh partition 29
Mileage recorder 39
Mirror heating
..... ... . . . 12
Mirrors . 12
Mobile
telephones. ... . . .. .. 111 Modifications 111 Multi function indicator ......... .
42
150
N Number plate lighting
125
o Octane number .. ... .. . .
82
Oil capacity ...... .. . .
146 011 change intervals
95
Oil change intervals 2 Oil consumption .
94
Oil dipstick
- Automatic gearbox
..... ... . 96 -Engine . . .. ..... . 94 Oil pressure ......... .
47
O il spec ifications
92
O il
s. . .. .... . .
92 Output. . ... . . . .... .. .... .
134
Outside mirrors
12
P Paint care ..... . . .
86
Paint number 147
Par
king. 74 Par . ing lights 53 Par ing lock .. . 32
Pedals 31 Performance .... . ... .... ........ . 136
Petro l,
- Quality .
82
Petrol additives . .
...... .
. 83
Pollen filter . . . . 104
Power assisted steering 96
R Radio ..... 127
Reading light . . . . . . . . . . . . . . . . . . . . 67
Rear foglight . . . . . . . . . . . 50
Rear lights. . . . . . . . . . . . . . . . . . 1 25
Rear seat . 27
Rear
window w ash/wipe 55 Releas ing tank flap . 82
Renewa l of parts ........ .. . ... 111 Restraint systems 13, 21
Rev counter . .... ...... 41 Reverse gear . . . . . . . . . . 32 Reversing lights . . .. 3 1
Roof load . . . . . . . . . . . . .. 70 , 143
Roof load carrying system 70
Roof rack . 70
Roof
ra i ling 70
Running in . . . . . . . . . . . . . . . .. 71