spare tire VOLKSWAGEN GOLF 2005 User Guide
[x] Cancel search | Manufacturer: VOLKSWAGEN, Model Year: 2005, Model line: GOLF, Model: VOLKSWAGEN GOLF 2005Pages: 444, PDF Size: 92.7 MB
Page 358 of 444

3.2 Tips and Advice
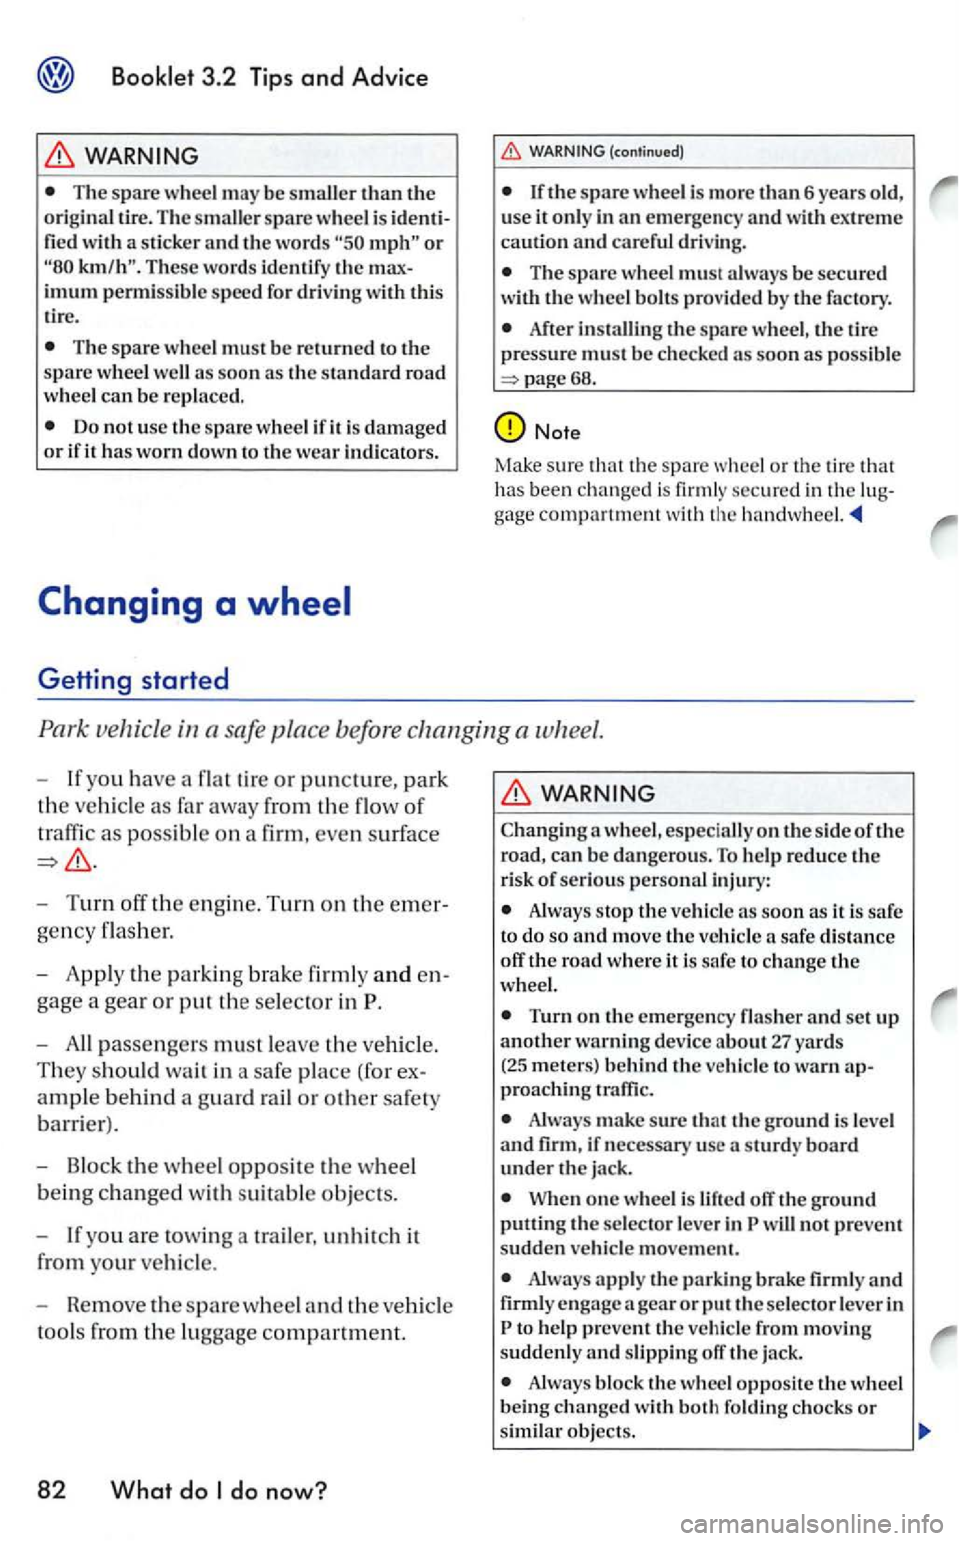
WARNING
The spare whee l may be smaller than the origina l tir e. The s maller spare wheel is identified with a sticker and the words
The spare whee l m ust be returned to the
spare whee l well so on as the standard road
wheel can be re pla ced.
Getting started
The spare wheel must always be secured
with the w hee l bolts provided by the factory .
After
r
vehicle in a safe place before changing a wheel.
If yo u have a flat tire or puncture, park
the vehicle as far away fro m the of
traffic as possib le on a firm, even surface
Turn off the e ngin e. Turn on the emer
gency flasher.
App ly the parkin g brake firm ly and e n
gage a
gear or put the selector in
If yo u are towin g a trailer, unhitch it
from yo
ur vehicle.
WARNING
Changin g a wheel, especially on
Alw ays stop the ve hicl e
to change the
Turn on th e e merge ncy fla sh er and se t up an o th er warning device ab o ut 27 ya rds (25 meters) beh ind the vehicl e to warn ap
proa ching traffic.
Always sure th at th e ground is leve l and firm, if necessary usc sturdy under the ja ck .
When one wh eel is lift ed off the ground putting the se lec to r l ever in
Always apply tl1e par k in g brake firmly and firmly engage gea r or put th e selec tor lever in
Page 362 of 444

3.2 Tips and Advice
(continued)
knock the vehicle ofT the jack or hid e under a
vehicle.
Never support your body weight on the hicle when it is up on the jack.
Never allow anyone to stay in the vehicle when raising the ve hicle with th e jack or when it is up on the jack.
Never let anyone place any part of their body underneath the ve hicle when supported by th e jack.
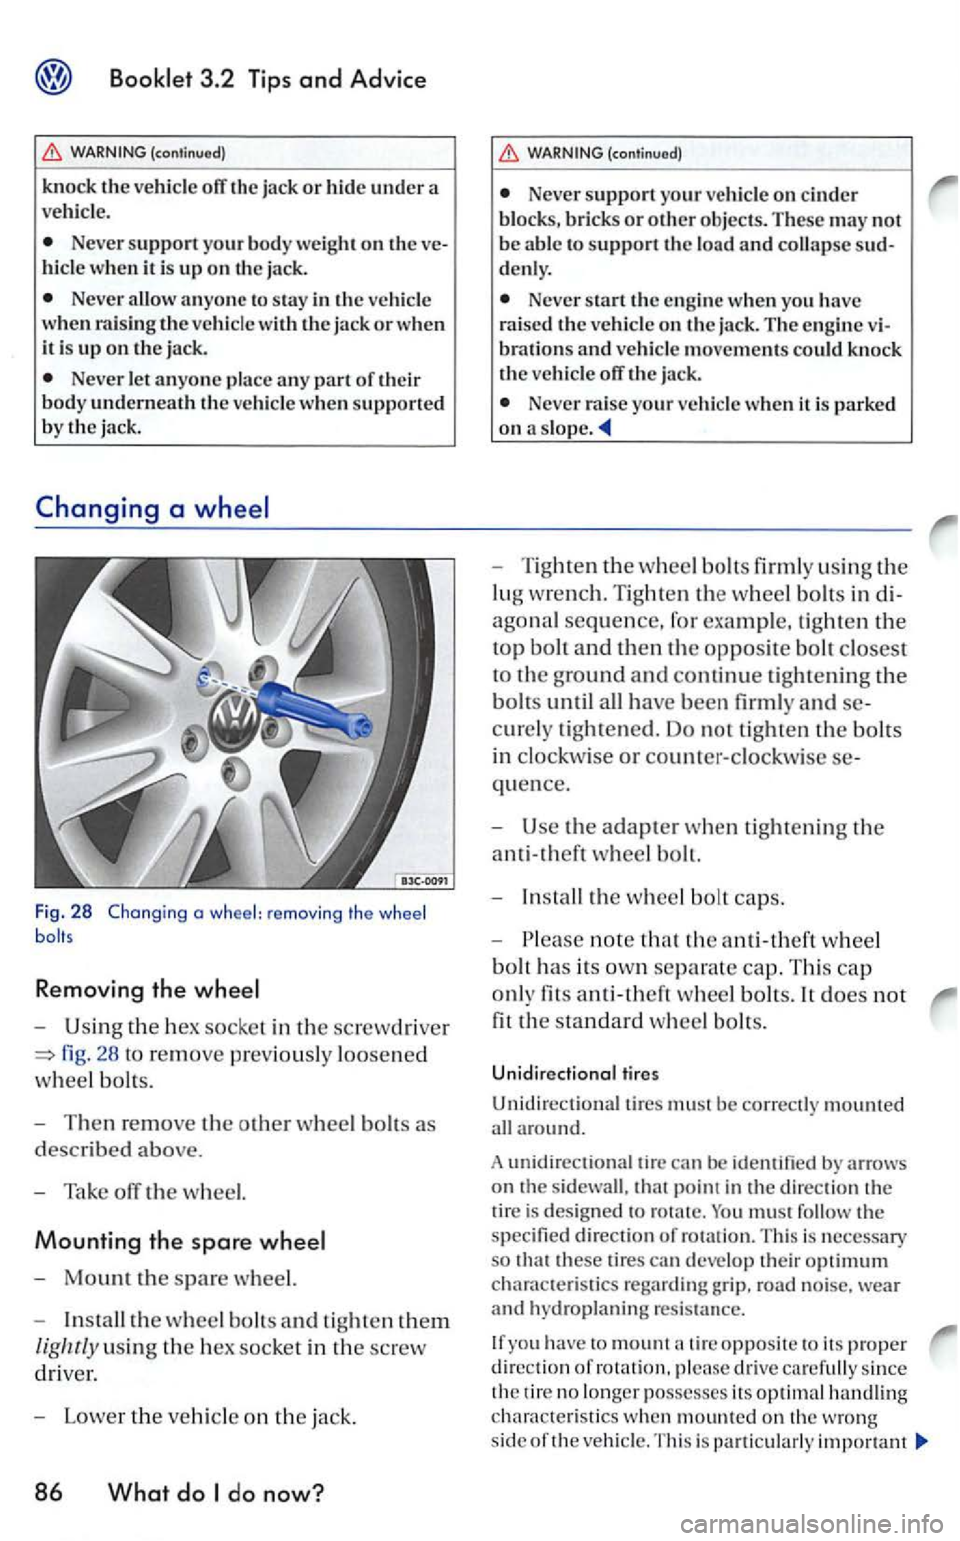
Fig. 28 Changing a wheel: remov ing the wheel
Removing the
U sing the hex socke t in the screwd rive r
fig. 28 to re move pr ev iously loosened
w
hee l bolts.
Then remove th e o ther wheel bolts as
d
escribed above.
Tak e off the w heel.
Mounting the spare
Mount the spare wheel.
In stall the wheel bolts and tight en them
lig hrly using the hex socket in the screw
driv er.
Lower the vehicle on th e jack.
86 What do do now?
(continued)
Ne ver support your vehicle on cinder blo ck s, bricks or ot her objects . These may not
b e abl e to support the load and collapse denl y.
Neve r start th e en gine when you have
rai sed the veh icle on th e jack. The engine brations and ve hicle movements could kno ck
th e ve hicle off the jack.
Neve r raise your ve hicle when it is parked on a s lope .
Tighten the w hee l bolt s firml y using th e
lug wre n ch. Tighten
the w heel bolt s in
agonal sequence, fo r exa mple, tighten the
top bolt and then the opposite bolt closest
to th e ground and continue tight ening the
bolts until all have been firmly and
quence.
Use the adapter w hen tight enin g th e
anti-theft wheel bolt.
In stall the w heel bolt caps.
note that the anti-theft w heel
bolt h
as its ow n separate cap. This ca p
o nl y
fits whee l bolts. It does not
fit the standard wheel bolt s.
Unidirectional tires
Unidirectiona l tires must be correctl y mount ed
all around.
A unidir
ectional tire can
must follow the specifie d direction of ro tatio n. T his is necessary
s o these tire s can deve lop their optimum chara cte ristics regard ing gr ip. road noise. wear and hydroplaning resis ta nce.
you have to mount tir e opposite to its proper d ire ction of rotati on, please drive carefull y since
th e tir e no lo ng er posse sses its optimal ha ndlin g
c h arac te rist i
cs when mounted on th e wro ng
s id e of th e ve hicl e. T hi s is particu larly impo rtant
Page 387 of 444

Lifting the ve hicl e
Light change 93
Lo ck cy linders 26
L o ckin g driver's door in emergency 88
Locks
26
M
Malfunction Lamp
M IL See Malfun ction Indicator Lamp
Modific ations 32
N
New tires wheels 73
NHTSA
otice about
trol modules 34
II
yo ur vehicle safely 1 4
mirro rs
C leaning 25
p
31
parts 24 C leaning 28
w asher 23
G asolin e 37
Booklet Tips and Advice
care 2 1
Regular Gasoline 37
Hemoving caps to access p osi tive and nega-
tive terminals
Repai rs 32
R ep l
acing
Wheel rim s 75
Replac
ing tires and w heels 73
Reporting safety defec ts
Ca
nada United States
Him s
Heplacing 75
With screw-on decora tive covers 58
With threade d rim ring 57
R
ubbe r gaskets 26
s
b ells
C
leanin g
Safety instructio ns
C
oolant temperature
Snow c h ain s 78
wheel 81
Location
Spares 31
Speed rating letter code 74
Startin g w ith jumper cables 99
Steps for determining correct load limit 71
T
Tan k
F illin g the ta nk 35
O
pening th e fuel filler 35
T
echnical modific ations 32
Threa ded rim ring 57
Alphabetical index lll