fuel cap VOLKSWAGEN GOLF 2005 Owners Manual
[x] Cancel search | Manufacturer: VOLKSWAGEN, Model Year: 2005, Model line: GOLF, Model: VOLKSWAGEN GOLF 2005Pages: 444, PDF Size: 92.7 MB
Page 7 of 444
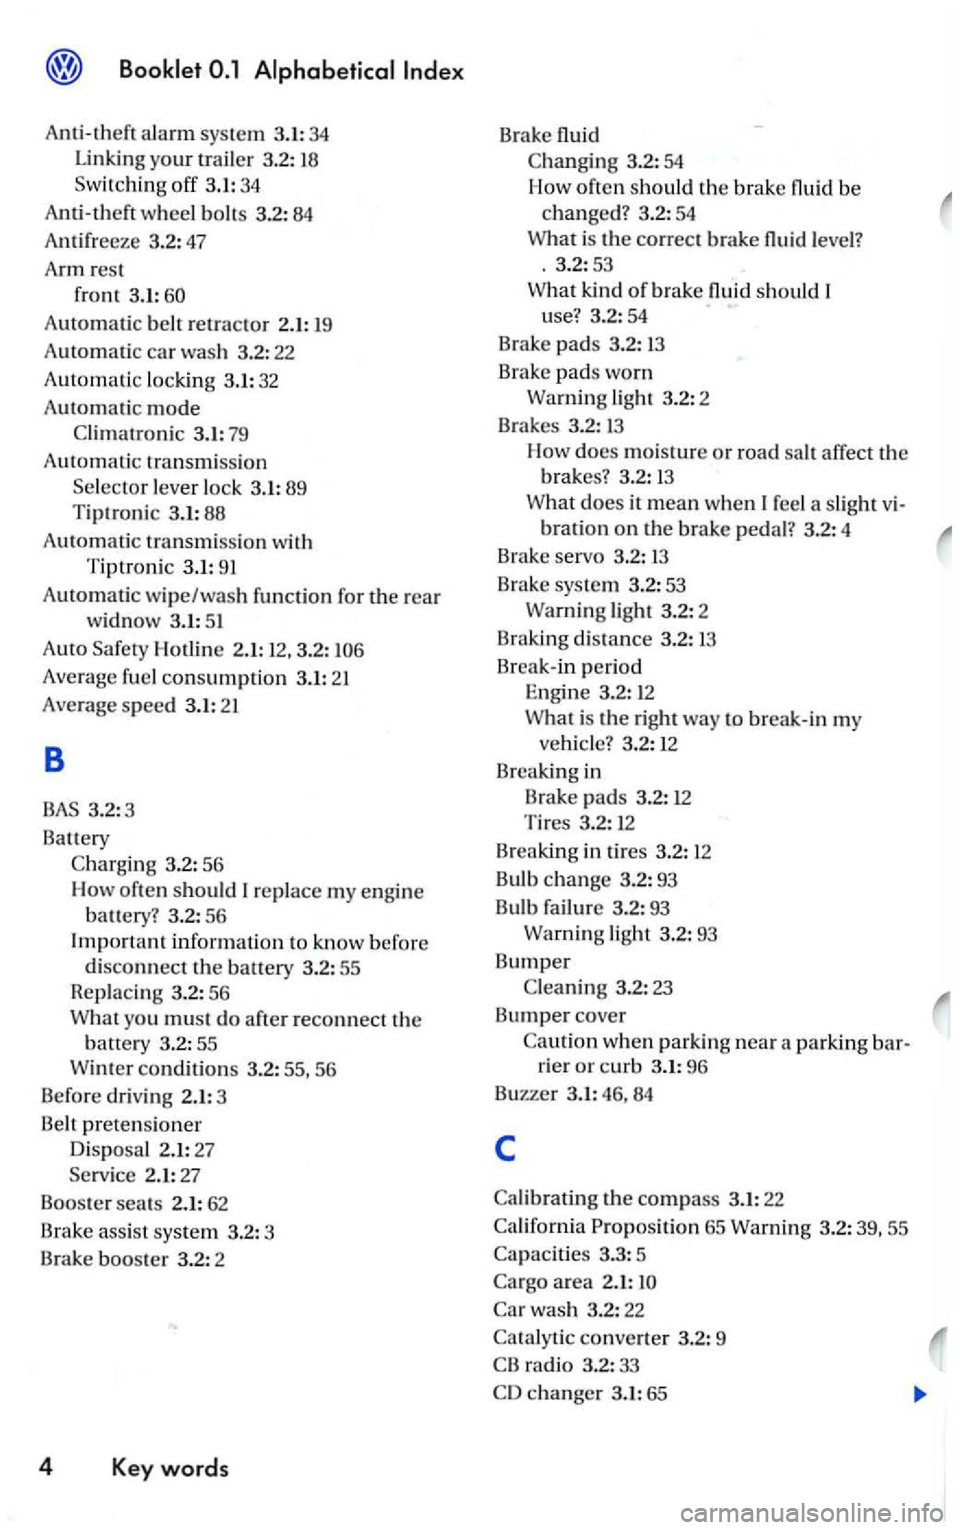
Anti-theft alarm system 3.1: 34
Linking your trailer 3.2: 18
Switching off 3.1: 34
Anti-theft wheel bolts 3.2: 84
Antifreeze 3.2:47
Arm rest
front
3.1:60
Automatic belt retractor 2.1: 19
Automatic car wash 3.2: 22
Automatic locking 3.1: 32
Automati c
mode
Climatronic 3.1: 79
Automatic transmi ssion
Selec tor lever lock 3.1: 89 Tiptronic 3.1: 88
Automatic transmiss io n with
Tiptron ic 3.1: 91
Automatic wipe/wash function for the rear
w idn ow 3.1: 51
Auto Hotline 2. 1: 12,3.2: 106
Average fuel consumption 3.1: 21
Average sp ee d 3.1:21
8
2.1: 27
Booster seats 2.1: 62
Brake assis t sys tem 3.2: 3
Brake boo
ster 3.2: 2
4 Key words
Brake
Changing 3.2: 54
level?
. 3.2:53
W hat kind of brak e
65 Warning 3.2: 39, 55
Capacities 3.3: 5
Ca rgo area 2.1:
Car wash 3.2: 22
Catalytic converter 3.2: 9
CB radio 3.2: 33
CD changer 3.1: 65
Page 10 of 444
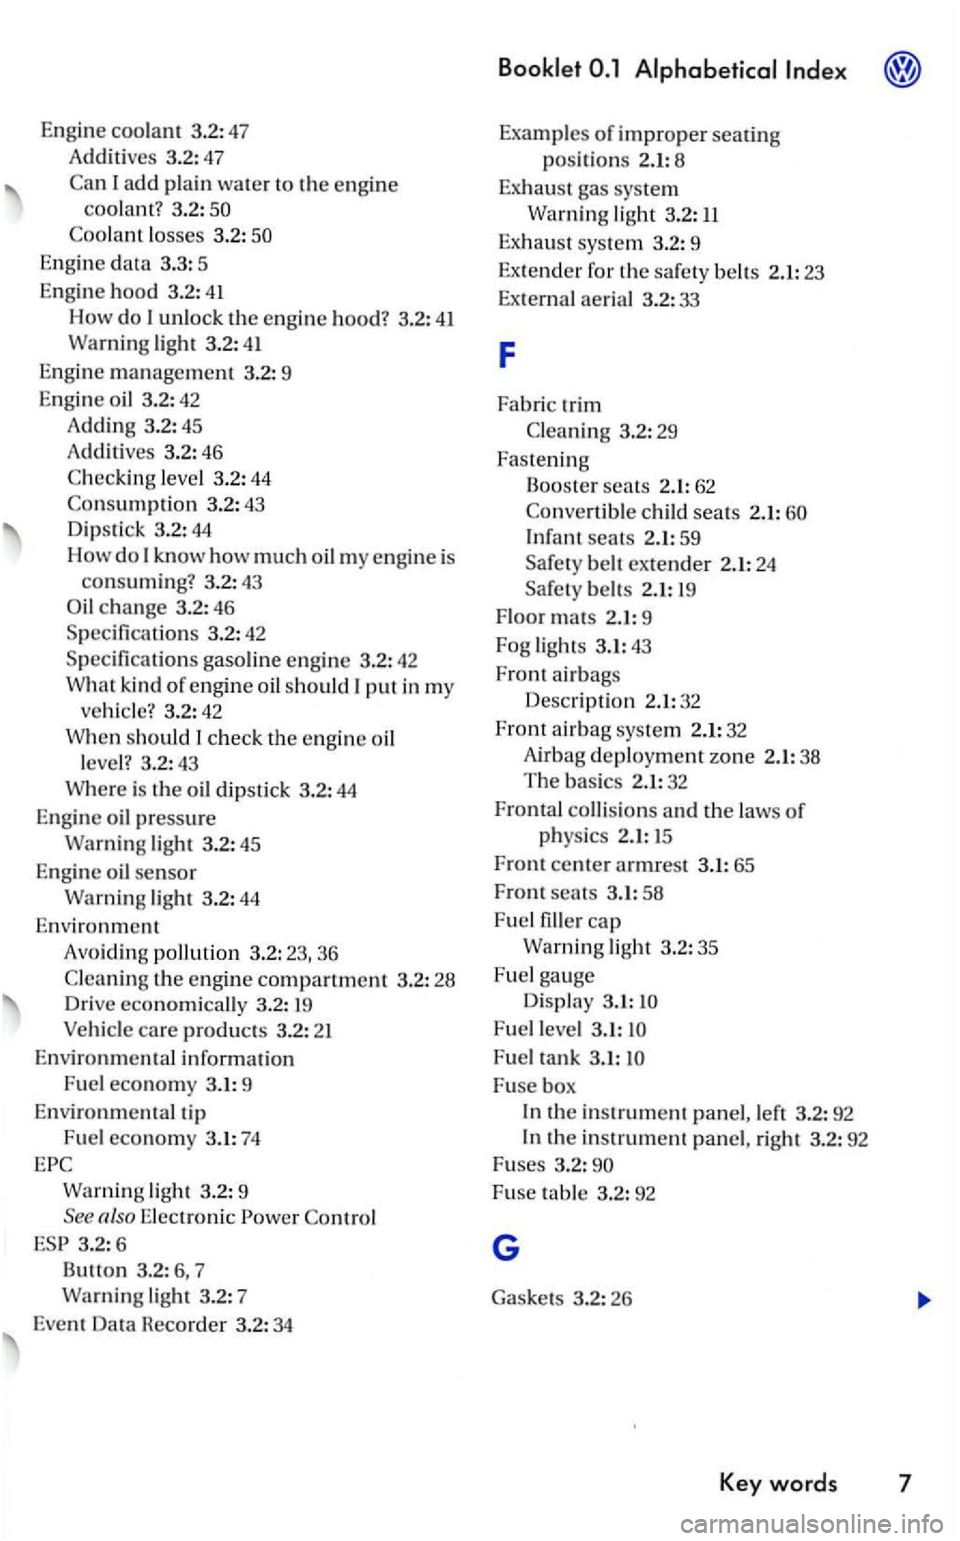
Engine coo lant 3.2:47
Add i
tive s 3.2:47
Ca n I
add plain water to the en gi ne coolant ? 3.2 :
Engine data 3.3: 5
Eng ine
hood 3.2: 41
How do unlock the engin e hood? 3.2: 41 Warn ing light 3.2: 41
Engin e management 3.2: 9
E ngin e oi l 3.2: 42
Adding 3.2: 45
Add itives 3.2: 46
Check ing leve l 3.2: 44
Consumption 3.2: 4 3
Dip s
tick 3.2: 44
How do know how much oil m y e ngine is
consuming ? 3.2: 43 c h an ge 3.2: 46
S p ecifica tion s 3.2: 42
Specificatio ns gaso line engine 3.2: 42
Wha t kind of e ngine oil should put in my ve hicle? 3.2: 42
When should check the e n gi ne oi l
l eve l? 3.2 : 4 3
Where is th e oil dip stick 3.2:
44
E ngin e oil pr essure
Warning light 3.2: 45
Eng ine oil
senso r
Warning light 3.2:
44
Environme nt
Avoidi ng pollution 3.2:23,36
C le
aning th e e ngin e compartment 3.2 : 28 Drive economicall y 3.2:
Warni ng ligh t 3.2: 9 also Elec tronic Co ntrol
3.2:6
B utt on 3.2 : 7
Warning
lig ht 3.2: 7
Even t Data Hecorder 3.2:
34
Examples of improper seating
position s 2.1:
Infant seats 2.1: 59
Sa fe ty belt ex te
nder 2.1: 24
Sa fet y belts 2.1:
F loor mat s 2.1: 9
Fog light s 3.1
:43
F r
ont ai rbags
De
scription 2.1:32
Front air b ag sys tem
2.1: 32
A irb ag deploym ent zone 2.1:38
Th e bas ics 2.1: 32
Fronta l
collisions and the laws of
physics
1 5
Fr
ont center armres t 3.1: 65
Front seats 3.1: 58
F u el
fille r cap
Warni ng light 3.2:35
Fuel ga uge
Displa y 3.1:
F ue l level 3.1:
Fuse box
th e in strume nt panel, left 3.2: 92 the instrument panel, rig ht 3.2: 92
Fu ses 3.2:
Page 17 of 444
Booklet
v
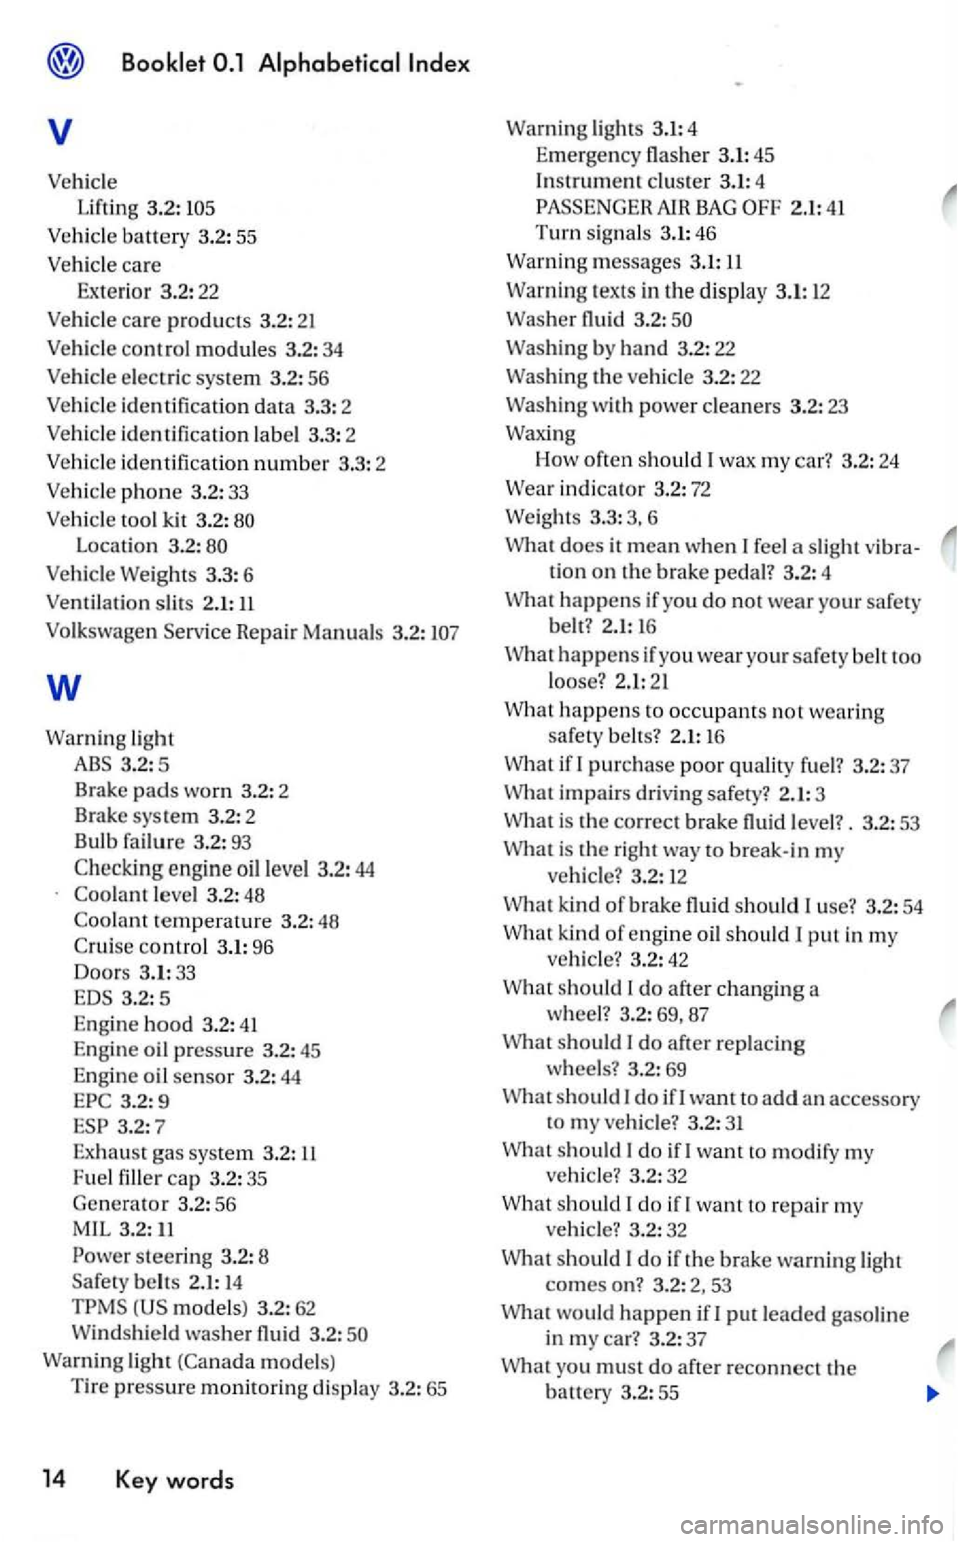
Vehicle Lifting 3.2:
Location 3.2:
Vehicle Weights 3.3: 6
Ventil atio n slit s 2.1:
Volk s wagen Servic e Repair Manuals 3.2 :
w
Warn ing light
3.2: 5
Brake
pads worn 3.2: 2
Brake system 3.2: 2
Bulb failure 3.2:
93
3.2:5
Eng ine hood 3.2:41
Engine oil pressure 3.2: 45
E n
gin e oil se nsor 3.2:44 3.2:9
3.2:7 Exhaust gas syste m 3.2:
Fuel fille r cap 3.2 : 3 5
Gen erat or 3.2: 56 MIL
steering 3.2: 8
Safe ty belts 2.1: 14
mode ls) 3.2 : 62
Wind shi eld washer fluid 3.2 :
Warning light (Ca nada models)
Tire pressure m onitorin g di spla y 3.2: 65
14 Key words
Warn ing light s 3.1: 4
Emergency
flasher 3.1: 45
I n strume nt clus te r 3.1: 4
Washi ng by hand 3.2:22
Wash in g th e ve hicle 3.2: 22
Washin g with power cleaners 3.2: 23
Waxing How often s
hould I wax my car? 3.2: 24
Wear indicator 3.2:
72
Weights 3.3: 3.
What does it mean when I feel a slight vi bra-tion o n the brake pedal ? 3.2: 4
W h
at happens if yo u do not wear your safe ty
b elt ? 2.1: 16
happe n s if you wear yo ur safe ty belt too
l oose?
2.1: 21
happe n s to occupants not wearin g
safe ty belt s? 2.1:
if I purchase poor quality fuel? 3.2: 37
is the correct brake fluid leve l?. 3.2: 53
What is the r ight way to break-in my
ve hicl
e? 3.2: 12
kind of brake fluid should I u se? 3.2: 54
What kind of engine oil should 1 put in my
ve hicle ? 3.2: 42
What should I d o a fter changing a
w heel? 3.2: 69, 87
should I do after re pla cing
wheels? 3.2:
should I do if! want t o add an acces sory
t o my vehic le? 3.2: 31
sh o uld I do if I want to modify m y
ve hicle? 3.2: 32
should I do if I want to re p air my
ve hicle? 3.2: 32
What sh o uld I
do if the brake wa rnin g light
comes on? 3.2: 2, 53
What wou ld
happen if I put leaded gaso line
i n m y car? 3.2: 37
W h
at you must do after reconnect th e battery 3.2: 55
Page 63 of 444
1.2
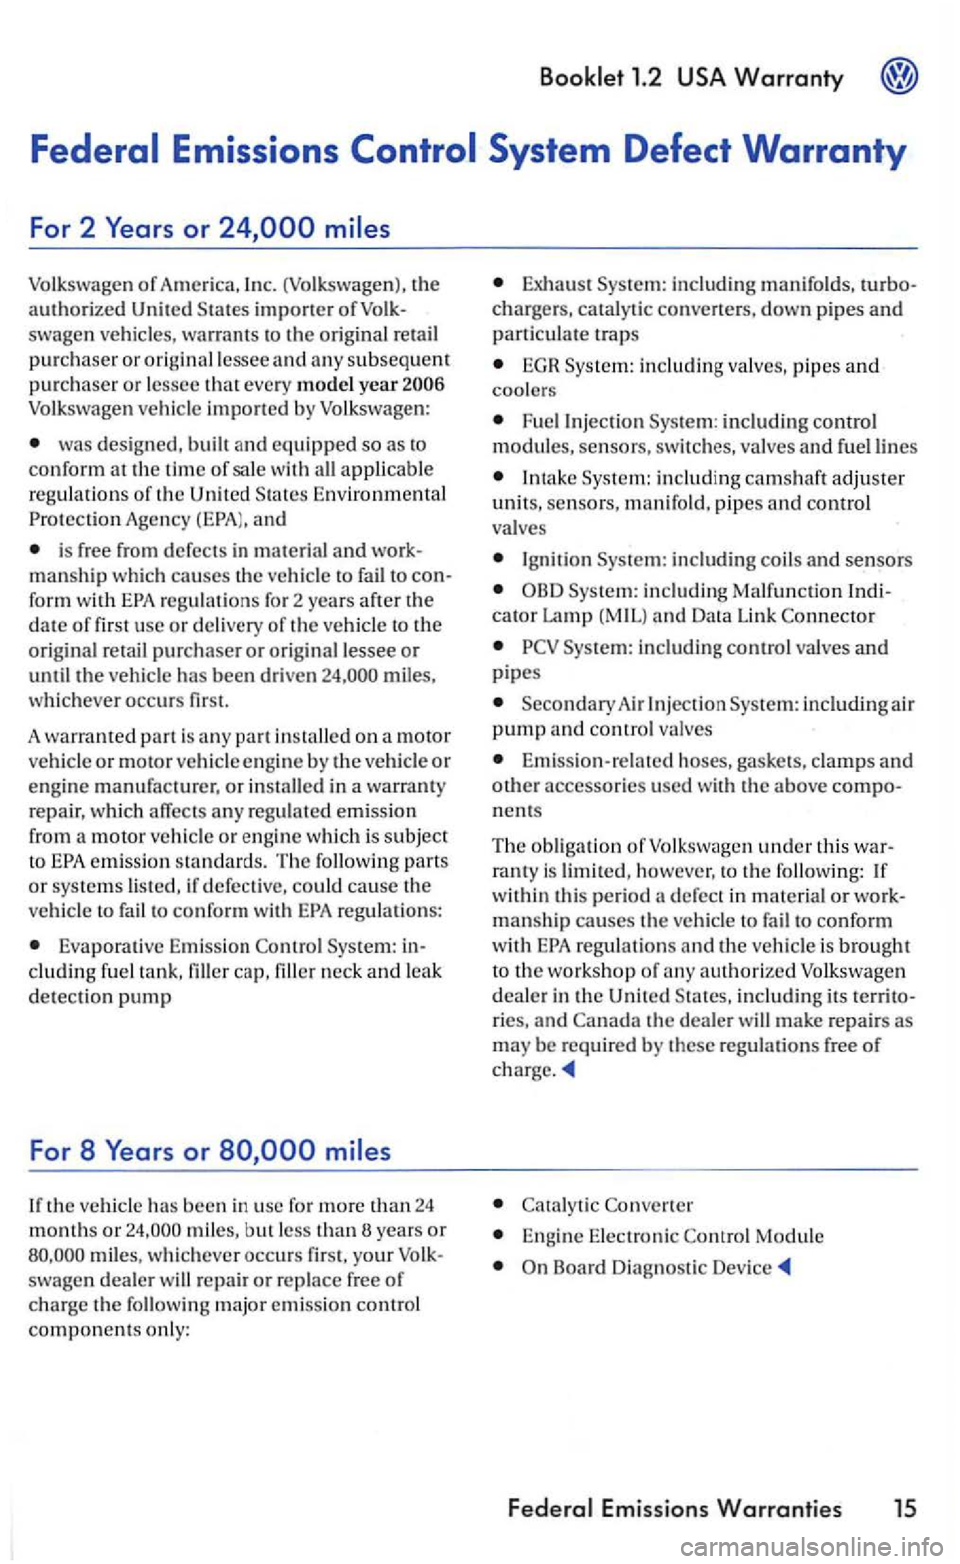
Volkswagen of America , In c. (Volkswage n), the authorized swagen ve hicles, warr ants to th e origin al retai l purchaser or origin al lessee and a n y subseq uen t purc haser o r lessee th at eve ry m odel year
was designed, built an d e quipped so as to conform at the tim e of sale w ith all applicable
regulati ons o f th e
is free from defects in material and manship whic h causes the ve hicle to fail to form with regul ations for 2 yea rs after th e
date o f firs t use or delivery of the veh icle to t he
o rigi nal retail purchaser or origi nal lessee or until the vehicle has been driven miles,
w hichever occurs first.
Eva po rative Em iss io n Sys te m: cluding fuel tank , filler cap, filler neck and leak
d e tection pump
For 8
If th e vehic le has been in usc fo r m ore th an 24
m on th s or
Exha ust Syste m: includ ing manifolds,
EGR System: includ in g va lves, pip es and coolers
Fuel Injec tion Syste m : including control
modules, sensors, switc hes, valves and fuel lines
Intake Syste m: incl udi ng camshaft adjuster
u ni ts, sensors, manifold, pipes and control
valves
Ign ition
System: includi ng Malf unc tion cator Lamp (MIL) and Data Link
System: including control valves and pipes
Secondary A ir Injec tion System: including air pump and control valves
Em iss ion-related hoses, gaskets, clamps an d accessories used wit h the above
th is
regul a tions and t h e vehicle is brough t
to the wo rkshop of
the dealer will make repairs as may be required by these regu latio ns free of
Eng ine Elect ronic Module
Boar d Diag nost ic
Emissions Warranties 15
Page 311 of 444
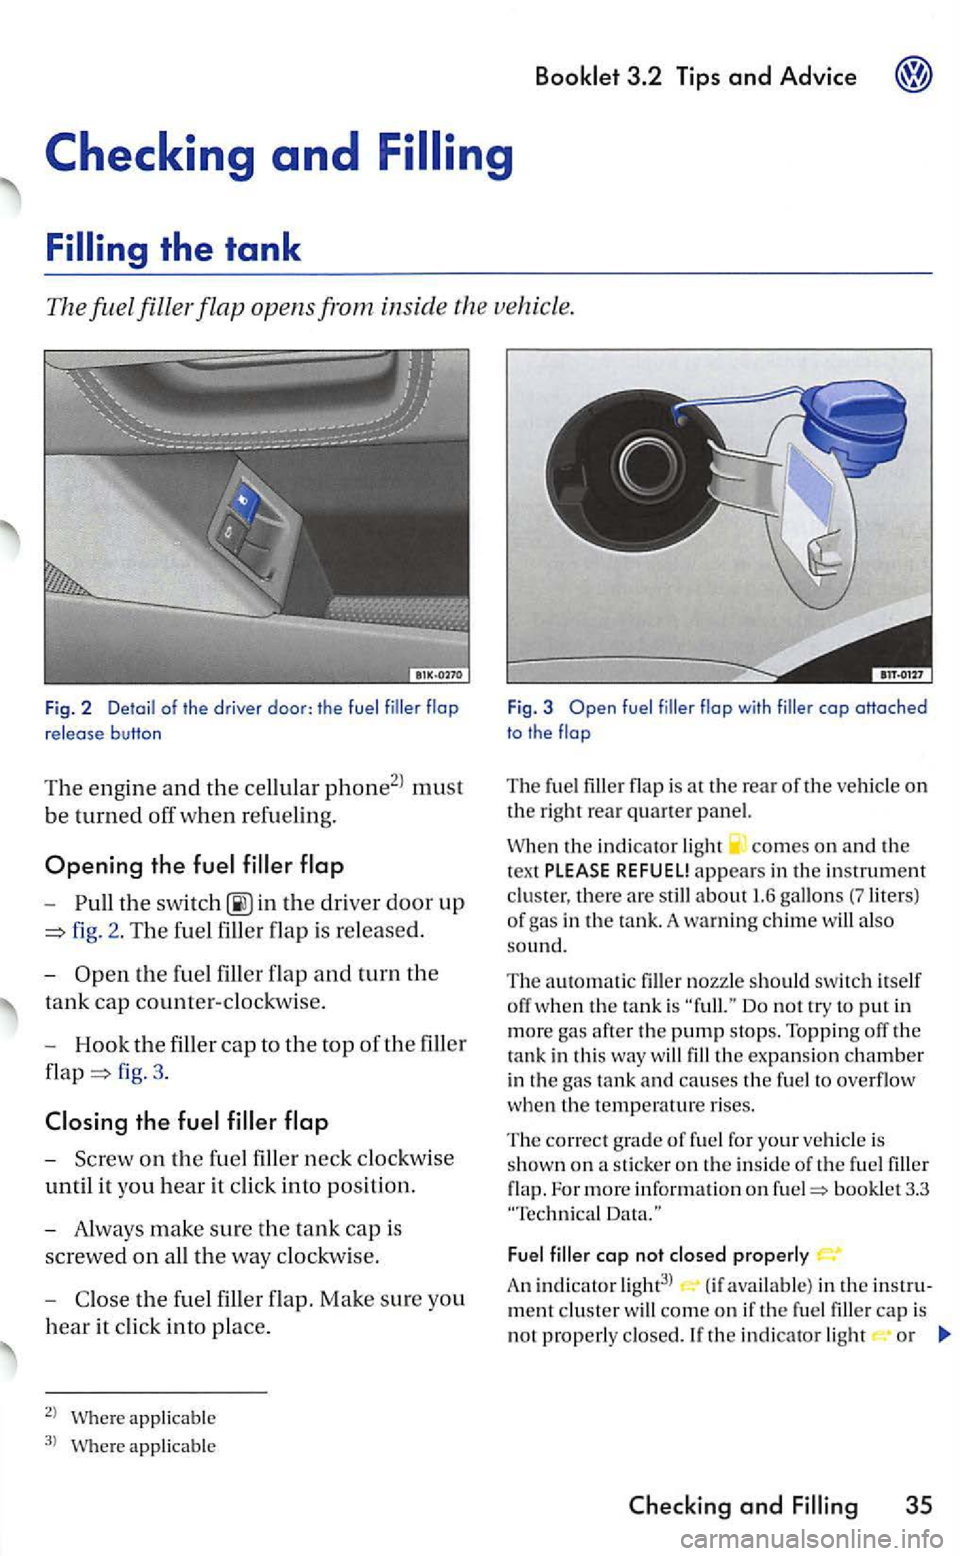
-in the driver door up
fig. 2. T he fuel filler flap is re leased.
-
Open t h e f uel filler flap and turn the
tank cap counter-clockwise.
- Hook
the fille r cap to the top of th e filler
fig. 3.
the
-Screw o n the
applicable
applic able
Fig . 3 fue l flop with cop oHoched
to the
The fu el flap is a t the rear of the vehicle on the right rear quarter panel.
th e indi cator light comes on and th e
t ex t PLEASE REFUEL! appears in the in strume n t
clu ster, there are s till ab out 1.6 gallo ns (?liters) of g as in the tank. A warning ch im e will also so und.
The automatic nozzle shoul d swi tc h itself off w hen the ta nk is
the expansion chamber
i n the gas ta nk and causes the fuel to overflo w when the temperature rises.
T
he correct g rade of fu el for your vehicle is
show n on a stick er o n th e inside of the fu el flap. For m ore informatio n on bookle t 3.3
Fuel filler cop not closed prope rl y
A n in d ic a to r light3l (if available) in the
Checkin g and 35
Page 312 of 444
Booklet 3.2 Tips and Advice
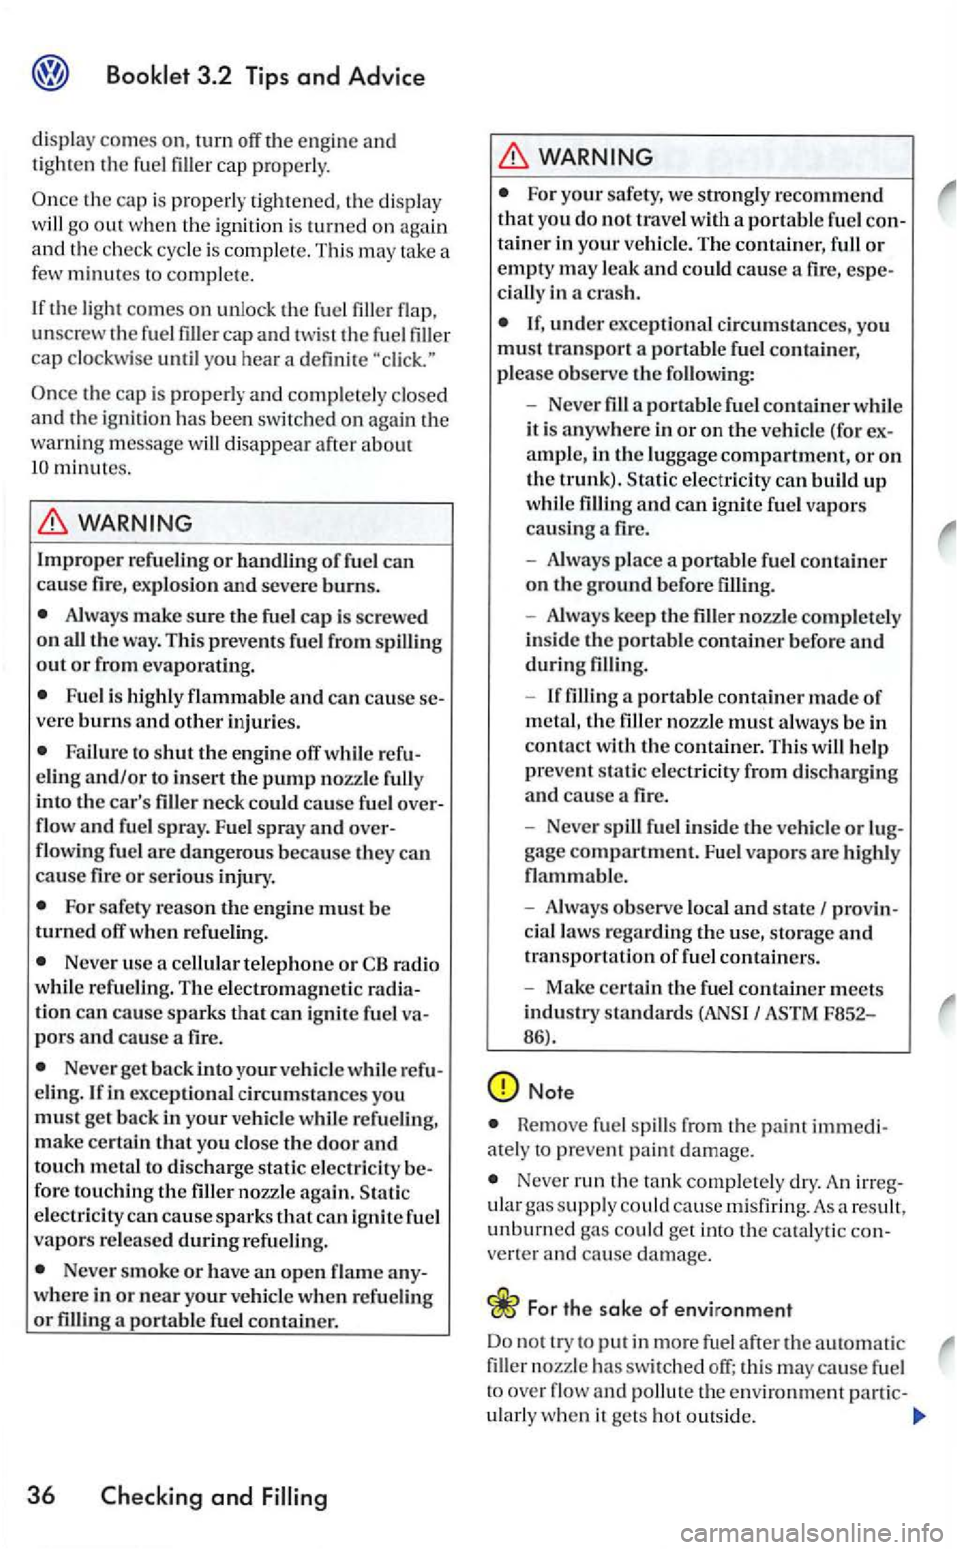
display come s on, turn off the engine and
t ig ht en th e fuel filler cap prop erly.
the cap is prop erly and comple te ly closed
a nd the ig nition has been switc h ed on agai n th e
wa rning message will disappear after abo ut
Improper refueling or handling of fuel can
cause fire, e xplosion and severe burns.
Always make sure the fuel cap is sc rewed
o n
Fuel is hi ghly flammable and can cause
eling and/or to insert the pump nozzle fully
into the filler neck could cause fuel flow and fuel s pray. Fuel spray and flowing fuel are dangerou s beca use they can cause fire or serious injury.
For safe ty reason engine must be turned off when refueling .
Never use a ce llular te lephon e or radio w hile refueling. The electrom ag ne ti c tion can caus e sp arks that can ig nite fuel pors and cause a fire .
Never get back into your ve hicl e while eling. If in exceptional circumstances you must ge t back in your vehicl e while refu eling, make ce rtain that you close door and touch metal to di scharge stati c electricity for e tou chin g the filler nozzle again. electricity can cause sparks can ignit e fuel
vapors released during refuelin g.
Never smoke or h ave an open flame where in or near you r vehicle when refu elin g or fillin g a portable fuel container.
36
For your safety, we strongl y recommend that you do not travel with a portable fuel
cially in cras h.
If , under exceptional circum stances, you must transport a portable fuel co ntain er,
pl ease observe the foUowing:
- Never
fill a portable fuel container while
it is anywhere in or on the ve hicl e (for ampl e, in the lu ggage compartment, or on the trunk). electricity can build up while filling and can ig nite fuel vapors
ca usin g a fire.
- Always pl
ace a portabl e fuel container on ground b efor e
-Alway s keep the filler nozz le co mplet ely
in side the portab le container b efo re and during fillin g.
- If filling a
portable container made of
metal , the filler nozzle must a lway s be in
contact with the container. This will help prevent static e lec tricity from disc ha rgin g and ca use a fire.
- Never
cial laws regarding the use, storage and transporta tion of fuel containers .
- Make certain
the fuel container meets
industry standa rd s F852-86).
Remove fu e l spills f rom the paint ately to prevent pai nt dam age.
Never run the tank completel y dry. An ular gas supply co uld cause misfiring. A s res ult ,
u n burn ed ga s co uld get into the ca ta lytic vener a nd cause damage .
For the sake of environm ent
Do no t try to p ut in more fuel after the au to m atic fille r no zzle has switched off; this may ca use fuel to over flow and pollut e th e enviro nment parti c-
ularl y when it ge ts hot outside.
Page 329 of 444
drive if you have clear vis io n through all the windows.
A defect ive or d irt y w iper blade can scratch
t h e rear glass.
Never clean gla ss panel with fuel. nail polish remove r, p aint thinn er o r similar flu ids.
Thi s ca n damage th e w iper bla d es.
Never move the w iper or the wiper arm your hand can dam age it.
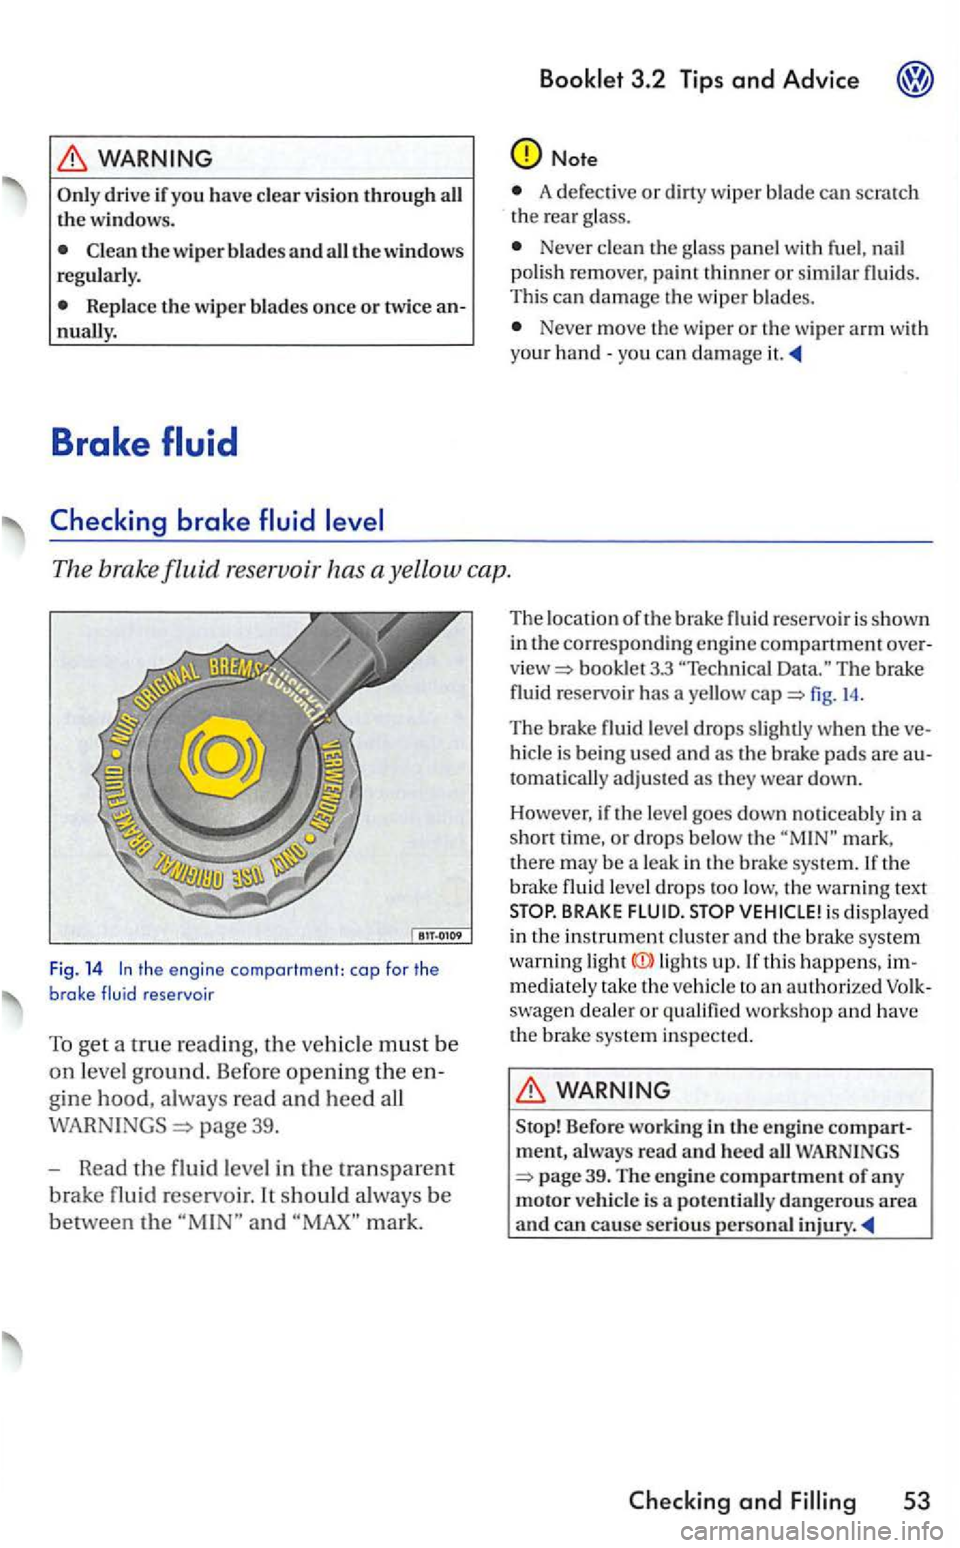
The brak e fluid reservoir has a ye llow cap.
Fig. 14 the engine compartment: cap for the brake fluid reservoir
To get a true reading, the m ust b e
on leve l ground. Before opening th e en
g
ine hood, a lways read and heed all
page 39.
- Read
the fluid leve l in the tra nsparent
bra ke fluid re servoir. It should always be
between the and mark.
Th e lo cation of th e brake fluid reservoi r is shown
in
bookl et 3.3 The brake
fluid reservoir has a yello w fig. 14 .
The brake fluid lev el drops s lightl y when th e ve
hicl e is bein g used and a s th e brake pad s are autom atically adju sted a s they wear down.
Ho wev
er, if th e le ve l goes down noticeably in a
s ho rt time, or drops below th e mark ,
th ere may be a leak in the brake system. If the b rake fluid leve l d rops too low, the wa rnin g text BRAKE FLUID. is displayed
in the instrument clu ste r and th e b rake system warni ng ligh ts up. If t his happens, immediately rake th e ve hicle to an au thorize d swage n deale r or q ualifi ed wo rkshop a nd have
th e brake system inspected.
Stop! Before wo rkin g in th e engin e compartment, a lways read and heed all WARNINGS
53
Page 343 of 444
you are using tires w ith inflatio n
p ressures than those recommended by the tory, the tir e press ure val ues must be re programmed. swagen dealer or q ualified workshop.
you mount wheels whic h d o not have sen sors or have incompatible sensors . th e sys tem cannot recognize the wheel s. The tir e pressure monitoring sys te m is not abl e to measure infla
tion press ure. A malfun ction is di sp la ye d.
S t
oring tires
T he se nsors se nd signa ls to t h e tir e press ure
monitori ng sys te m only whi le you arc driv ing .
D eclaration of complianc e
Siemens declares that the product is in full c onfo rmit y w ith the essential requi rements and the other re levant prov i
sio ns of directi ve 19 99/5/EG.
WARNING
In correc t tire pressures and/or unde r- inflati o n can lead t o
an d can
Incorrect t ire p ressures and/o r under-i n
flatio n ca n also lead to sudden tir e failure, bl owout and sudden d eflati on, causing loss of ve hicl e control.
Always make sure that a ll tires are properl y
inflat ed t o tire press ures fo r th e tires o n
t h e vehicl e and the kind of driv in g yo u plan to
do.
WARNING
The d rive r is responsib le for the correct tire
press ures for all tires on th e ve hicle. The cable pressure values arc loc ate d on sticke r
o n the dri ver's sid e page 61.
correctly.
The use of in correct tire pressure values can lead to acci den ts or other damage. There
f o re it i s esse ntial that the d river observe the
s p ecified tire p ressure va lues fo r the tires an d
Booklet 3.2 Tips and Advice
WARNI NG (continued)
the correc t pressures fo r the functi on of the
W hen the
the ti re is not flat and you do no t have to
c h an ge a w heel immed ia tely, drive
required fig. 15.
WARNING
Incorrect tire pressure can result in sudde n
t ire failur e loss of control, co llisio n, seri ous
personal i njury an d even death.
A lways in flat e tires to the recommended and correct tire pressure before dri ving
D rivi ng with unde rinfl atc d ti res b end m ore, le ttin g them get too h o t res ulting in tread sep aration, sudden tire failure and loss
o f co ntrol .
Exces sive speed and/ overloading can cause heat build-up , sudden tire fa ilure a nd
l oss of control.
not handl e we ll.
Missin g valve ste m caps can resu lt in damage to th e va lve and sensor s in the tire pressure mon itorin g sys te m. To pre vent t his, alwa ys dri ve
with valve stem caps that are the equi valent of th ose insta lled va lve
s te m caps.
Whe n switc hin g to t a in that the va lve s and the sensors not aged.
For the sake of environment
Low tire pressures also increase fuel consump
tion.
The tire pressu re monitoring syste m checks
th e tires for the fac tory recommend ed inflation
Page 377 of 444
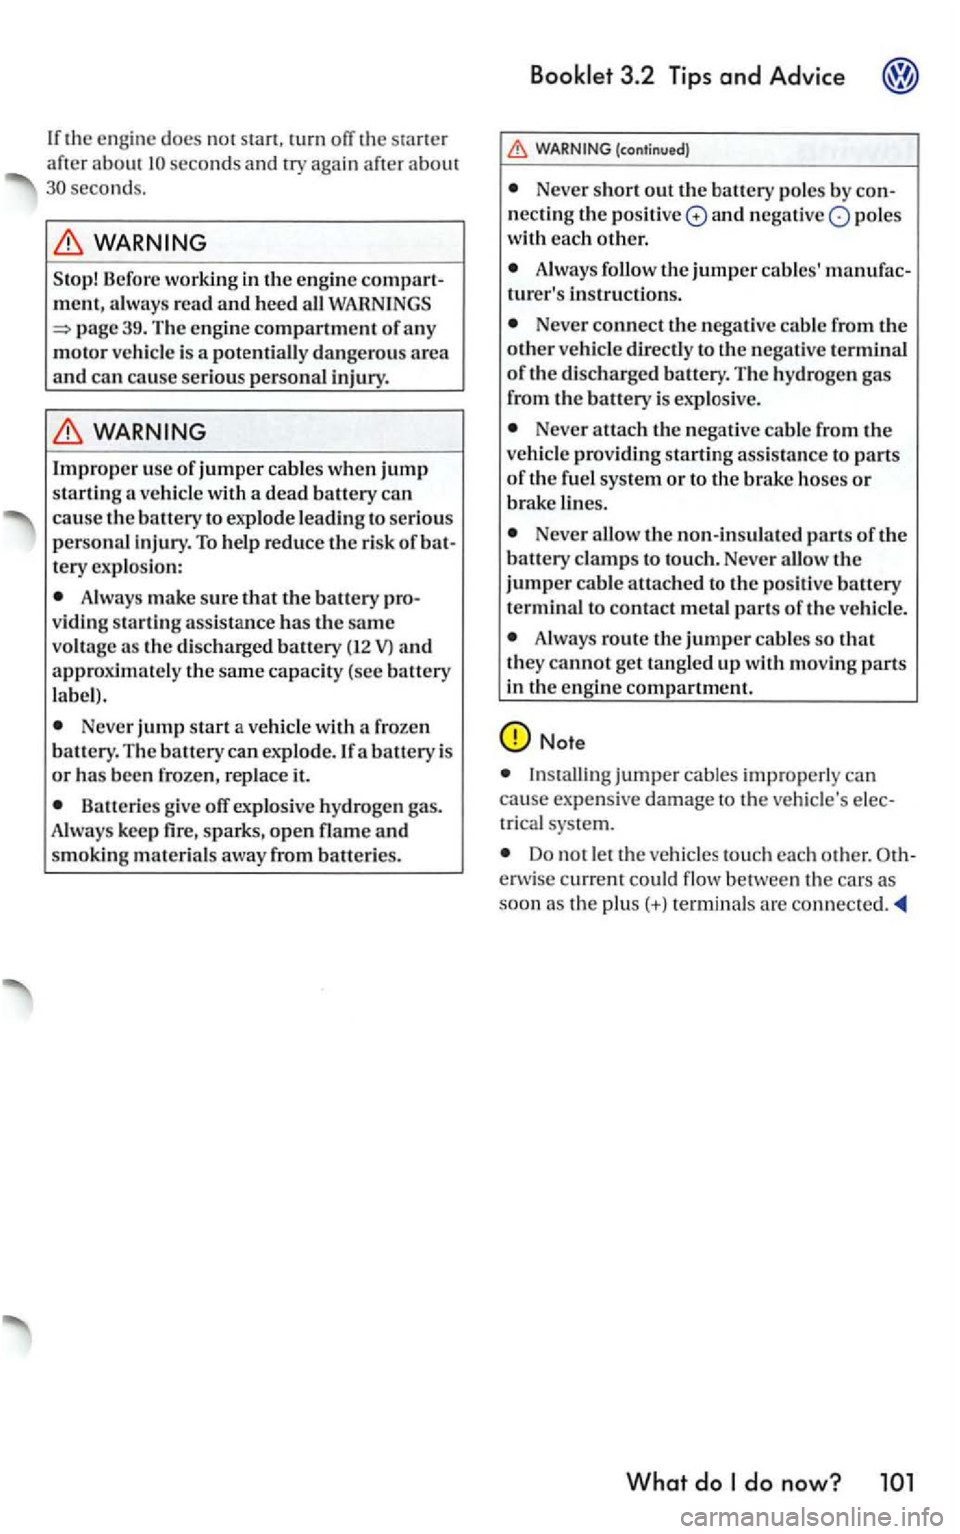
If th e e ng ine docs not stan, rum off the aft er ab o ut se cond s a nd try again about seconds.
39. The engine compartment of an y
motor vehicle is a potentiall y dangerous area and can cause seriou s personal injury.
tery explos ion:
Always make sure that the battery viding starting ass istance has the same voltag e as the di scharged battery (12 V) and
appr oximate ly the same capacity (see battery
lab el).
Never jump start a ve hicl e wit h a fro zen
battery. The battery can explode. If a battery i s or h as been frozen, re place it.
Batteries give off exp losive hydrogen gas.
Always keep sparks, open flame and
s moking mate rial s away from batteries.
(continued)
Never short out the battery poles by necting the positive and negative pole s
with each other.
Always follow the jumper cables '
Never connect the negativ e cable from the other vehicle directly to the negativ e terminal of th e di sc harged battery. The hydrogen from the battery is exp los ive.
Never attach the negativ e cabl e from the ve hicl e provid.ing starting assis tanc e to parts of the fuel system or to the brake hoses or brake lines.
Never the non-in sulated parts ofthe battery clamps to touc h. Never allow the jumper cable attached to the positive battery
terminal to contact metal parts of the vehicle.
Always rout e the jumper cables so that
they cannot tangled up w ith moving parts in the engin e compartment.
Note
Install ing jumper cables imp roper ly can
ca use expe nsive damage to the vehicl e's trical system.
Do not let the vehicle s tou ch each othe r. e rwise current could flo w between th e cars as soon as the plus(+) te rminal s arc
What do
Page 384 of 444
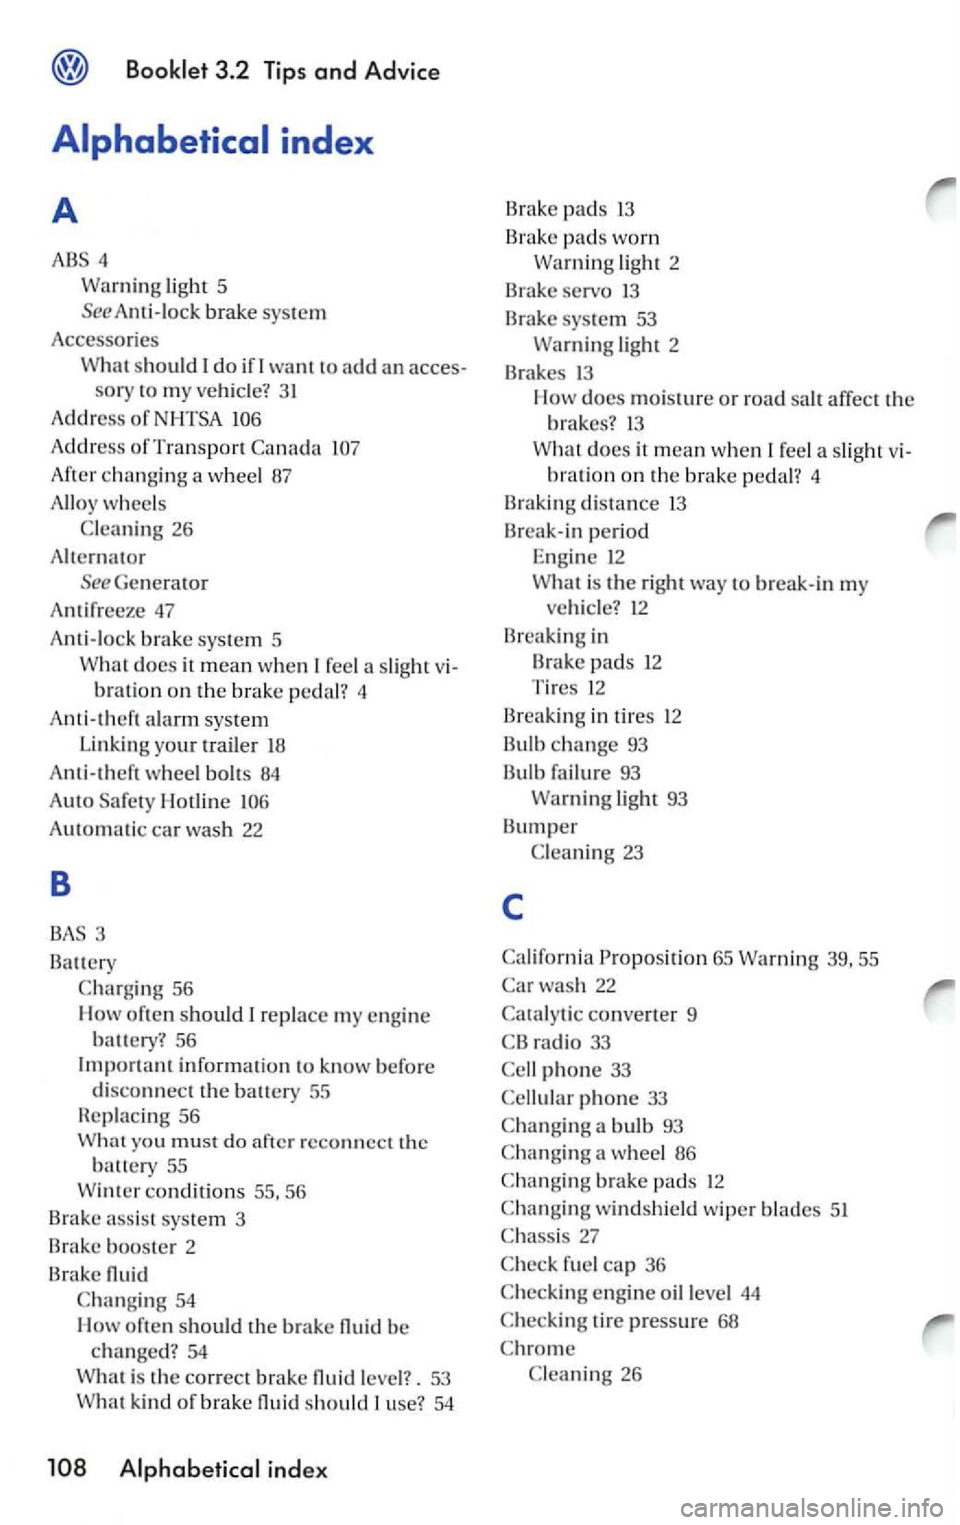
light 5
See Anti-lock brake
should want to add an acces-sor y to my ve hicl e?
Add ress of
Add ress of Transport
Afte r c hanging a w heel 87
Alloy
wheels
fe el a slight v i
b ration on the brake pedal? 4
Ant i-t h
eft alarm system
Linking your trailer
Anti-theft wheel bolts 84
A uto Safety Hotline
Automatic car wash 22
B
3
Batt ery
56
low often should replace m y engin e
battery? 56
Important informatio n t o know befo re
d isconnect the battery 55
Hcplac ing
56 yo u must do after reconnect the battery 55
is the correct brake nuidleve l?. 53
Brake syste m 53
light 2
B rak
es low docs mois ture or road salt affect the brakes? 13
does it mean when feel a slight vibra tion o n the brake pedal? 4
Br
aking distance 13
Break-in period
Engin e 12
is the right way to break-in my vehicle? 12
Br e
aking in
B r
ake pads 12
Ti r
es 12
Break ing in
tires 12
Bulb ch
ange 93
Bulb fa
ilure 93
65 39 , 55
22
ra di o 33
phone 33
phone 33
a bulb 93
a w heel 86
brake pads
fuel cap 36
engine oil leve l 44
26