warning light VOLKSWAGEN GOLF 2006 Owners Manual
[x] Cancel search | Manufacturer: VOLKSWAGEN, Model Year: 2006, Model line: GOLF, Model: VOLKSWAGEN GOLF 2006Pages: 444, PDF Size: 92.7 MB
Page 9 of 444
Coolant 3.2: 47
Level 3.2:
49
Loss 3.2:49
Coolant leve l
Warning light 3.2: 48
Coolant temperature
Gauge 3.1:9 Safe ty instru ctions 3.2:48
Trail er towing 3.2: 48
Warning light 3.2 : 4 8
C
ras h recorders 3.2: 34
C rui
se control system
Indicator light 3.1:96
without display 3.1: 96
C up ho ld ers 3.
1: 67
in the front center consol e 3 .1: 67
the rear center console 3.1:67
Curbs 3.3:4
Curb weight 3.3 : 6
C
urrent f u el con sumptio n 3.1:21
C
urtain airbags 2.1:
Custome r Center 2.1: 28
D
Danger of fittin g a child seat on the front pas
senger seat 2.1:
Daytime dri ving lights 3.1:4 3
Daytime Hunning Light s 3.1: 43
D
eactiv ating the switchabl e lockin g
2.1: 67
Depress brake ped al 3.1: 6
Determining correct load l im it 3.2: 71
Diff
erential lock 6
Digit al cl
ock 3.1:8
Dimensio n s 3.3: 4, 7
Disp la y 3.1: 1 3
D is t
ance b etween driver and steerin g
w h
eel 2.1:4
D is ta n
ce travele d 3.1: 21
Door re lease h andle 3.1: 3
Doors 3.1:33
close 3.1: 33 closing 3.1: Warning li gh t 3.1: 33
Drive economically 3.2: 19
6 Key words
Drive economic all y and he lp protect the
environment 3.2: 19
Driv er See Seating position
Drivin g outside of the
Driving safety 2.1: 3
Driving lime 3
.1:
E
EDL 3.2:6
See also Electronic Differ ential Lock
Warning light 3.2:5
Electrical socket 3.1: 68
E
lectronic diff ere nti al lock 3.2: 6
Electroni c Differential Lock
Warning light 3.2: 5
Ele c
tronic immobilizer 3.1:85
E l
ectronic Co ntrol 3.2: 9
E l
ectronic Stabilization
How it works 3.2: 6
Eme rge ncy
L
ockin g driver's door 3.2: 88
Opening l eve r for the rear lid 3.2: 89
Unl ocki ng
driver's door 3.2: 88
Em ergency closing 3.2: 88
E m er
gency nasher 3.1: 45
E m
ergency locki ng all doors 3.2: 88
Emergency ope nin g 3.2: 88 Doors 3.1: 34
Emer gency
unlocking of rear lid 3.2: 89
E ng
ine Break-in 3.2: 12
Eng in e compartment
Cleaning 3.2 :27 you should take when work
i
ng in sid e the e ngin e
compartment 3.2:39 Work ing in the engine
compartment 3.2: 39
E n g in e
compartment la yout 3.3 : 5
E n
gine compartment overview 3.3: 5
Page 10 of 444
Engine coo lant 3.2:47
Add i
tive s 3.2:47
Ca n I
add plain water to the en gi ne coolant ? 3.2 :
Engine data 3.3: 5
Eng ine
hood 3.2: 41
How do unlock the engin e hood? 3.2: 41 Warn ing light 3.2: 41
Engin e management 3.2: 9
E ngin e oi l 3.2: 42
Adding 3.2: 45
Add itives 3.2: 46
Check ing leve l 3.2: 44
Consumption 3.2: 4 3
Dip s
tick 3.2: 44
How do know how much oil m y e ngine is
consuming ? 3.2: 43 c h an ge 3.2: 46
S p ecifica tion s 3.2: 42
Specificatio ns gaso line engine 3.2: 42
Wha t kind of e ngine oil should put in my ve hicle? 3.2: 42
When should check the e n gi ne oi l
l eve l? 3.2 : 4 3
Where is th e oil dip stick 3.2:
44
E ngin e oil pr essure
Warning light 3.2: 45
Eng ine oil
senso r
Warning light 3.2:
44
Environme nt
Avoidi ng pollution 3.2:23,36
C le
aning th e e ngin e compartment 3.2 : 28 Drive economicall y 3.2:
Warni ng ligh t 3.2: 9 also Elec tronic Co ntrol
3.2:6
B utt on 3.2 : 7
Warning
lig ht 3.2: 7
Even t Data Hecorder 3.2:
34
Examples of improper seating
position s 2.1:
Infant seats 2.1: 59
Sa fe ty belt ex te
nder 2.1: 24
Sa fet y belts 2.1:
F loor mat s 2.1: 9
Fog light s 3.1
:43
F r
ont ai rbags
De
scription 2.1:32
Front air b ag sys tem
2.1: 32
A irb ag deploym ent zone 2.1:38
Th e bas ics 2.1: 32
Fronta l
collisions and the laws of
physics
1 5
Fr
ont center armres t 3.1: 65
Front seats 3.1: 58
F u el
fille r cap
Warni ng light 3.2:35
Fuel ga uge
Displa y 3.1:
F ue l level 3.1:
Fuse box
th e in strume nt panel, left 3.2: 92 the instrument panel, rig ht 3.2: 92
Fu ses 3.2:
Page 11 of 444
Booklet
Gasoline 3.2 : 37
B le
nds 3.2 : 37
Containin g alco hol 3.2: 37
Octane rating 3.2: 37
line in my car? 3.2:37
W i
nter or summer tip s 3.2 : 37
Gaso line additives 3.2:38
Gear
select o r leve r
Weig ht Ratin g 3.3:3
H
Hand brake
Hydrop laning 3.2: 72
Iden tification number 3.3: 2
I g nition key 3.
1: 84
removal lock 3.1: 85
Ignition swi tc h 3.1: 84
Importance of sining properly 2.1:28
Importance of wea ring sa fety belts 2.1:28
Importa
nt information to know before dis-
co
nnect the batte ry 3.2: 55
Important thing s to do befor e driving 2.1:3
I mproperly wo
rn safety belt s 2.1:26
Im
proper sea ting positions 2.1:8
Indi
cat o r ligh t
A ir
bag system 2.1:
C ruise con trol syste m 3.1: 96
also Warn ing light
also Warning lights
Indi cato r
ligh ts
A ir
bag sys tem 2.1:41
Instrument clu ste r 3.1: 4
AIR BAG 2.1: 41
Indirec t ve ntila tio n 3.1:80
In div idu al unlo ckin g 3.1: 16,30
I n fa nt sea ts 2.
1: 59
Infor mati on messages 3.1: 11
Info rmatio n tex ts in the dis p lay 3.1: 12
In sid e day-n ight mirror 3.1: 52
Install ing
C hi ld restraint with a
safety belt 2.1: 63 CRS using the sys tem 2.1:72
Page 15 of 444
Safety instructions
Belt pretensioners 2.1: 27
Child restraint on the front seat 2.1:
Child seats 2.1 : 56
Coolant tempera ture 3.2:48
Loading
the lu ggage compartment 2.1:
seating position for passengers in
r
ear seat s 2.1: 6 seating position for
driver 2.1: 4
seating position for the front
passenger 2.1: 5
Safety belt extender 2.1: 23
Sa fet y
belts 2.1: 17 S id e airbag s 2.1: 48
Side Curtain ProtectionTM airbags 2.1: 52
Screw-on decorati ve covers 3.2: 58
Seat adjustment 3.1: 55, 58
Seat heating
Front 3.1:
59
Seating ca pacity 2.1: 13
Sea ting
position
Di s
tance between driver and ste erin g
w
hee l 2.1:4 Dr iver 2.1: 4
Fron t passen ger 2.1: 5 Improper seatin g position s 2.1: 8
Speed rating le tter code 3.2: 74
Speed warning 3.1: 21
Starting th e engine W ith the ig nition key 3.1:85
S tartin g
with jumper cables 3.2: 99
Stee rin g 3.1: 25
S
teering lock 3.1: 84
S te ering
wheel
Di s
tance to the driver 2.1: 4
Steerin g wheel height adjustment 3.1: 25
S
teps for determining co rrect load limit 3.2: 71
Sticker on th e left door jamb 3.3 : 3
Stopping the en gine 3.1:8 6
Sto rage
area
Roof 3.1:65
S torage
compartment 3.1: 64
additional sto rage 3.1: 66
Front center armrest 3.1: 65
S torage for
the vehicle literature 3.1: 64
Sunroof 3.1: 41
Sunshade
power roof 3.1:41
Sun viso r 3.1:49
Sw itch
able loc king feature
Activatin g 2.1: 65
D
eacti va tin g 2.1: 67
Sw itches Em ergency flasher 3.1: 45
Light swit ches 3.1: 43 outside mirrors 3.1: 53 ro of 3.1:41 windows 3.1: 38
Sw itching off the engin e
W ith the ignit ion key 3.1: 86
Sw itch
lig htin g 3.1: 3
T
Tachometer 3.1: 9
Ta
ilga te 3.1:35
Page 16 of 444
Tank
the tank 3.2: 35
Fuel gauge 3.1:
fuel filler flap 3.2: 35
Technic al modifications 3.2:
32
Tether anchors 2.1:68
Tether strap 2.1:
69
Threaded rim ring 3.2: 57
down hooks 3.1:
Tie-dow ns 2.1: 12
Tire pressure 3.2: 68
Tir e pressure monitorin g disp lay
mode ls) 3.2: 65
Warn ing 3.2: 65
T i
re pres sure monitoring sys tem
3.2: 75
Tires and wheels 3.2: 75
Valves 3.2: 75
Tire pressure monitoring system
models) 3.2 : 62
Tires
Repla cing 3.2:
75
life 3.2:72
rating le tter code 3.2: 74 Tire Identification Number 3.2: 74
Tire manufacturing date 3.2: 74
Tire specifications 3.2: 74
Tread
depth 3.2:72
tire pressure 3.2: 68 tire inflation pressure 3.2: 61 Dimensions 3.2: 73
General notes 3.2: 57
Glossary of tire and loading terminology 3.2: 58
New tires
and wheels 3.2: 73 Replaci ng 3.2: 73
ch ai.ns 3.2: 78
Tir e pressure monitoring system 3.2: 75
Tires and vehic le load lim its 3.2: Whee l bolts 3.2: 79
Winter tires 3.2:77
Tir e serv i
ce life 3.2:72
Tool s 3.2:
Torn or fra yed safe ty belts 2.1: 17
Towing 3.2:
General notes 3.2: 103
When can your vehicle not be
t owed? 3.2:
Towing eye 3.2:
See Tire pre ss ure monitoring system
model s)
Warning
light 3.2: 62
Trail er towing 3.2: 15
Anti-theft alarm system 3.2: 18
Brake s 3.2: 15
instructions 3.2 : 16
3.2:
Transporting long items 3.1: 63
Tread Wear Indi cato r
Trunk lid 3.1: 35
See also Rear lid
Turn signa l and high beam lever 3.1:46
Turn signal s 3.1: 46
Warning light 3
.1: 46
u
Underbody sealant 3.2: 27
Unfast ening belts 2.1: 25
Unidirectional tires 3.2:57, 86
tir e qual ity grading 3.2: 76
Unpleasant odor 3.1: 83
Uphol stery
Key word s 13
Page 17 of 444
Booklet
v
Vehicle Lifting 3.2:
Location 3.2:
Vehicle Weights 3.3: 6
Ventil atio n slit s 2.1:
Volk s wagen Servic e Repair Manuals 3.2 :
w
Warn ing light
3.2: 5
Brake
pads worn 3.2: 2
Brake system 3.2: 2
Bulb failure 3.2:
93
3.2:5
Eng ine hood 3.2:41
Engine oil pressure 3.2: 45
E n
gin e oil se nsor 3.2:44 3.2:9
3.2:7 Exhaust gas syste m 3.2:
Fuel fille r cap 3.2 : 3 5
Gen erat or 3.2: 56 MIL
steering 3.2: 8
Safe ty belts 2.1: 14
mode ls) 3.2 : 62
Wind shi eld washer fluid 3.2 :
Warning light (Ca nada models)
Tire pressure m onitorin g di spla y 3.2: 65
14 Key words
Warn ing light s 3.1: 4
Emergency
flasher 3.1: 45
I n strume nt clus te r 3.1: 4
Washi ng by hand 3.2:22
Wash in g th e ve hicle 3.2: 22
Washin g with power cleaners 3.2: 23
Waxing How often s
hould I wax my car? 3.2: 24
Wear indicator 3.2:
72
Weights 3.3: 3.
What does it mean when I feel a slight vi bra-tion o n the brake pedal ? 3.2: 4
W h
at happens if yo u do not wear your safe ty
b elt ? 2.1: 16
happe n s if you wear yo ur safe ty belt too
l oose?
2.1: 21
happe n s to occupants not wearin g
safe ty belt s? 2.1:
if I purchase poor quality fuel? 3.2: 37
is the correct brake fluid leve l?. 3.2: 53
What is the r ight way to break-in my
ve hicl
e? 3.2: 12
kind of brake fluid should I u se? 3.2: 54
What kind of engine oil should 1 put in my
ve hicle ? 3.2: 42
What should I d o a fter changing a
w heel? 3.2: 69, 87
should I do after re pla cing
wheels? 3.2:
should I do if! want t o add an acces sory
t o my vehic le? 3.2: 31
sh o uld I do if I want to modify m y
ve hicle? 3.2: 32
should I do if I want to re p air my
ve hicle? 3.2: 32
What sh o uld I
do if the brake wa rnin g light
comes on? 3.2: 2, 53
What wou ld
happen if I put leaded gaso line
i n m y car? 3.2: 37
W h
at you must do after reconnect th e battery 3.2: 55
Page 52 of 444
1.2 USA Warranty
What is not covered
Tires
Tires arc not cove red by th is
a list of tire manufacwrers
Maintenance services and
nance serv ice.
Thi s
warranty does not cove r the replacement of filters, oil, lubricants, flu ids, or air conditioner refrigerant charge. unless their replacement is a necessary of warranty service on covered component.
Mechanica l a dju stments not with a
defect in material or workmanship are not ered after the first year or miles, ever occurs first (i.e. headlight adjustment). This warranty docs not cover wheel alignmem or tire
Damage or
damage or malfunct ions which arc the result of improper repair of of
a ny non Genuine Volkswagen pa n s alte r th e ve hicle perfo rmance specifications from those se t by the veh icle manufacturer.
modificat ions to the vehicle (including the ginc management syste m). accessories su ch as a larm syste ms, remote roof
new parts not sold or approved by Volk swagen, or used part s, or the damage to associated or sys te m s: or
damage or m alfunct io ns w hi ch the vehicle. in particular any major or structural alt e ra tion s such as the veh icle to a convertibl e or the
modification of the roof to accommodate a glass roof or other similar structural
damage or malfunctions caused by in tiona) or unintentionalmisfueling. collision or modificat io ns th e vehicle, including, but not limit ed to the or engine components approve d by Volkswagen; or
damage or malfunctions resulting from the use the vehicle in competitive events or caused by acci dent or fire; or
damage or malfunctions resulting from the vehicle a warning gauge reading o r other warnin gs indicate mechanical or operation al problem: or
damage or malfunctions due to suspension modifications, su ch as the installat ion
be a loss by
bled from or repaired
Page 91 of 444
driver.
For your safety and the safety of your pas
sengers, before driving always:
- Make sure
that all lights and signals are
operating corr ect ly.
- Make su re
that the tire pres sure is cor
r
ect.
- Make sure that all windows are clean
and afford good visibility to the outside .
- Secure all luggage and
other items care
page
re
stra int correctly to protect children
53.
- S it properly in your seat and make sure
that your passengers do the same
4.
- Fasten your safety belt and wear it prop
erly. Also instruct your passenge rs to
fasten their safety belts properly
Safe driving is directly related to the condition of the vehicle, the driver as well as
the driver' s ability to concentra te on the road without being distracted.
The driver is responsible for the safety of
the vehi cle and all of its occupants. If your
ability to drive is impa ir ed, safety risks for
everybody in
the vehicle in crease and you
a lso becom e a hazard to everyo ne else
on
the There fo re:
- Never let yourse lf be di stracted by pas
sengers
or by using the Infotainm ent
syste m or a cellular tel ephone.
- Never drive w
hen your driving ability is
impa ired (by medication s, alco hol,
drugs,
etc.) .
- Observe a
ll traffic laws, rules of th e road
and speed limit s and plain common sense. -
Alway s
adjust you r speed to road, traffic
a
nd weathe r conditions.
- Take frequen t breaks on long trip
s.
Don't drive for more than two hours at a
s tretch.
-
Do n ot drive when you are tir ed, unde r
pressure
or when you are stresse d.
WARNING
Impaired driving safety increases the risk of serious personal injury and death whenever a
vehicle is being used
Page 102 of 444
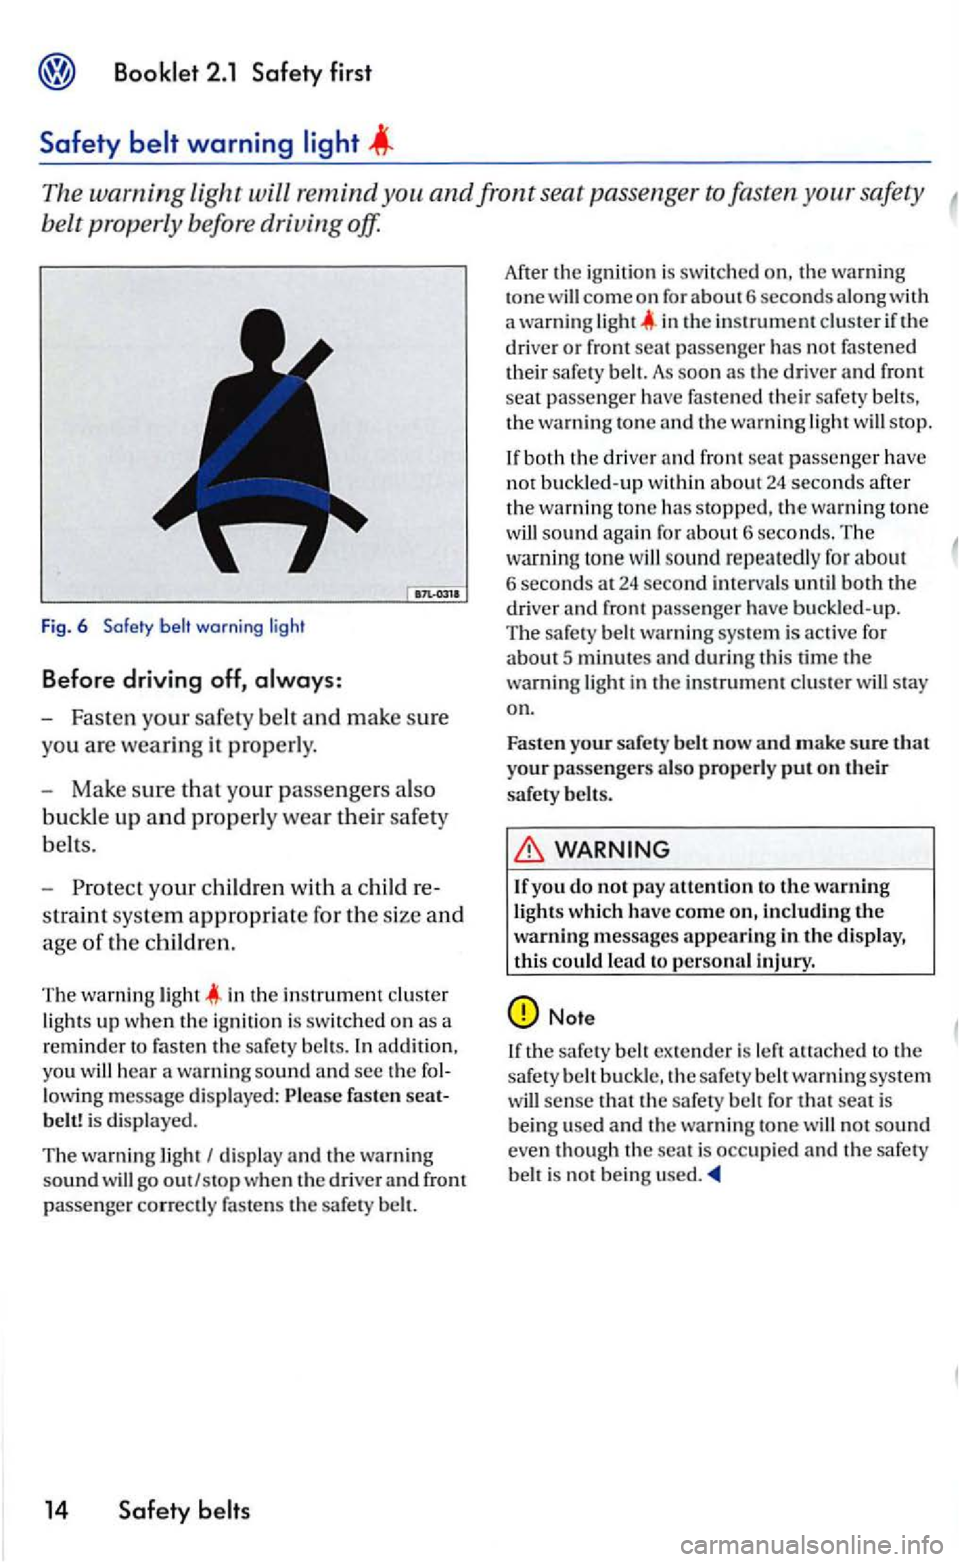
The warning Light will remind safety
belt prop erly before driving off.
Fig . 6 Safety warn in g l ig ht
Before driving off,
-Fast en your safety belt and make sure
you are wea ring it properly.
- Mak e sure that your passengers als o
buckle
up and properly wear their safety
b elts.
- Pro tec t yo
ur children with a child re
s traint sys
tem appropria te for the size and
age of th e children.
T he wa rnin g in the in strument lights up w he n the ig niti on is switched o n as a
reminder to fasten th e safety addition,
yo u
14 Safety
Afte r the ig nition is swit ch ed th e warning tone come on for about6 second s along with warning light in the in strument if th e drive r or front seat passe nge r has not fastened their safet y bel t. As soon as the driver and front seat passe nger have fastened their safety the wa rnin g ton e and the warning light stop .
sound aga in for about 6 second s. The
ton e w ill sound repeatedly for about 6 seconds 24 second interva ls until both drive r and front passenger have buckled-up .
T he safety wa rnin g system is active for about 5 minutes and during thi s time the warni ng light in the instrument clus te r wiU stay
on.
Fa s
ten your safe ty belt now and make sure t hat your passengers also properly put o n their
safery belts.
WARNING
If yo u do not pay attenti on to the warning
li ghts whic h h ave come including the warning messages appearing in the display, this could lead to pe rsonal injury.
ex tender is left attac h ed to the
s afery warning sys tem will sense th at th e safe ty n o t sound even though th e is occ upie d and the safery
Page 107 of 444
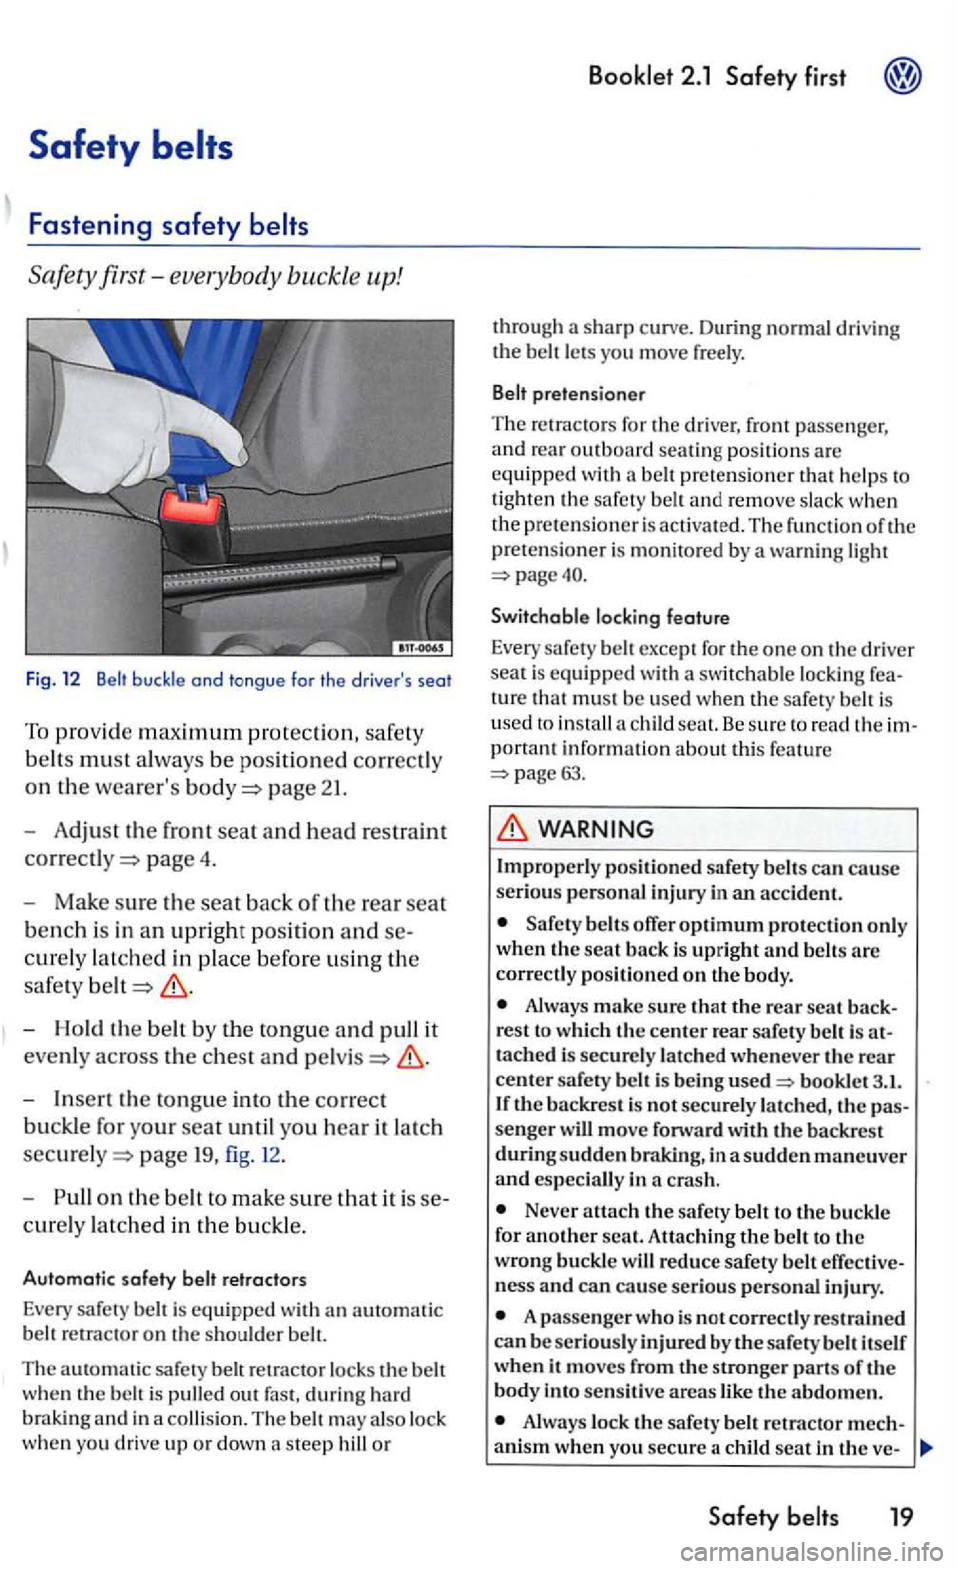
Safety
Safety first-everybody buckle up!
Fig. 12
page 2 1.
- A
djus t the front seat and head restra int
page 4.
-
Make sure the seat back of the rear seat
bench is in an upright position and
cure ly latched in place before using the
safe ty
belt
- Hold the belt b y the to ngue and pull it
eve
nly across the chest and
page 19, fig . 1 2.
-
o n th e belt to make sure that it is se
c u re ly latched in the buckl e.
Automatic safe ty belt retractors
Every safe ly is equi ppe d an o n he s houlder b ell.
The
s a fe ly belt r etrac tor lock s th e belt
w he n the belt is pulled out fast, durin g ha rd
brak ing and in a collision. The ma y also lock when you drive u p or d own a steep hill or
Booklet 2.1
through a sharp curv e. During normal drivin g
the
for the d river, fron t passenge r,
a nd rear out bo ard seating po sition s are equipped wit h a prete n sioner that h elp s to tig h ten the sa fe ty and remove slack w hen
th e pr ete n sioner is act iva te d. Th e functi on of th e
p retension er is monito re d b y a warning light
Switchable lockin g feature
Every safety exce pt for th e one on th e dri ver seat is equipped w ith a switchabl e lock ing ture that mus t be u se d w hen the sa fety is u se d to install a c hild seal. Be sure to read he portant informa tio n abou t thi s fea tur e page63.
WARNING
Improperly posi tion ed safety
offe r optimum protec tion only when the seat back is upright and belts are correctl y po sition ed on the body.
Alwa ys make sure that the rear seat back
r es t to whi ch th e center rear safety is at
tach ed is secu re ly latched whenever th e re ar
cente r safe ty belt is being used bookl et 3.1. If the bac kres t is not s ecurely la tc hed , the passenger wiU move forward with the backre st durin g sudden braking, in a sudden maneuver
and e specially in a cra sh .
Never att ac h the safet y belt to the buckle
for another scat. Atta chin g the belt to the wrong buckle w ill re du ce safety belt ness and can ca use serious perso nal injury.
A passenger who is not correctl y res tra ined can be se riou sly injured by the sa fety belt itself
w hen it moves from th e stronger parts of the body int o sensit ive areas like the abdomen.
Alwa ys lock th e safe ty belt re tra ctor m echanism when yo u secure a child seat in th e ve-
Safety belts 19