rear windshield VOLKSWAGEN GOLF 2007 Owners Manual
[x] Cancel search | Manufacturer: VOLKSWAGEN, Model Year: 2007, Model line: GOLF, Model: VOLKSWAGEN GOLF 2007Pages: 444, PDF Size: 92.7 MB
Page 32 of 444
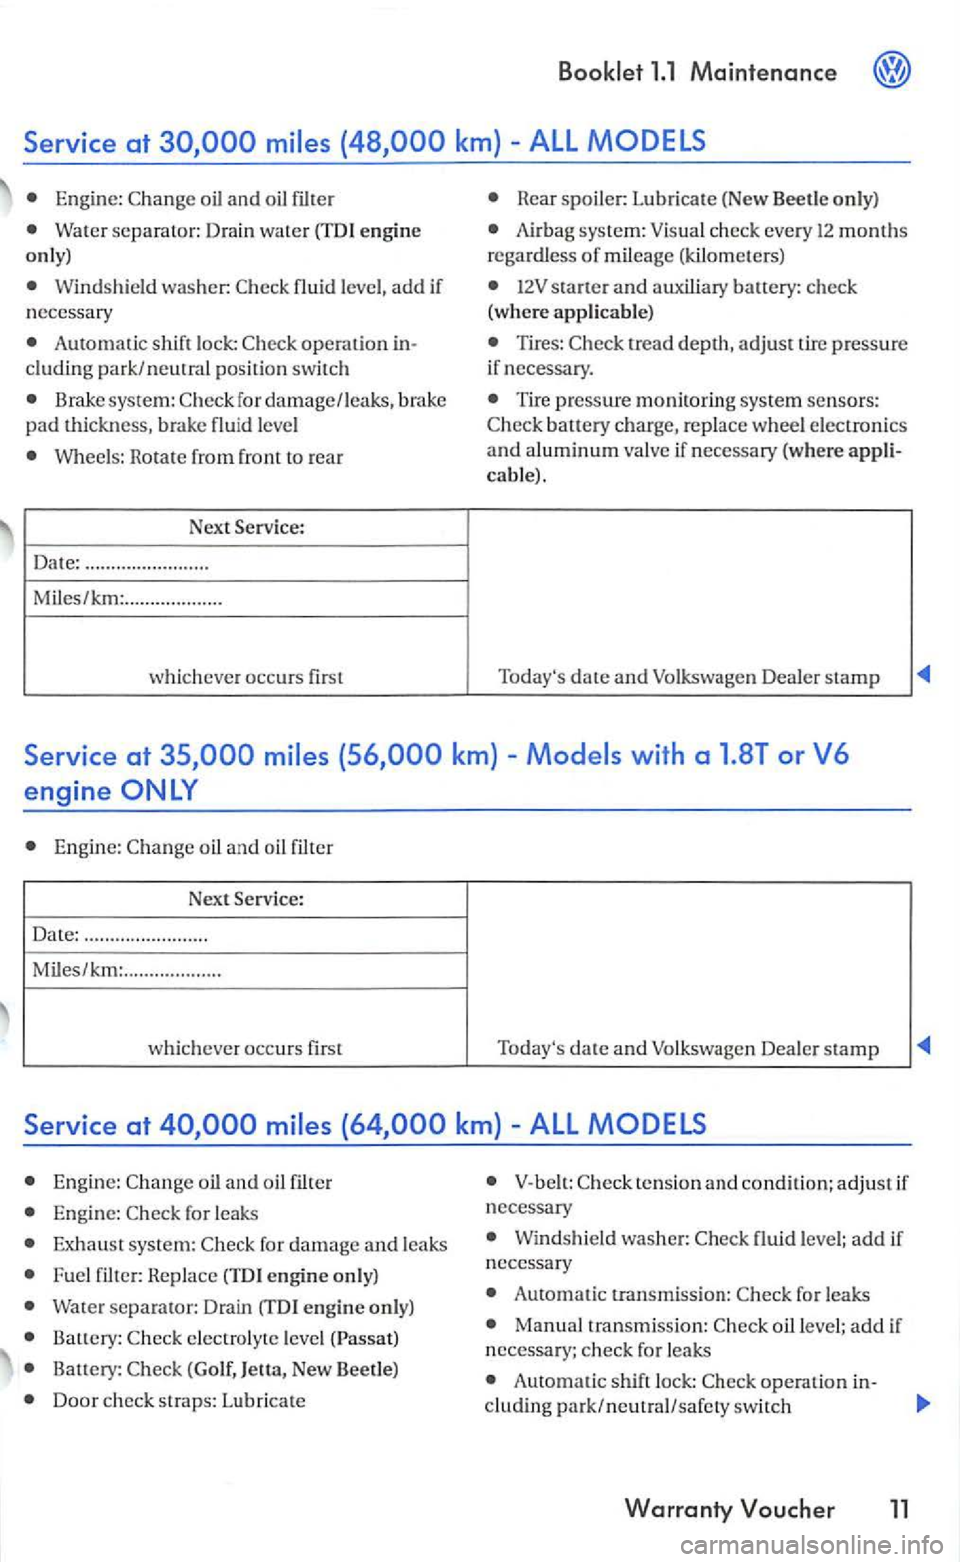
Engine: oil and oil filter
Water separator: Drain water (TD l e ngin e
o nly)
Windshield washer:
Automatic shift lock: oper a tion cluding park/neutral posit io n switc h
Brake system: for damage/leaks, brake pad thi ckness, brake fluid level
Wheels : Rotate from from to rear
Next Se rvice:
Date: ........................
Miles/km: ...................
which ever occurs first
Rear spoiler: Lubrica te (New Beetle only)
Airbag system: Visual check every 12 months
regardless of mileage (kilomet ers)
starter and auxil iary battery: ch eck
(whe re a pplicable)
Tires : tread depth, adjust tire press ure
if necessary.
Tire pressure monitoring system sensors: baltery charge, replace wheel electronics and alum inum valve if necessary (where cable) .
Today's
Engine:
Engine: oil and oil filter
E ngine: for leaks
for damage and leaks
F u el filte r: Replace (TDI e ngine only)
Water separator : Drain (TDI engine only)
Balt ery:
Ballery: (Golf, New Beetle)
Door ch eck straps: Lubrica te
V-be lt : ten sion and condition; adjust if
n ecessary
Winds hield washer: fluid leve l; add if
nece ssary
Automatic transmissio n: for leaks
Manual transmission:
Automatic shift lock: operatio n in-
cluding par k/ neutral/safety switch
Warranty Voucher 11
Page 41 of 444
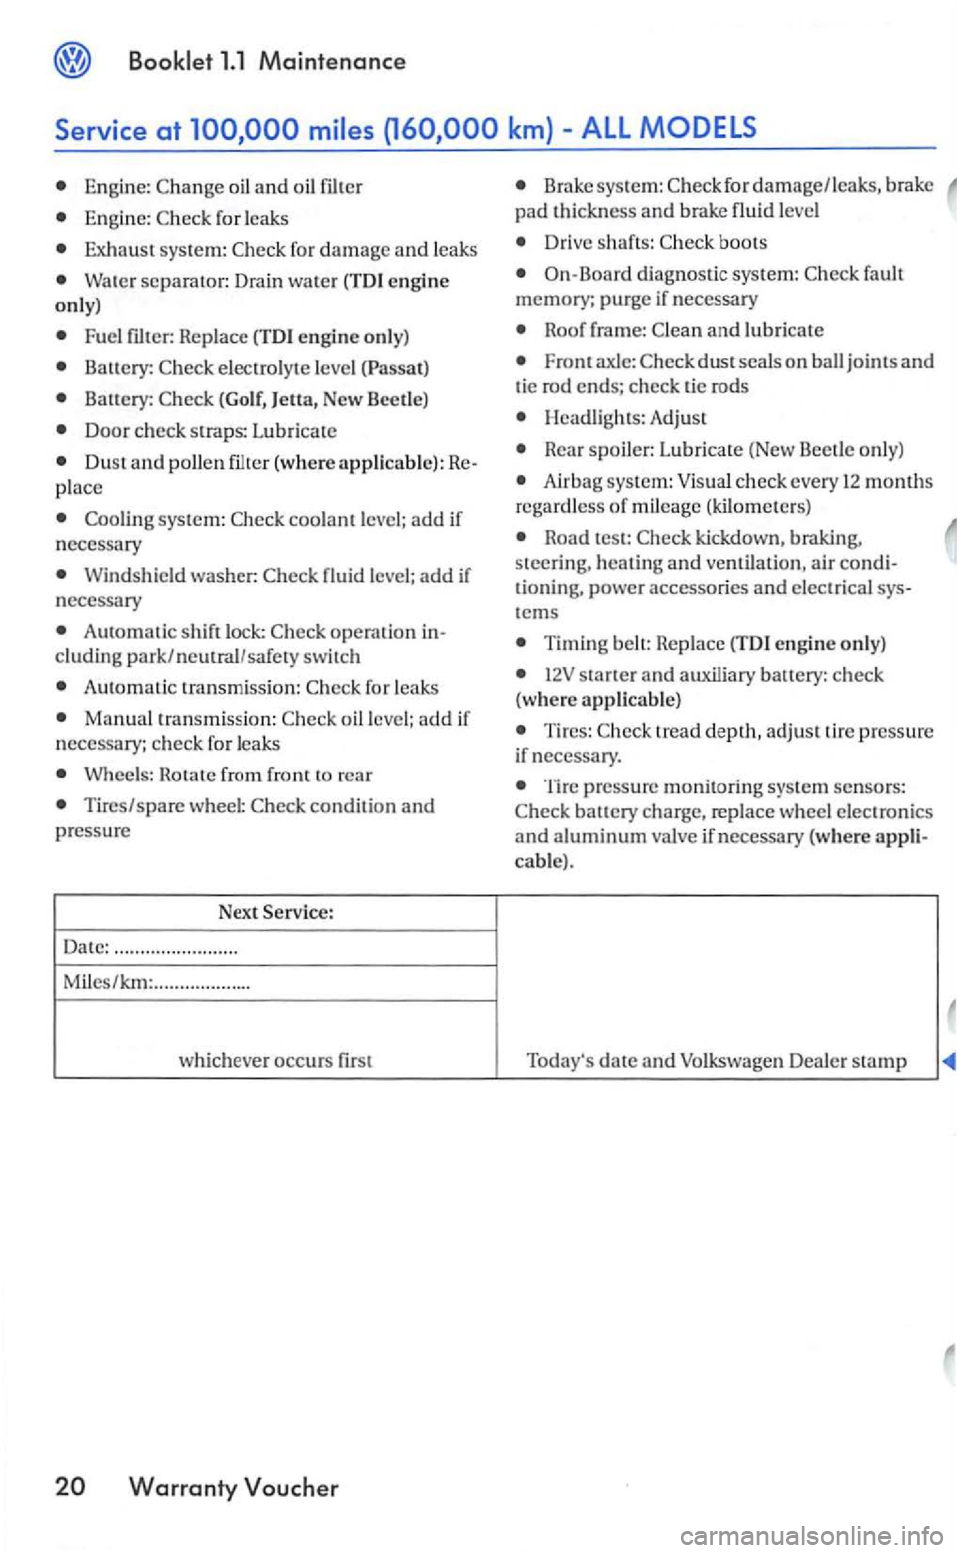
Engine: oil and oil filter
Engine: for leaks
Exhaust system: fo r damage and leaks
Water separator: Drain water (TDI e ngi ne only)
Fuel
electrolyte level
Battery: (Golf, )etta, New
Door check straps: Lubricate
s ystem:
Windshield washer:
Automatic sh ift lock:
Automatic transmiss ion:
Manual transmiss ion:
Wheels:
Tires/spare wheel :
Date: .................. ... ...
Miles/km: .................. .
which ev
er occurs first
Brake system: for damage/leaks, brak e pad thickness and brake fluid
Drive shafts: boots
On-Board diagnos tic system: fault
memory; purge if nece ssary
Roof frame: and lubricate
Front axle: jo int s and tie rod ends; ch eck tie rods
Hea dligh ts : Adjust
Rear sp oile r: Lub ricate (New Beetle only)
Airbag system: Visual check every 12 months regardless of mileage (kilom eters)
Road test: kickdown , braking, steering, heating and ventilation , air conditioning, powe r accessories and electrical systems
Timing belt: Replace (TDI engine only)
starter and auxiliary banery: check
( w here applicable)
T ires: tread dept h, adjust tire pressure
if nec essary _
Tire pressure monitoring system sen sors: battery charge, replace wheel electronics and aluminum valve if necessary (whe re appli
cable) .
date and Volkswagen Dealer stamp
Page 249 of 444
Booklet 3.1 and Equipment
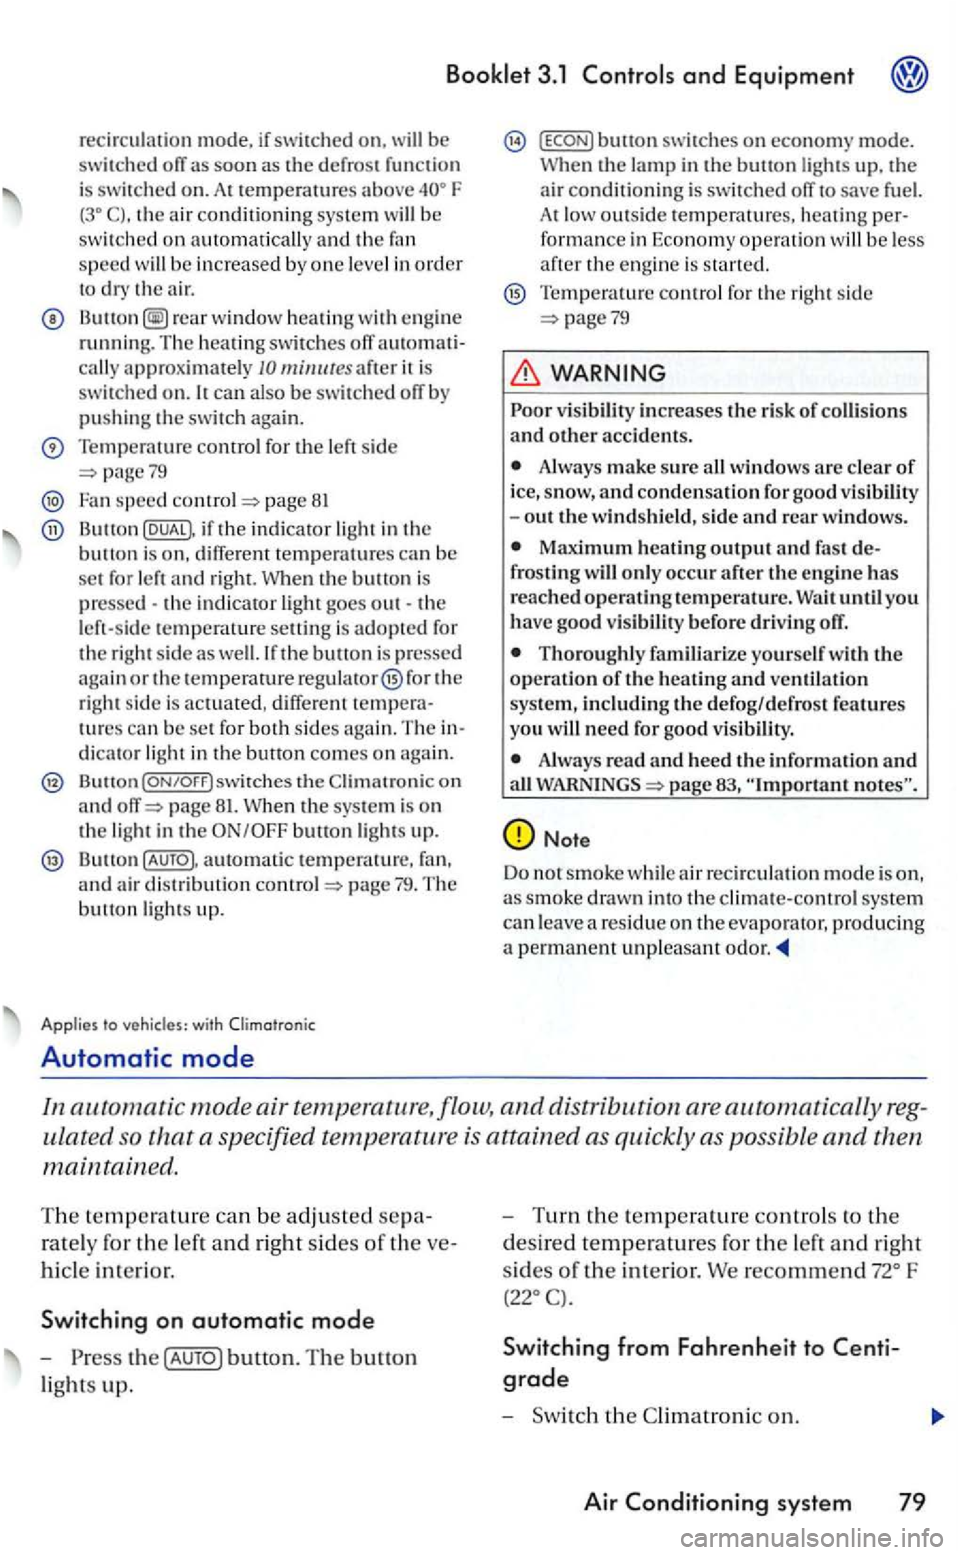
recirculation mode, if swi tched on. be switched ofT a s soon as th e d efrost function is switc h ed on. A t tempera above F th e ai r co ndi tio n ing system be
sw itched on speed be increased by one level in order to the air .
rea r window heatin g with eng in e running. The heating switches ofT automatiit is
swi tc h ed on. can also be swit ch ed ofT by pushi ng the switch a gain.
Temperature comrol for the le ft sid e pagc79
Fan speed co ntro l=> page 81
if the indicator ligh t in the button is on, t empe ratures c a n be set for and right. th e is pressed -the in dicator goes out -the
l eft-s id e tempera ture setting is adopte d fo r
t h e rig ht side as buuon is pressed
aga in or the tempe rature regulator @ fo r the rig ht sid e is actuated, diff ere n t temperatures can be se t for both sides agai n. T he in
dicat o r light in the bunon co mes on again.
Bullon the on and page 81.
Button automatic tempe rat ure, fa n,
and air d is tributio n co mrol
bu11on swi tches on econo m y mode. up, the air condit ioning is sw itch ed ofT to save low outs ide tempera tures, heati n g perfor mance in Economy operat io n
Tempe rawre cont rol for th e rig ht side page79
and othe r acci dents.
windows are clear of ice , s now, and condensation for goo d visibility
-out the windshield , s ide and rear windows.
until you have goo d vis ibilit y before drivin g ofT.
Thoroughly fa miliari ze yourself with the operation of the heating and ventilatio n
sys te m , including the defog /d efrost features
yo u good visibility.
page 83, "Important
Note
Do not smok e w hil e air recir cul atio n m ode is on, a s smoke draw n int o the climate-contro l sys te m can leave a residue on th e evaporator, producing
a permanent unpleasam odor.
I n automatic mode air temperature,flow, and d is tribution are automatica lly reg
ulated so that a specifi ed temp eratur e is attained as qui ckly as po ssibl e and th en
m aintained .
The te m pe rature ca n b e adjusted sepa
r a te ly f
or th e left and right sides or the ve
hi
cle inte rio r.
Switching on automatic mode
- Press the [AUTO) button. The button
ligh ts up.
-Turn th e temperature contro ls to th e
d
esired tempe ratures for the left and right
si des of the inte rior. We recommend F (22.CJ.
Switching from Fahrenheit to
grade
-Switch th e C limatroni c on .
Air sys tem 79
Page 301 of 444
Booklet 3.2 Tips and Advice
Dampen the windows w ith commer
cially avai lable, alcohol-based g lass
clean er.
Dr y the windows with a clean chamois
or a lint-free cloth.
Removing snow
- Use a s mall brush to remov e snow from
the windows and mirror s.
Removing ice
-Use a de-i cer spra y.
U se a clean cloth to dry th e windows. The
c h amois leather, whic h was use d to wip e paint
surfaces, contains oily res idu e from protective
agents and would smear th e
poss ible use a de- ic in g spray to remove ice. you have to use an ice scraper, push it on ly in one dire ctio n- away from 0.
Use window cleane r or a silico ne remover to re
move rubber, oil, grease silicone depo sits.
Wiper blades should be cleaned regularly.
Clean wiper blades are important so that
y
ou can see.
- Use a so
ft cloth to re mov e dust and dirt
from the windshi eld wiper blades.
- U se window clean
er to clean the w ind
s hi eld wip er blad es. U se a s
ponge or a
cloth to re
move stubborn dirt.
Wax deposits have to be remove d with sp ecial
cleaner. Wax deposits on the windshield could cause the wiper blades to rub. A window clea ner sp ecifica lly for removing wax will stop the b lades
f rom rubbing if added to the windshie ld wash wa te r. Grease removing cleaners will not remove
wax deposits.
WARNING
Poor visi bili ty inc re ases the risk of collisions and oth er ac cid ent s.
Always make sure all win dows are clear of ice , snow , and cond ensation for goo d vis ibility -out the windshie ld, side and rear windows.
Never use warm or h ot water to re move snow and ice from wind ows and mirro rs. This could
ca use th e glass to crack!
The heati ng ele ment s for the rear defogger
a re on t h e in side of the rear window. To preve nt damage, do not put sticke rs over the heatin g e l
ements o n the in side of the rear w indow.
Never move the ice scraper back and forth to
p reve nt dirt from being ground against the gla ss
when you pull the sc raper back towa rds yo u.
Cleaning and protection 25
Page 328 of 444
3.2 Tips and Advice
Replacement wiper blades are available from your authorize d Volkswagen dealer.
lf the windshield wipers rub, or if th ey are dam
aged they s hou ld be replace d, or cleaned if they are dirt y.
If th is
does not produ ce the desi red results, th e setting angle of the windshield wiper arms m ay
b e in correct and sh o ul d be checked and adju sted if neces sa ry by an a uthorize d Volkswage n dealer or qualified worksh op.
WARN ING
Worn or dirty wiper blades will reduce v is iand increase th e risk of accide nt leading
to seriou s pe rso nal injury to you and your passengers.
WARNING (continued )
Alw ays clea n th e windshield wiper blades
a n d all windows regularly.
Always make sure to change the wiper bla des once or tw ice a yea r.
D am aged or dirt y windshi eld wipers can
scra tc h th e windshield.
Never use gasoline. nail polish r em over,
paint thinner o r similar produc ts to clea n th e
windows. This could damage the windshie ld
w iper blades.
Neve r move the windshield wipe r or wind
s hi eld wiper arm manually-thi s co uld cause
damage!
To preven t damage to th e w ipin g sys te m , a l
w ays loosen blades frozen to tl1e g lass be fore op
e rat ing th e
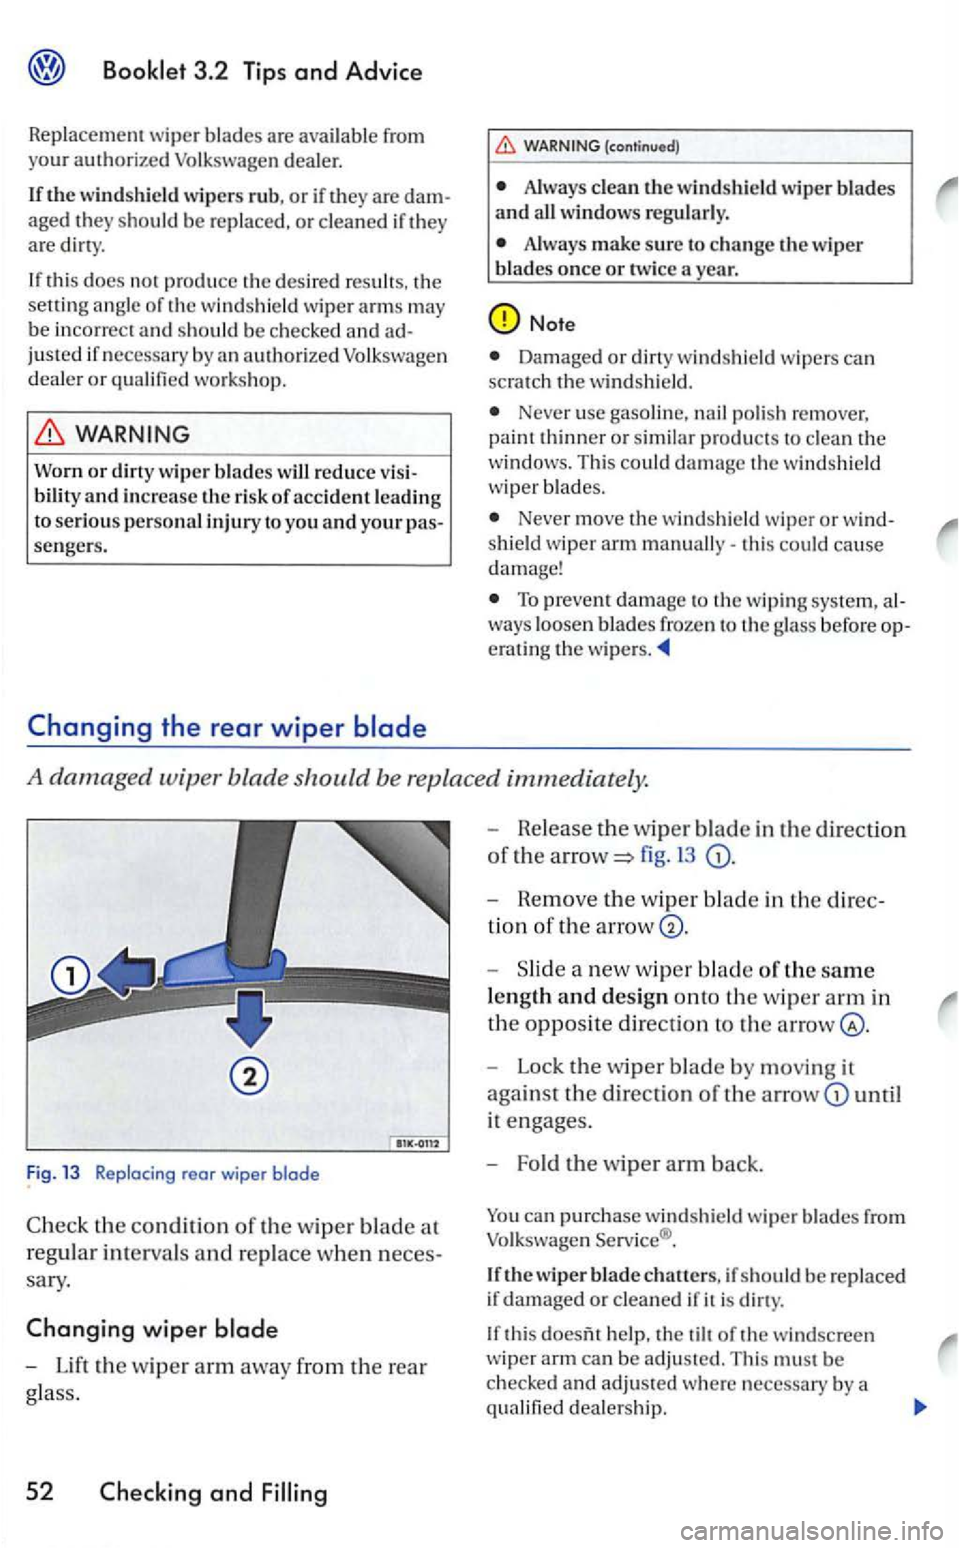
A damaged wiper blade should be replace d immediately.
Fig. 13 Replacing rear wiper blade
Check the condit io n of th e w ip er blade at
r
egul ar interva ls and rep lace when n eces
sary.
Changing wiper
-Lift the w ip er arm away from the rear
glass.
52 Checking and
- Release th e wiper blade in the direction
of th e a rrow=> 13
- Hemove the w ip er bla d e in the direc
tion of the arrow
-a new w iper blade of the same
le n gth and design onto th e w iper arm in
the oppos it e directio n to th e
- Lock the wiper blade by moving it
aga in
st the direction of th e until
it engages.
- Fo ld the
wiper arm back.
can pu rchase wind shield wiper blades from Volkswage n Service ®.
If th e wiper blade chatters, if sh o ul d be re pla ced
i f damaged or cleaned if it is dirty.
If thi s help, the tilt of the windsc reen
w iper arm can be adju sted. Thi s must b e
c h ecke d and adju sted where necessary by a
q ualified dea lershi p.
Page 369 of 444
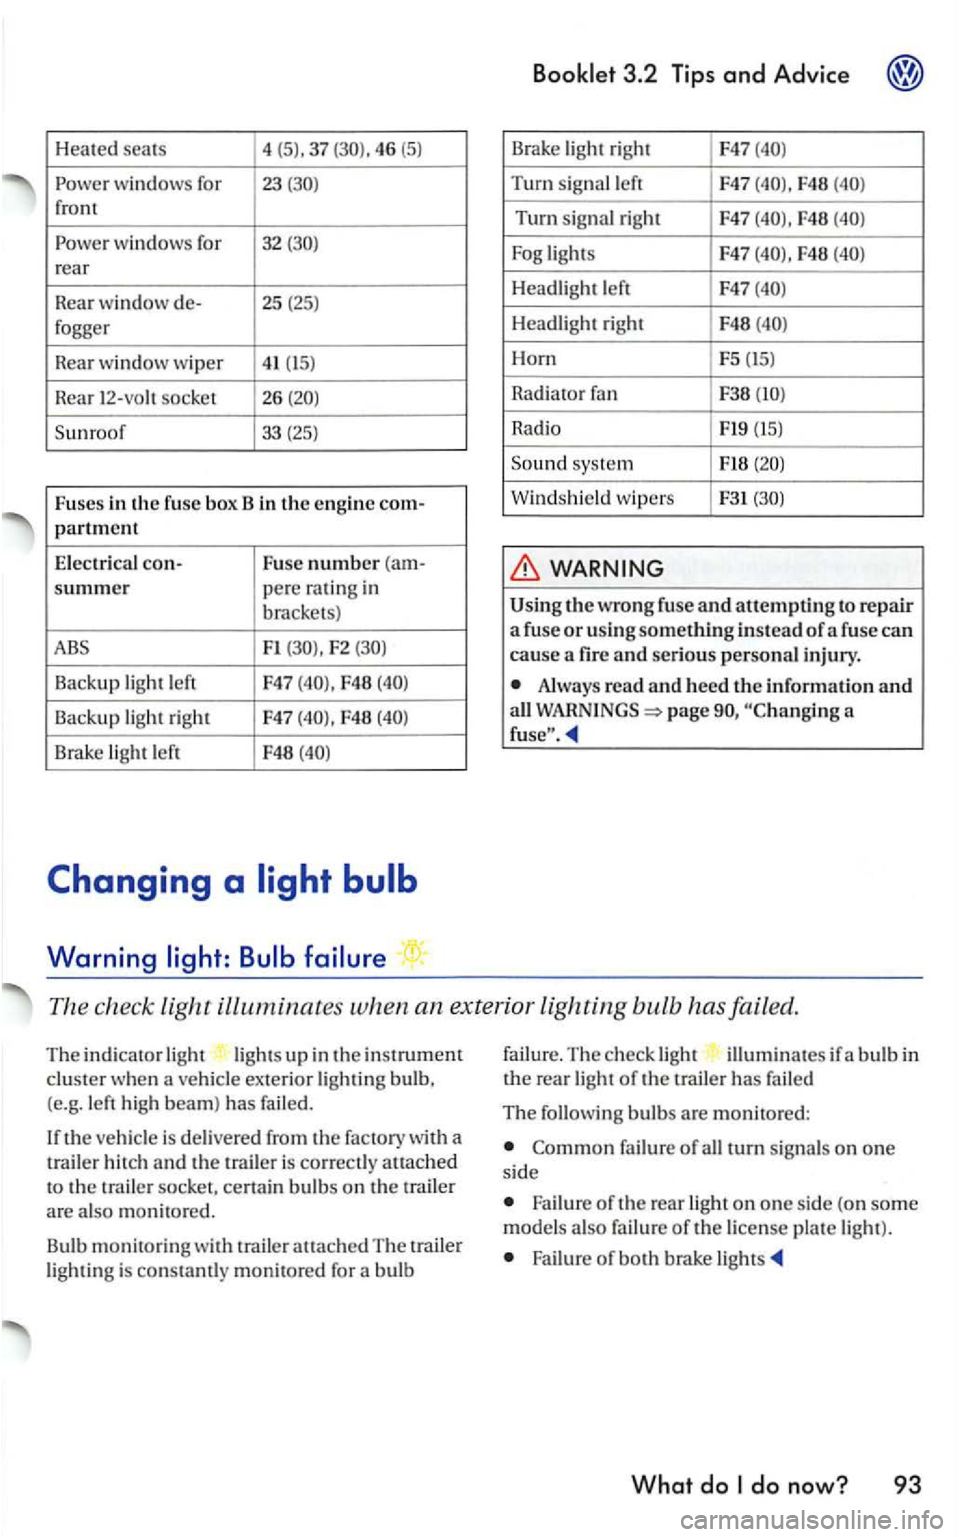
Heated seats 4
(5). 37 46 (5)
windows for 23 front
wind ows for 32 rear
Rea r
window de- 25 (25) fogger
R
ear w indow wiper 41 (15)
R ear 12-vo h socket 26
F1 F2
Backup light left F47 F48
Backup light right F47 F48
Brake light left F48
Warning
Brake light righ t F47
Turn sig na l left F47 F48
Turn signal right F47 F48
F48
Headlight left F47
Headli gh t right F48
Horn F5 (15)
Rad i
ator
Radio Fl9 (15)
Sound syste m
Windshield wipers F31
the wrong fuse and attempti ng to re pair a fuse or usi ng something instead of a fuse can
cause a fir e and serious personal injury.
Alway s read and heed the information and all page a
The check light ill uminates when an ex terior lighting bulb has failed.
The indicato r light lig ht s up in the instrument clus ter when a ve hicle exterior lightin g bulb,
(e.g. le ft high beam) has failed.
th e ve hicle is delivered from the factory with a
t railer h itch and the is correct ly atLached to the trai le r socket, cert ain bulb s on the trail er are also monit ore d .
Bu lb
monitorin g with trailer attach ed The traile r light ing is con stamly monitored for a bulb failu
re.
The ch eck ligh t illumin ates if a b ulb in the rea r light of the trailer has fai led
The following bulbs are mon itored:
failure of all turn signa ls on one si de
Failure o f the rear light on one si de (on som e
model s als o failu re of the license pla te light ).
Failure of both brake li gh ts
What do