wheel torque VOLKSWAGEN GOLF 2012 Owners Manual
[x] Cancel search | Manufacturer: VOLKSWAGEN, Model Year: 2012, Model line: GOLF, Model: VOLKSWAGEN GOLF 2012Pages: 516, PDF Size: 105.12 MB
Page 292 of 516
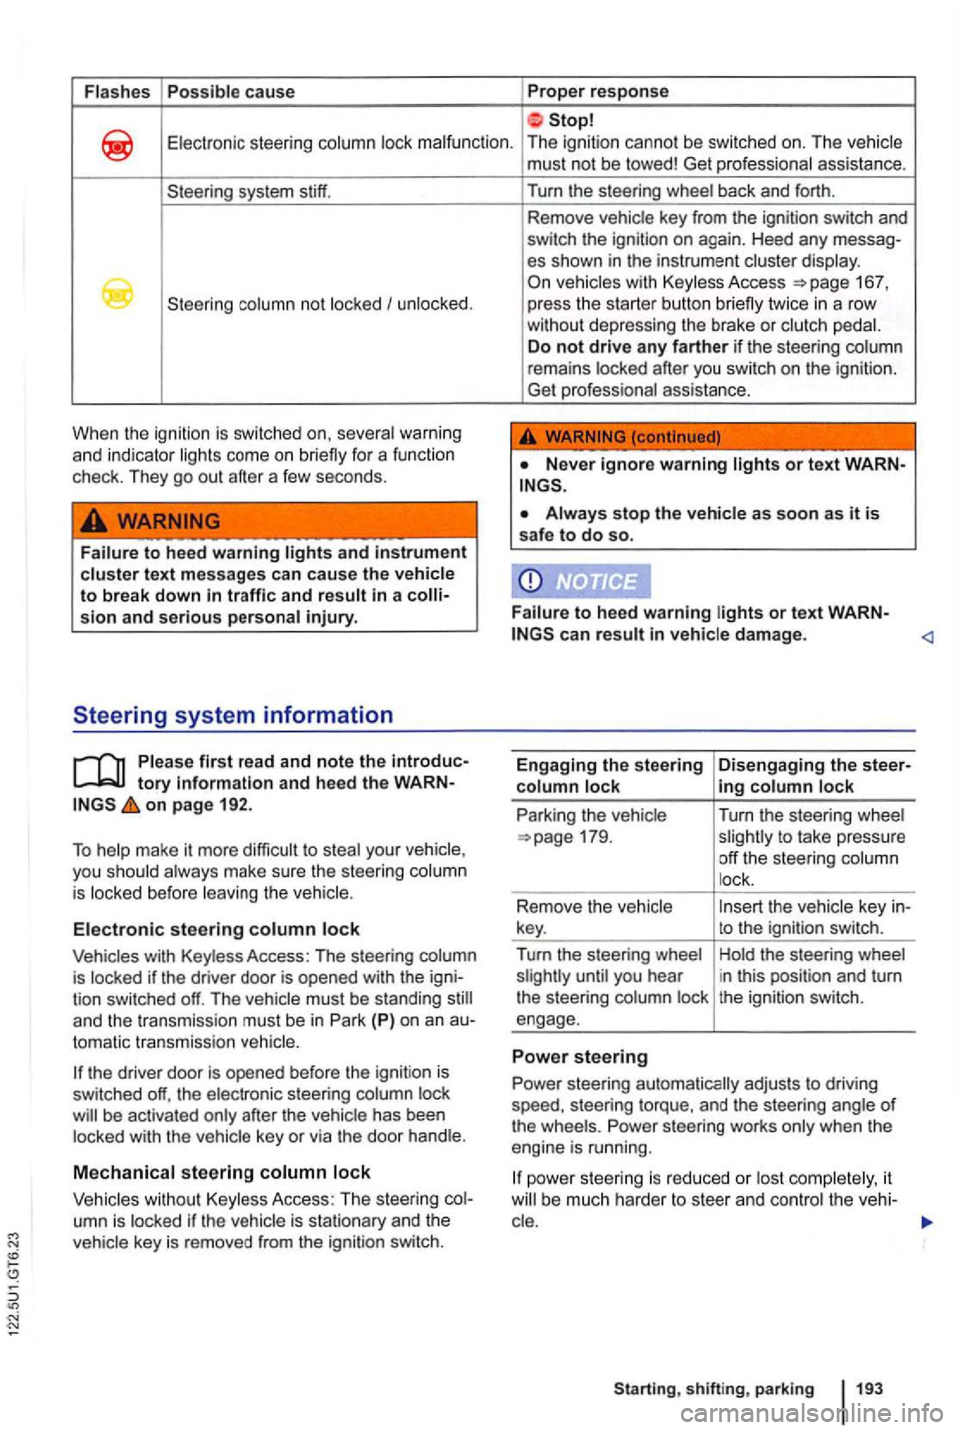
Flashes Possible ca use Proper response
Electronic steering column lock malfunction . The ignition cannot be switched on. The vehicle
system stiff.
column not locked I unlocked .
When the
ignition is switched severa l warni ng
a n d indicator lights come on briefly for a function
check . T hey go out after a few seconds.
Failure to heed warning lights and instrument cluster text messages can ca use the vehicle to break down sion and serious personal injury.
tory Information and heed the on page 192.
To
tomatic transmiss ion vehicle.
press the starter button briefly twice in a row
without depressing the brake or clutch pedal.
D o
not drive any farther if the steering column
remains locked after you switch on the ignition.
Get professional assistance.
Always stop the vehicle as soon as it is safe to do so.
F a
ilure to heed warning lights or text can resu lt vehicle damage .
Engaging the steering
co lumn lock
Park ing the vehicle
ing column lock
Turn the steering wheel
slightly to take pressure
off the steering column
l ock .
to the ignition switch.
Hold the steer ing wheel
i n this position and turn
the ignition switch.
Power steering automatically adjusts to driving
speed , steering torque, and the steering angle
of the wheels . Power steering works only when the
engine is running .
it
Sta rting, sh ift ing , park ing
Page 361 of 516
gency and even then only with
special care and at low speed .
Wheel rims
Please first read and note the tory information and heed the on page 258.
The design
of the wheel bolts is matched to the
factory-installed wheels. different wheels are wheel bolts with the right leng th and head shape must be used . This helps to ensure
that wheels can be mounted securely and that the
brakes
page
rect tighteni ng torque The requi red
tightening tor que for your vehicle 's whee l bolts is
88 ft-lbs
Faci lity.
rim rings
Wh eel rims with bolted rim rings have several
parts . Th e parts are bolted together with special
screws in a spec ial process. This helps to ensure that they work properly , prevent leaks, run true
and safely. Damag ed wheel rims must be replaced,
New and
on
page 258.
Care,
tir es in
req uirements.
them yourself . Have an authorized Volkswagen
dealer or authorized Volkswagen
rims with
orative covers attached to the rim with self-locking
screws . you wan t to repl ace damaged wheel
covers , contact you r authorized Volkswagen dealer
or autho rized Volkswagen
U sing improper or dam aged wheel rims can affect driving safety, cause accidents and vere injury.
Use only whee l rims approved for the
Regularly check wheel rims for damage and replace them if necessary .
loosening and tightening of the on rims with rim ring s can
cause accidents and severe personal injury.
connections on rim rings.
H ave work on rim rings performed by an authorized wagen or authorized ice
Page 409 of 516
Changing a wheel
Introduction
this sect ion you 'll find informati on about:
for changi ng a wheel . . . . . . . . . 311
Wheel bolts . . . . . . . . . . . . . . . . . . . . . . . . . . . . 311
Lifting the vehi cle with the vehicle jack . . . . . . 313
Changing a whee l ....................... 315
After ch anging a wheel
................... 315
Change a wheel by yourse lf only if the vehicle is
park ed in a safe loca tion , you are fam
ilia r with
safe ty procedures and the technical steps, and you
ha ve proper too ls ava ilable . Otherwise , get expert
ass istan
ce.
More information:
Exterior views 6
Vehicle key set
Tires and whee ls 258
an em ergency
Vehicle tool kit
W heel covers
Changing a wheel ,
proaching traffic.
you are towing a trailer, always unhitch it from your vehicle before starting to change the wheel. Always apply the trailer brakes firmly and make sure the trailer cannot move unintentionally.
ing the transmission in Par k (P) or in gear
proved for use on other Volkswagen models.
es , and serious personal injuries, never en the screws on rims with threaded rim rings.
rate torque wrench.
Page 411 of 516
a wheel bolt does not come loose, ca ref ully push
the end of the lug wrench with your foot. Make
sure you are standing firmly on the ground and
hold on
to the vehicle for support .
Loosening the wheel bolts
Push the lug wrench over the wheel bolt all the
way
H oldi ng the lug wrench at the end , loosen the
wheel bolt by turning it countercloc kwise about one comp lete turn
Loosening the anti-theft wheel bolt
Take the adapter for the anti-theft wheel bolt
out of the vehicle tool kit.
Holding the lug wrench at the end , lo osen the wheel bolt by turning it counterclockwise about one comp lete turn
information regarding wheel bolts
The design of rims and whee l bolts is matched to
the factory- in sta lled whee ls . diffe re nt wheels are
ins ta lled , wheel bolts with the right length and bolt
head shape must be used . T
he a ttachment of the
wheels and function of the brake system depend
on this .
may not be possible to use wheel bolts from ferent vehicles of the same model.
a whee l with a w hee l cover , the anti-theft whee l 161 in relation to the position of the tire valve
tight ened bolts for stee l a nd alloy wheel
r im s shou ld have a torque of 88ft lbs
Do
Improperly tightened wheel bolts can come loose while driving and cause you to lose
control over the vehicle, resulting in
and grease .
Loosen the wheel bolts only about one turn before lifting the vehicle with the jack.
Never loosen bolted connections on wheel
rims with bolted rim rings.
the wheel bolts are not tig hten ed to the proper torque, the wheel can come off the
Page 447 of 516
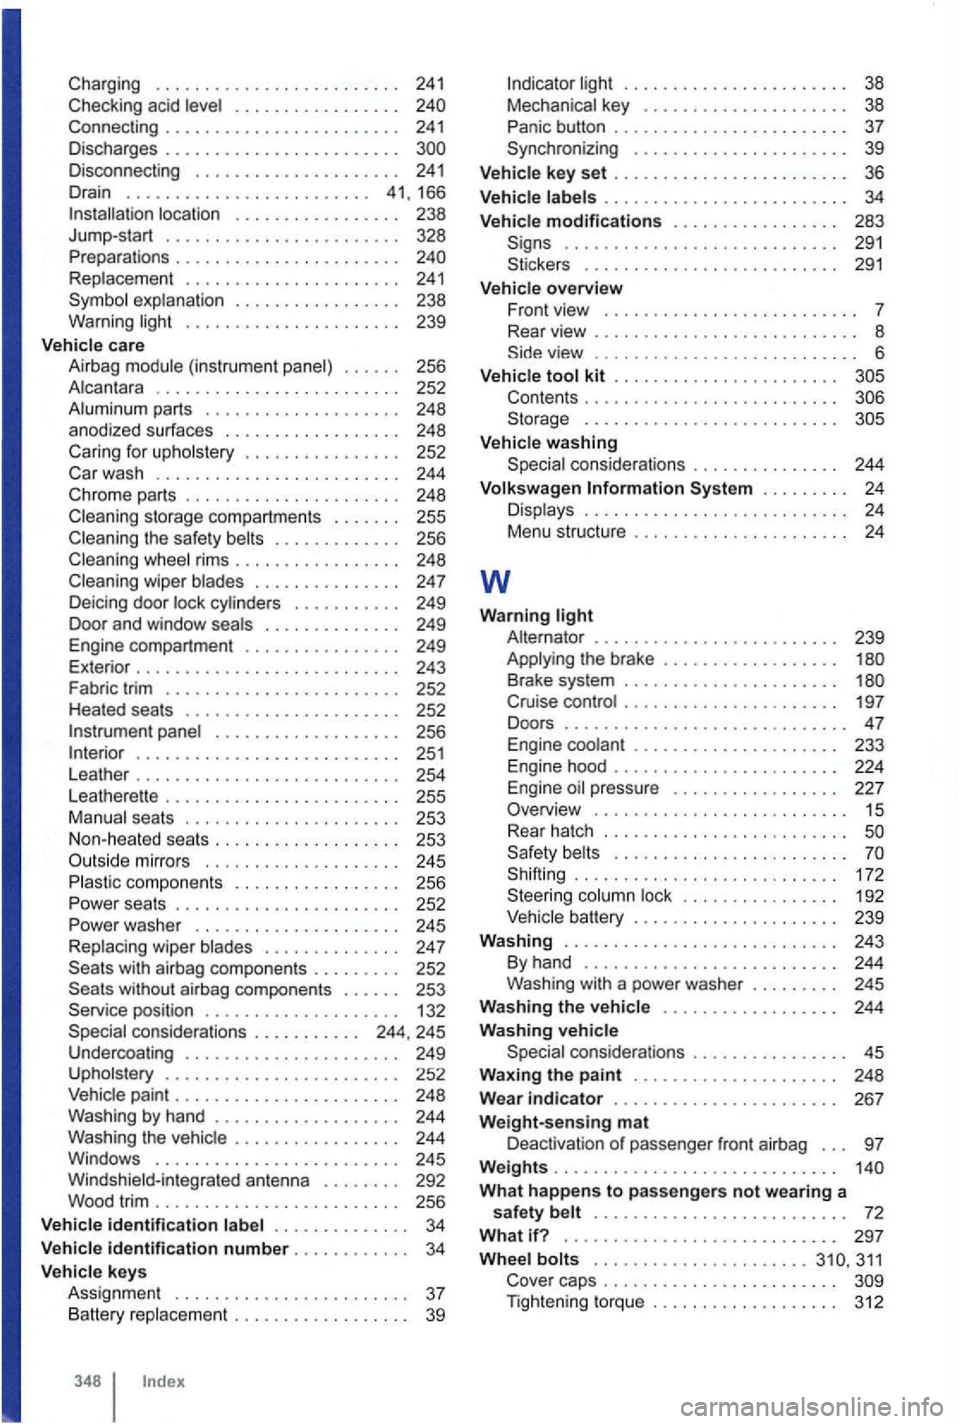
Charg ing . . . . . . . . . . . . . . . . . . . . . . . . . 24 1 Checking acid level . . . . . . . . . . . . . . . . . . . . . . . . . 241 D ischarges . . . . . . . . . . . . . . . . . . . . . . . Disconnect ing . . . . . . . . . . . . . . . . . . . . . 241 Drain . . . . . . . . . . . . . . . . . . . . . . . . . 41, 166
. . . . . . . . . . . . . . . . . . . . . . 239 Vehicl e ca re
A irbag module (instr umen t panel) . . . . . . 256 Alcan tara . . . . . . . . . . . . . . . . . . . . . . . . . 252 A luminum parts . . . . . . . . . . . . . . . . . . . . 24 8 anod ize d surfaces . . . . . . . . . . . . . . . . . . 248 Caring for upho lstery . . . . . . . . . . . . . . . . 252 Car wash . . . . . . . . . . . . . . . . . . . . . . . . . 24 4 Ch rome parts . . . . . . . . . . . . . . . . . . . . . . 248 Cleaning storage compartments . . . . . . . 255 Cleaning the safety belts . . . . . . . . . . . . . 256 Clean ing wheel rims . . . . . . . . . . . . . . . . . 248 Cleaning wiper blades . . . . . . . . . . . . . . . 247 Deicing door lock cyli nders . . . . . . . . . . . 249 Door and window seals . . . . . . . . . . . . . . 249 Engine compartment . . . . . . . . . . . . . . . . 249 E xterior . . . . . . . . . . . . . . . . . . . . . . . . . . . 243 Fab ric trim . . . . . . . . . . . . . . . . . . . . . . . 252 H eated seats . . . . . . . . . . . . . . . . . . . . . . 252 panel . . . . . . . . . . . . . . . . . . 256 . . . . . . . . . . . . . . . . . . . . . . . . . . 251 Leat her . . . . . . . . . . . . . . . . . . . . . . . . . . . 254 Leathere tte . . . . . . . . . . . . . . . . . . . . . . . 255 Manual seats . . . . . . . . . . . . . . . . . . . . . . 253 N on -hea ted seats . . . . . . . . . . . . . . . . . . . 253
. .
with airbag components . . . . . . . . . 252 Seats without airbag components . . . . . . 253 Service position . . . . . . . . . . . . . . . . . . . . 132 Specia l co ns iderations . . . . . . . . . . . 244 , 245 Undercoa ting . . . . . . . . . . . . . . . . . . . . . . 249 Uph olstery . . . . . . . . . . . . . . . . . . . . . . . . 252 Vehic le paint . . . . . . . . . . . . . . . . . . . . . . 248 Washing by han d . . . . . . . . . . . . . . . . . . 244 Washing the vehicle . . . . . . . . . . . . . . . . . 244 Windows . . . . . . . . . . . . . . . . . . . . . . . . . 245 Windshield-in tegrated antenna . . . . . . . . 292 Wood trim . . . . . . . . . . . . . . . . . . . . . . . . 256 Vehicle identification label . . . . . . . . . . . . . . 34 Vehicle Identification number . . . . . . . . . . . . 34 Vehicl e keys
Ass ignment . . . . . . . . . . . . . . . . . . . . . . . . 37
Battery replacement . . . . . . . . . . . . . . . . . . 39
348 Index Indicator
ligh t . . . . . . . . . . . . . . . .
. . . . . . 38 Mechanical key . . . . . . . . . . . . . . . . . . . . . 38 Pan ic butto n . . . . . . . . . . . . . . . . . . . . . . . . 37
Synchronizing . . . . . . . . . . . . . . . . . . . . . 39
Vehicle key set . . . . . . . . . . . . . . . . . . . . . . . 36
Vehicle label s . . . . . . . . . . . . . . . . . . . . . . . . . 34
V eh icle m odifications . . . . . . . . . . . . . . . . . 283 Signs . . . . . . . . . . . . . . . . . . . . . . . . . . . 29 1 Sticker s . . . . . . . . . . . . . . . . . . . . . . . . . 291
Vehicl e overview Front view . . . . . . . . . . . . . . . . . . . . . . . . . . 7 Rear view
Contents . . . . . . . . . . . . . . . . . . Storage . . . . . . . . . . . . . . . . . . . . . . . . .
Vehicle washing Specia l conside rat ions . . . . . . . . . . . . . . . 244
Volk swag en Information Sy ste m . . . . . . . . . 24 Disp lays . . . . . . . . . . . . . . . . . . . . . . . . . . . 24 Menu structure . . . . . . . . . . . . . . . . . . . . . 24
w
Warning light Alte rnator . . . . . . . . . . . . . . . . . . . . . . . . . 239 Applying the brake . . . . . . . . . . . . . . . . . .
S hiftin g . . . . . . . . . . . . . . . . . . . . . . . . . . . 172 Steer ing column lock . . . . . . . . . . . . . . . . 192 Vehicle batt ery . . . . . . . . . . . . . . . . . . . . . 239 Washing . . . . . . . . . . . . . . . . . . . . . . . . . . . . 243 By hand . . . . . . . . . . . . . . . . . . . . . . . . . . 244 Washing wit h a power washer . . . . . .
. . . 45 W axing the p aint . . . . . . . . . . . . . . . . . . . . 248
Wear indicator . . . . . . . . . . . . . . . . . . . . . . . 267
Weight-sensing m at
Deactivation of passenger front airbag . . . 97
Weights.............................
What happens to p assengers not wearing a safety belt . . . . . . . . . . . . . . . . . . . . . . . . . . 72
What if? . . . . . . . . . . . . . . . . . . . . . . . . 297 Wheel bolts 311 Cove r caps . . . . . . . . . . . . . . . . . . . . . . . . Tightening torque . . . . . . . . . . . . . . . . . . . 312