hood open VOLKSWAGEN GOLF MK5 2006 User Guide
[x] Cancel search | Manufacturer: VOLKSWAGEN, Model Year: 2006, Model line: GOLF MK5, Model: VOLKSWAGEN GOLF MK5 2006Pages: 444, PDF Size: 92.7 MB
Page 325 of 444
Always protect face, hands and arms from hot escaping coolant or steam by covering the cap with a large, thick rag.
(contin ued)
Turn th e cap slow ly and very carefully in a
counter-clockwise direction while applying
light
down ward pressure on the top of th e cap.
Never spill antifreeze or coolant on the haust system or hot eng ine parts. Under some conditions, the ethyle n e glyco l in en gin e
coolant can catch fire.
Checking the
The correct coolant level is important for correct functioning of the engine cooling
system.
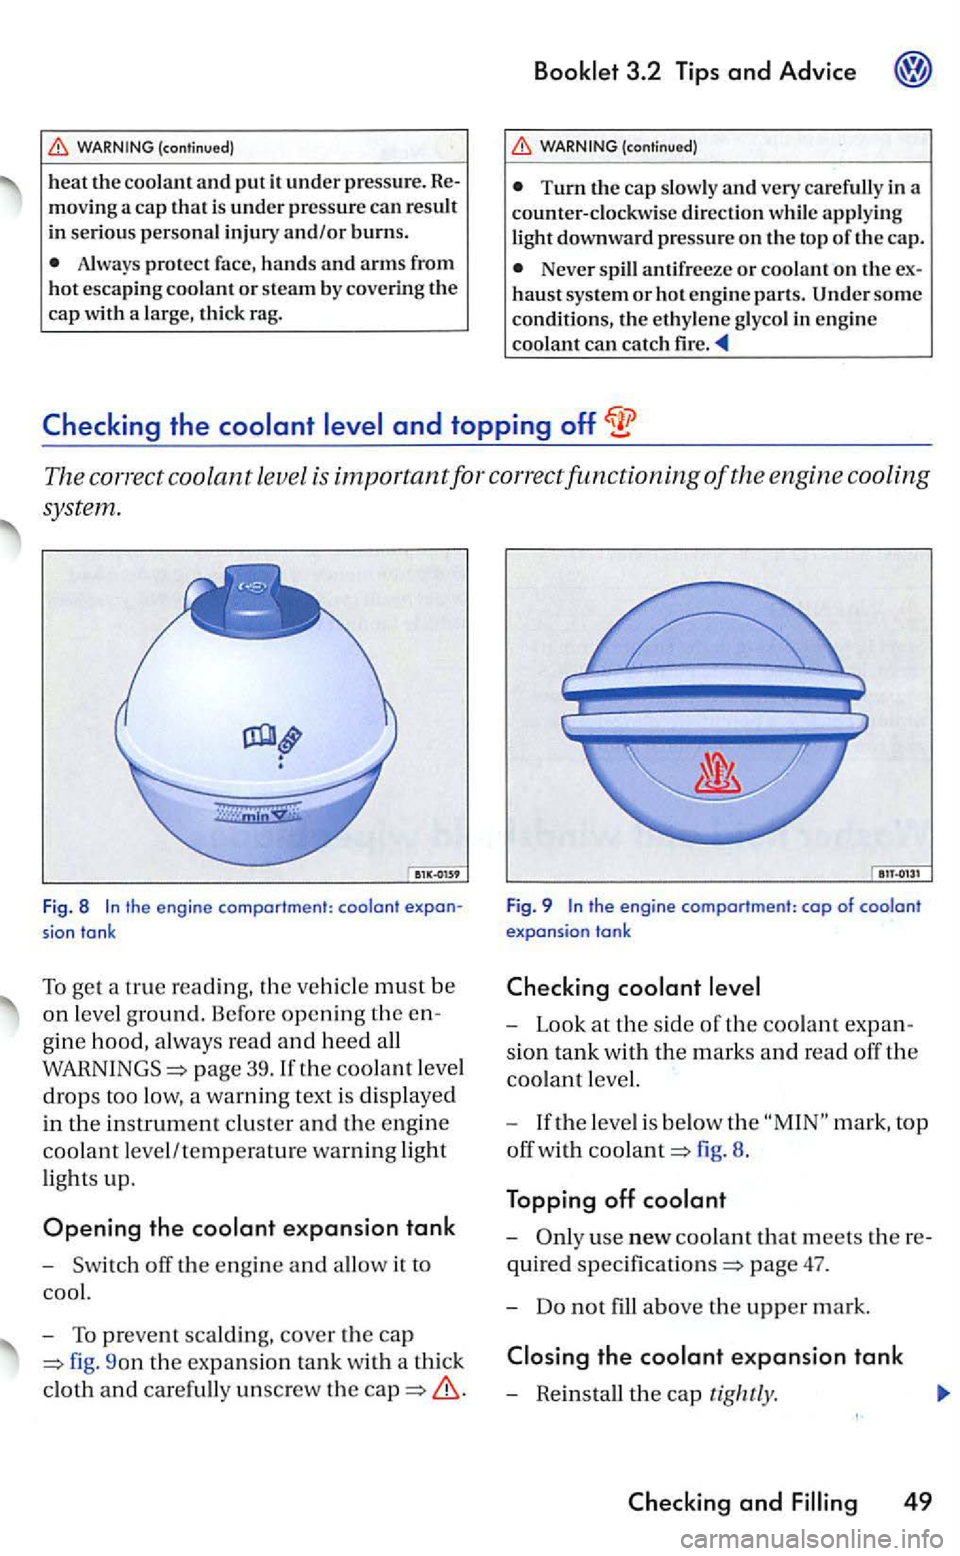
Fig. 8 t h e engin e compartment: coolant
sian tank
To get a true reading, the ve hicle must be
on l eve l ground. Before opening the
gine hood, always read and heed all
page 39.1f the coolant level
drops too low, a warning text is displayed
in the in strument cluster and the engine
coolant leve l/temperature warning ligh t
lights up.
Opening the expansion tank
- Switch
9on the expansio n tank with a thick
cloth
and carefully unsc rew the
Fig. 9 the engine compartment: cap of coolant expansion tank
- Look at the side or the coolant
sion tank w ith the marks and read off the
coolant level.
-
If the level is below the mark, top
off wi
th fig. 8.
Topping off
-
the
and
Page 329 of 444
drive if you have clear vis io n through all the windows.
A defect ive or d irt y w iper blade can scratch
t h e rear glass.
Never clean gla ss panel with fuel. nail polish remove r, p aint thinn er o r similar flu ids.
Thi s ca n damage th e w iper bla d es.
Never move the w iper or the wiper arm your hand can dam age it.
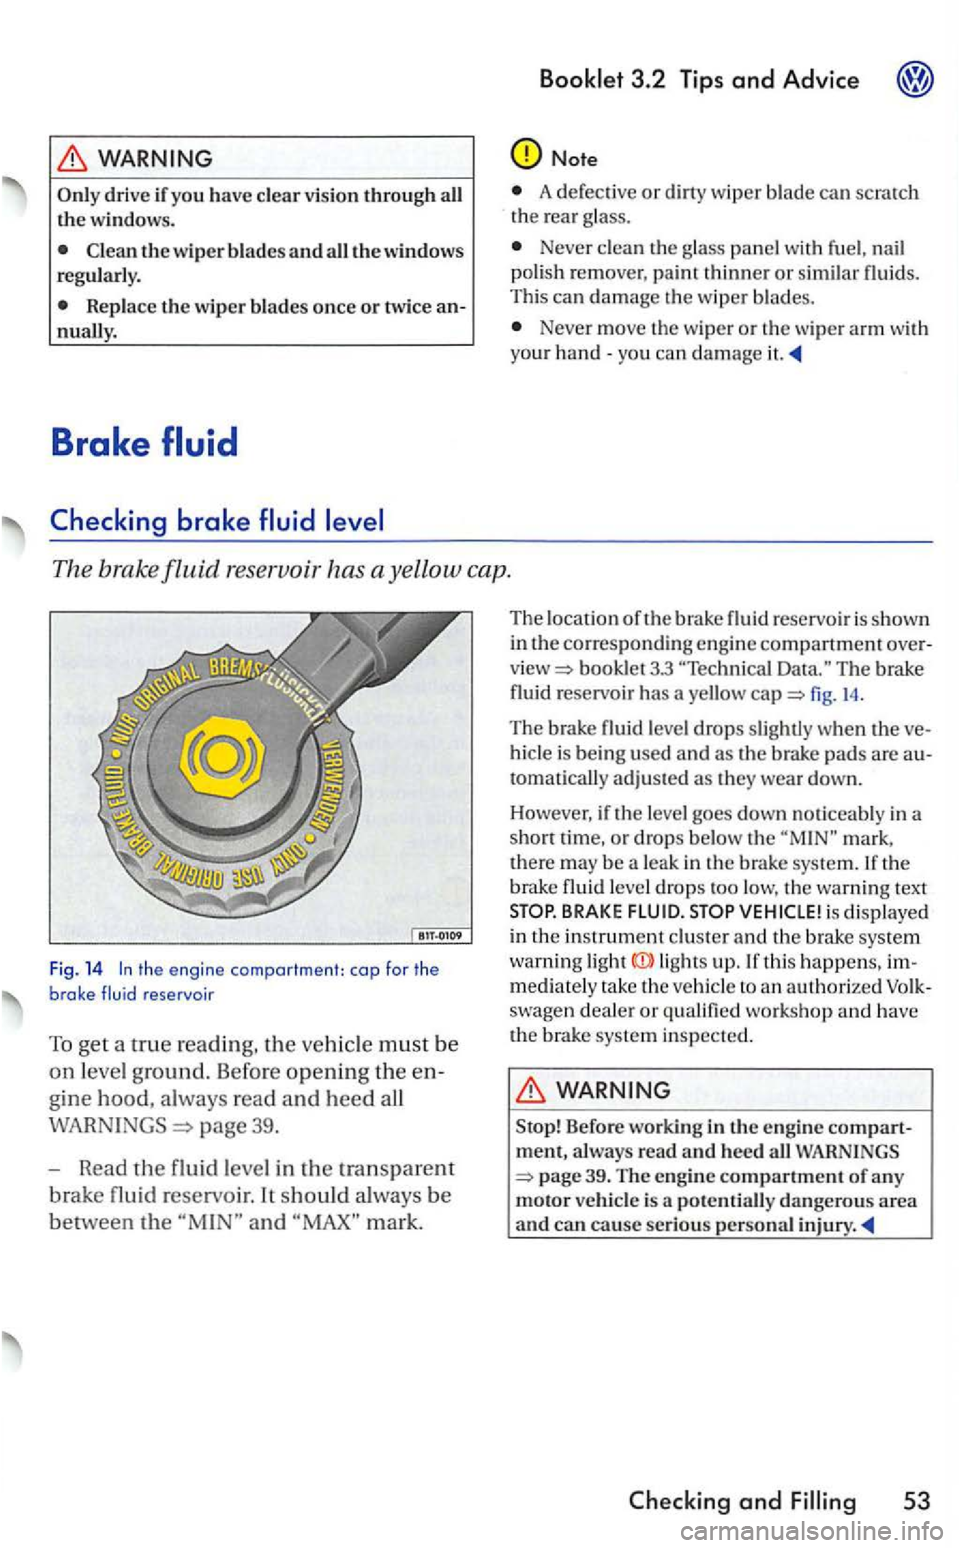
The brak e fluid reservoir has a ye llow cap.
Fig. 14 the engine compartment: cap for the brake fluid reservoir
To get a true reading, the m ust b e
on leve l ground. Before opening th e en
g
ine hood, a lways read and heed all
page 39.
- Read
the fluid leve l in the tra nsparent
bra ke fluid re servoir. It should always be
between the and mark.
Th e lo cation of th e brake fluid reservoi r is shown
in
bookl et 3.3 The brake
fluid reservoir has a yello w fig. 14 .
The brake fluid lev el drops s lightl y when th e ve
hicl e is bein g used and a s th e brake pad s are autom atically adju sted a s they wear down.
Ho wev
er, if th e le ve l goes down noticeably in a
s ho rt time, or drops below th e mark ,
th ere may be a leak in the brake system. If the b rake fluid leve l d rops too low, the wa rnin g text BRAKE FLUID. is displayed
in the instrument clu ste r and th e b rake system warni ng ligh ts up. If t his happens, immediately rake th e ve hicle to an au thorize d swage n deale r or q ualifi ed wo rkshop a nd have
th e brake system inspected.
Stop! Before wo rkin g in th e engin e compartment, a lways read and heed all WARNINGS
53
Page 330 of 444
3.2 Tips and Advice
The brake fluid be changed every two years.
We recommend that you have the brak e changed b y an authorize d Volkswagen dealer.
S top! Be
fore openin g th e e ngin e hood, always
read and heed all page 39.
Brake fluid
absorbs m oisture. time, it will absorb wate r from the air. the wa ter content in the brak e fluid is too high, the brake sys te m
c
ould corrode. Too much wa te r in the brak e fluid
a lso consid erably reduces the boilin g point of the brake fluid. Very heavy use of th e brak es with
old brake fluid may cause vapor lock . Vapo r lock
reduces braking power, in cre ases stopping tances and can eve n cause total brake failu re.
For this r
eason the brake fluid must be repla ced
every two years.
use brak e fluid the s pecification U S standard 116 4. The brake fluid must be new.
Stop ! Befor e working in the engine compartment, always read and h eed all WARNINGS 39. The engine compartment of any motor vehicl e is a potentiall y dangerous area and can cause seriou s persona l injury .
Brake failure can result from old or incorrect brake fluid.
fica tio n
(continued)
A lwa ys check with your authorized swage n deale r to make sure that you arc u sing the correct brake fluid.
The correct brake fluid is also listed on the
labe l on the brak e fluid reservoir.
Always store brake fluid in the closed
To reduce th e risk of poisoning, neve r us e empty food or beverage containers that mi ght mislead someone into drinking from them.
A lwa ys keep bra ke flu id out of the reach of childr en.
Alway s change th e b rake fluid as required in the maintenance bookl et. Heavy braking w ith old brake fluid may cause a vapor lock that reduces braking power, increases ping distances and can even cause tota l brake failure.
Note
Brake fluid can damage the pai nt. Wip e off any
brake fluid from rh c paint immedia tely.
For the sake of environment
B rake fluid
must be drained and disposed of in
th e proper manner obse rv ing env ironmental
Page 366 of 444
left side of the instrument panel and behind fu se box covers in
the engine
compa rtment.
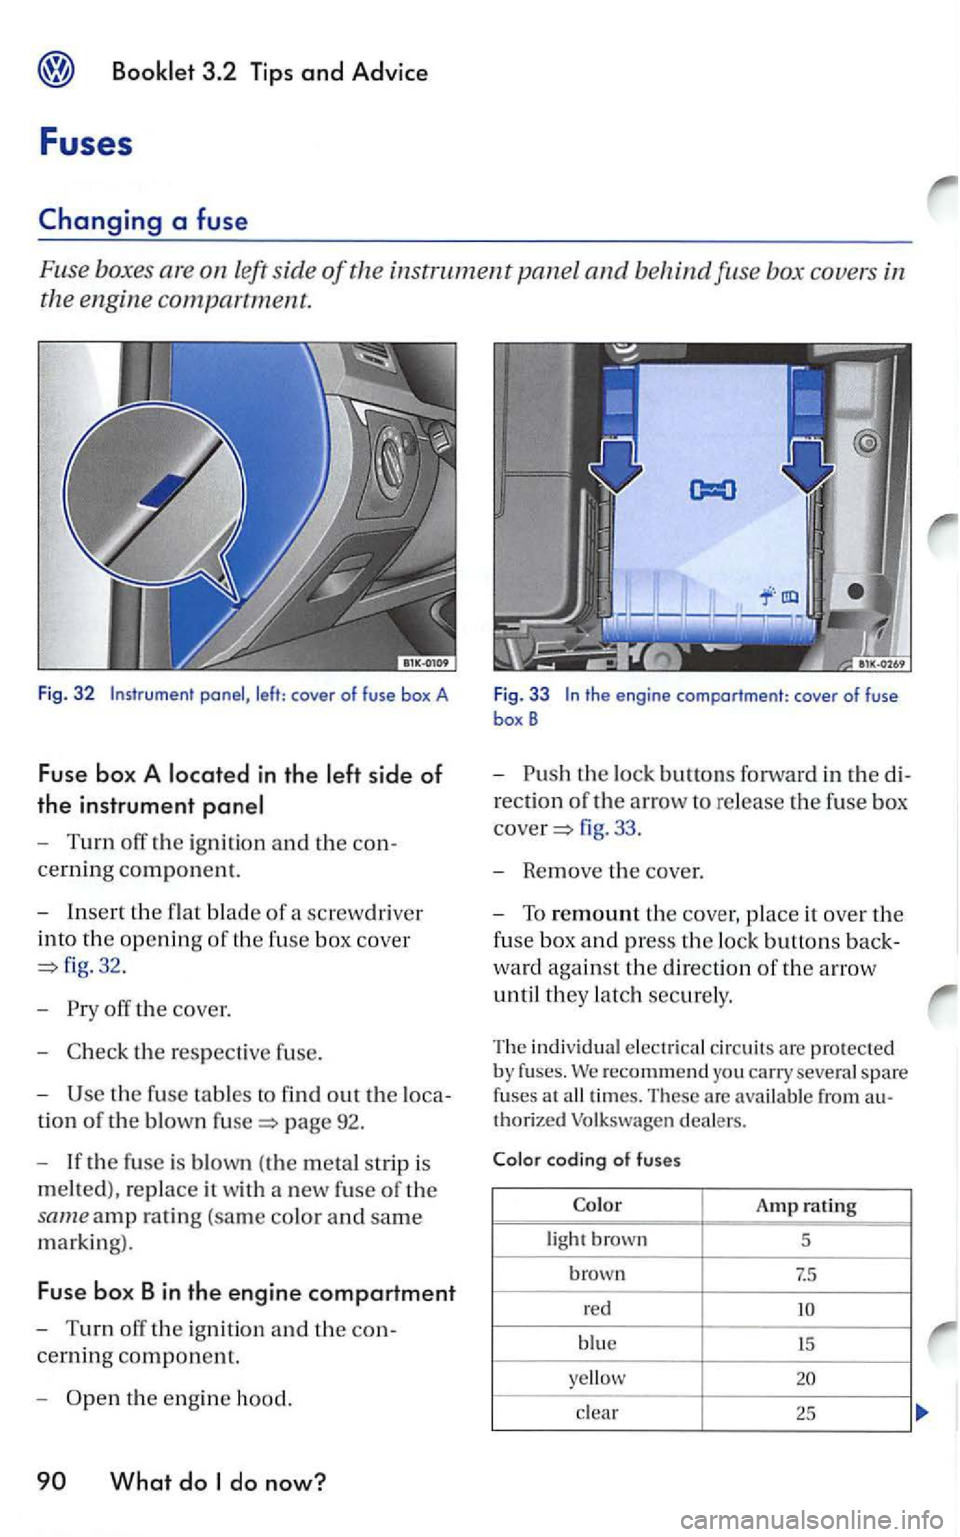
Fig. 32
- Turn off the igni tion and the con
cerning component.
-
Insert the flat blade of a screwdri ver
into
the openin g of th e fuse box cove r
32.
-
the respeclive fuse.
-
the fuse tables to find out the loca-
tion of the blown page 92.
- If
the fuse is blown (the m etal strip is
melted) , replace it w ith a new fuse of the
same amp ra tin g (sa m e co lo r and sam e
marking).
Fuse bo x Bin the engine compartment
-Turn off the ign ition an d the con
cerning component.
-th e eng in e hood.
fig . 33 .
- Remove
the cover.
-To remount the cover, place it ove r the
fuse box and press th e lock buttons back
ward aga inst the directio n of the arrow
until
they latch securely .
Th e indi vidual electric a l c ir cuit s are pro tected by fuses. recommend you carry severa l spare
f uses at
clear 2 5
Page 372 of 444
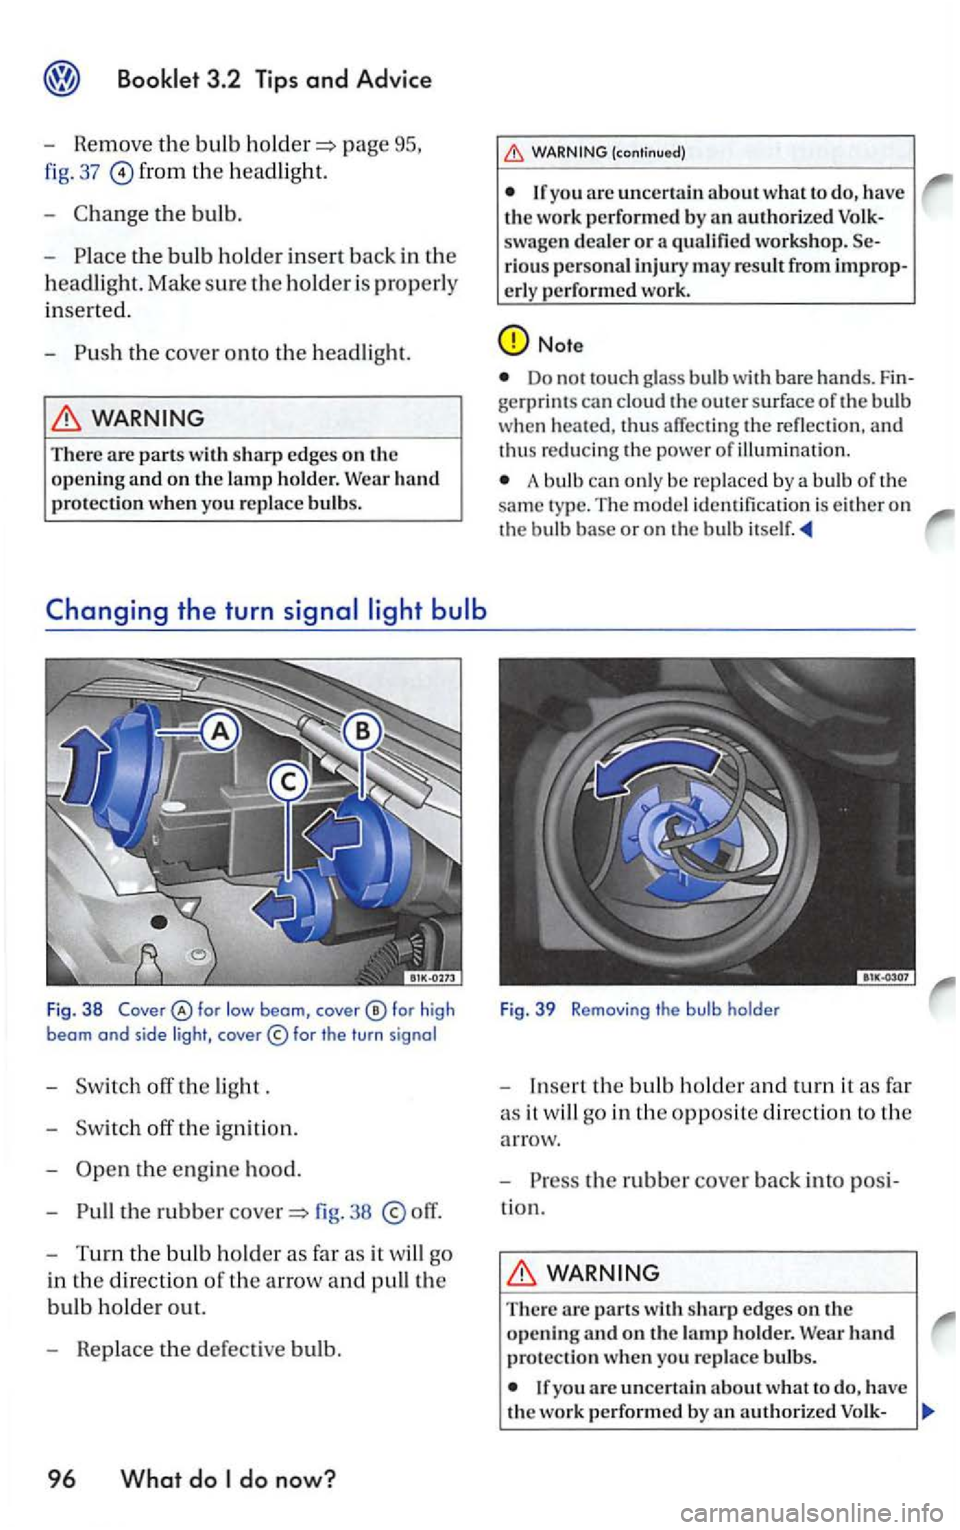
page
fig. 37 from the headligh t.
-
the bulb.
-
headlight. Make sure the holder i s properly
inserted.
-
WARNING
There are parts with
the e ngine hood.
-
the rubbe r 38
WARNING (continu ed)
are uncertain about what to the work performed by qualified workshop. riou s personal injury may result from improp-
erly performed work.
Note
Do no t to uch glass bulb with bare hands. gerprint s can cloud the o uter surface of the bulb
whe n thus affectin g th e refl ectio n . and thus reducing th e pow er o f illuminatio n .
A bulb can only be replaced by a bulb of th e
sa me ty p e. The mod el identifica tion is either on
the bulb base or on the bulb
Fig. 39 Re moving the bulb holder
- Insert the bulb h old er and turn it as fa r
a s it w ill go in th e
opposite direct io n to th e
arrow.
-
the rubbe r cover back into
WARNING
The re wit h sharp edges on th e opening
If yo u the work performed by