Pressure VOLKSWAGEN GOLF PLUS 2012 Owner's Guide
[x] Cancel search | Manufacturer: VOLKSWAGEN, Model Year: 2012, Model line: GOLF PLUS, Model: VOLKSWAGEN GOLF PLUS 2012Pages: 541, PDF Size: 98.86 MB
Page 293 of 541
Note
Remove sno w c hain s w hen road s are free or snow. the chains ca n damage tires, impair vehicle handling and ca n be qui ck ly worn
down.
-------chain s they h ave direct contact w ith th e rims. Volk swage n recommend s usin g coa te d sn ow
chains .
c hain s are available in different sizes
Please first read and note the
introductory information
and heed the WARNINGS on
page 276.
Accessory weight
The combine d weight (in excess of
those standa rd items which may
be re placed) of automatic tra n s
mission, electro-mechnical power
stee ring, power brakes, power
windows, power seats, radio, and
heater, to th e extent that these
items are availabl e as factory-in
stall ed equipme n t (w hether in
s tall ed or not).
Aspect ratio
The ratio of sidewall heig h t to tir e
w
idth, expressed as a p ercentage.
A number o r or
lower indicates a low-profile tire
with a shorter sidewall for im
proved steering response and
better overall handling on dry
pavem ent.
Bead
The part of a tire made of steel
wires, wrapped or reinforced b y
ply cords, with the shape and
structure to en sure proper fit to the
w h
eel rim.
maintenance
Bead separation
A breakdown of the bond between
components in the bead.
The tire structure, excep t tread
and s id ewall rubber which, when
infl ate d, bears the lo ad.
The breakjng away of pieces of the
tread or sidewall.
The strands of materia l forming
the plie s in the tir e.
An y parting within the tread,
s id
ewall, or inne r lin er of the tire
ex te
nding to cord material.
at low
speeds in the three hour p e riod be
fore
the tire pressure is measured
o r a
djuste d.
Page 294 of 541
Curb weight
The weight of a motor vehicle with
standard equipment including the
maximum capacity of fuel, oil, and
coolant, air conditioner, and addi
tional weight
of optional equip
ment.
Extra load tire
A tire designed to operate at higher
lo
ads and at higher inflation pres
sures than the corresponding stan
dard tire.
Gross Axle Weight Rating
(GAWR)
The load-carryin g capacity of a
single axle system, measured
where the tire contacts the ground.
Gross
The maximum loaded weight of
the vehicle.
Groove
The space between two adjacent
tread rib s.
Load rating (code)
The maximum load that a tir e is
rated to carry for a given inflation
pressure.
You may not find this in
formation on all tires because it is
not required by law.
Maximum load rating
The load rating for a tire at the
maximum permissible inflation
pressure for
that tire.
Maximum loaded vehicle weight
The total of:
Curb weight
Accessory weight
Vehicle capacity weight
Production options weight
Maximum (permissible) inflation
pressure
The maximum cold inflation
pressure
to whic h a tire may be
inflated.
Also ca lled
inflation
Normal occupant weight
Means 150 lbs (68 kilograms) times
the number of occupants seated in
the veh icle
up to the total seating
capacity
of your vehicle.
Occupant distribution
The placement of passengers in a
veh icle.
pounds or less.
Ply
A layer of rubber- coated parallel
cords.
Ply separation
A parting of rubber compound bet-
ween adjacent plies.
296 297
Page 299 of 541
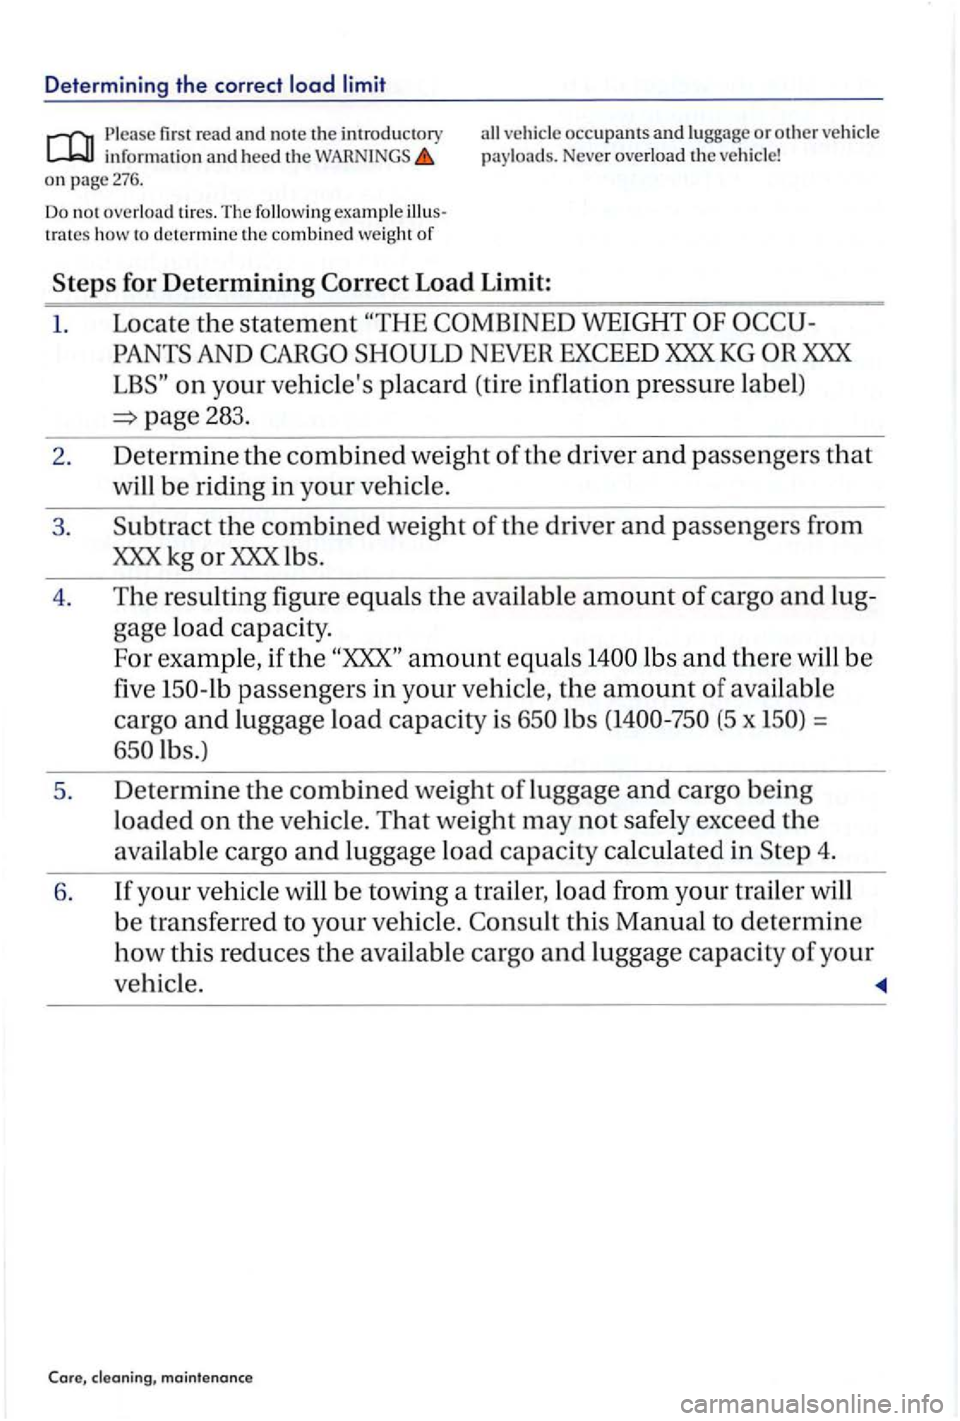
Determining the correct load limit
Please firs t read and note the introductory all ve hicle occupants and lu ggage or other ve hicl e inrormation and heed the pay loa ds. Neve r overload the ve hicle! on page 276.
Do no t over loa d tir es. The rollowi ng example trat es how to dete rm in e the combined we ight or
Load Limit:
1. Locate the statem ent
XXX KG XXX
on your ve hicle's placard (tire inflation pressure la b el)
lb s (5 x =
lb s.)
5. De
termine the combined weight of lu ggage and cargo being
loaded on the ve hicl e. That weight m ay not safely exceed the
ava
ilabl e cargo and lu ggage load capacity calculated in
maintenance
Page 333 of 541
Tire
Introduction
In thi s section you'll fin d information on th e lowing:
Cont ent s o f the tire mobi lity set . . . 337
Prep ara tio ns . . . . . . . . . . . . . . . . . . . . . . . . . . . . . . . 338
minu tes of drivin g . . . . . . . . . . . . . .
tures up to abo ut 3/16 in (4 mm) in diam ete r c an
b e re liabl y se ale d using the tir e mobility The
foreign obje ct (sc rew or fo r example) must
n ot be re m ove d from the tire!
Afte r the sealant is th e tire , driv e for abou t minut es and check tir e pressure ag ain.
Never use th e
tire m obility se t to a tire un less you
-have park ed ve hicl e at a safe s po t,
- are fami liar with the nec ess ary pro ce -dures and safe ty pre cautio ns, and
-have th e correc t tir e mobilit y Otherw ise . ge t exp ert ass is tan ce .
Tir e sealant mu st not be used:
If th e w heel rim is damaged.
i\t out side tempe ratur es below
If th e c ut or punctu re da mag e of th e tir e is
g rea te r than 3/16 in (4 mm) in diameter.
I f you were drivin g wi th very lo w tire press ure
o r flat tir e.
If th e tir e inflation cyli nder h as passe d its ration elate.
More information:
Vehicle key page 34
Braking, s to ppin g and page 188
T ires and page 276
In an em erge ncy pag e
page 328
D o it yoursel f
rious personal injury:
Alway s stop the ve hicle as soon as it is sa fe to
d o so and move the ve hicl e
Always make sur e that th e ground is leve l a n d
firm.
passen gers and espec iall y childr en must stay
Turn on the emerge ncy flas hers and set up an oth er warnin g dev ice about 25 yards (25
m ete rs) behind the ve hicl e to warn approaching
traffic .
the tire mobility set only if yo u are mili ar with the n ecessa ry s tep s. Othenvisc, get
expe rt ass is tance.
yo u can get profe ssional h elp.
Sea lant is harmful and mus t immedi atel y be removed in case of skin contact.
Alway s store th e tire mobilit y se t o u t of reach of children .
Never usc a vehicl e jack, even if th e jack is proved for use with your vehicle.
Always apply the parkin g brake and shift the
t ran smi ssio n Par k (P) (automati c
Page 334 of 541
Improper use of th e tire set can cause a
temporary tire to fail and lead to loss of veh icle
contro l and seriou s personal injuries.
Always remember that a tire filled with ant does not handle as well as an undamaged tire without sealant.
Never drive faster than mph
Neve r use the tire set if the outside temperature is below
Never drive with a tire that has cuts or when they are larger than3/16
in(4mm).
se t only for emergencies yo u can get profe ssional he lp .
to at least 36 psi
(2.5 bar) , do not drive the vehicle. Contact the nearest authorized Volk swagen dealer,
minutes, do not drive the ve hicl e any farth er. Contact the nearest authorize d Volkswagen dealer, rize d Volkswagen Service Facility, or qualified
works hop.
of the tire set
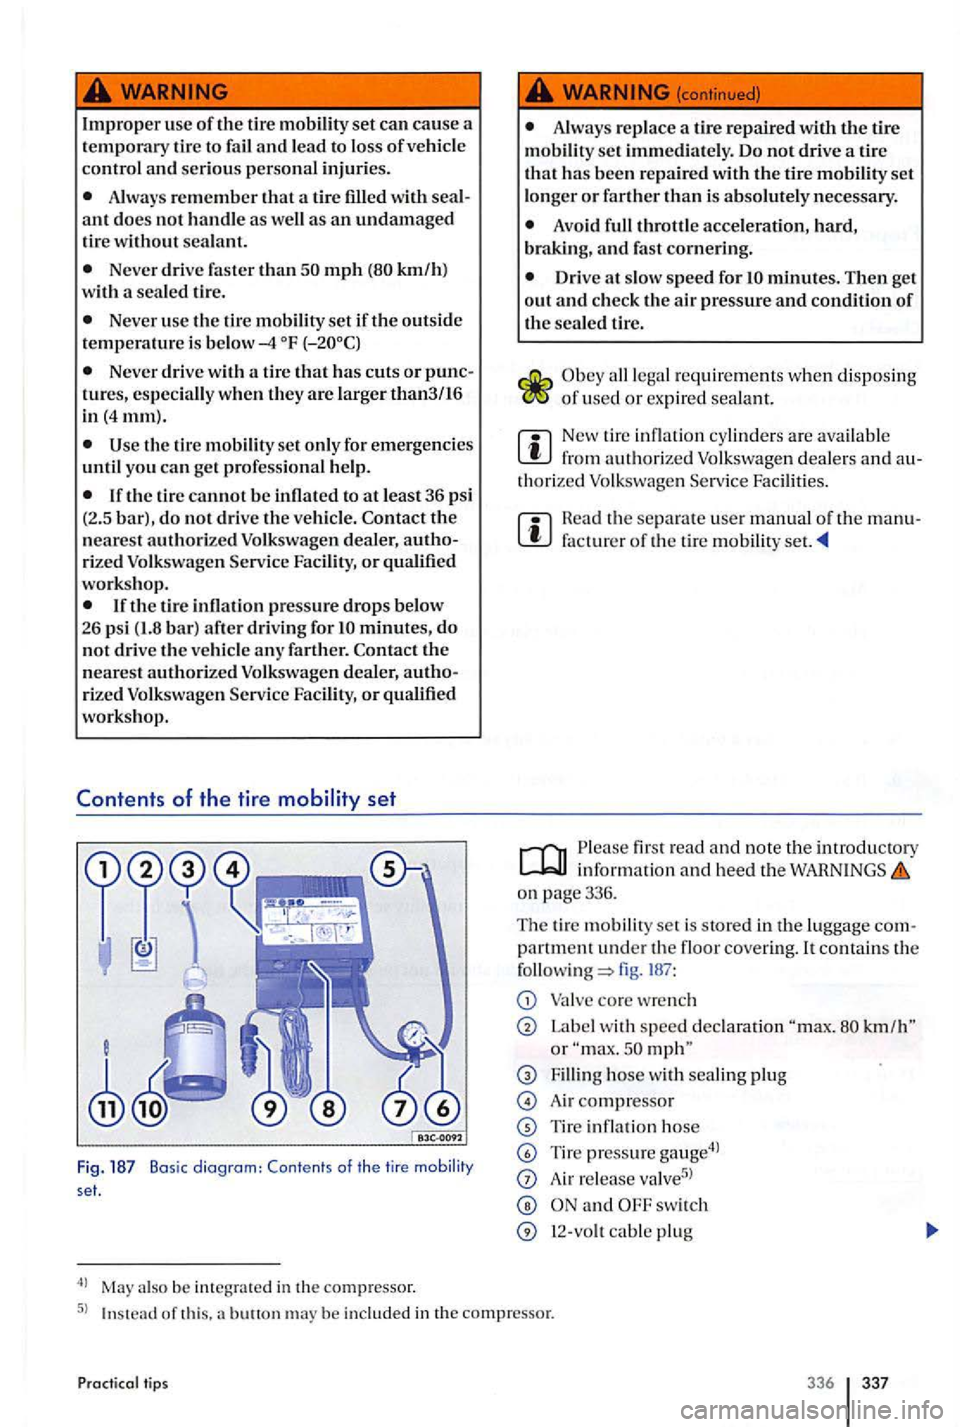
Fig . 187 Basic diagram: Contents of th e tire mobility set.
May a ls o be inte grated in th e c ompr essor.
(continued)
Alwa ys replace a tire
Avoid full throttl e acceleration , hard,
braking, and fas t cornering.
Drive at s low speed for
of u se d or expir ed seala n t.
New tire inflation cylind ers a re avai lable from authorized Volksw age n dealer s a nd thoriz e d Volkswage n
Rea d th e sepa rate use r manual o f the facturer of th e tire mobility
first read and not e the information and hee d the on pag e 336.
Th e tir e mobilit y se t i s s tor ed in th e luggag e
partment under th e floor covering. It contai ns the fig. 18 7 :
Label w ith sp ee d or
Fillin g hose w ith sealing plug
Air com pre ssor
Tire inflation hose
Tire pressure gau ge4l
A ir valve5l
s w itch
In stead of this. a buuonm ay be in cluded in the co mpressor.
tips 336 337
Page 336 of 541
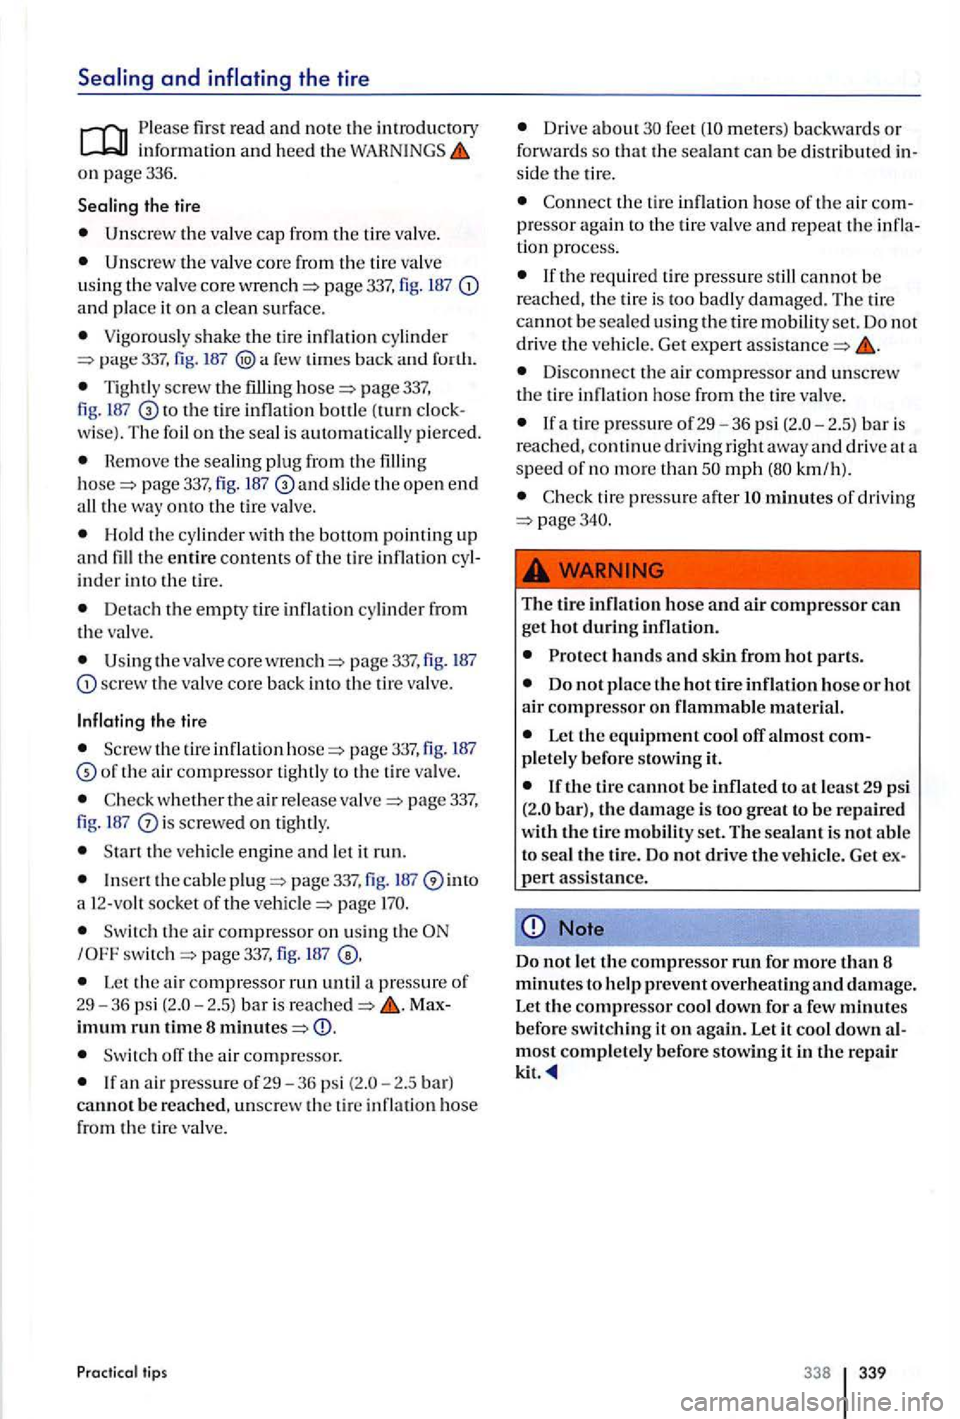
Please first read and note the introdu ctory information and heed the on page 336 .
the valve core from th e tir e valve
u sin g th e valve core page 337 , fig . 187 and place it on a clean surface.
Vigorous ly shake th e tir e inflation cylinder page 337, fig. 187
Tigh tly sc rew the filling page 337, fig. 187 to the tire inflation bo ttl e ( turn
He mov e the sealing plug from th e page 337, fig. 18 7 and slid e th e open end th e way onto the tire va lve.
H old the cylinder with the bottom po inting up and the entire contents of th e tir e inflati on inder int o th e tir e.
Detach the empty tir e inflation cylinder from
th e va lve.
p age337,fig. 187 sc rew the v al ve core back into the tir e valve.
the tire
the tire inflation page 337, fig. 187 o f th e air compressor tightl y to th e tir e va lve .
whether the air release pag e 337, 187 is screwe d on tightly.
page 337, fig. 187 into a soc ket of the page
Switch th e ai r compresso r on using th e page 337, fig. 187
Le t th e air compre ssor run until 2 .5 ) bar is re ach ed
Switch off the air compressor.
an air press ure of29-36 psi 2.5 bar)
cannot b e reac hed, unscrew the tire inflation hose from the tire v alve.
tips
Dr ive about feet m ete rs) backward s o r
f o rward s so that the sealant ca n be distributed sid e th e tire .
th e tire inflat ion hose of th e air pr esso r aga in to the tir e va lve and r epeat th e
th e required tir e pressure still cannot be reached. the tir e is too badly damaged. The t ir e
canno t b e sealed us ing th e tire mobilit y set. Do not
d rive the v ehicle. Get expert
Disconnect th e air compresso r and unscrew the tire infl ation hose from the tir e va lve .
mph km/h).
page340.
The tire inflation hose and ai r compresso r ca n
get hot during inflation.
Protec t hands and skin fro m hot parts.
Do not p lace th e hot tire inflation hose or hot air compressor on flammable material.
Let th e equipment cool off almost plet ely before sto wing it.
bar), th e damage is to o great to be repaired
wi th the tire mobility set. The sealant is not able to seal the tire. Do not drive the ve hicle. Get pert assistance.
Note
Do not let the compressor run for more than 8 minutes to help prevent overheating damage.
Let the compressor cool down for a few minutes
befor e switching it on again. Let it cool down most completely before stowing it in the re p a ir
kit.
338 339
Page 337 of 541
minutes of driving
Please firs t read an d note the introdu ctory in formatio n and heed th e WARNINGS on page 336.
page 337, fig. 187 and read the tire pre ssure on th e tire pres
sure
19 psi (1.3 bar) and less:
Stop! The tir e cannot be sealed sufficie n t!)' using the tire mobility set.
Get expe rt assistance=>
th e tir e press ure again to the pro per p age 276.
Do it yourself
d ri ve on to the next serv ice center at a
speed of not more than mph k m /h ).
Have the dam aged tir e replac ed.
Dri ving with a tire that cannot be seale d is dan
gerous and can cause accident s and serious in
juries.
Do not continue drivin g if the tire pressure is
1 9 psi (1.3 bar) or less.
Get expert assistance.
Page 341 of 541
Introduction
In thi s section you'll find informat io n on the
low ing:
Indicator light . . . . . . . . . . . . . . . . . . . . . . . . . . . . . . 345
Information on light bulb replacement . . . . . . . . . . 346
Rep lacing light bulbs in the headlight . . . . . . . . . . . 347
Changing the light bulb in the front bumper . . . . . 348
Rep lacing light bulbs in taillight in th e rear hatch . 349
Replacing taillight bulbs in th e body aft he vehicle
Changing the light bulb in the license plate lamp . 351
Changin g a ligh t b ulb requ ires a certain amount of
s kill. If you are uncertain about how to proceed, Volkswagen r ecommends havi ng the ligh t bulb
c h anged by
Facility. training and know le d ge are ge nerally required
w he n other ve hicl e part s mu st be disasse mbled to
replace a bul b, or when d ischarge lamps mu st
b e re p la ced.
sh ould always keep a box in t he ve hicle wit h all the re p lacement bulbs requi re d for traffic safety. R eplacement bulbs are avai lable from your authorized Volkswagen dealer or Authorize d Facility. The laws of some
Additional light bulb s p ecifi cations
fac tory-in stalled lig ht bulb s in th e light s or th e taillig h ts may have differe nt sp ecifi ca
t io ns th an conven tio nal light bulbs. are on th e g lass bulb or o n the m eta l b ase.
More info rmation:
Lights and page
for worki ng in the engi ne page 242
Vehicle tool page 326
Fu ses p age 341
D o it yoursel f
and other accidents ca n happen when yo u cannot see the road ah ea d and when yo u
cannot b e seen by o th er m oto ri sts.
Impr op er r epla cement of burn ed ou t headlig ht s
and o th er light bulbs ca n ca use serious perso nal
injury .
Always read and hee d the before doing any work in the engine compart242. The engin e co mpartment of any mot or ve hicl e is a potentially dangerous
area, and work in t11is area can lead to seriou s personal injury.
Gas disc harge lamps (Xenon ) ge t power from
a hi gh vo ltag e source that can cause seve re
H7 bulb s and gas disc harge la m ps arc under
high pressure and can e xplode if handle d pro perly.
Always le t a burne d o ut light bulb cool down before re pl acing it.
Neve r replac e a light bulb unless you arc fa miliar with all of th e necessary procedures. In
parti cul ar, n eve r remo ve a hea dlight unless you
know exactly how to carry o
ut the job and have the co rrect tools and light bulb s.
ge n dea le r, a n authorize d Volkswagen
personal inju ry may result fro m improp erly
performed wo rk.
strongly recommend th at you alwa ys hnvc gns discha rge lamps {Xeno n) a nd bulb s replace d by a qualifi ed tec hni cian.
Do not touch th e glass of l ig ht bulb s with your bare hands. Fing erp rint s left on the bulb
eva porate due to the heat when th e bul b is
swit c hed on and cause the reflec to r t o
There arc sh a rp edges on an d around th e
h eadlamp housin g in the en gin e com partment and th e ta illi ght hou sing. h and prote ction if you repla ce bulbs.
Page 370 of 541
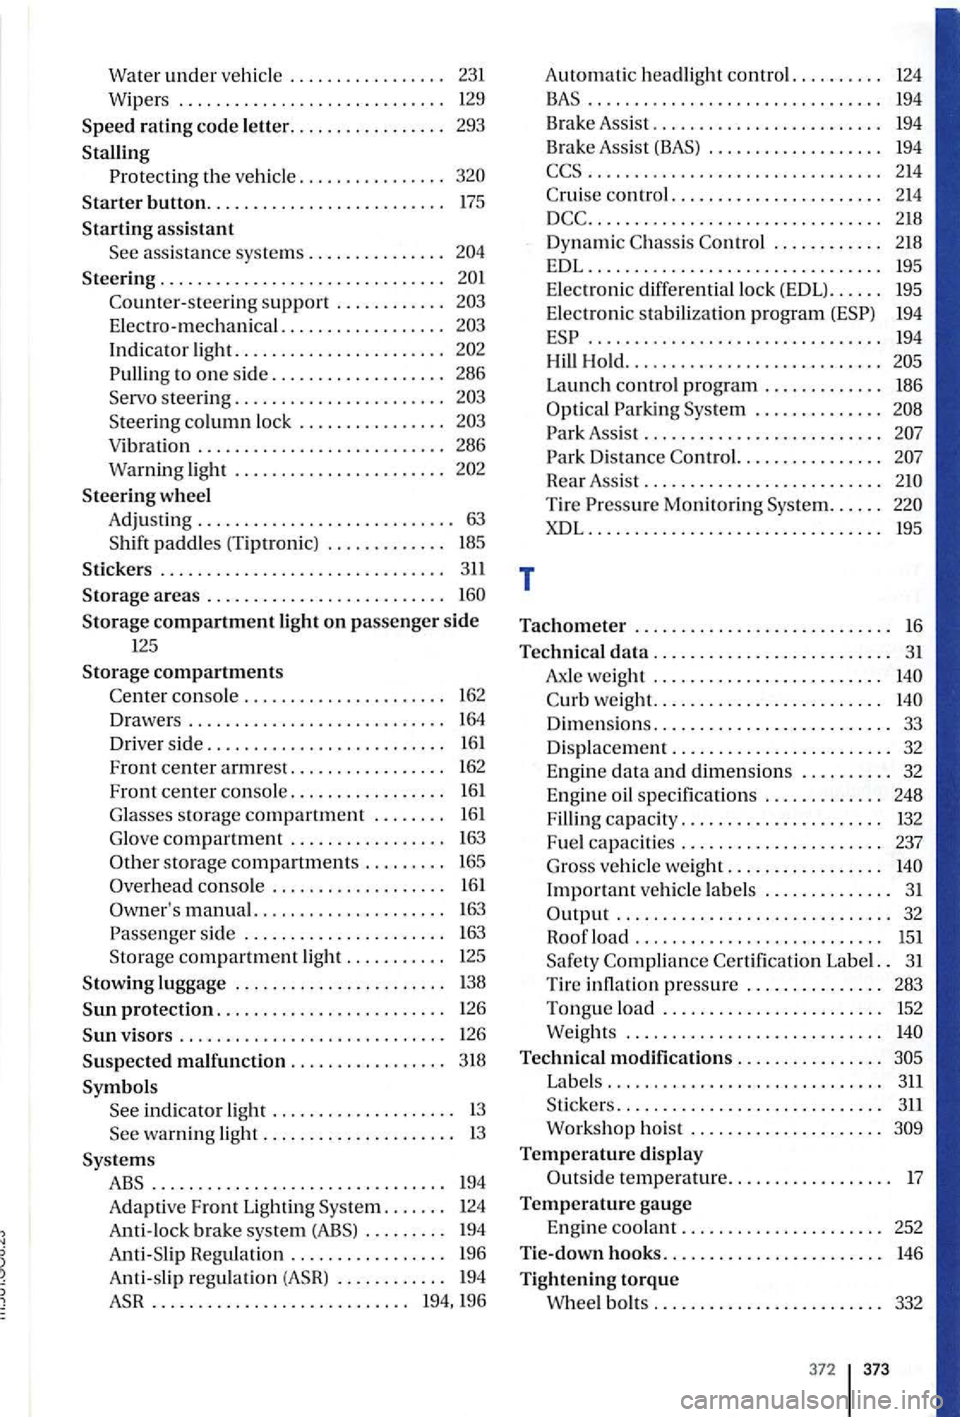
Water under vehicle . . . . . . . . . . . . . . . . . 231
Wipers ............................. 129
S peed rating code le tter ................. 293
Stalling
Protecting th e ve hicle ................
S teering ...............................
Cou nter- steering support ............
E lectro-mechanical. . . . . . . . . . . . . . . . . .
Indicator light. ......................
to one side ................... 286 Servo steering .......................
Steering co lumn lock .... ............
Steering wheel
A dju sti
ng . . . . . . . . . . . . . . . . . . . . . . . . . . . . 63 S hift paddles (Ti ptron ic) . . . . . . . . . . . . . 185
Sticke rs . . . . . . . . . . . . . . . . . . . . . . . . . . . . . . . 311
Storage areas . . . . . . . . . . . . . . . . . . . . . . . . . .
storage compartments . . . . . . . . . 165
Overhead console . . . . . . . . . . . . . . . . . . . 161
manual. . . . . . . . . . . . . . . . . . . . . 16 3
Pa sse nge r sid e . . . . . . . . . . . . . . . . . . . . . . 16 3 Storage compartment light . . . . . . . . . . . 125
Stow ing luggage . . . . . . . . . . . . . . . . . . . . . . . 13 8
protection. . . . . . . . . . . . . . . . . . . . . . . . . 126
brak e sys tem (ABS) . . . . . . . . . 194
Regulation . . . . . . . . . . . . . . . . . 196
194
Launch control program . . . . . . . . . . . . . 186
Assis t . . . . . . . . . . . . . . . . . . . . . . . . . .
Distance Control. . . . . . . . . . . . . . . .
Rear Assist . . . . . . . . . . . . . . . . . . . . . . . . . .
C urb weight. . . . . . . . . . . . . . . . . . . . . . . . .
Dimensions. . . . . . . . . . . . . . . . . . . . . . . . . . 33
Displacement . . . . . . . . . . . . . . . . . . . . . . . . 32 E ngin e data an d dimensions . . . . . . . . . . 32
Engine oil specifications . . . . . . . . . . . . . 248
Filling capacity. . . . . . . . . . . . . . . . . . . . . . 132
Fu el capacities . . . . . . . . . . . . . . . . . . . . . . 237 Gross vehicle we ight. . . . . . . . . . . . . . . . .
.............................. 32
Roof load . . . . . . . . . . . . . . . . . . . . . . . . . . . 15 1
Sa fety Compliance Certif ic ation Label. . 3 1
Tir e pressure . . . . . . . . . . . . . . . 283 Tongue load . . . . . . . . . . . . . . . . . . . . . . . . 152 Weights . . . . . . . . . . . . . . . . . . . . . . . . . . . .
Technical modifica tions . . . . . . . . . . . . . . . .
temperature . . . . . . . . . . . . . . . . . . 17
Temperature gauge
E n gin e coolant . . . . . . . . . . . . . . . . . . . . . . 252
hooks........................ 146
T ighteni ng torque Whee l bo lts . . . . . . . . . . . . . . . . . . . . . . . . . 332
372 373
Page 371 of 541
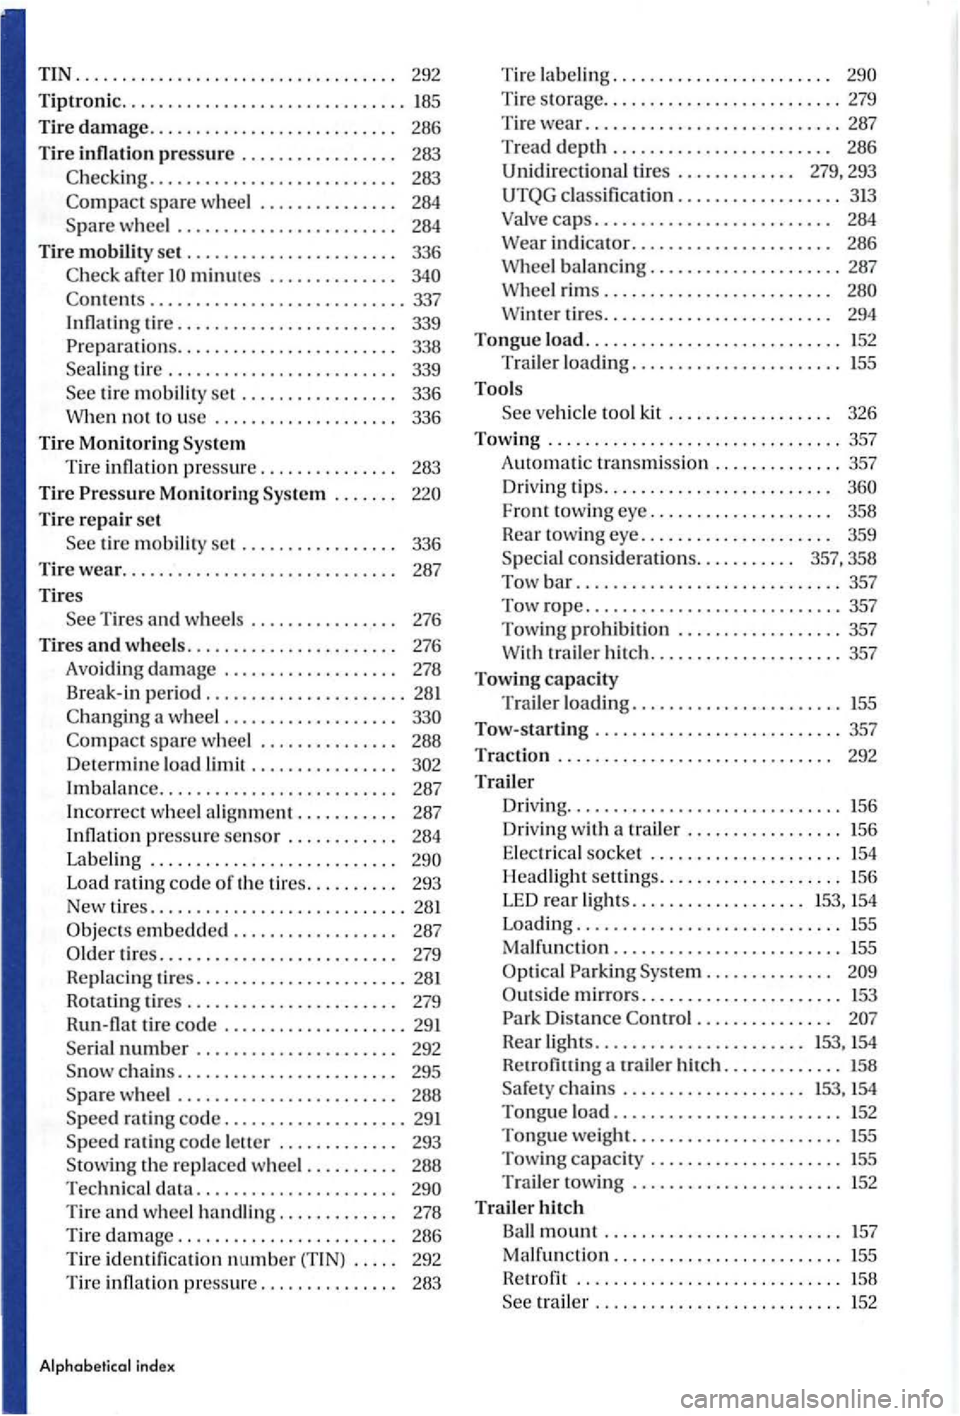
TIN .................................. .
292
Tiptronic ............................... 185
Tire damage.. . . . . . . . . . . . . . . . . . . . . . . . . . 286
Tire inflati on pressure . . . . . . . . . . . . . . . . . 283
. . . . . . . . . . . . . . . . . . . . . . . . . . 283
spare wheel . . . . . . . . . . . . . . . 284 Spare wheel . . . . . . . . . . . . . . . . . . . . . . . . 284
Tire mobility set . . . . . . . . . . . . . . . . . . . . . . . 336
minutes . . . . . . . . . . . . . .
tire m ob ilit y set . . . . . . . . . . . . . . . . . 336
no t to use . . . . . . . . . . . . . . . . . . . . 336
Tire Monitoring Sys tem
Tire inflati on
pressu re. . . . . . . . . . . . . . . 283
Tire Pressure Monitoring Sys te m . . . . . . .
Tire re p a ir set
tir e m ob ility se t . . . . . . . . . . . . . . . . . 336
Tire wear.. . . . . . . . . . . . . . . . . . . . . . . . . . . . . 287
Tires
T ires and w hee ls . . . . . . . . . . . . . . . . 276
Tires a
nd wheels....................... 276
Avoiding
damage . . . . . . . . . . . . . . . . . . . 278
Br eak- in period
...................... 281
spare w heel ............... 288
Determine load limit . . . . . . . . . . . . . . . .
Imbal ance.......................... 287
In co rrect wheel a lignment........... 287
I nflat io n pr essure
sensor . . . . . . . . . . . . 284
La beli n g . . . . . . . . . . . . . . . . . . . . . . . . . . .
Load rating code of th e tir es. . . . . . . . . . 293
New
tires .......................... .. 28 1
rat ing code letter . . . . . . . . . . . . . 293
the replaced w hee l . . . . . . . . . . 288
Technical data. . . . . . . . . . . . . . . . . . . . . . Tire an d wheel handling. . . . . . . . . . . . . 278
Tir e damage. . . . . . . . . . . . . . . . . . . . . . . . 286
T ire identifi ca
tion number (TIN) . . . . . 292
Ti re infl ation pressure............... 283
Alphabetical ind ex
Tir e lab eling. . . . . . . . .. .. . . . . .. . . . . .
balancing ..................... 287 rims. . . . . . . . . . . . . . . . . . . . . . . . .
tires. . . . . . . . . . . . . . . . . . . . . . . . . 294
Tongue load ............................ 152 Trailer loading ....................... 155
Tools
F ront tow ing eye.. . . . . . . . . . . . . . . . . . . 358
Rear towing
eye.. . . . . . . . . . . . . . . . . . . . 359
S pec ia l
consideratio ns. . . . . . . . . . . 357, 358
Tow b
ar ............................. 357
Tow rope ............................ 357
Towi ng prohibi
tion .................. 357 traile r hit ch ..................... 357
Towing
capacity
T railer loading ....................... !55
Tow- starting ........................... 357
Traction . . . . . . . . . . . . . . . . . . . . . . . . . . . . . . 292
Trailer Driving .............................. !56
D
riv ing w ith a trailer ................. !56
E lec tri
cal socke t ..................... !54 H ea dligh t settin gs .................... 156
L E D r
ear ligh ts. . . . . . . . . . . . . . . . . . . 153, !54
Loading ............................. 155
Malfunction ......................... 155
Pa rking System. . . . . . . . . . . . . .
. . . . . . . . . . . . . . .
Rear ligh ts ....................... 153, 154 Retrofitting a rrailer hitch ............. 158
Safety ch a ins . . . . . . . . . . . . . . . . . . . . !53, !54
Tongue load . . . . . . . . . . . . . . . . . . . . . . . . . 152 Tongue weight ....................... !55 Towing capacity ..................... 155
Trailer towing ....................... !52
Trail er hitch
Ball mount . . . . . . . . . . . . . . . . . . .. . . . . . . 157
Malfun ction ......................... 155
H etrofit ............................. 158
trail er . ................. ......... !52