change wheel VOLKSWAGEN GOLF PLUS 2012 Owners Manual
[x] Cancel search | Manufacturer: VOLKSWAGEN, Model Year: 2012, Model line: GOLF PLUS, Model: VOLKSWAGEN GOLF PLUS 2012Pages: 541, PDF Size: 98.86 MB
Page 23 of 541
Auto matic close
Autom atic open
- Doo r opening fun cti on 2)
Manual
A
uto mati c
-
-Window operation
All
Dri ve r
- Mirr or l
owering func tion I
- Mirror adjustment
Syn chronous
Indi vidual
Factory settin g
Using menus in the instrument cluster
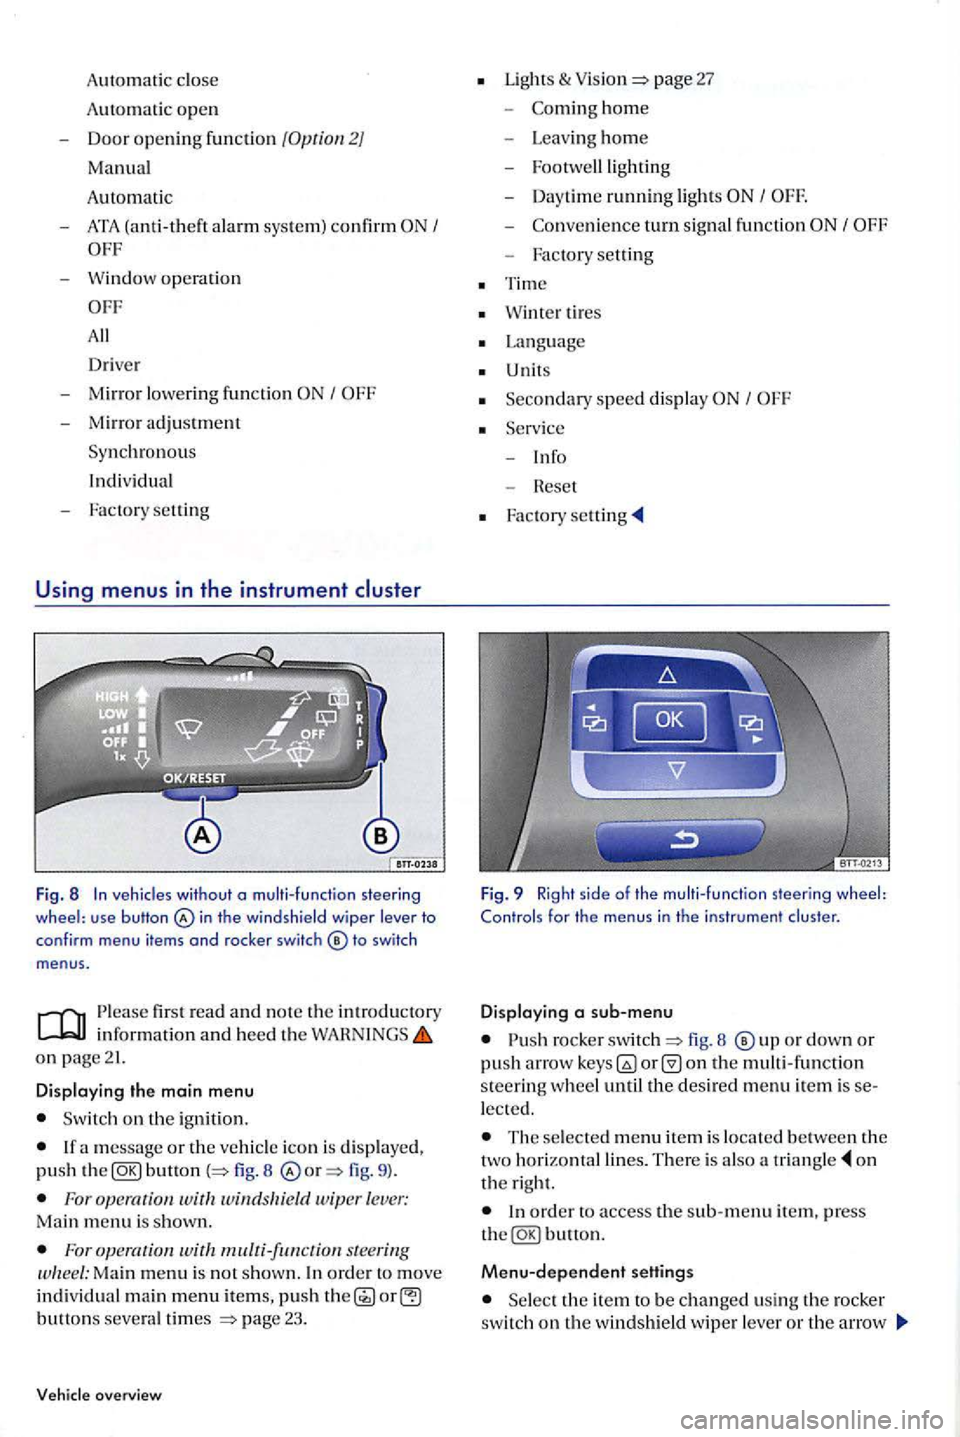
Fig. 8 In veh icles without o multi-function steering wheel: use button in th e windshield wiper lever to
conf irm menu items and rocker switch
firs t read and n o te th e in trodu ctory
on page21.
Displaying the main menu
Switch on the ignition.
button 8 fig. 9 ).
For wit windsltield wiper lever: Main menu is shown.
For s teering Ma in menu is no t show n. In ord er t o move individual main menu items, push button s severa l times page 23.
overview
Lights & page 27
-hom e
- Leav ing ho m e
- Footwe lllig
hting
- Day time ru
nning light s I
-turn signal fun ction
- Factory setting
Tim e
Wint er tires
Language
U nits
Seco n
dary speed displa y I
Fig. 9 Right side of the multi-function steering wheel: Controls for the menus in the instrument cluster.
Displaying a sub-menu
rocke r fig. 8 o r down or push arro w on the multi -function s teerin g w heel until the desired menu item is lected.
The selecte d m enu item is locate d b etween the
two horizonta l lines. The re is also a o n
t h e right.
Menu-dependent settings
Se lect the ite m to be changed usin g th e rocker switch on the windshield wipe r lever or th e arrow
Page 82 of 541
Have repairs and vehicle modification s
rized Volkswagen dealers and authorized swagen Facilities have the required
tool s, dia gnostic equipment, repair tion, and trained personnel.
Never permit salvaged or recycled airbags to be installed in your veh icle.
Never modify any components of the airbag syste m.
During activation of the
The fine dust can irritate the skin and eye muco us membranes and cause breathing lems for people who suffer from asthma or other breathin g conditions. To reduce th e risk of breathing probl em s, those with asthma o r o th er
r es piratory
Be careful no t t o ge t the dust into your eyes or
into any c uts or sc ratches.
Using so lve nts or other improper cleaning
u cts containing so lvents w ill ch ange the ti es of the plastic s and may cause plastic parts to break and fly around when the airbag deploys in a crash, causin g injury.
Never usc so lven ts or cleaners on th e
s teering wheel horn pad or on the instrument pan el b eca use they ca n damage the airbag cover or change the s tiffness or strength of the rial so that the airba g cannot deploy and protect properly. When cleaning the horn pad a n d strument panel, use onl y a soft, dry cloth or a
cloth moistened w ith plain water.
Please first read and note th e introductory informatio n and heed the WARN INGS on
Be sure to read the important inform ation and th e for important detail s about child ren
and Adva nce d Airbags
in you r ve hicl e has
been ce rtifi ed to comply wit h th e requirement s of the Unit ed Federal Moto r Vehicle as well a s Motor Vehicl e as a pplicabl e
at the time your vehicle was manufactured. co rding to req uirement s, th e front Advance d
A ir bag on th e passeng er side h as been tified for for infant s of about 12
months old and you nger and for risk for ch ildren aged 3 to 6 yea rs old {as defined
in the stand ard ).
Even th ough your vehicl e is equipp ed w ith an vance d Air bag mak e ce rtain that all dre n, es pecially 12 years and younge r, a lways ride
o n th e back seat properly restra ined for their a ge
Sitting properly and safely
and size. The airb ag on the front passenge r side m ak es the fron t seat a potentially dangerou s pla ce for a child ride. Th e front seat is no t th e sa fest
p lace for a child in a fo rward -faci ng chil d seat. is
a very dangerous place for an in fant or a child in a
r earward-fac ing sea t.
is in an improp erl y in stall ed for ward-faci ng
child res traint, or
in an y rearward- facing child restraint
will
be se riously injur ed and can be kill ed.
Eve n though your vehicl e is equipped with an Advance d Air bag make certain that aU children, especia lly years and you nger,
a lwa ys rid e o n the back seat properly restrained
for their age and s ize.
Always properly install reanvard-facing child seats or infant carriers and forward -faci ng c hild
s eats on the rear seat-even with an Advanced
81
Page 85 of 541
light does not
come
on ...
the ligh t
vice Facili ty.
The light should
BAG light shou ld come on w he n the ign ition is on and an adult is
the lig ht
co mes on and sta ys on unde r these circ um stances,
mak e sure that :
th e adult on the front passenger seat is
the adult is not we igh t off the seat by holding o n to t he passe nge r assis t handle abov e the front passe nger doo r or supporting their weight on th e armres t o r hold in g onto the ass ist ha ndle on the in strument panel;
t h e safet y belt is be in g properly wo rn and that th ere is no t a lo t o f s la c k in the s afet y be lt webbing;
Access ory seat covers or cu sh ions or other
thi ngs that m ay cause an incorrect reading or pression on the weight-se nsin g mat under the
fir st read and note the introd uc tory inform ation an d heed the on page 80.
Front airbags and how they work
Airbags are only supplem ental restra ints. They are not a substit ute for safety belt s that must be w orn even though th e front seatin g po sitions are equip ped wi th front airb ags. The fron t a ir bags can provid e additional prote ct ion for the chest and head of the drive r and the fr ont seat passe nger when seat s, safety belt s, h ead restraints and, for
th e dri ver, th e s teering wheel, are properly used and have been properly adju sted.
Before driving
the statu s of the Adva nced Air bag has changed whi le the vehicle is moving, the BAG ligh t blinks for about 5 seconds to catch the driver's attention . If this pens, a lways stop as soon as it is safe to do so and check the steps described above.
light does not go ofT when an adult who is not very sm all is sitting on the front passen ge r seat after taking the steps described above, make sure the adult is properly seat e d and restrained a t one of the rear seating
position s.
Have the airbag system inspected by your authorized Volkswagen dealer or authorized Volkswag en
sen ge r seat d ete cts an empty seat, th e front airba g on the passenger sid e will be tu rned off, and the light stay on.
sen ge r safety belt itself is buckled and the front passe nge r seat is no t occupied, the
the air bag sys te m deploys in a collis io n , a
ga s ge nerator fills th e a ir bags that break open the padded cove rs on the steering w heel and th e strume n t panel. The front airbags inflate between
th e s teerin g w heel and th e driver and between th e
in strumen t panel a nd th e front passenger.
Fron t air bag s in combination wit h properly wo rn
sa fety be lt s s low down and limit the occupant's forward movement. Toge ther they help to prevent th e driv er
Page 93 of 541
Always make sure nothing is in the front airbag deploym ent zone that could be struck by the airbag when it inflates.
Never hold things or on your lap when the vehicle is in use.
Never place accesso ries or other objects
(such as cup holders, tel ephone brackets, note pads, navigation systems, or things that are large, heavy, or bulky) on the doors; never attach them to the doors or the windshield; never place th em over or near or attach them to the area marked
fig. 59 or 91, fig.
Never attach objects to the windshield above the passenger front airbag, such as accessory navigation units or music player s.
Never recline th e front passenger seat to transport objects. can also move into the deployment area of the side airbags or the front airbag during breaking or in a sudden maneuver. near th e a irbags can fly dangerously through the pass enger compartment and cause injury, particularly when the seat is reclined and the airbags inflate.
Always make sure that there is nothing on the front passe nger seat that will cause the weightsensing mat in the scat to signal to theAirbag that the scat is occupied by a person when it i s not, or to signal that it is occupied by someone who is heav ie r than the person actually
sitting on th e sca t. The weight of th e object could cause the passenger front airbag to be turned on when it should be off, or could cause the airbag to work in a way that is differ ent from the way it
would have worked without the added weight.
Alwa ys make sure that nothing is on the front passenger seat when the backrest is folded
forward. Even light objec ts could be pushed into the seat cu shi on and cause th e weight-sensing mat in the seat to re gister enough weight to turn the airbag on.
Never usc solvents or cleaners on the steering wheel horn pad or instrument panel, because they can damage the
Before driving
airbag cover or change the stiffne ss or strength of the material so that the airbag cannot deploy and protect properly. When cleaning the hom pad and instrumen t p anel, use only a soft, dry cloth or a cloth moist en ed
with plain water.
A front seat passenger, especially an infant or small child, will be seriously injured and could
eve n be killed if he or she is
Although the Advanced Airbag has been designed to switch off when an infant or child is on the front passenger seat in a child seat that was used during the certification
process for the Advanced Airbag no one can guarantee with absolute certainty that the airbag never deploy under these particular conditions in all conceivable situations for the duration of the vehicle 's use.
For their own safety, all children, especially those 12 years and younger, mus t always sit on the back seat, properly restrained for their age and size.
Facility. A lit indicator light means the airbag may not work properly if
activated in a crash.
Page 195 of 541
Braking assistance system s
fir st read and n o te the introductory information and heed the
on page
T he and EDL braking tance system s work onl y w he n th e engine is ning. These sys te m s can sig nificantl y improve
vehicle namics to help reduce the probability of skidding and loss o f vehicl e control. works only w hen the engine is running. driving situations, including w hen the veh icle is beginning to spin (yaw) out of control.
gin e power and by providing steering assistance to help hold the ve hicle on the driver's intended
course.
has limitation s.
will not always be able to help out under all tions you m ay come up against. For example, may no t a lways be able to hel p you mas te r tions w he re there is sudde n change in the
cannot perform the sa me
way it would on a dry surface. the vehicl e
cornering. ularly on winding road s, cannot always deal as
e ffectiv ely wi th diffi cult drivin g situations it can
a t lower speed s. When towin g a is not able to help you regain control as it would if yo u were not towing a trailer.
Alway s
adjust your speed bility, road, cannot overcome the laws of phys ics, increa se the available
stead, improves the possibil ity o f keeping th e
vehi cle under control and o n th e road during treme maneuvers b y using th e driver's s teerin g puts to help keep the vehicle going in the int ended direction .lf you a re tra velin g at a speed that causes yo u to run off th e road before can provide any
EDL , and XDL syste m s (sec be lo w). is switc hed on all the tim e. certain situati ons
w he n you need less traction or additional tract ion cannot be achieved, you can swit ch off by pressing page 196, fig. l28. B e
s
ure to switch ASR on again when you no longer
need less traction.
Anti-lock
brake system (ABS)
ABS helps to keep the wheels from l ocking up and helps to maintain t h e driver's ability to steer and control the vehicle . Thi s means the vehicle is less lik ely to skid, even during hard
th e brake pedal down hard
Do not the brake pedal or letup on it!
S teer the vehicl e while pushing down hard on the brake pedal.
ABS sto ps working if you re lease or let up on th e brake.
When is doing i t s job, you will notice
noise. T he stopping di stance may even be lo nger, for instance, when dri ving on
pin g distances.lfyou press the pedal very quickly, BAS detects an e m ergency situ ation.
pedal! BAS
s w itches off automaticall y as soon
reduces en gine power d irected to spinning wheels and adjus ts power to the road conditions.
Eve n under poor ro ad conditions,
Page 271 of 541
on page
Cleaning storage compartments and cup ho lders
Some storage compartmen ts and cup h old ers
have a remov able rubber inse rt at the bottom.
Mo is ten a clea n, lint -free cloth with water and
clean th e pa rt s.
If thi s is not then use a special vent -free care an d clea ning produ ct d es igned for plastics.
Cleaning the ashtray
Re mo ve and empty th e ashtray.
Wipe clean with a paper towel.
Use a toothpick or s imilar objec t to remove ash res idu e fr o m the ex tingui sh er
Care and
read an d no te the introdu ctory information and heed the on page
Mo is te n clea n, lint -free cloth with water and
clean the part s.
Clea n on/ywith a
so lvent-fr ee care an d clea ning product that is cifically desig ned for pla stics and approve d
Clean wood trim with mild soap solution.
Core, cleaning, maintenance
Usin g solven ts or o ther improper cleaning
Never usc solve nts or cleaners on the steerin g wheel horn pad or on the in strument panel b eca use they ca n damage the airbag cover or change the rial so that th e airbag cannot deploy and protect
properly. When cleaning the horn pad and strument panel, u se only a soft, dry cloth or a
cloth moistened with plain
Page 327 of 541
Introduction
In this s ec tion lowing :
Preparation s chang ing a . . . . . . . . . . . . . 331
. . . . . . . . . . . . . . . . . . . . . . . . . . . . . . . . 332
the with the jack . . . . . . . . . . 333
Changing a
. . . . . . . . . . . . . . . . . . . . . . 335
ve hicl e design s and models are not ered with a jack and lug w re n ch . su ch cases , Volkswage n recommend s havi ng tires and wheels
changed by an authorized Volk swage n dealer or an authorized Volkswag en Servic e Facility.
Vehi cle key page 34
Tir es and wheels=>
In an page
Vehi cle tool pag e 32 6
Whee l cover s page 328
a whe el, especially on th e side of the road, can be da ngerou s. To help reduce the risk of ser ious personal injury:
Always stop the vehicle
Always make sure that all passengers , cially children, are in safe place outside the
Turn on the emergency nasher and set up another
Always make sure th at the ground is level and firm . If necessary place a sturdy board under the jack.
a whee l by yourse lf only if yo u arc
Always use proper and undamaged tools
when changing tire.
Always apply the parking brake and sh ift the transmission into Park mission ) or any gear (manual only) to help ve nt the ve hicle from moving suddenly and ping off the jack.
a w heel is lifted off the ground, having the tran smission in Park or in gea r not prevent sudden vehicl e movement.
Alwa ys blo ck
Jar object.
If you are towing trail er, alway s unhitch it
from your vehicle before star ting to change the
wh eel. Always apply th e trailer bra kes firmly and make sure the
Always use jac k that has been approved by th e m anufacturer for your vehicle . Never use other jack s, eve n if th ey have been approved for
u se on other Volk swag en models.
To reduce the risk of los ing control , crashes, and se riou s personal injurie s, neve r loosen the
sc re w s on rim s with threa ded rim rings.
Mter changin g a wheel , have the wheel bolt
tightening torque checked with an accurate
torqu e
wrench .
Page 328 of 541
Preparations for changing a
firs t rea d and note the introductory information and heed the on page
Checklist
G ettin g ready to change wheel. Follow these ste p s in the o rder lis ted
yo u h ave a nat tire, move safe distance away from the road. the ve hicl e on firm , leve l
the parking page 188.
3. Auto m ati c transmissio n : 179.
4. page 172.
5. transmission: Engage a page 179.
6. Have
tow ing a trailer: Unhit ch the trai le r from the ve hicle and park the trailer properly.
9. the lu ggage compartm ent is loaded: Remo ve th e lu ggage.
move th e spare or compac t spare wheel from the lu ggage compartment.
II. Take ofT the whe el covers page 328.
Disregarding
the safety -relat ed ch eckl is t may lead to accidents and seriou s injuries.
Always review and follow the checklist.
Follow accepted s afety practices and u se common
Pra ctical tips 331
Page 361 of 541
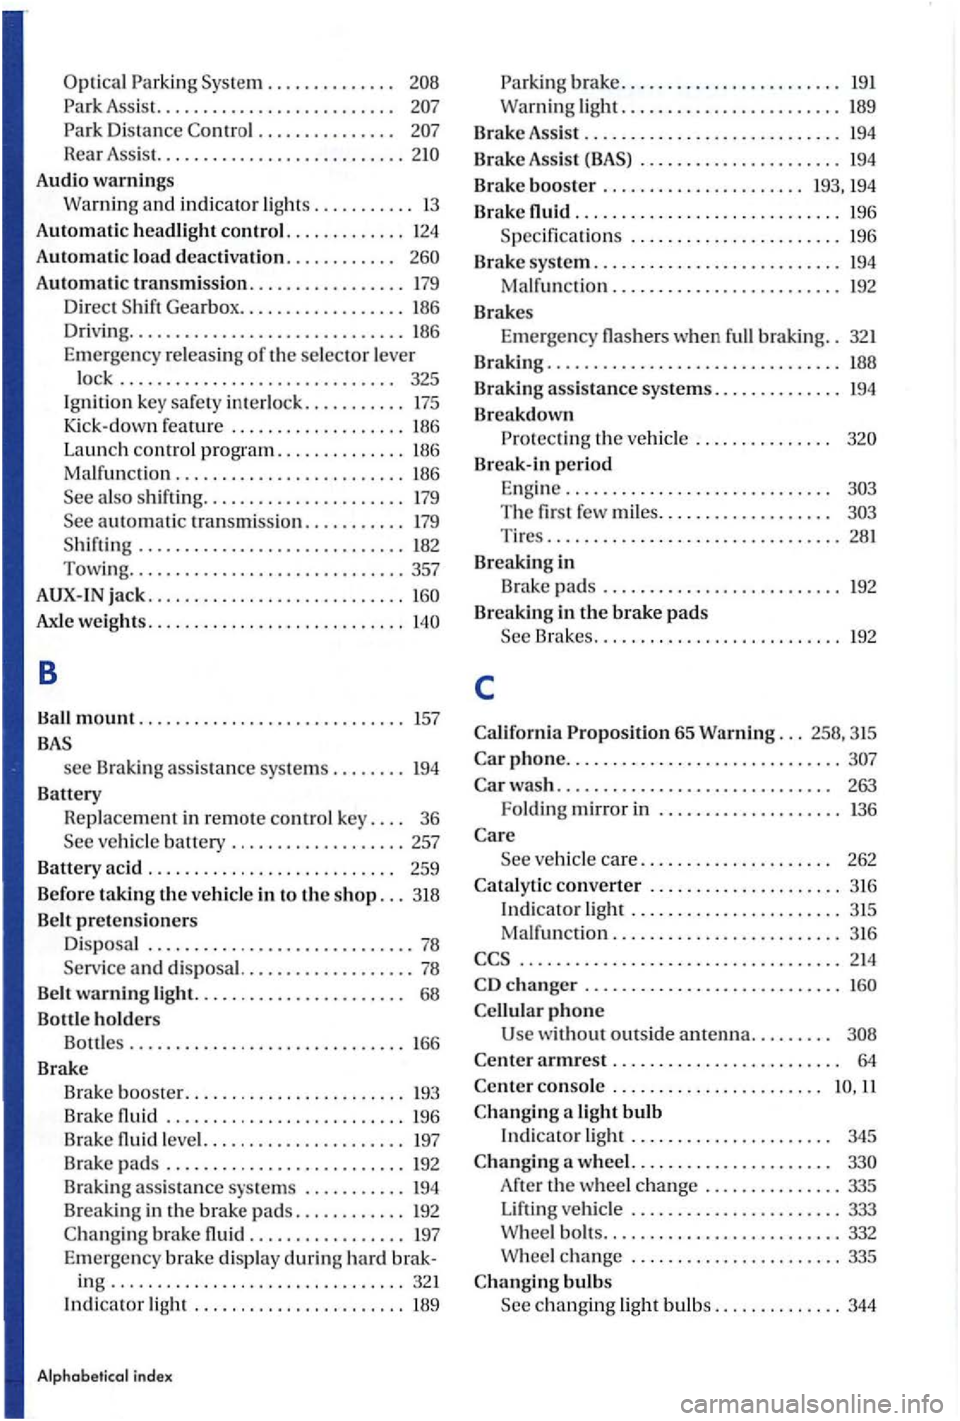
Optical Parking Sys tem . . . . . . . . . . . . . .
. . . . . . . . . . . . . . .
Rear Assis t. .................. ........
Audio warnin gs
Warning and
indicator lights ........... 13
Automat ic headlight control ............. 124
Automa ti c load deactivation. . . . . . . . . . . .
Automatic transmission ................. 179
Direct
th e selector lever
l
ock .............................. 325
Ignition key saf e ty interlock ........... 175
Kick-down feature ................... 186
Launch
control program .............. L86
Ma lfun cti on ......................... 186
Axle weights ............................
B
mount ............................. 157
see Braking assistance syste ms .. ...... 194
Battery Replac e
ment in remote co ntrol key. . . . 36
Belt warning light. . . . . . . . . . . . . . . . . . . . . . . 68
Bottle
holders
Bottles . . . . . . . . . . . . . . . . . . . . . . . . . . . . . 166
Brake
Brak e booste r.
...........
.......................... 196
Brake l eve l. ...... ..... .......... 197 Brake pads .......................... 192
Brak ing
assistance sy s tems ........... 194
b rake ............. .... 197
Emerge ncy brake display
during hard brak-ing ................................ 321 Indicato r light ................... .... 189
Alphab etical index
Parking brake ........................ 19 1
Warning
light ....................... . 189
Brak e Assist ............................ 194
Brake Assist . . . . . . . . . . . . . . . . . . . . . . 194
B rake booste r ...................... 193, 194
Brake
............................. 196
Specifica tions
....................... 196
Brake sys
tem ........................... 194
Malfun ction ......................... 192
Brakes
Eme r
gency when full braking .. 321
Braking . . . . . . . . . . . . . . . . . . . . . . . . . . . . . . . .
Braking assistance systems. . . . . . . . . . . . . . 194
Breakdown Protect in g th e ve hicl e . . . . . . . . . . . . . . .
Break-in period
E ngin e .............................
Brakes ......... .................. 192
c
phone ....... ..... ..................
changer ........................... .
phone
w ithout outside antenna. . . . . . . . .
con so le . . . . . . . . . . . . . . . . . . . . . . .
a light bulb
Indicator light . . . . . . . . . . . . . . . . . . . . . . 345
th e wheel change ... ............ 335
ve hicl e ....................... 333
W heel bolt s ..................... ..... 332 W hee l change ....................... 335
Page 373 of 541
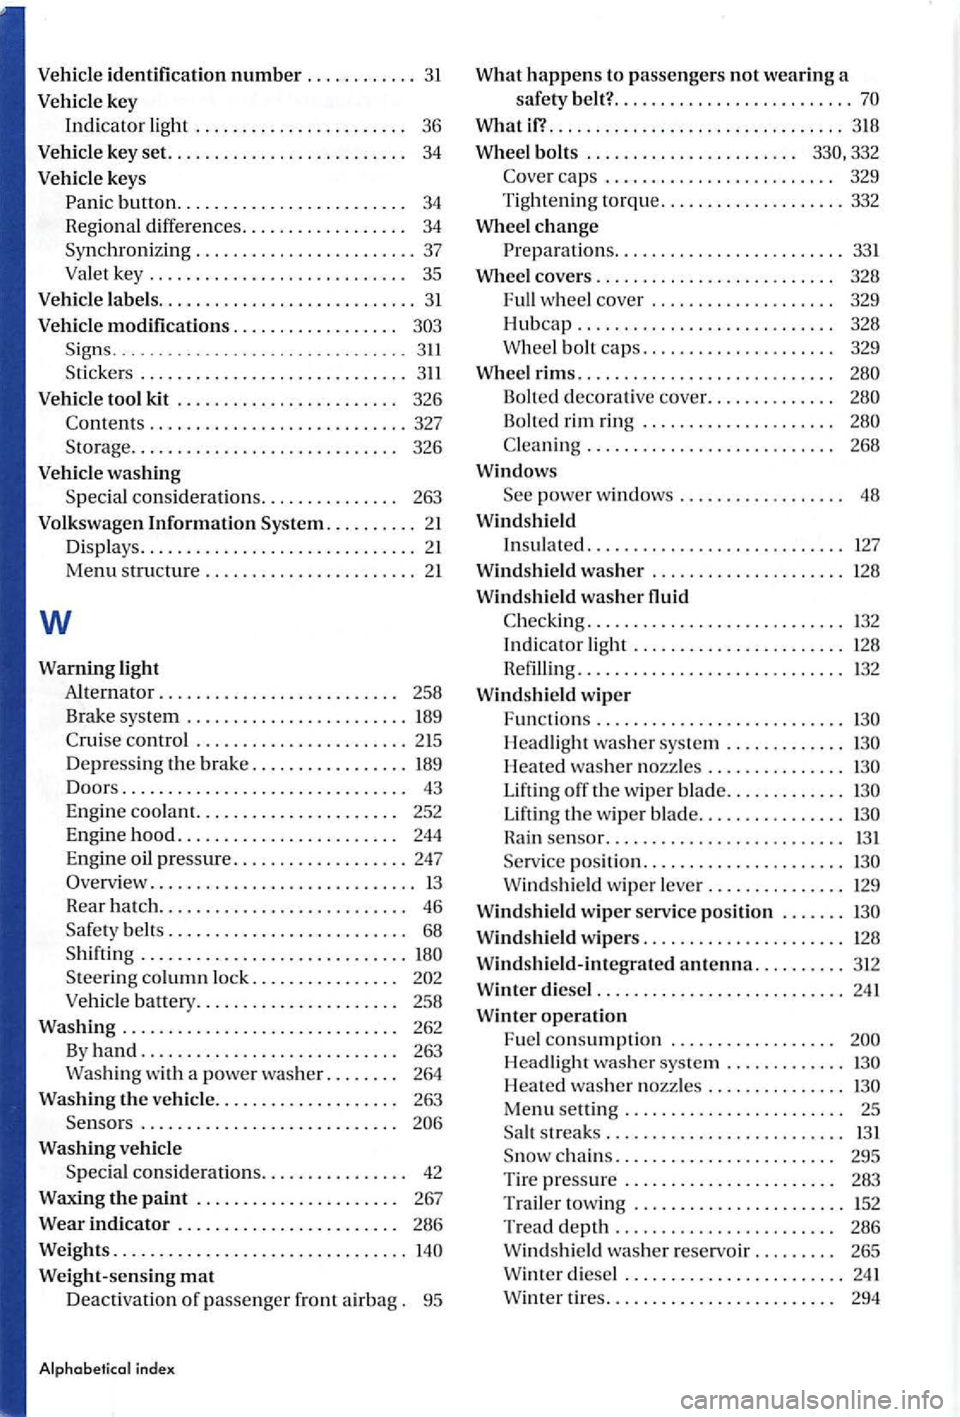
Vehicle identification number ............ 3 1
Vehicle key
Indi
cator light . . . . . . . . . . . . . . . . . . . . . . . 36
Vehicle key set. . . . . . . . . . . . . . . . . . . . . . . . . . 34
Vehicle keys
button......................... 34 Regio nal diff ere nces . . . . . . . . . . . . . . . . . . 34
Sy nchronizing ........................ 37
Valet ke y . . . . . . . . . . . . . . . . . . . . . . . . . . . . 35
Vehicl e labels ............................ 31
V eh icle modifications. . . . . . . . . . . . . . . . . . Signs. . ........................... 311
Sticker s . . . . . . . . . . . . . . . . . . . . . . . . . . . . .
. . . . . . . . . . . . . . . . . . . . . . . . . . . . 326
V ehi cle washing
Spec ia l con sid eration s. . . . . . . . . . . . . . . 263
Volk swage n Information System .......... 21
Displa ys. . . . . . . . . . . . . . . . . . . . . . . . . . . . . . 21 Menu structure ........... ............ 21
w
Warning light
Alternator.. . . . . . . . . . . . . . . . . . . . . . . . . 258
Brak e sys tem .......... .............. 189
Cruise co ntrol .................... .. . 215
Depre ssing
the brake ................. 189
Doors... ............................ 43
Engine coo la nt. . . . . . . . . . . . . . . . . . . . . . 252 Engine hood. . . . . . . . . . . . . . . . . . . . . . . . 244 Engine oil pressure ................... 247
Overv iew . . . . . . . . . . . . . . . . . . . . . . . . . . . . . 13
Rear h atc h . . . . . . . . . . . . . . . . . . . . . . . . . . . 46
Safety belt s . . . . . . . . . . . . . . . . . . . . . . . . . . 68
Shiftin g ............................. S teerin g column lock.. . . . . . . . . . . . . . .
. . . . . . . . . . . . . . . . . . . . . . . . . . .
Washing vehicl e
S p
ecia l con sideration s. . . . . . . . . . . . . . . . 42
Waxing the paint . . . . . . . . . . . . . . . . . . . . . . 267
Wear indicato r . . . . . . . . . . . . . . . . . . . . . . . . 286
Weights ................................
What if? ..................•............. 318
Whe el bolts . . . . . . . . . . . . . . . . . . . . . . . 332
Cove r caps . . . . . . . . . . . . . . . . . . . . . . . . . 329
Tightening
torque ....... . ............ 332
Whe el change ........... ..... ......... 331
Wheel covers . . . . . . . . . . . . . . . . . . . . . . . . . . 328 Full w heel cover . . . . . . . . . . . . . . . . . . . . 329
Hubcap ................. ..... ...... 328
Whee l bolt c
aps. . . . . . . . . . . . . . . . . . . . . 329
Wheel rims. . . . . . . . . . . . . . . . . . . . . . . . . . . .
Bolted deco rative cover. . . . . . . . . . . . . .
Bolted rim ring . . . . . . . . . . . . . . . . . . . . .
C leaning . . . . . . . . . . . . . . . . . . . . . . . . . . . 268
Window s
power windows . . . . . . . . . . . . . . . . . . 48
Wind shi eld
Insulat ed ............................ 127
Wind shi eld washer ..................... 128
Windshield washer
C heck ing ............................ 132
Indicator li ght ....................... 128
R efi llin g ............................. 132
Wind shield
wiper
F un ction s .. .........................
Headlight washer sys te m ............. H eated wash er no zzles ...............
Lifting off the wiper blade ............. Lifting th e w ip er blade ................
po siti on ...................... W in d shi eld wip er leve r ............... 129
Wind shield wiper serv ice position .......
Wind shie ld wipers ...................... 128
Wind shi eld-integrated antenna .......... 312
Wint er di esel ........................... 241
Winter ope
ration
F ue l consumptio n . . . . . . . . . . . . . . . . . . Headli ght wa sher sys tem .............
H ea te d was he r n ozz les ............... Menu s e ttin g . . . . . . . . . . . . . . . . . . . . . . . . 25 s treak s ......... ................. 13 1