wiper blades VOLKSWAGEN JETTA 2010 Owners Manual
[x] Cancel search | Manufacturer: VOLKSWAGEN, Model Year: 2010, Model line: JETTA, Model: VOLKSWAGEN JETTA 2010Pages: 477, PDF Size: 77.6 MB
Page 341 of 477

Booklet 3.2 Tips and Advice
Use windo w clean er o r a s ilicon e re mo ver to re
mo ve rubb er, oil , gre a se and sili con e depo sit s.
Wax d epo sit s have to be re m ove d w it h a sp ecial
cl ea ner.
d ep os its o n th e w indshi eld co uld
cau se the w ip er bl ad es to rub. windo w clea ner
s p ec ifica lly fo r re m ov ing w ax w ill stop th e bla d es
fr om rubbin g if add ed to the w in dshi eld was h
wa te r. Gr ease re m ov ing cl ea ners w ill n ot re m ove
depo sit s.
WARNING
P oor v isib ility in creases the risk of co lli sion s
a nd other acciden ts.
Cleaning windshi eld wiper blades
Wiper bl ades b e clean ed re gularly.
C le an wip e r b lad es a re important so th at
y ou ca n see .
Use a so ft clot h to r em ove dust and dirt
from the w in dsh ie ld wip er blad es.
Care of rubber gaskets
WARNING (continued)
• Always make s ure a ll wind ows are clear of
i ce, s now, and cond ensatio n for good visib ility
out the wind shi eld , s ide and rear wind ows.
pr eve nt dirt from bein g ground a gainst th e gl ass
when you pu ll the scrap er ba ck tow ard s yo u ...
U se wi ndow clean er to clea n th e wind
s h ie ld wiper blade s. U se a sponge or a
cloth to remo ve stubborn dirt.
46. _,.
If g ask ets a re w ell maintain ed, the y will not fre eze as e asily .
Use a sof t cloth to r emove du st and dirt
f rom the rubber gaske ts.
Spra y rubb er gasket s wi th ur
u se anoth er ve hicle care produ ct to k eep
th em sof t an d pr eve nt fr e ezin g.
20 Cleaning and protection
The ru bber sea ls on the d oors, wi ndows etc. will
r e m ain pli ab le and la st lon ger if trea te d
with a sui table produ ct (fo r ex ample sili
co ne spra y).
C ar in g for rub ber se als w ill also preve nt pr ema
ture a gin g and lea ks. T he doors w ill be eas ie r lo
o pe n. If ru bb er sea ls are we ll ma intain ed ,
w ill n ot free ze a s eas ily in wint er._,.
Page 367 of 477

Booklet 3.2 Tips and Ad vic e
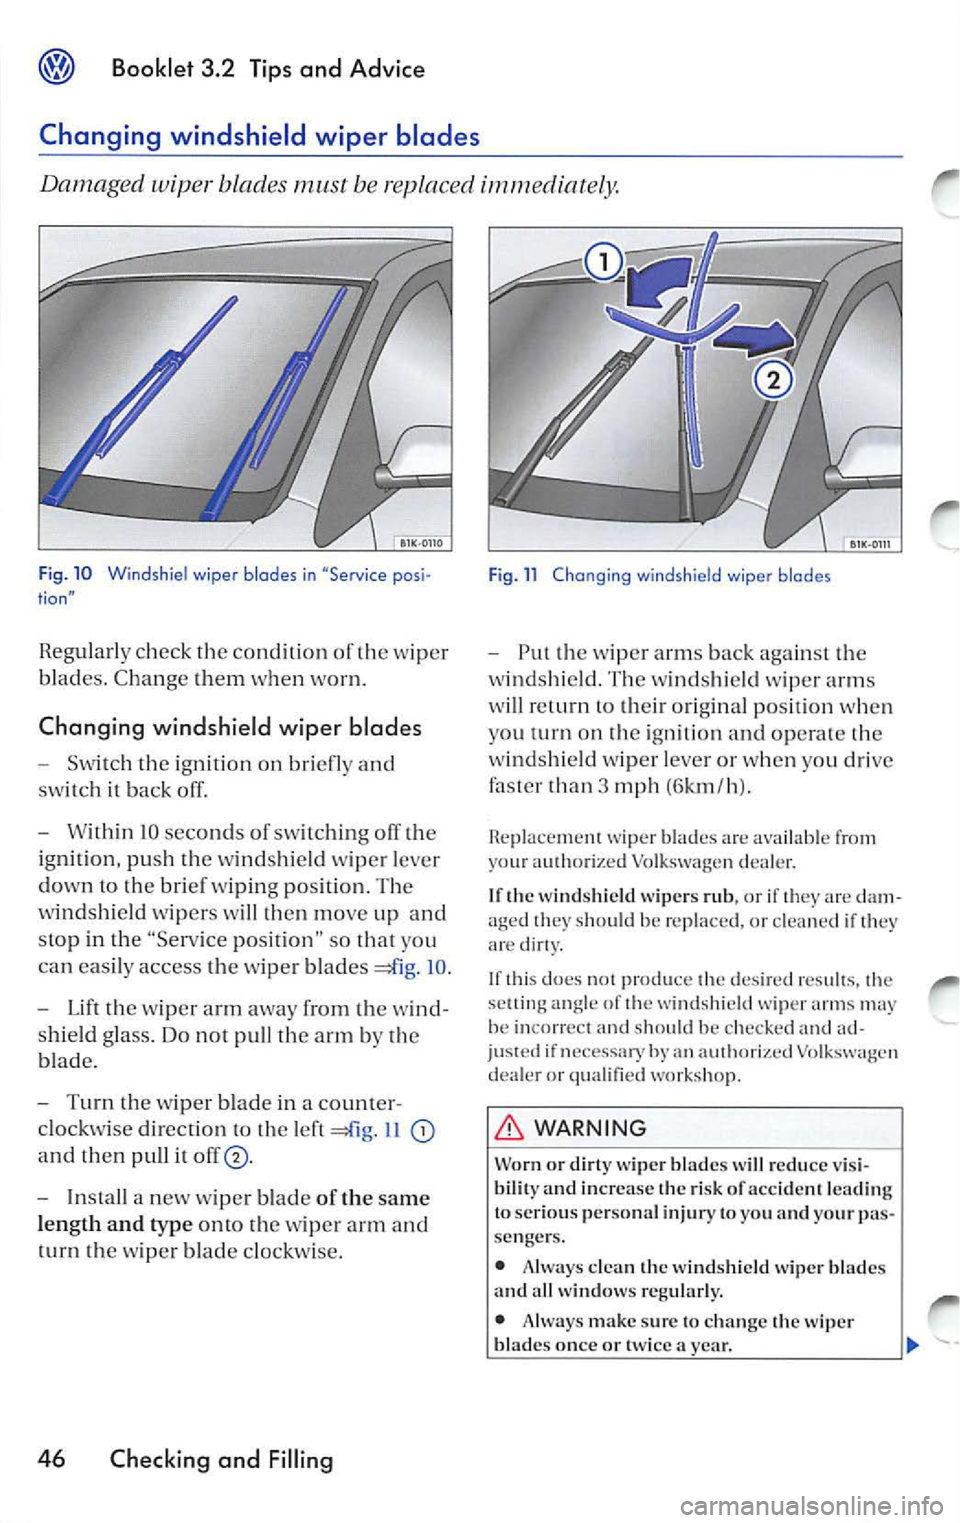
Changing windshield wiper blades
Dama ged wiper blades must be rep lac ed
Fig . 10 Windsh iel wiper blades in "Service posi tion"
Regularl y check the co nditi on of the wipe r
blad es. Change them when worn.
Chang ing windshield wip er blades
- Switch the ignition on briefl y and
sw itch it back off.
- Wit hin IO seconds of switching
th e
i g ni tion, push the windshi eld wiper lever
down to the brie f w ipin g position. The
w indshield wip ers w ill then mo ve up and
stop in the "Service posit ion " so that you
can easily access the wipe r blade s
IO .
- Lift th e wiper arm away from the w ind
s hield glass. Do not pull th e arm by th e
bl ad e.
- Turn the wiper blade in a counter
cl oc kwise directio n to the lef t
I I
and then pull it
- In sta ll a n ew wipe r blade of the same
l eng th and type onto the w ip er arm and
t urn th e w ip er bl ade clockwi se.
46 Checking and Filling
Fig. 11 Changing windshie ld wiper blades
- Put the wip er arms back agains t the
w indshie ld. The win dsh ie ld wiper arms
wi ll re turn to their original po sition w hen
you turn on the ignit ion and opera te th e
w ind shi eld wipe r lever or w hen yo u dri ve
faster than 3 mph (6km /h ).
Replac ement wip er blad es are available from
y our au thorized Volkswage n deal er.
I f th e w ind shi eld wiper s rub , or if they are dam
ag ed
shou ld be rep laced , or clea ned if th ey
are dirty.
If th is do es
produ ce de sired re sult s, settin g angle of winds hield wiper arm s ma y
be in correct sh ould be ch eck ed an d ad if necessary by an dealer or quali fied work sh op .
WARNING
Worn or wip er b la d es w ill redu ce vis i
bilit y and increase the risk of acci dent l ead ing
to ser io us perso nal inju ry to you and your p as
se nger s.
•
clea n wind shi eld wip er blade s
and all wi ndo ws reg ular ly.
• Alw ays mak e sure to ch an ge the
blade s onc e or tw ice a yea r.
Page 368 of 477

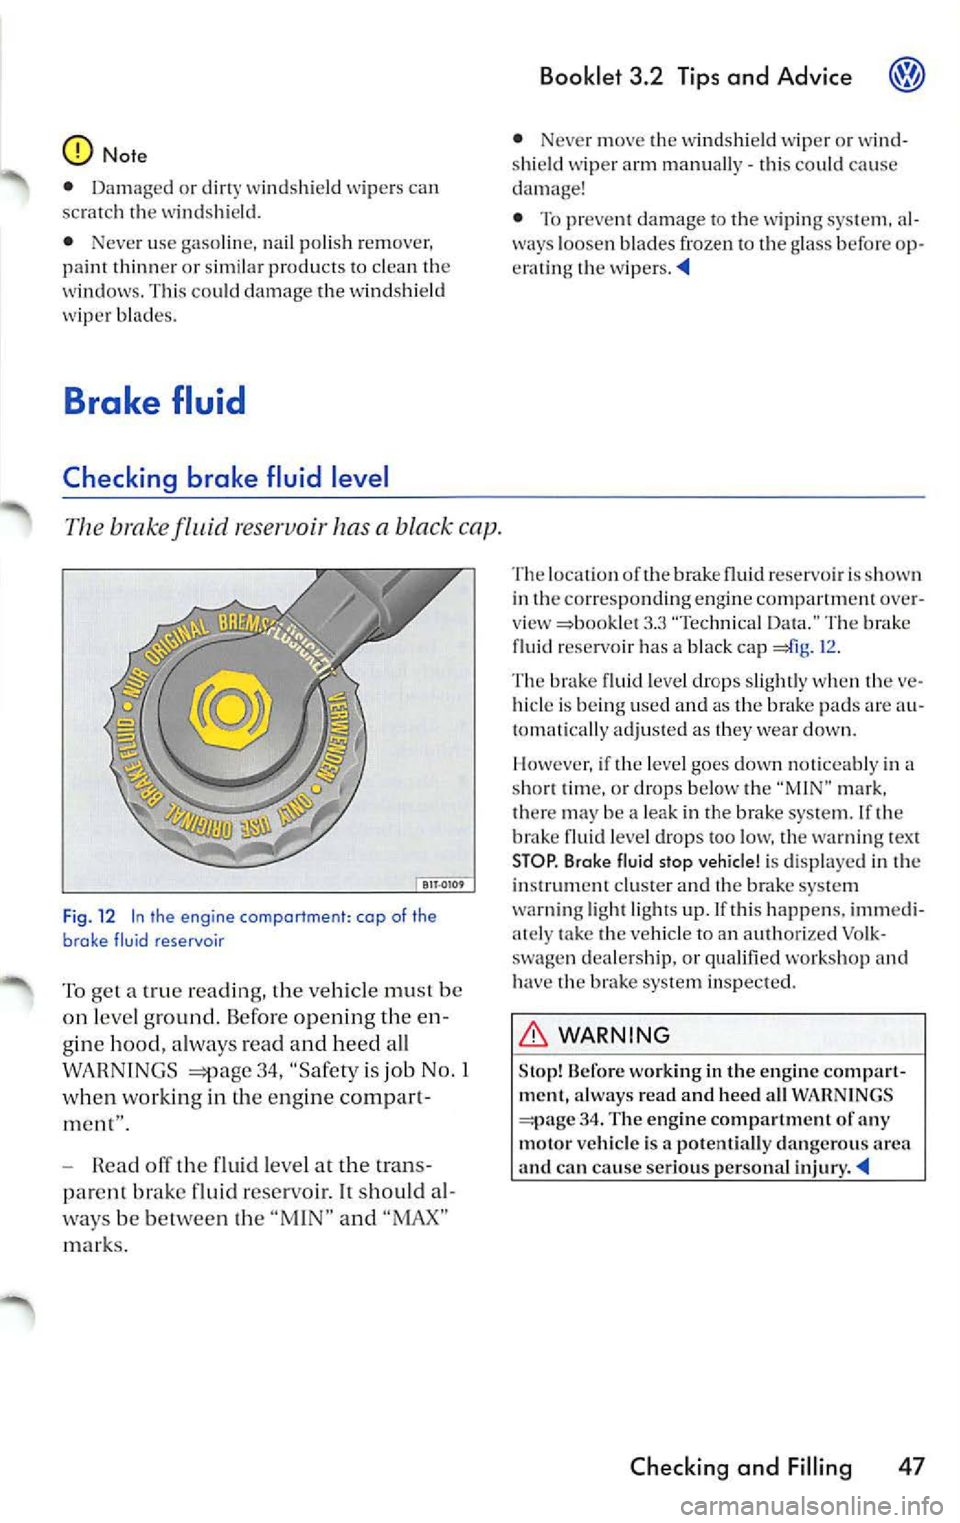
fluid reservoir has a black cap.
Fig. 12 I n the engine compartm ent : c ap of the
brake fluid reservoi r
To get a read in g, the ve hicl e be
on leve l g round . Before opening th e
g in e hood, always rea d and hee d all
WA RN INGS
34, "Sa fety is job No. 1
w hen wo rkin g in the eng ine com par t·
m ent' '.
H ead off fluid leve l a t the tran s
par ent brak e fluid reservo ir. IL sho uld
ways be be twee n th e "M IN" and "MAX"
m arks .
Bookl et 3.2 Tips and Advic e @
• Never move the w indshi eld wiper o r sh ield wiper arm manu ally· this co uld cause
damage!
• To prevent damage to the wiping sys te m,
ways loose n blades froze n to th e g lass befor e ting th e wi pers
Th e loca tion of the brak e flu id reservo ir is show n
in the correspo nding engin e co mpartm ent over·
v iew
3 .3 "Tec hnical Data. " T he brake
fluid reservoir has a black cap 12 .
Th e fluid leve l drops slightly w hen th e hide is bein g use d and as the pads are to mat ically a dju ste d as they wea r dow n.
Howe ver, if the leve l goes
no ticeab ly i n a time, o r drops below th e "MIN " mark,
ther e ma y be a lea k in the brake syste m. If th e
brak e fluid leve l drops too low, the wa rnin g tex t
STOP . Brake fluid stop vehicle! i s disp layed i n the
instrumem cluste r an d the brake system
warning lig ht light s up . If this hap pens, imm edi ·
ate ly take the ve hicle to an auth orized Vo lk
s wa gen d ealer ship, or qua lified workshop a nd
have the brak e sys te m insp ecte d.
WARNING
Stop! Before wo rk in g in the en gin e compart
ment , a lways read and h eed all WARN IN GS
34 . Th e engine compar tme nt of any
motor vehicle is a pot entia lly dan gerou s area
and can ca use ser io us perso nal injur y
Checking and Filling 47
Page 417 of 477

Booklet 3.2 Tip s and Ad vice
V
Ve hicl e
Li ftin g 89
Ve hicl e batt ery
49
Ve hicle care
Exte rior 17
Ve hicle care prod ucts 16
Ve hicl e co ntrol m odul es
6
Vehicle phone 29
Veh icle too l kit
67
Vo lksw agen Se rv ice Repa ir Manua ls 9 1
w
Warranty covera ges L5
W as her 45
Was hing by ha nd 17
W as hin g th e veh icl e 17
Was hin g with power cl eaners
18
Wax ing
Ho w ofte n shou ld
I wax my ca r? 19
W ear indicato r 59
What do es it mea n wh en I fee l a sli ght vibra-
tio n on th e brak e peda l?
3
What if I pur ch ase poor quali ty fu el? 32
W hat is th e co rrect brak e
leve l?. 47
W hat is the right way to break- in my
ve hicl e?
7
W hat kind of brak e should 1 u se? 48
W hat kind of e ngin e oil sh ould 1 p ut in my
ve hicl e?
37
W hat sho uld 1 do afte r ch an ging a w hee l? 57,
74
What sh oul d 1 do after re p laci ng wh eels? 57
Wha t s h ould
I do if I want to add an accesso,y
to m y ve hicle ?
27
What s houl d 1 do if 1 wa nt to mod ify my
veh icl e? 28
Wh at should 1 do if I wan t to re pair m y
ve hicl e? 28
96 Alphabetical index
What sh o uld I do if t he brake warnin g light
comes o n?
47
What wo uld happ en if 1 put le ad ed gasol ine
in my ca r? 32
What you must do aft er rec onn ect th e
batt ery
49
Wheel bolt caps 69
Whee l b olt s 7 1
T orq ue 66
W hee l chan gin g
68
Whee ls 5 1 C hec kin g tire press ure 56
Co ld tire infl ati o n pre ssure 5 4
G en era l not es 51
G lossary o f tir e and loading
t e rmino logy 52
New tir es and whee ls 6 1
Tir es and veh icl e load limit s 58
Whe n ca n yo ur ve hicle not be to we d? 88
Wh en sh ould I adju st the tire press ures? 57
Whe n sh ould I ch ec k th e e ngin e o il level? 38
W hen should
I c h eck the tir e pr ess ures? 57
W hen sh ould
I ref uel the tank of the
ve hicle ?
3 1
W her e ca n I find t he tire pr essures for my
ca r?
56
Wh ere is th e oil d ipsti ck 3 9
W indo ws
Clea nin g
19
Wi ndshie ld
C lean ing
19
Win dsh ie ld wash 45
W ind sh ie ld wiper blades
C lea nin g 20
Win dsh ie ld wip ers
C hanging b lade s
46
Wint er tir es 65 All-w hee l dri ve 65
Wood en trim
C le anin g 23
Wo rking in the en gin e compartme nt 34