door lock VOLKSWAGEN PASSAT 2004 Owners Manual
[x] Cancel search | Manufacturer: VOLKSWAGEN, Model Year: 2004, Model line: PASSAT, Model: VOLKSWAGEN PASSAT 2004Pages: 483, PDF Size: 78.54 MB
Page 8 of 483
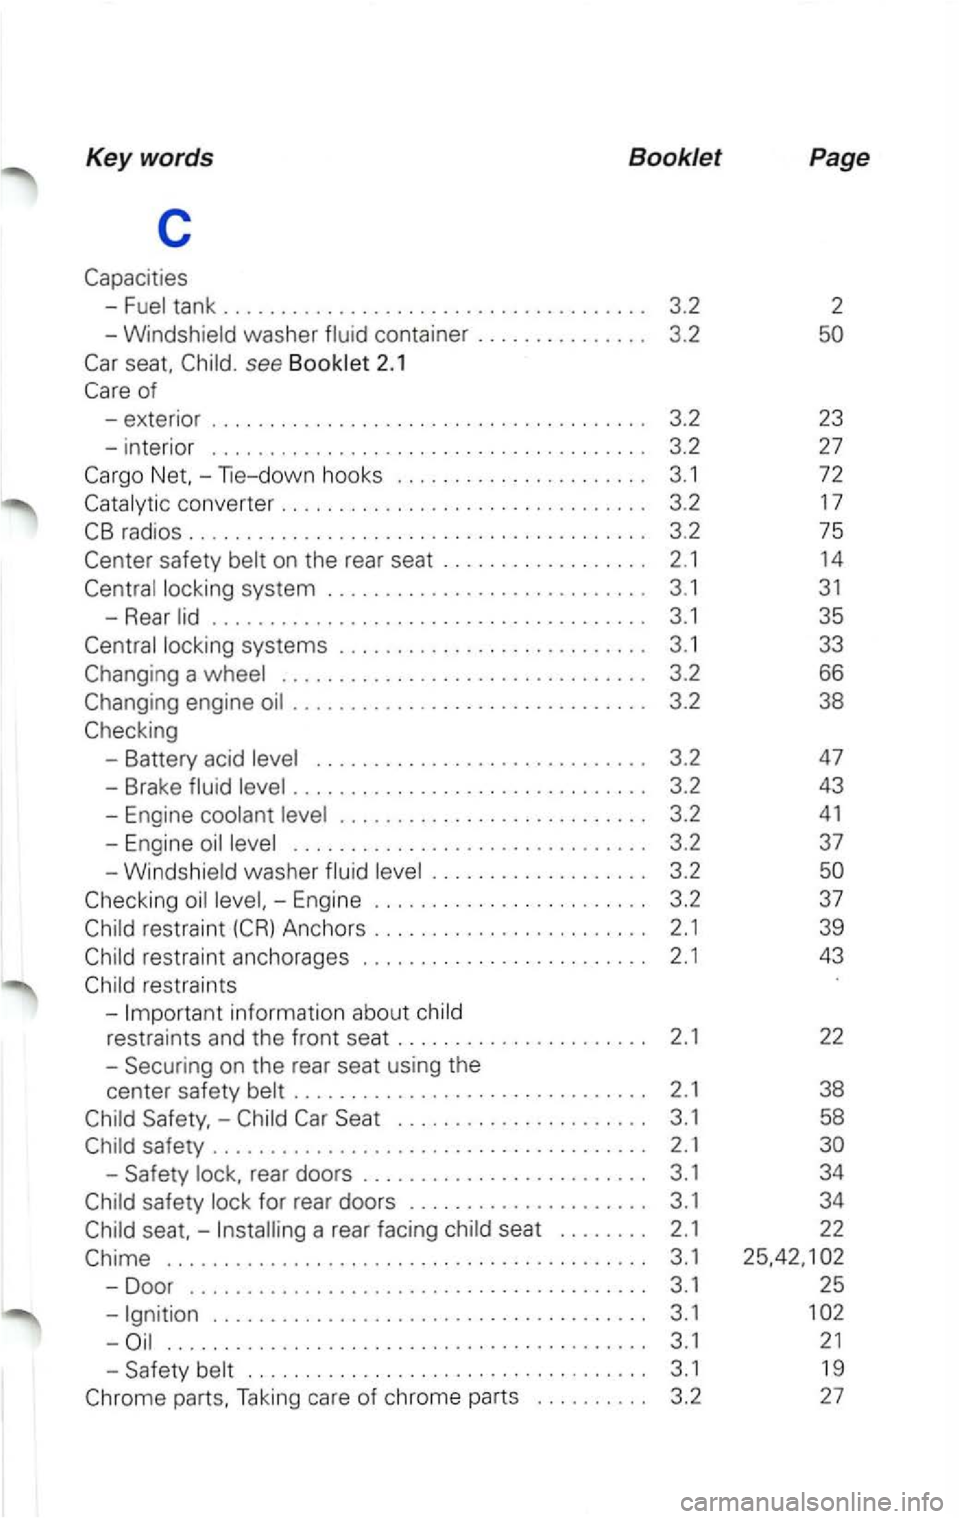
-Fuel tank .............................. ...... .
-Windshield washer fluid containe r .............. .
seat. see Booklet 2 .1
converte r ..................... ... ....... .
rad ios .......................... ............. .
locking system ........................... .
-Rear lid ......................... ............ .
locking systems ...... .................... .
- Battery acid level ............................ .
- Brake fluid level
................ .... .......... .
- Engine coolant level
.................. ..... ... .
- Engine oil level ...
........................ ... .
-Windshield wash er fluid level .................. .
restraint Anchors ........ .. .. ........ ... .
restraint anchorages .................. ...... .
Safety, -
safety ............ ... .... .... ...... .. ... ... .
- Safety lock. re a r doors .
...................... . .
safety lock for rear doors ............ ........ .
seat, -
................ ................ ......... .
- Door
.............. .. .... .... ............... .
-Ignition .......... . .......................... .
........................................ . .
- Safety belt
............................. ..... .
Page 10 of 483
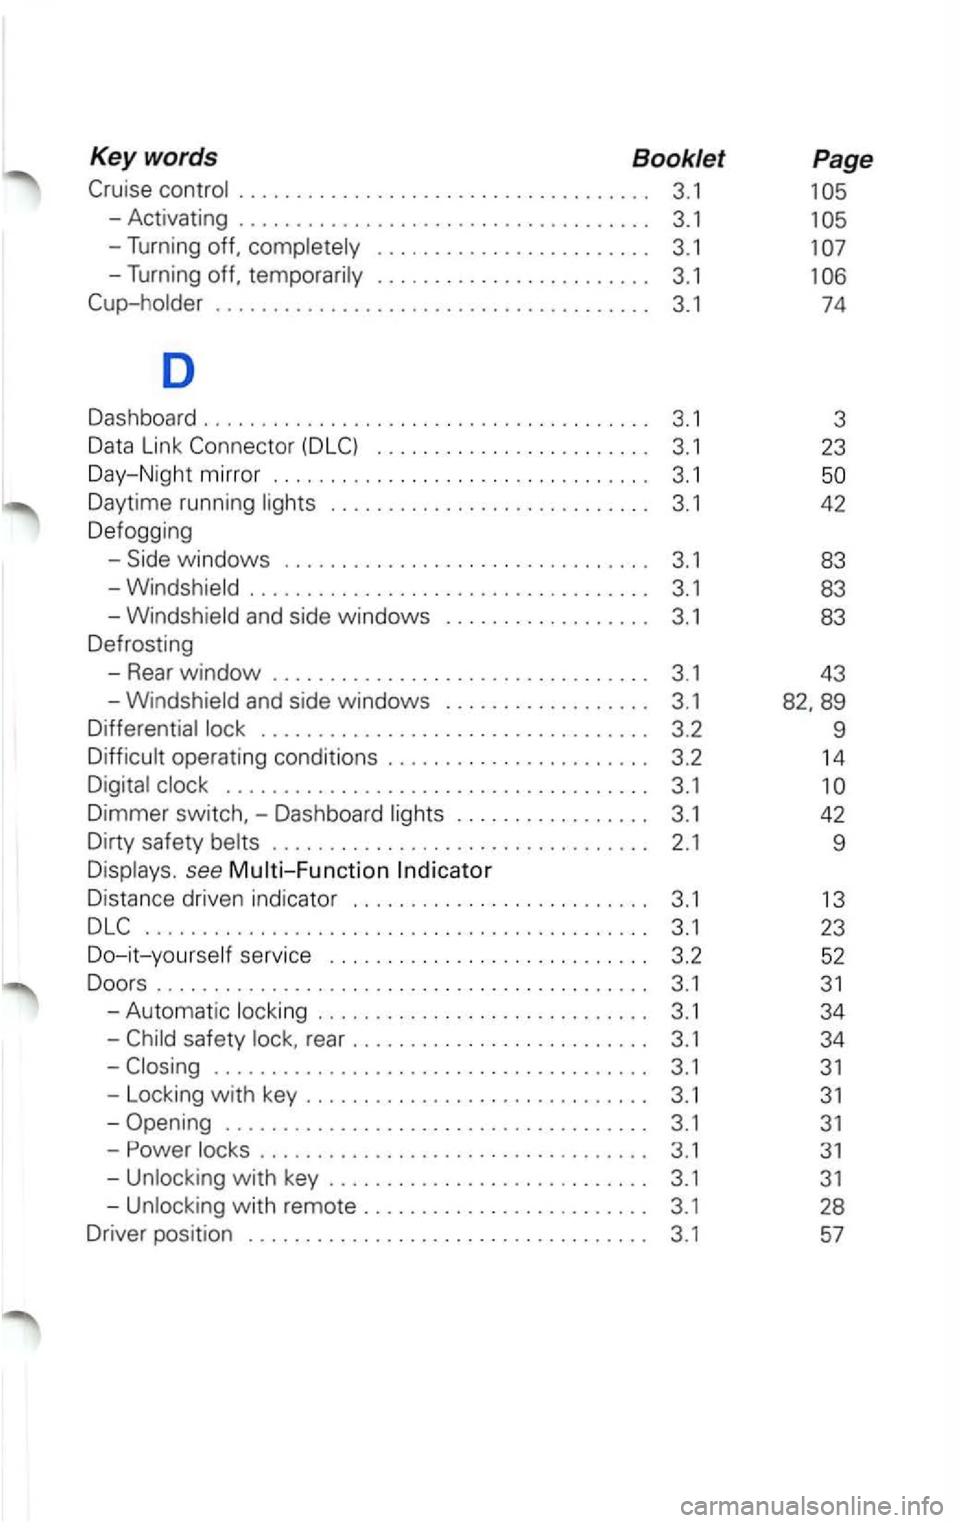
Keywords Booklet
. . . . . . . . . . . . . . . . . . . . . . . . . . . . . . . . . . . . . . 3. 1
D
Dashboard .................................... .. . 3.1
Data Link Connector ....................... . 3.1
Day -N ig ht mirror ................................ . 3.1
Daytime running ........................... . 3.1
Defogging
-
.............................. ... .
3.2
............................... ..... . 3.1
Dimmer switch, -Dash
board ................ .
3.1
Dirty safety
......... ...................... . . 2.1
see Multi-Function
Distance driven indicator ......................... .
3.1
........................................... . 3.1
Do-it -yourself service ............. .............. .
3.2
Doors
... .. ........... ......... ................. .
3.1
-Automatic .............. .......... .... .
3.1
-
rear ........... .............. .
3.1
.................... .......... ..... .. .
3.1
- Locking with key .
........................ .... . 3.1
-Opening ............ ........................ . 3.1
- Power ................................. . 3.1
-w ith key .................... ....... . 3 .1
-
42
9
13
23
52
31
34
34
31
31
31
31
31
28
57
Page 16 of 483
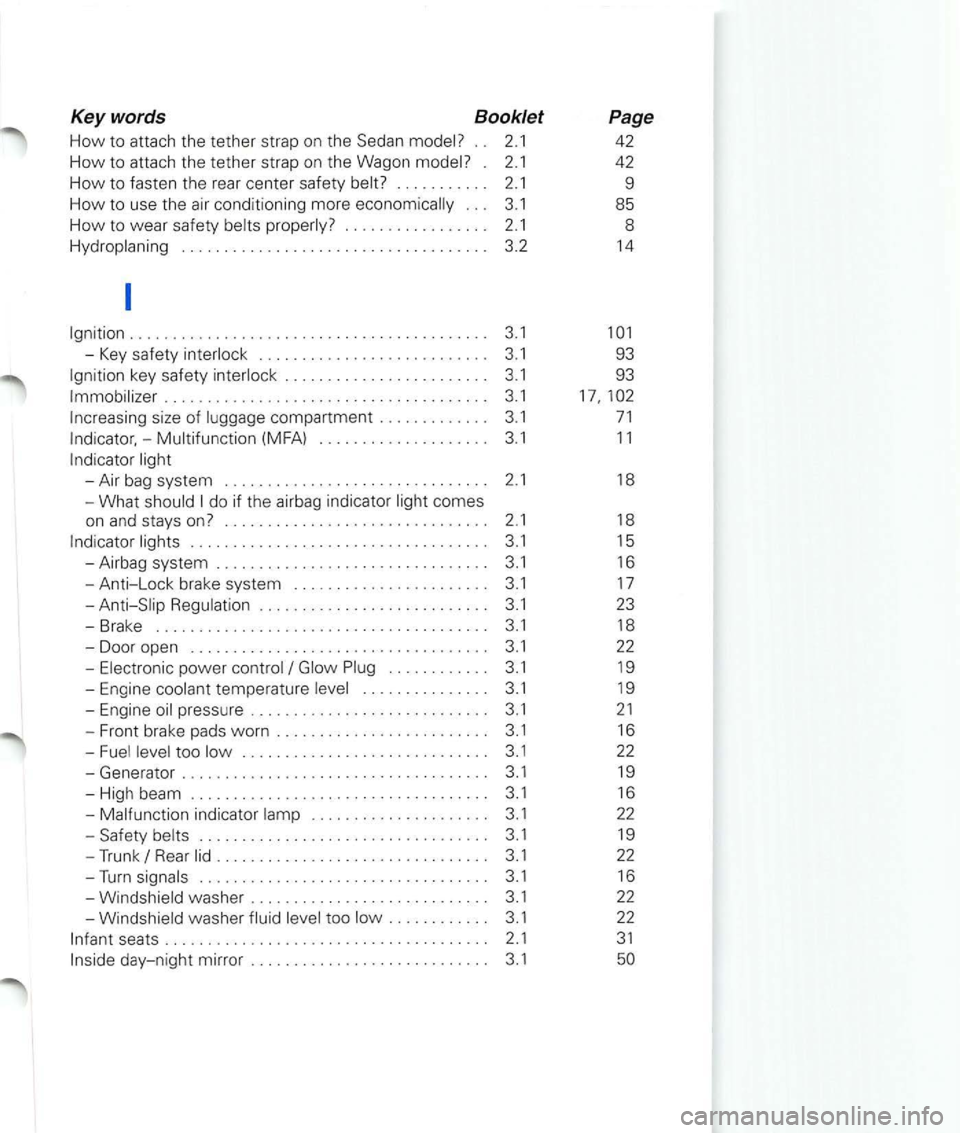
Keywords Booklet
How to attach the tether strap on the Sedan . . 2.1
How to attach the tether strap on the Wagon . 2.1
How to fasten th e rear center safety . . . . . . . . . . . 2.1
How to use the air cond it ioning more . . . 3.1
How to wea r safe ty
. . . . . . . . . . . . . . . . . . . . . . . . . . . . . . . . . . . . 3.2
.................................... ..... . 3.1
-Key safety .......................... . 3
.1
key safety
.......................... ..... ...... . 3.1
compartment ............ . 3.1
- Multifunction (MFA) ................... . 3.1
do if th e airbag indicato r
........................... ... .... . 3.1
- Airbag system ........................ ....... . 3.1
-Anti-Lock brake system ...................... . 3.1
.......................... . 3.1
-Brake ..... .................. ........ ...... . . 3.1
-Door open .................................. . 3.1
-
too
indicator .................... . 3.1
- Safety .................. ........... .... . 3.1
-Trunk Rear ..... ..................... ..... . 3.1
-Turn ............................ ..... . 3.1
washer too
seats ..................................... . 2.1
71
1 1
18
1 8
1 5
16 1 7
23 1 8
22
19
19
2 1
16
22 19
16
22 19
22 16
22
22
31
Page 19 of 483
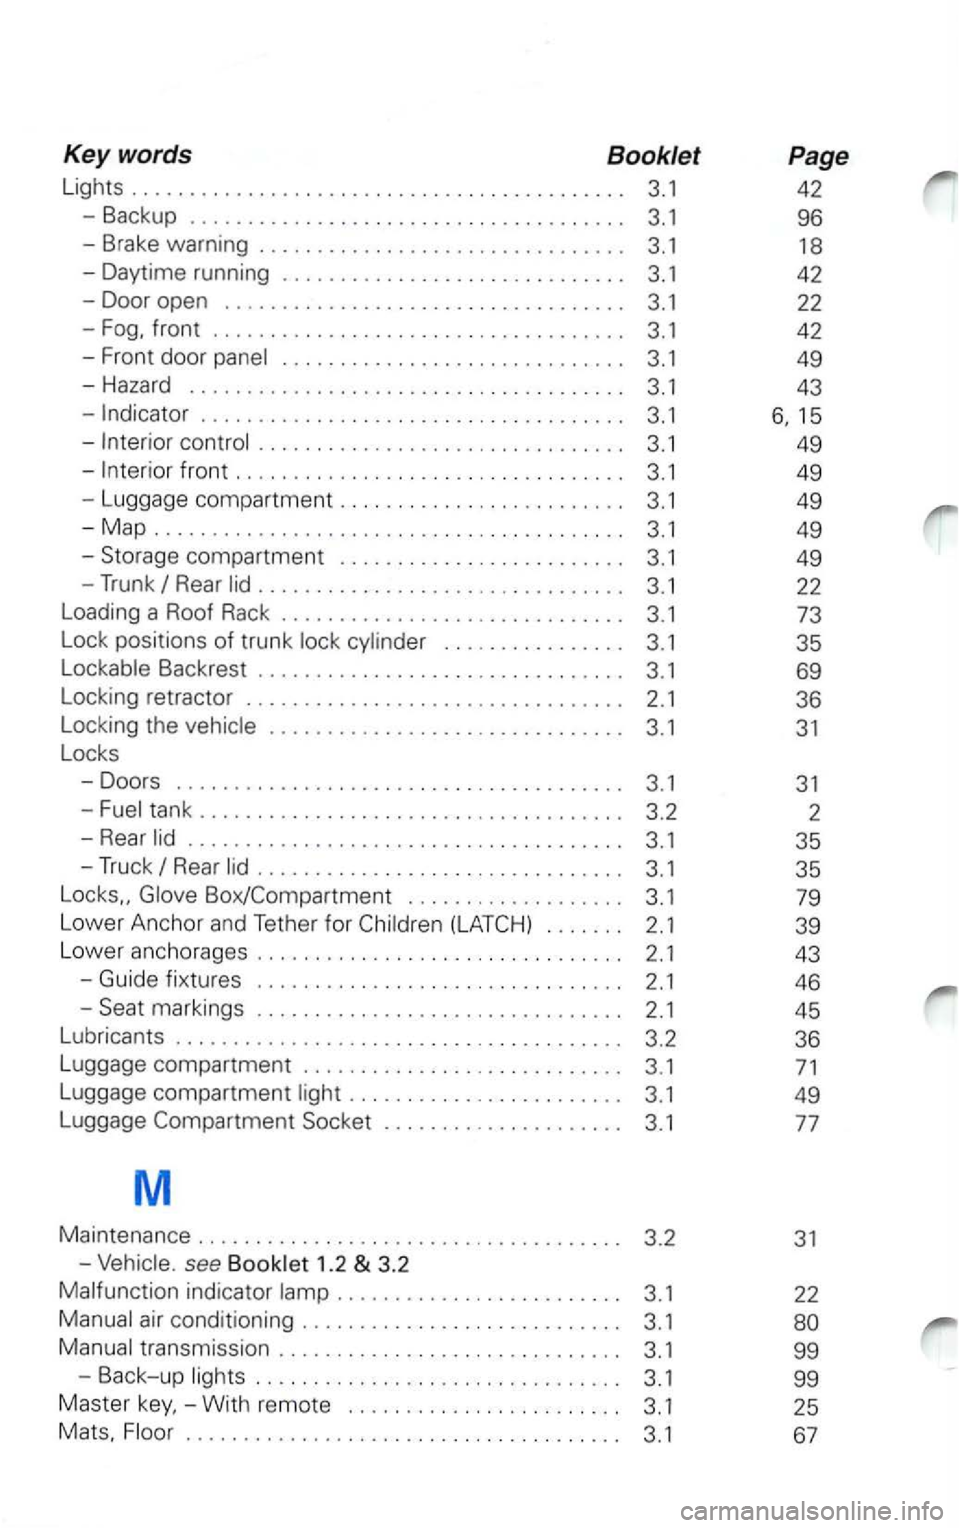
Key words Booklet
Lights . . . . . . . . . . . . . . . . . . . . . . . . . . . . . . . . . . . . . . . . . . . 3.1
- Backup . . . . . . . . . . . . . . . . . . . . . . . . . . . . . . . . . . . . . . 3.1
- Brake wa rning . . . . . . . . . . . . . . . . . . . . . . . . . . . . . . . . 3.1
- Dayt
ime running . . . . . . . . . . . . . . . . . . . . . . . . . . . . . . 3.1
- Doo r open . . . . . . . . . . . . . . . . . . . . . . . . . . . . . . . . . . . 3.1
-
. . . . . . . . . . . . . . . . . . . . . . . . . . . . . . . . . . . . . 3.1
con trol . . . . . . . . . . . . . . . . . . . . . . . . . . . . . . . . 3.1
com partment . . . . . . . . . . . . . . . . . . . . . . . . . 3.1
- Trunk
Rear lid . . . . . . . . . . . . . . . . . . . . . . . . . . . . . . . . 3.1
Loading a Roof Rack . . . . . . . . . . . . . . . . . . . . . . . . . . . . . . 3.1
L ock positions
of trunk loc k cyl inder . . . . . . . . . . . . . . . . 3.1
L ockab le Backre st . . . . . . . . . . . . . . . . . . . . . . . . . . . . . . . . 3
.1
Locking retractor . . . . . . . . . . . . . . . . . . . . . . . . . . . . . . . . . 2.1
Loc king the vehicle . . . . . . . . . . . . . . . . . . . . . . . . . . . . . . . 3.1
Loc
ks
-Doors . . . . . . . . . . . . . . . . . . . . . . . . . . . . . . . . . . . . . . . 3.1
-Fuel tank . . . . . . . . . . . . . . . . . . . . . . . . . . . . . . . . . . . . . 3.2
-Rear lid . . . . . . . . . . . . . . . . . . . . . . . . . . . . . . . . . . . . . . 3.1
-Truck Rear lid . . . . . . . . . . . . . . . . . . . . . . . . . . . . . . . . 3.1
Locks Glove Box/Compartment . . . . . . . . . . . . . . . . . . . 3.1
Lower Anchor
and Tether f or . . . . . . . 2.1
Lower an chorages . . . . . . . . . . . . . . . . . . . . . . . . . . . . . . . .
2.1
-Guide fix tures . . . . . . . . . . . . . . . . . . . . . . . . . . . . . . . . 2.1
markings . . . . . . . . . . . . . . . . . . . . . . . . . . . . . . . . 2.1
Lubri cant s . . . . . . . . . . . . . . . . . . . . . . . . . . . . . . . . . . . . . . . 3.2
Luggage compartment . . . . . . . . . . . . . . . . . . . . . . . . . . . . 3.1
Luggage compartment light . . . . . . . . . . . . . . . . . . . . . . . .
3.1
L uggage . . . . . . . . . . . . . . . . . . . . . 3.1
M
Maintenance ............. ....................... .
3.2
-Vehicle. see Bookle t 1 .2 & 3 .2
Malfunction indicator lamp
........................ . 3.1
Manual air conditioning ........................... . 3.1
Manual transmissi on ............... .. .... ........ .
3.1
- Back -up lights
............................... .
3.1
Master key, -
With remote ....................... . 3.1
Mats. Floor .
.................... .. .............. .
3.1
Page
42
96
18
42
22
42
49
43
1 5
49
49
49
49
49
22
73
35
69
36
31
31
2
35
35
79
39
43
46
45
36
71
49
77
31
22
Page 29 of 483
Identification Number. see 3.3
specificat ions. see 3.3
Vent ilation
............................... 3.1
Service -Ordering .... 3.2
w
Warning
- Airbag system ..........
3.1
-Anti-Lock brake system ..... 3.1
3.1
-Brake ................ . 3.1
- Door open ................. 3.1
-power ... ............... .... . 3 .1
- Engine
temperature 3.1
-Engine
3.1
-High beam ... 3.1
-Safety ......... 3.1
-Trunk Rear
...... ...... 3 .1
-Washe r .................. ... 3 .1
Warning
in the instrument .. 2.1
Warning . . . . . . . . . . . . . . . ....... 3.1
Warning system
........ 2.1
Warning ......... 3.2
Warning/indicator
- Air bag system ................ 3 .1
-
brake system ...... 3.1
........ 3 .1
Warning/indicator
-Air bag system ................ 3.1
-....... 3.1
-Brake .......... 3.1
-
.............. 3.1
temp eratu re .... 3.1
-Door open .................... 3.1
-Engine 3.1
-Front brake pads ........ 3.1
-.......... 3.1
-High beam ....................
... 3.1
Page
53
82
16
19
17
23
18
22
19
19
21
16
19
16
19
22
45
22
7
15 7
52
16
17
23
16
19
18
19
19
22
21
16
22 16
22
Page 191 of 483
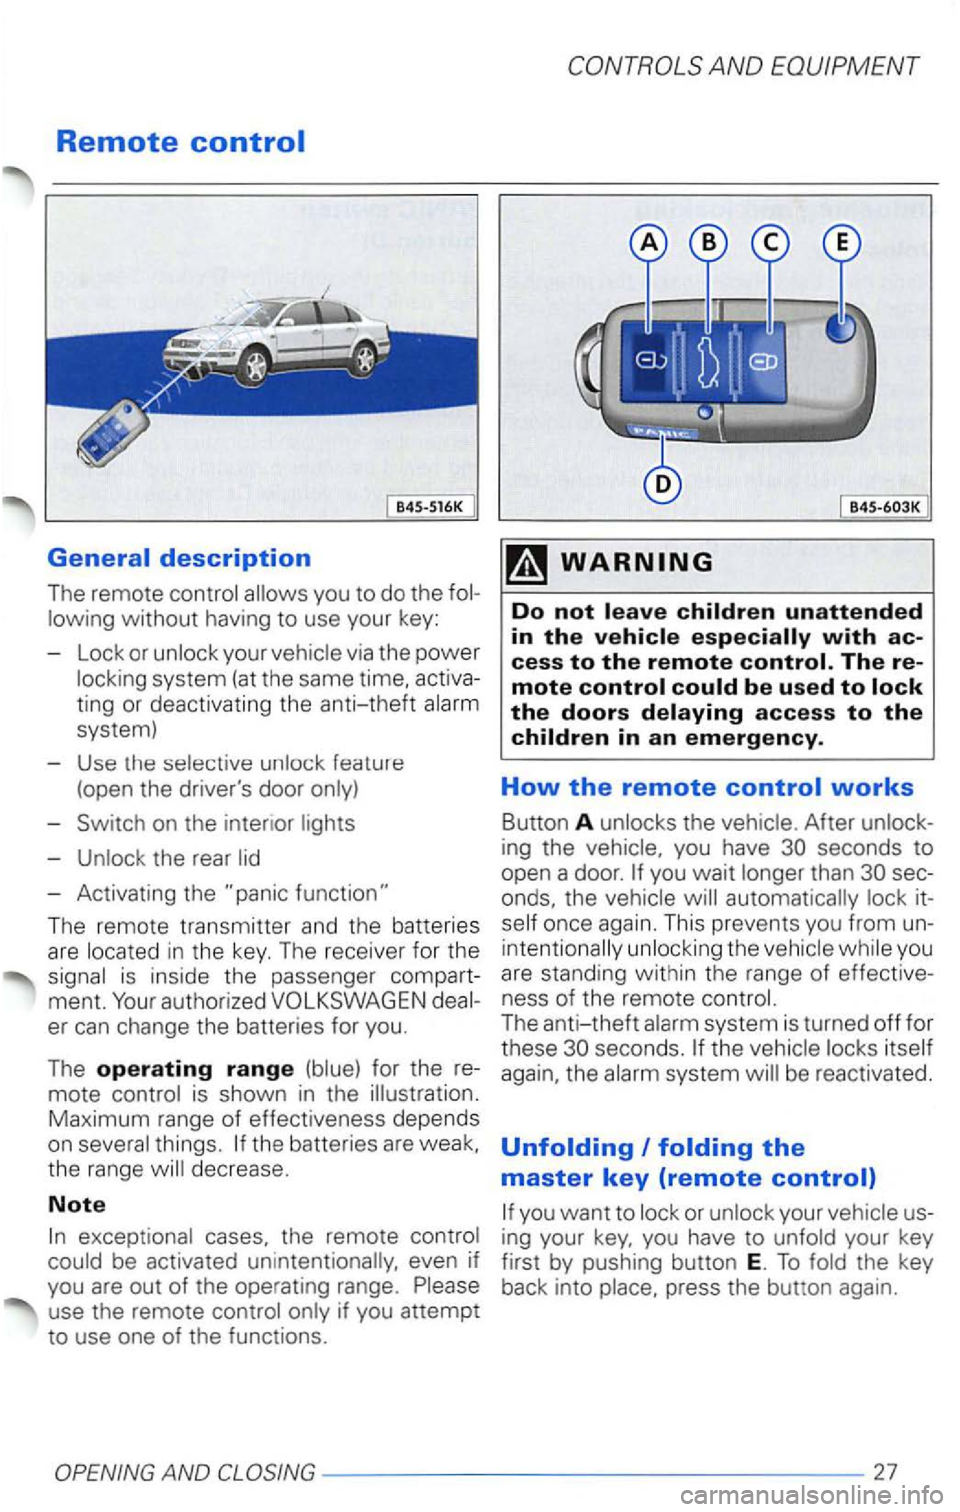
Remote
ting or deactivating the anti-theft alarm
system)
- Use the selective unlock feature
(open the driver's door only)
- Switch on the intenor lights
- Unlock the rear lid
- Activating the
The remote transmitte r and the batteries
are located in the key. The receiver for the
signal is inside the passenge r compart
ment.
Your authorized VOLKSWAGE N
er can change the batteries for you .
The
operating range (blue) for the
mote control is shown in the illustration .
Maximum range of effectiveness depends
on several things. the batteries are
excep tional
B45 -6 0 3K
The
in an emergency.
How the remote control works
Button A unlocks the vehicle . After unlock
ing
the vehicle, you have you wait longer than onds. the vehicle will automatically lock
self once again. This prevents you from intenti onally unlocking the vehicle while yo u
are standing within the range of effective
ness of the remote control.
The anti-theft alarm system is turned
off for
t hese
ing your
Page 192 of 483
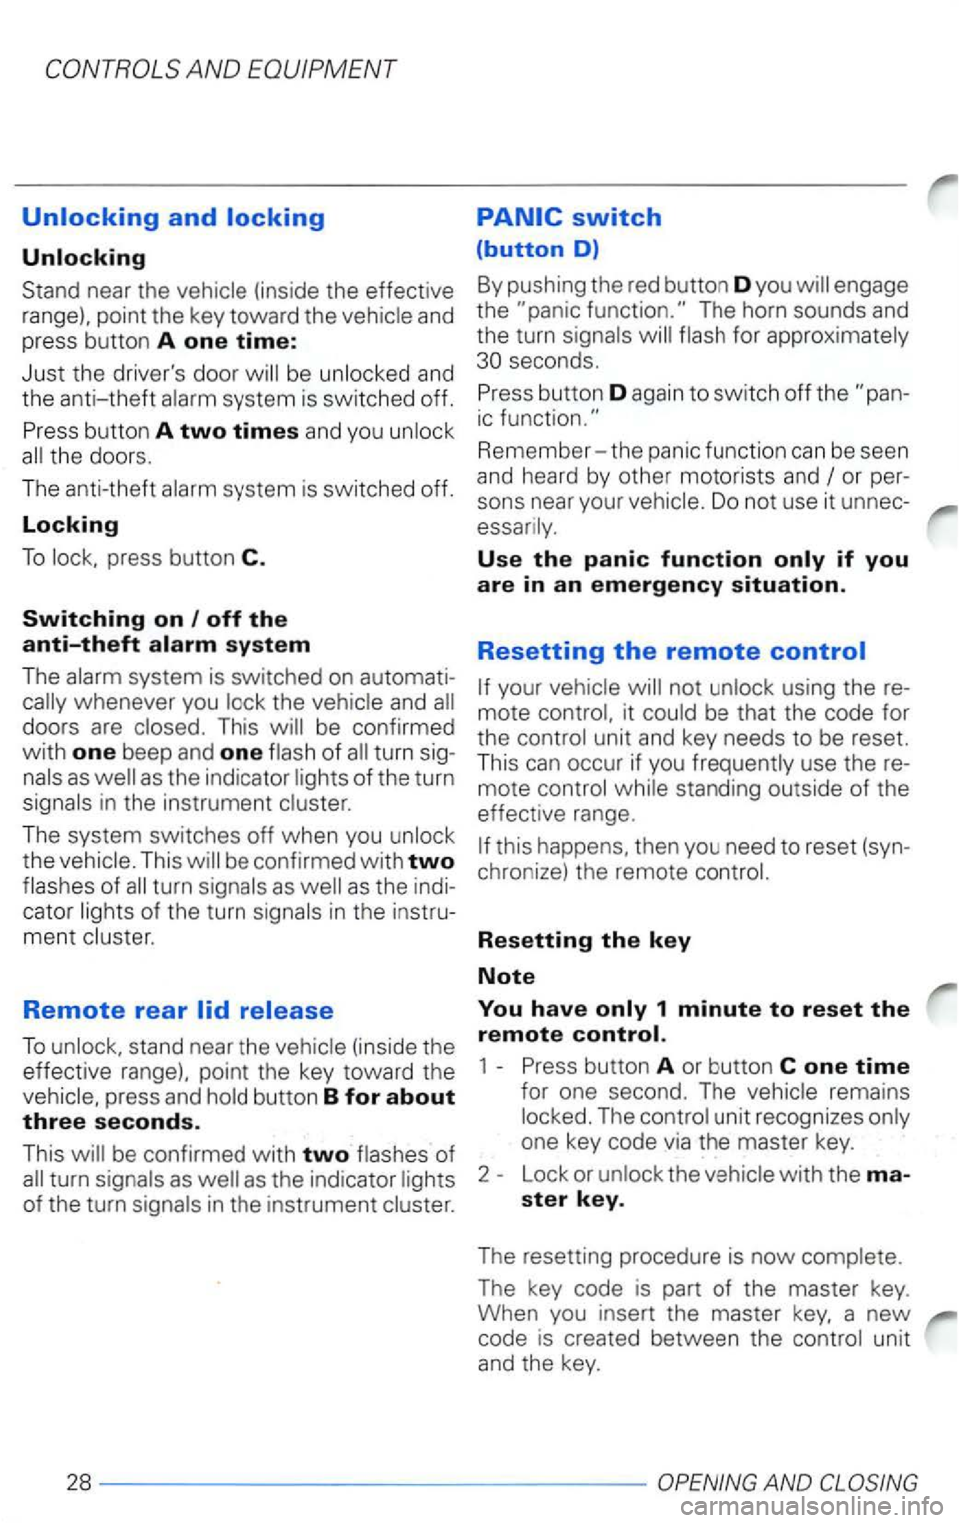
Unlocking
near the
be and
the anti-theft
doors are
of turn
in the instrument
The system switches off when you
the of turn cator
ment
Remote rear
To
in the instrument
for
Remember-the panic function can be seen
and heard by other motorists
and
Use the panic function only if you
are in an emergency situation.
Resetting the remote
using the
this happens. then you need to reset
Resetting the key
Note
Press button A or button C one time
for one second. The The unit recognizes
Lock or ster key.
The resett ing procedure is now
The key code is part of the master key. When you ins ert the master key. a new code is created between the
AND
Page 194 of 483
Anti-theft
can turn on the system using either
yo
ur key or the remo te control.
When you lock the vehicle, you turn
on the
a la rm sys tem au toma tically. S im ply turn the
key to the lock position or use the remo te
control.
The alarm sounds when
(on a locked vehicle)
a
th e engi ne or
the rear lid is forced
or when the ignition is switched on.
The horn will sound and the emergency
flashers will blink for about
the system warning
light in the driver's door will go out after 28
days . This is meant to conserve battery
power . The system is still operating.
the alarm has sounded on e and
t hen the vehicle is forced open again (for ex
ample. someone t ries to for
cibly ope n a
an d t he n tr ies to force open the rea r
lid). the signal will sound once again.
AND
Page 195 of 483
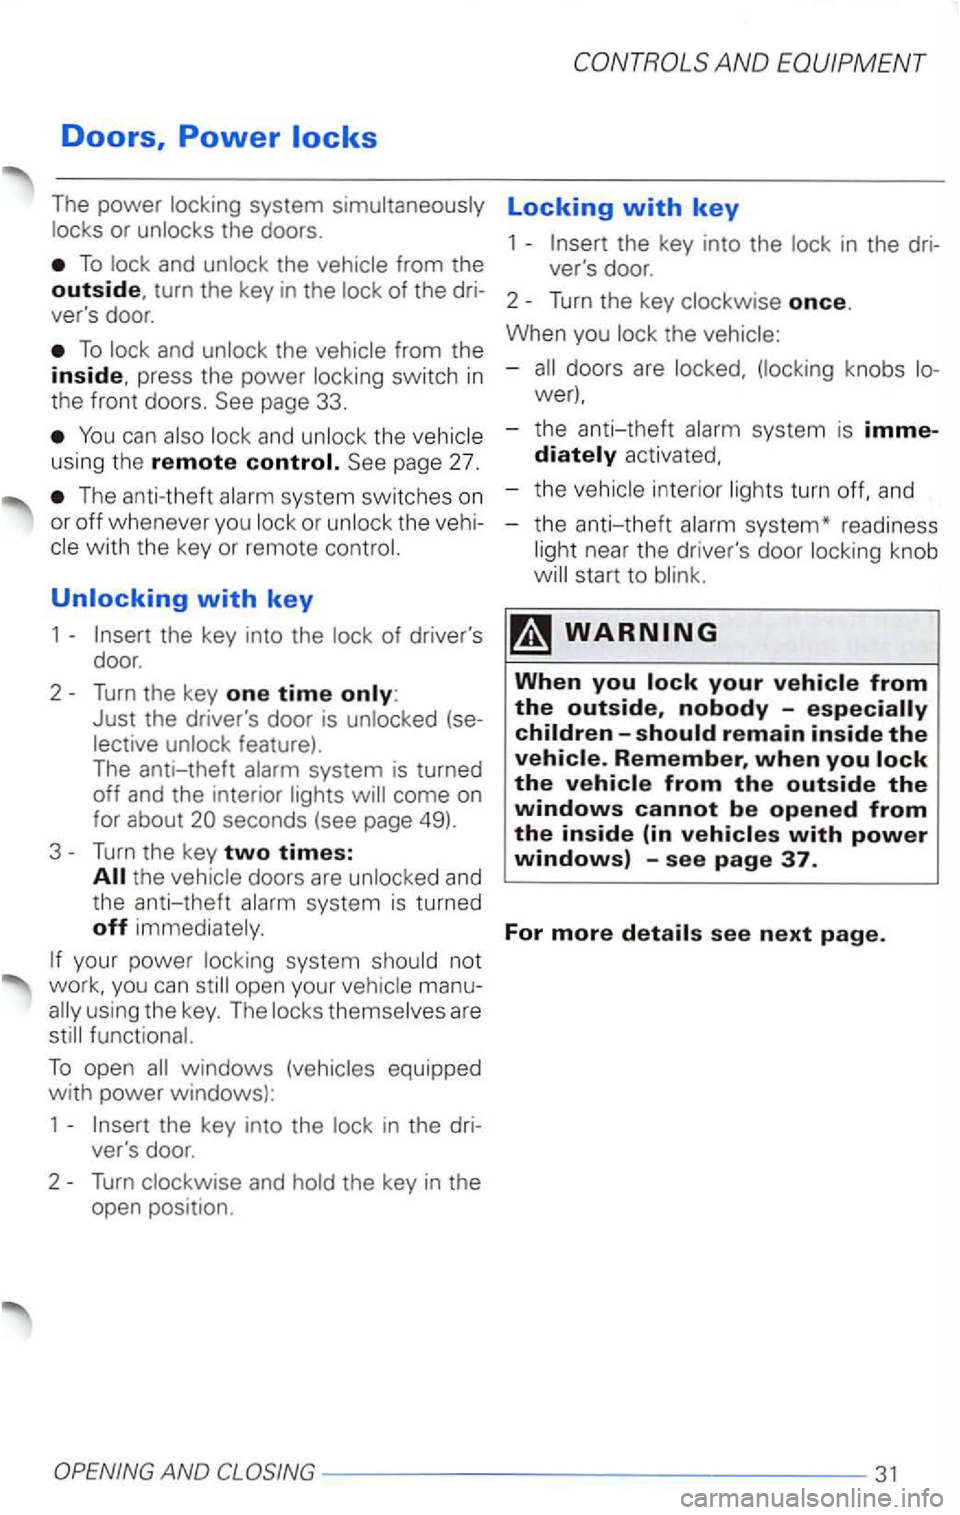
The power locking system simultaneously Locking with key
locks or unlocks the doors . 1 the key into the lock in the dri-
To lock and unlock the vehicle from the ver's door.
outside, turn the key in the lock of the dri- 2 Turn the key clockwise once.
ver's door.
When you lock the vehicle:
To lock and unlock the vehicle from the inside, press the power locking switch in -doors are (locking knobs
the front doors.
can also lock and unlock the vehicle -the anti-theft alarm system is imme-
using the remote page 27. diately activated.
The anti-theft alarm system switches on -the vehicle in terior lights turn
with the key or remote control. light near the driver's door locking knob
the key into the lock of driver's
door.
2
T urn the key one time only:
Just the driver's door is unlocked (se
lective unlock feature) .
The anti
-theft alarm system is turned off and the interior lights will come on
for about
Turn the key two times:
the vehicle doors are unlocked and
t he anti-theft alarm system is turned off immedia tely.
yo ur power locking sy s tem shoul d not you can open your vehicle manu
ally using the key. The locks themselves are
the key into the lock in the dri
ver 's door.
2
Turn clockwise and hold the key in the
open position .
children-should remain inside the
vehicle. Remember, when you lock the vehicle from the outside the
windows cannot be opened from the inside (in vehicles with power
windows) -see page 37.
For more details see next page.
OPENING AND CLOSING -----------------31
Page 198 of 483
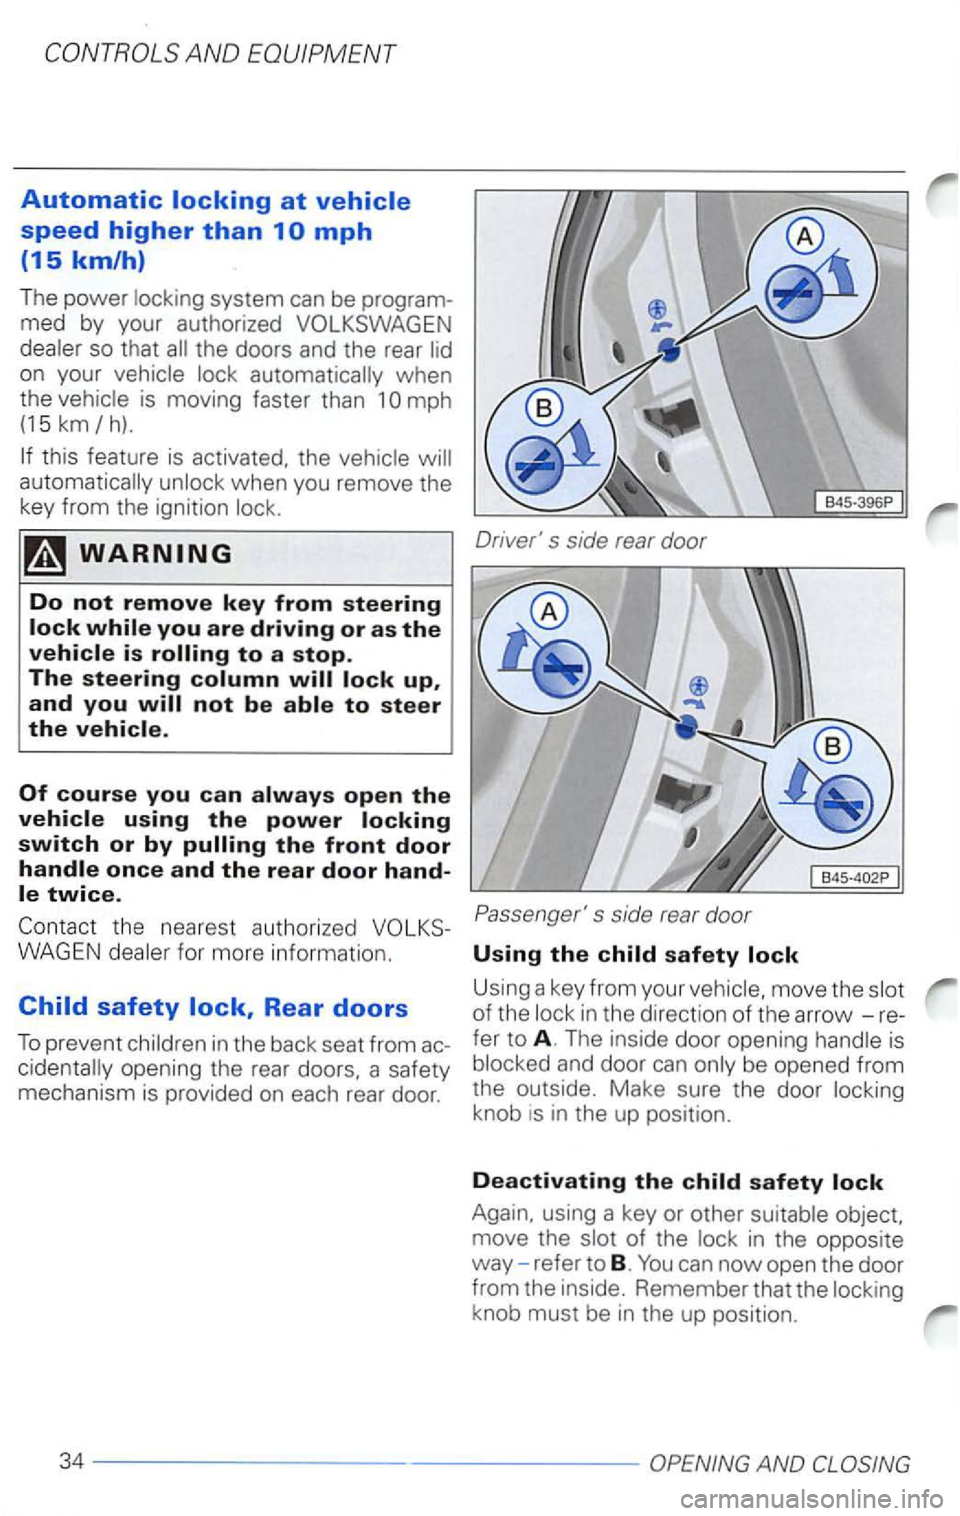
the doors and the rear
when
t h e
is moving faster than 1
in the back seat from
move the
knob is in the up pos ition.
Deactivating the child s afety lock
Again. using a key or other
of the in the opposite
way -refer to B. You can now open the door
from the inside. Remembe r that the