airbag VOLKSWAGEN T-ROC 2019 Owner's Manual
[x] Cancel search | Manufacturer: VOLKSWAGEN, Model Year: 2019, Model line: T-ROC, Model: VOLKSWAGEN T-ROC 2019Pages: 502, PDF Size: 8.58 MB
Page 72 of 502

Fig. 40 Location and deployment zone of the driver front airbag.
Fig. 41 Location and deployment zone of the front passenger front airbag.
First read and observe the introductoryinformation and safety warnings
In conjunction with the seat belts, the front airbag system gives the front occupants additional
protection for the head and chest in the event of a severe frontal collision. Always keep as far away
from the front airbag as possible Sitting position
when they are triggered, thus providing maximum protection.
The front airbag for the driver is located in the steering wheel Fig.
Fig. 41
AIRBAG.
The areas inside the red lines are covered by the front airbags when deployed (deployment zone).
You must never leave or attach any objects in these areas -fitted add-on parts will
not be struck if the driver and front passenger front airbags are deployed.
DANGER
Once triggered, the airbag inflates in fractions of a second and at very high speed.
Always leave the deployment zones of the front airbags clear.
Page 73 of 502
anywhere in the airbag deployment zone.
No other people, animals or objects may be carried between the occupants of the front seats and
the airbag deployment zone. Make sure that children and passengers also keep to this rule.
Do not attach any objects, e.g. mobile navigation devices, to the windscreen above the front airbag
on the front passenger side.
Do not cover or stick anything on the steering wheel hub or the soft plastic surface of the airbag unit
on the front passenger side, and do not obstruct or modify them in any way.
WARNING
The front airbags are deployed in front of the steering wheel Fig. 40and dash panelFig. 41
When driving, always hold the steering wheel with both hands on the outside of the rim at the 9
o'clock and 3 o'clock positions.
Adjust the driver seat so that there is at least 25 cm between your breastbone and the hub of the
steering wheel. Contact a qualified workshop if your physical build makes this impracticable.
Adjust the front passenger seat so that the distance between the front passenger and the dash panel
is as large as possible.
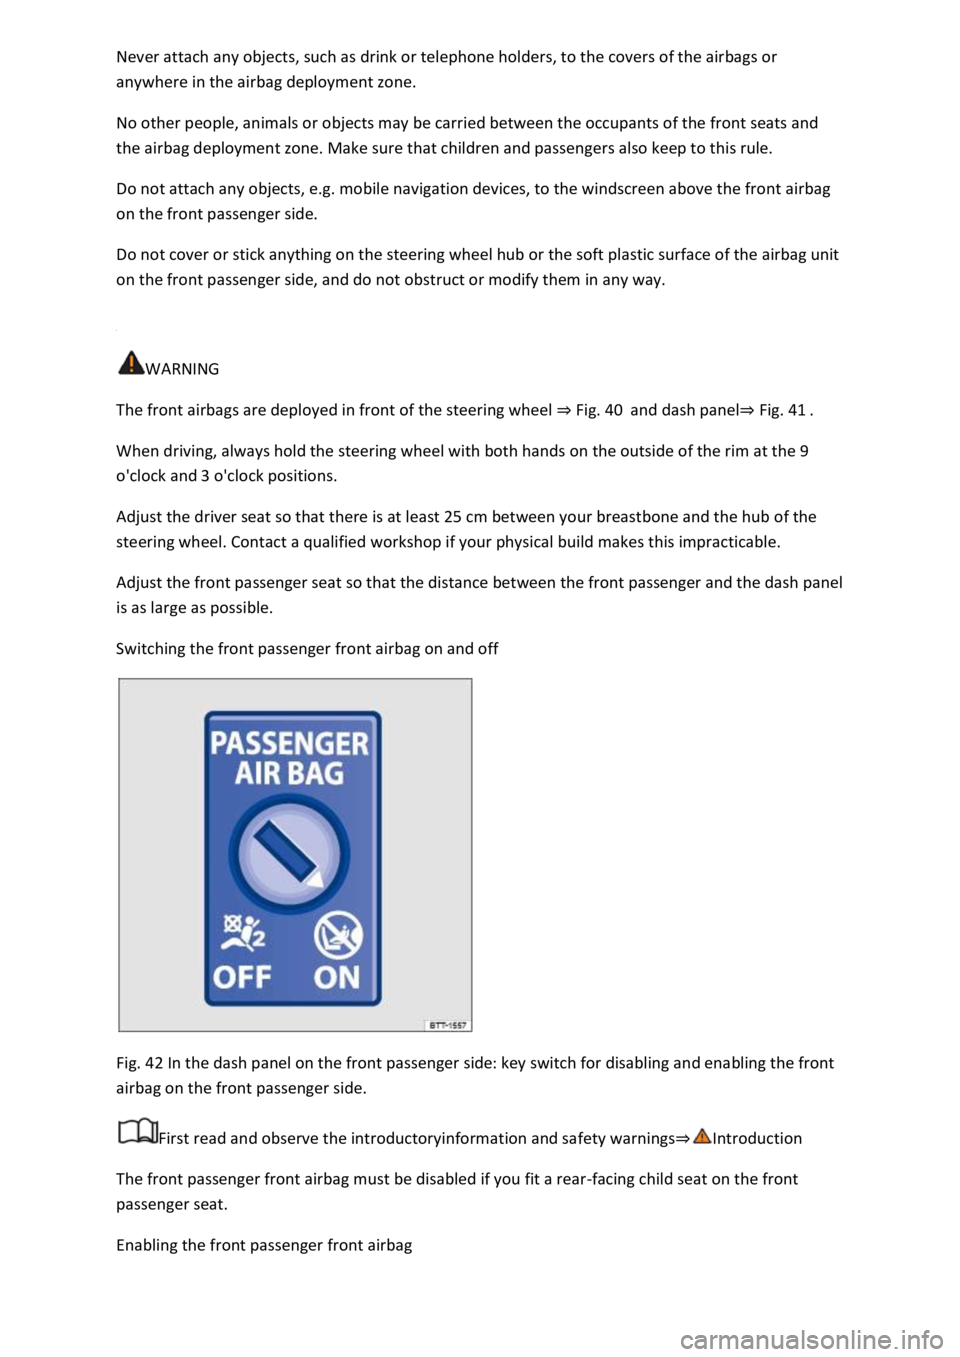
Switching the front passenger front airbag on and off
Fig. 42 In the dash panel on the front passenger side: key switch for disabling and enabling the front
airbag on the front passenger side.
First read and observe the introductoryinformation and safety warnings
The front passenger front airbag must be disabled if you fit a rear-facing child seat on the front
passenger seat.
Enabling the front passenger front airbag
Page 74 of 502
Open the door on the front passenger side.
Fold the key bit of the vehicle key all the way out Vehicle key
Insert the key bit into the key-operated switch on the dash panel Fig. 42until you feel the second
point of resistance. Around three quarters of the key bit should be inserted in the key switch at this
point
Turn the vehicle key, without using force, to the position .
Remove the vehicle key from the key-operated switch and fold away the key bit
The PASSENGER AIR BAG indicator lamp in the upper section of the centre console lights up
and goes out after approximately 60 seconds Indicator lamp
Close the door on the front passenger side.
Check that the PASSENGER AIR BAG indicator lamp in the upper section of the centre
console does not light up when the ignition is switched on Indicator lamp
Disabling the front passenger front airbag
Switch off the ignition.
Open the door on the front passenger side.
Fold the key bit of the vehicle key all the way out Vehicle key
Insert the fully folded-out key bit of the vehicle key into the key-operated switch in the dash panel
Fig. 42up to the second point of resistance. Around three quarters of the key bit should be
inserted in the key switch at this point
Turn the vehicle key, without using force, to the position .
Remove the vehicle key from the key-operated switch and fold away the key bit
Close the door on the front passenger side.
The PASSENGER AIR BAG indicator lamp in the upper section of the centre console lights
up continuously when the ignition is switched on Indicator lamp
Indication that front passenger front airbag is disabled
A deactivated front passenger front airbag is indicated only by the continuously lit
PASSENGER AIR BAG indicator lamp in the upper section of the centre console (
lights up yellow continuously) Indicator lamp
If the PASSENGER AIR BAG indicator lamp in the upper section of the centre console does
not light up continuously or lights up together with the indicator lamp in the instrument cluster
display, do not fit a child restraint system on the front passenger seat for safety reasons. The front
passenger front airbag could trigger during an accident.
Page 75 of 502

The front passenger front airbag should be switched off only in exceptional circumstances.
To prevent damage to the airbag system, switch the front passenger front airbag on and off only
when the ignition is switched off.
It is the driver's responsibility to ensure that the key-operated switch is set to the correct position.
Switch off the front passenger front airbag only if in exceptional circumstances a child seat is fitted
on the front passenger seat.
Switch the front passenger front airbag back on again as soon as the child seat on the front
passenger seat is no longer being used.
WARNING
Do not leave the vehicle key in the key switch while driving.
Strong vibrations may cause the vehicle key to turn in the key switch, which could cause the front
passenger front airbag to be activated.
Untimely inflation of the front passenger front airbag could lead to serious or fatal injuries.
NOTICE
If the key bit is not inserted far enough, the key switch could be damaged when the key is turned.
NOTICE
Do not leave the vehicle key in the key switch, as this could result in damage to the interior door
trim, dash panel, key switch or vehicle key when the front passenger door is closed.
Safe transport of children
Introduction
This chapter contains information on the followingsubjects:
Types of child seat
Fitting and using child seats
Securing systems
Securing a child seat with ISOFIX
Securing child seats with a seat belt
Page 78 of 502
years old) and group 1/2 (up to about seven years old) with
an integral belt system are best for children over the relevant weight limit.
Weight classes 2/3: groups 2 and 3 include child seats with a backrest, and booster seats with no
backrest. Child seats with a backrest have integrated seat belt routing and side cushions, and so
provide better protection than booster seats with no backrest. Volkswagen therefore recommends
the use of child seats with a backrest. Group 2 child seats are for children up to the age of about
seven, group 3 child seats for those older than seven.
Not every child will fit in the child seat specified for their weight group. Likewise, not every seat will
fit in every vehicle. Therefore it is vital to check that the child fits properly in their child seat and that
the child seat can be securely fastened in the vehicle.
Child seats by approval categories
Child seats can be classified as universal, semi-universal or vehicle-specific (all in accordance with
regulation ECE-R 44), or as i-Size (in accordance with regulation ECE-R 129).
Universal: child seats with universal approval are approved for use in all vehicles. No type list is
required. ISOFIX child seats with universal approval must also be secured using a strap over the top
of the vehicle seat (top tether).
Semi-universal: semi-universal approval requires other safety devices for attaching the seat (that
require additional testing) in addition to the standard requirements for universal approval. Child
seats with semi-universal approval come with a type list. The seats should be used only in vehicles
that are included on this list.
Vehicle-specific: child seats with vehicle-specific approval must have undergone dynamic testing in
each model of vehicle for which they are approved. These child seats also come with a type list.
i-Size: child seats with i-Size approval must conform to the installation and safety requirements
stipulated in regulation ECE-R 129. Contact the child seat manufacturer to find out which child seats
are approved for this vehicle in accordance with i-Size.
1) Regulation ECE-R 129 has not yet been implemented by the state authorities in all countries.
Fitting and using child seats
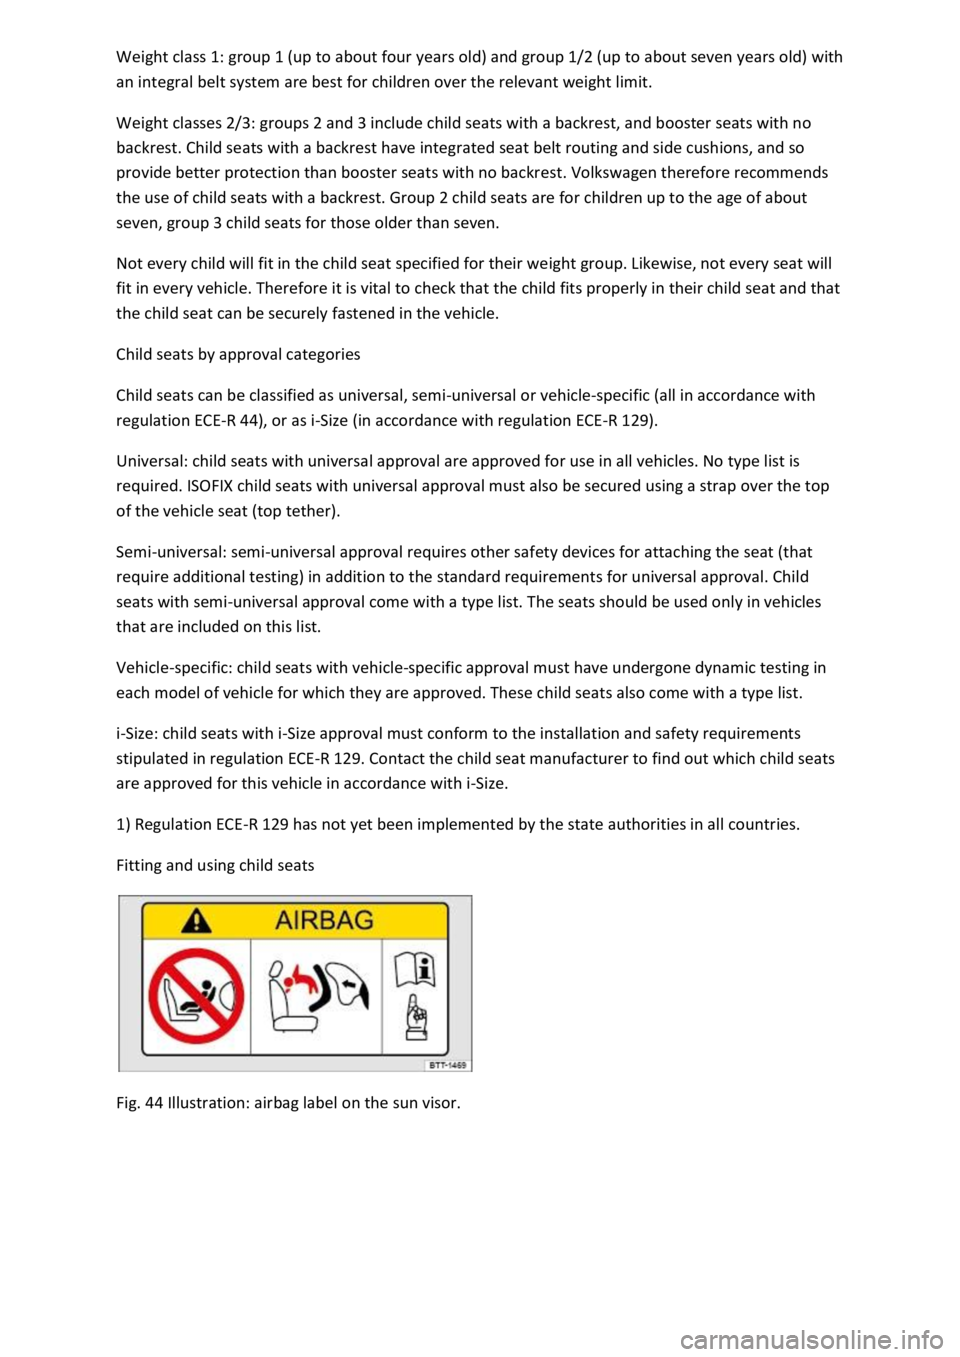
Fig. 44 Illustration: airbag label on the sun visor.
Page 79 of 502
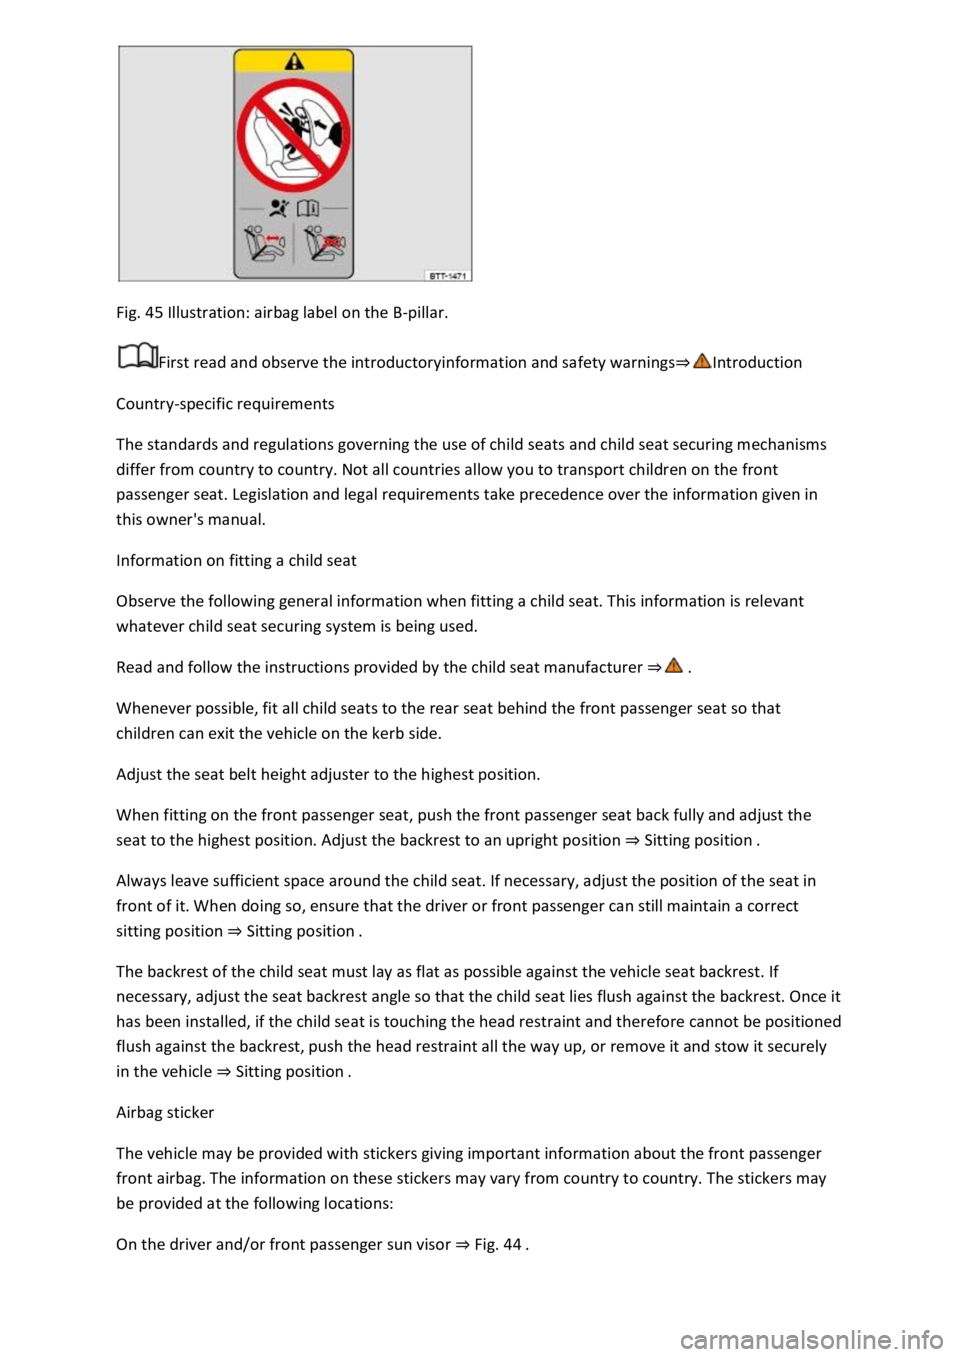
Fig. 45 Illustration: airbag label on the B-pillar.
First read and observe the introductoryinformation and safety warnings
Country-specific requirements
The standards and regulations governing the use of child seats and child seat securing mechanisms
differ from country to country. Not all countries allow you to transport children on the front
passenger seat. Legislation and legal requirements take precedence over the information given in
this owner's manual.
Information on fitting a child seat
Observe the following general information when fitting a child seat. This information is relevant
whatever child seat securing system is being used.
Read and follow the instructions provided by the child seat manufacturer
Whenever possible, fit all child seats to the rear seat behind the front passenger seat so that
children can exit the vehicle on the kerb side.
Adjust the seat belt height adjuster to the highest position.
When fitting on the front passenger seat, push the front passenger seat back fully and adjust the
seat to the highest position. Adjust the backrest to an upright position Sitting position
Always leave sufficient space around the child seat. If necessary, adjust the position of the seat in
front of it. When doing so, ensure that the driver or front passenger can still maintain a correct
sitting position Sitting position
The backrest of the child seat must lay as flat as possible against the vehicle seat backrest. If
necessary, adjust the seat backrest angle so that the child seat lies flush against the backrest. Once it
has been installed, if the child seat is touching the head restraint and therefore cannot be positioned
flush against the backrest, push the head restraint all the way up, or remove it and stow it securely
in the vehicle Sitting position
Airbag sticker
The vehicle may be provided with stickers giving important information about the front passenger
front airbag. The information on these stickers may vary from country to country. The stickers may
be provided at the following locations:
On the driver and/or front passenger sun visor Fig. 44
Page 80 of 502
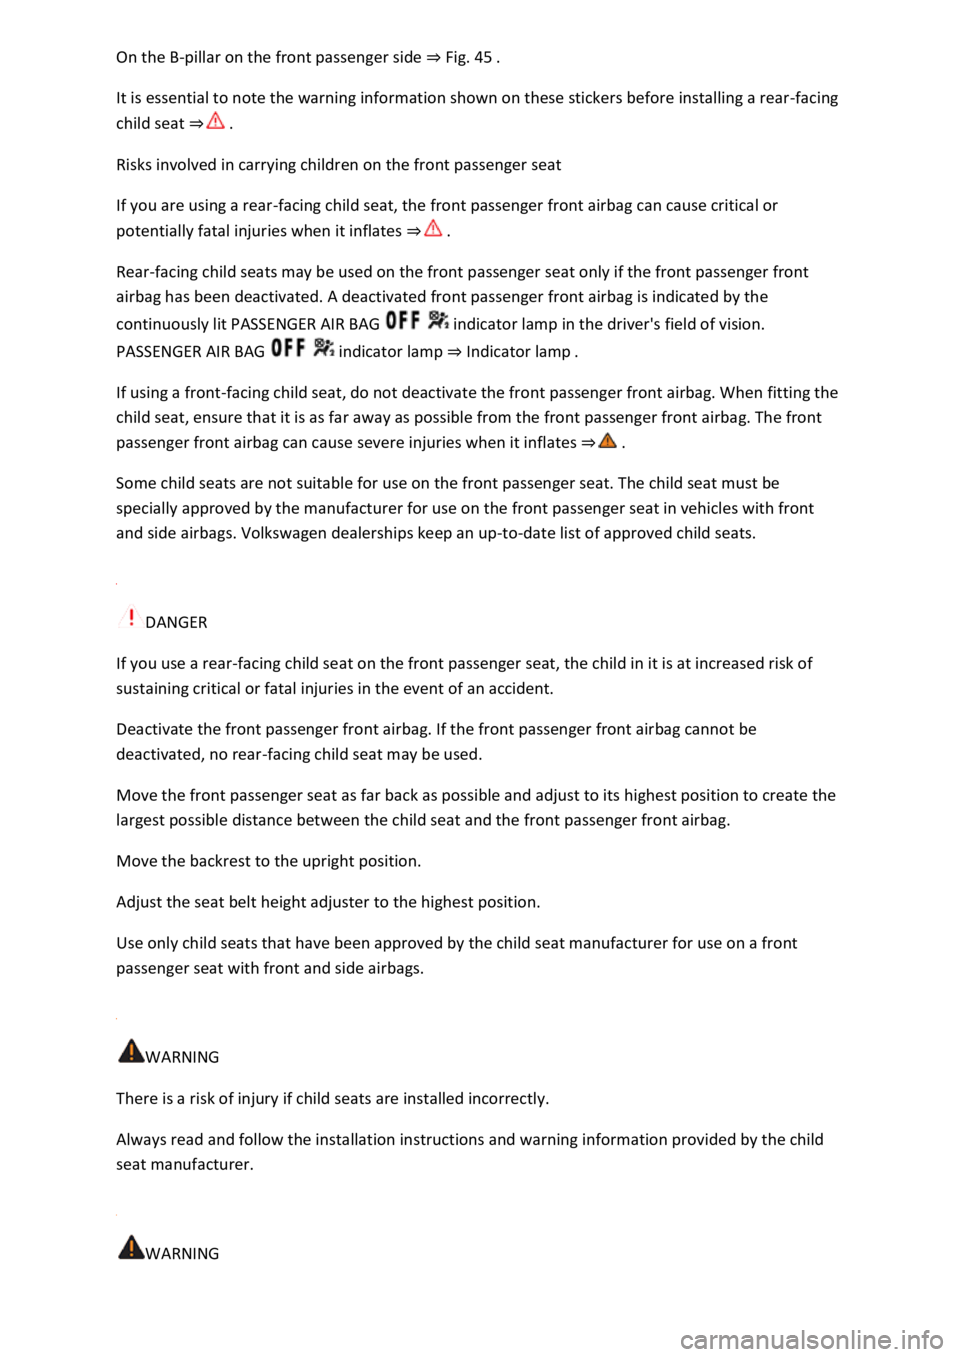
-pillar on the front passenger side Fig. 45
It is essential to note the warning information shown on these stickers before installing a rear-facing
child seat
Risks involved in carrying children on the front passenger seat
If you are using a rear-facing child seat, the front passenger front airbag can cause critical or
potentially fatal injuries when it inflates
Rear-facing child seats may be used on the front passenger seat only if the front passenger front
airbag has been deactivated. A deactivated front passenger front airbag is indicated by the
continuously lit PASSENGER AIR BAG indicator lamp in the driver's field of vision.
PASSENGER AIR BAG indicator lamp Indicator lamp
If using a front-facing child seat, do not deactivate the front passenger front airbag. When fitting the
child seat, ensure that it is as far away as possible from the front passenger front airbag. The front
passenger front airbag can cause severe injuries when it inflates
Some child seats are not suitable for use on the front passenger seat. The child seat must be
specially approved by the manufacturer for use on the front passenger seat in vehicles with front
and side airbags. Volkswagen dealerships keep an up-to-date list of approved child seats.
DANGER
If you use a rear-facing child seat on the front passenger seat, the child in it is at increased risk of
sustaining critical or fatal injuries in the event of an accident.
Deactivate the front passenger front airbag. If the front passenger front airbag cannot be
deactivated, no rear-facing child seat may be used.
Move the front passenger seat as far back as possible and adjust to its highest position to create the
largest possible distance between the child seat and the front passenger front airbag.
Move the backrest to the upright position.
Adjust the seat belt height adjuster to the highest position.
Use only child seats that have been approved by the child seat manufacturer for use on a front
passenger seat with front and side airbags.
WARNING
There is a risk of injury if child seats are installed incorrectly.
Always read and follow the installation instructions and warning information provided by the child
seat manufacturer.
WARNING
Page 81 of 502
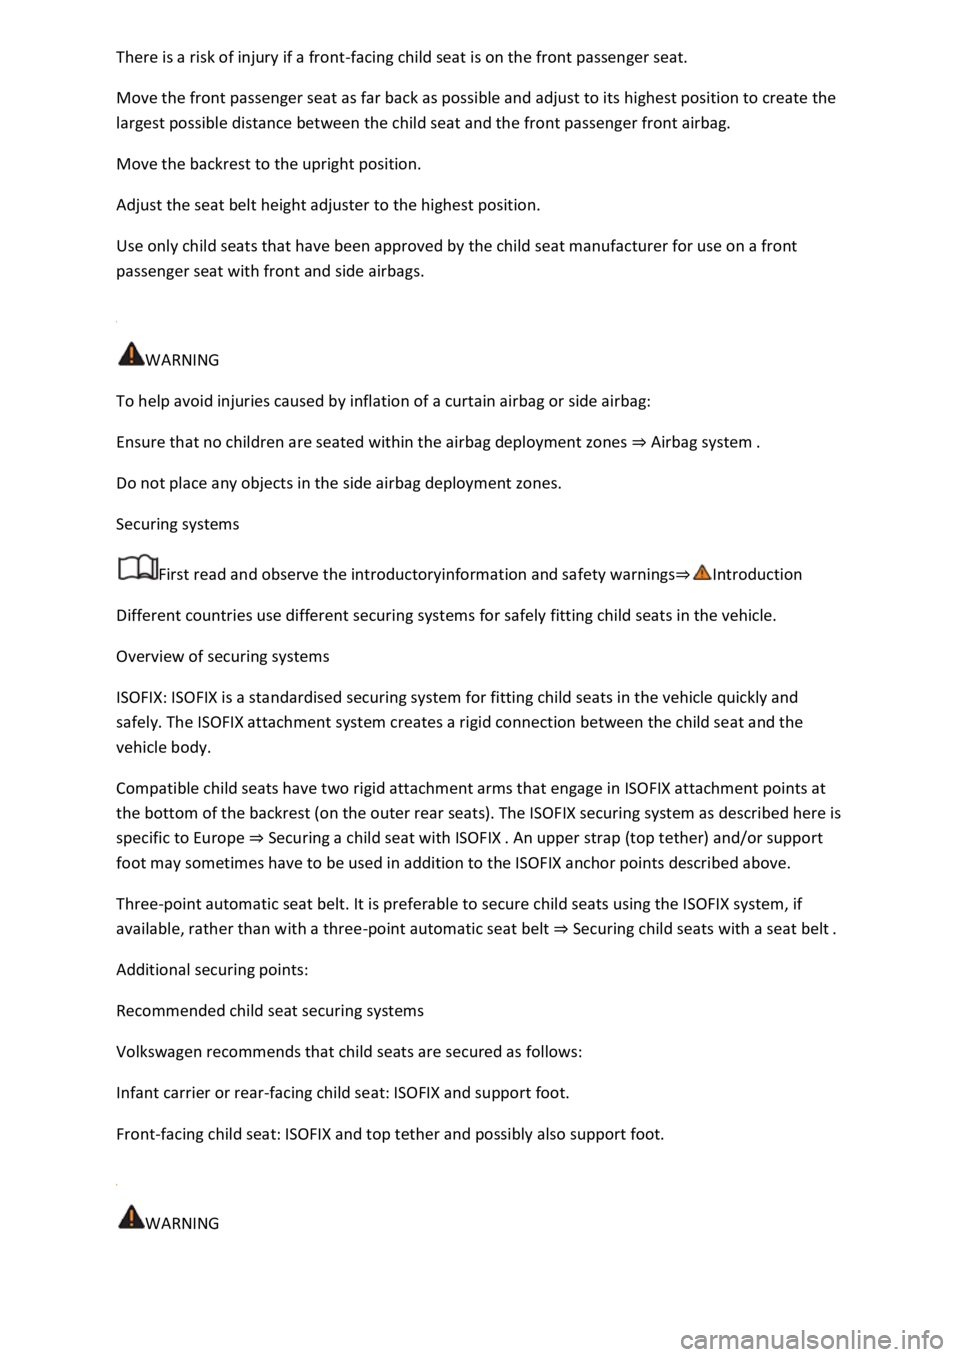
-facing child seat is on the front passenger seat.
Move the front passenger seat as far back as possible and adjust to its highest position to create the
largest possible distance between the child seat and the front passenger front airbag.
Move the backrest to the upright position.
Adjust the seat belt height adjuster to the highest position.
Use only child seats that have been approved by the child seat manufacturer for use on a front
passenger seat with front and side airbags.
WARNING
To help avoid injuries caused by inflation of a curtain airbag or side airbag:
Ensure that no children are seated within the airbag deployment zones Airbag system
Do not place any objects in the side airbag deployment zones.
Securing systems
First read and observe the introductoryinformation and safety warnings
Different countries use different securing systems for safely fitting child seats in the vehicle.
Overview of securing systems
ISOFIX: ISOFIX is a standardised securing system for fitting child seats in the vehicle quickly and
safely. The ISOFIX attachment system creates a rigid connection between the child seat and the
vehicle body.
Compatible child seats have two rigid attachment arms that engage in ISOFIX attachment points at
the bottom of the backrest (on the outer rear seats). The ISOFIX securing system as described here is
specific to Europe Securing a child seat with ISOFIX
foot may sometimes have to be used in addition to the ISOFIX anchor points described above.
Three-point automatic seat belt. It is preferable to secure child seats using the ISOFIX system, if
available, rather than with a three-point automatic seat belt Securing c
Additional securing points:
Recommended child seat securing systems
Volkswagen recommends that child seats are secured as follows:
Infant carrier or rear-facing child seat: ISOFIX and support foot.
Front-facing child seat: ISOFIX and top tether and possibly also support foot.
WARNING
Page 88 of 502

specialist workshop.
Lit up green: voice services are available. System is OK.
Flashing green: active connection to a voice service.
Information call
The information call enables you to call the Volkswagen AG hotline.
The information call function is available only in some sales regions.
The telephone call centre communicates in the language registered for the vehicle in Car-Net.
Breakdown call
The breakdown call allows you to seek professional assistance should your vehicle break down.
Some vehicle data, e.g. the current location, are transmitted parallel to the voice call.
The telephone call centre communicates in the language registered for the vehicle in Car-Net.
Emergency call service
If an emergency call is placed manually, or automatically after an accident where an airbag was
triggered, data relevant for the emergency call, e.g. the current vehicle location, will be transmitted
automatically Customer information
The telephone call centre communicates in the language set up in the vehicle's Infotainment system.
English is used if this language is not available at the location of the emergency.
Back-up to 112 emergency number
In some cases, the emergency call service may be restricted or unavailable so the general emergency
call number 112 will be used to conduct an emergency call. In this case, only a voice-based
connection is established. No data will be transmitted, e.g. regarding the vehicle or its location.
The following circumstances may restrict access to the emergency call service and lead to the call
being forwarded to the 112 emergency number:
Your current emergency call location is in an area with no or insufficient mobile communications and
GPS reception. This can also include tunnels, streets with tall buildings, garages, underpasses,
mountains and valleys.
You are in an area with sufficient mobile communications and GPS reception but the
telecommunications provider's mobile network is not available.
The emergency call service is prohibited by law in some countries.
There is no valid licence for using the emergency call service.
The components in the vehicle required for the emergency call service are damaged or do not have a
sufficient power supply.
Page 102 of 502

Go to a qualified workshop. Volkswagen recommends using a Volkswagen dealership for this
purpose.
Turn signals do not flash
If the turn signals do not flash as confirmation when the vehicle is locked:
At least one of the doors or the boot lid is not closed.
OR: convenience closing is in progress and not all windows and the glass roof have been closed.
Vehicle locks itself automatically
The vehicle will lock itself again automatically after approx. 45 seconds if one of the following
conditions applies:
The vehicle has been unlocked but not opened.
The ignition has not been switched on.
The boot lid has not been opened.
The vehicle has been unlocked using the lock cylinder.
The vehicle has been locked using the central locking button in the vehicle interior.
Response when locking the vehicle with a second vehicle key
Keyless Access: the vehicle key located inside the vehicle will be blocked from starting the engine if
the vehicle has been locked from the outside using a second vehicle key. Press the button on the
vehicle key in the vehicle interior to enable it to start the engine Starting and stopping the
engine
Locking the vehicle after airbags have been triggered
The entire vehicle is unlocked if the airbags are activated in an accident. Depending on the extent of
the damage, the vehicle can be locked as follows after an accident:
Switch the ignition off and then back on again.
Automatic deactivation of the sensors
The vehicle is not unlocked or locked for an extended period.
A sensor has been triggered an excessive number of times.
Reactivating the sensors:
Unlock the vehicle with the button in the vehicle key.
NOTICE