brake light VOLKSWAGEN TRANSPORTER 1990 T4 / 4.G Owners Manual
[x] Cancel search | Manufacturer: VOLKSWAGEN, Model Year: 1990, Model line: TRANSPORTER, Model: VOLKSWAGEN TRANSPORTER 1990 T4 / 4.GPages: 165, PDF Size: 24.87 MB
Page 4 of 165
Downloaded from www.Manualslib.com manuals search engine
1
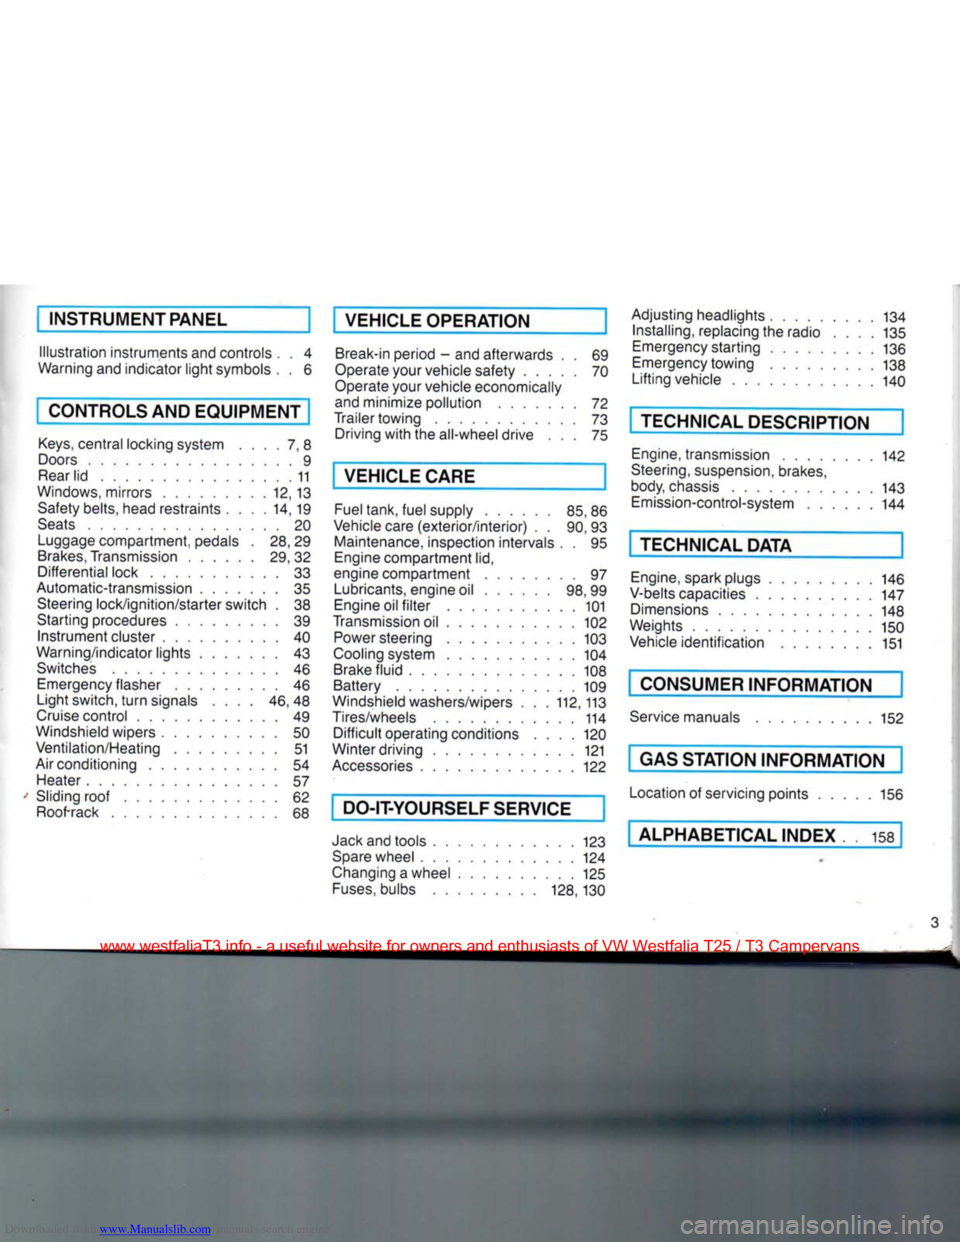
INSTRUMENT PANEL
Illustration instruments and controls
Warning and indicator light symbols
CONTROLS AND EQUIPMENT
Keys,
central locking system .... 7, 8
Doors 9
Rear lid 11
Windows, mirrors 12, 13 Safety belts, head restraints . . . .14,19
Seats 20 Luggage compartment, pedals . 28,29
Brakes, Transmission 29, 32 Differential lock 33
Automatic-transmission 35 Steering lock/ignition/starter switch . 38
Starting procedures 39 Instrument cluster 40
Warning/indicator lights 43 Switches 46 Emergency flasher 46
Light switch, turn signals .... 46,48
Cruise control 49
Windshield wipers 50 Ventilation/Heating 51
Air conditioning 54
Heater 57
Sliding roof 62
Roof-rack 68 VEHICLE OPERATION
Break-in period - and afterwards . . 69
Operate your vehicle safety 70
Operate your vehicle economically
and minimize pollution 72
Trailer towing 73 Driving with the all-wheel drive ... 75
VEHICLE CARE
Fuel tank, fuel supply 85,86
Vehicle care (exterior/interior) . . 90, 93 Maintenance, inspection intervals . . 95 Engine compartment lid,
engine compartment 97 Lubricants, engine oil 98,99
Engine oil filter 101
Transmission oil 102
Power steering 103
Cooling system 104 Brake fluid 108
Battery 109
Windshield washers/wipers . . . 112,113
Tires/wheels 114 Difficult operating conditions .... 120
Winter driving 121
Accessories 122
DO-IT-YOURSELF SERVICE
Jack and tools 123 Spare wheel 124
Changing a wheel 125 Fuses, bulbs 128, 130 Adjusting headlights
134
Installing,
replacing the radio . . . . 135
Emergency starting 136
Emergency towing 138
Lifting vehicle . . 140
TECHNICAL DESCRIPTION
Engine, transmission 142
Steering,
suspension, brakes,
body, chassis 143 Emission-control-system 144
TECHNICAL DATA
Engine, spark plugs .
V-belts capacities . . Dimensions
Weights
Vehicle identification 146
147
148
150 151
CONSUMER INFORMATION
Service manuals 152
GAS STATION INFORMATION
Location of servicing points 156
ALPHABETICAL INDEX 158
www.westfaliaT3.info - a useful website for owners and enthusiasts of VW Westfalia T25 / T3 Campervans
Page 6 of 165
Downloaded from www.Manualslib.com manuals search engine
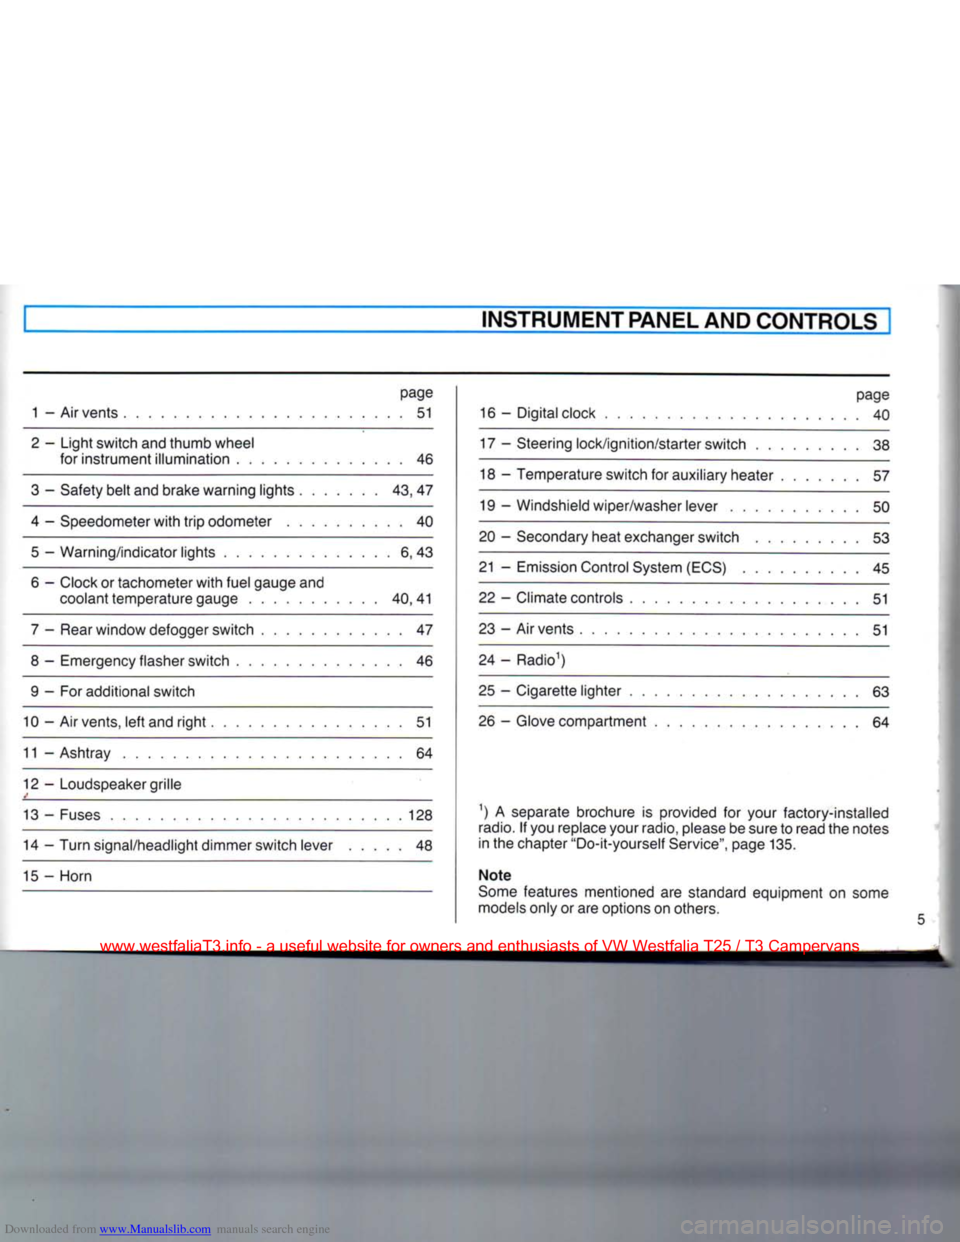
INSTRUMENT PANEL AND CONTROLS
page
1 - Air vents 51
2 - Light switch and thumb wheel for instrument illumination 46
3 - Safety belt and brake warning lights 43, 47
4 - Speedometer with trip odometer 40 5 — Warning/indicator lights 6, 43
6 - Clock or tachometer with fuel gauge and coolant temperature gauge 40,41
7 - Rear window defogger switch 47
8 - Emergency flasher switch 46 9 - For additional switch
10 - Air vents, left and right 51
11 - Ashtray 64
12 - Loudspeaker grille
13 - Fuses 128 14 - Turn signal/headlight dimmer switch lever 48
15 - Horn page
16 - Digital clock 40
17 - Steering lock/ignition/starter switch 38
18 - Temperature switch for auxiliary heater 57
19 - Windshield wiper/washer lever 50
20 - Secondary heat exchanger switch 53
21 - Emission Control System (ECS) 45
22 - Climate controls 51
23 - Air vents 51
24 - Radio1)
25 - Cigarette lighter 63 26 - Glove compartment 64
1) A separate brochure is provided for your factory-installed
radio.
If you replace your radio, please be sure to read the notes
in the chapter "Do-it-yourself Service", page 135.
Note
Some features mentioned are standard equipment on some
models only or are options on others.
www.westfaliaT3.info - a useful website for owners and enthusiasts of VW Westfalia T25 / T3 Campervans
Page 7 of 165
Downloaded from www.Manualslib.com manuals search engine
[INSTRUMENT
PANEL
AND
CONTROLS
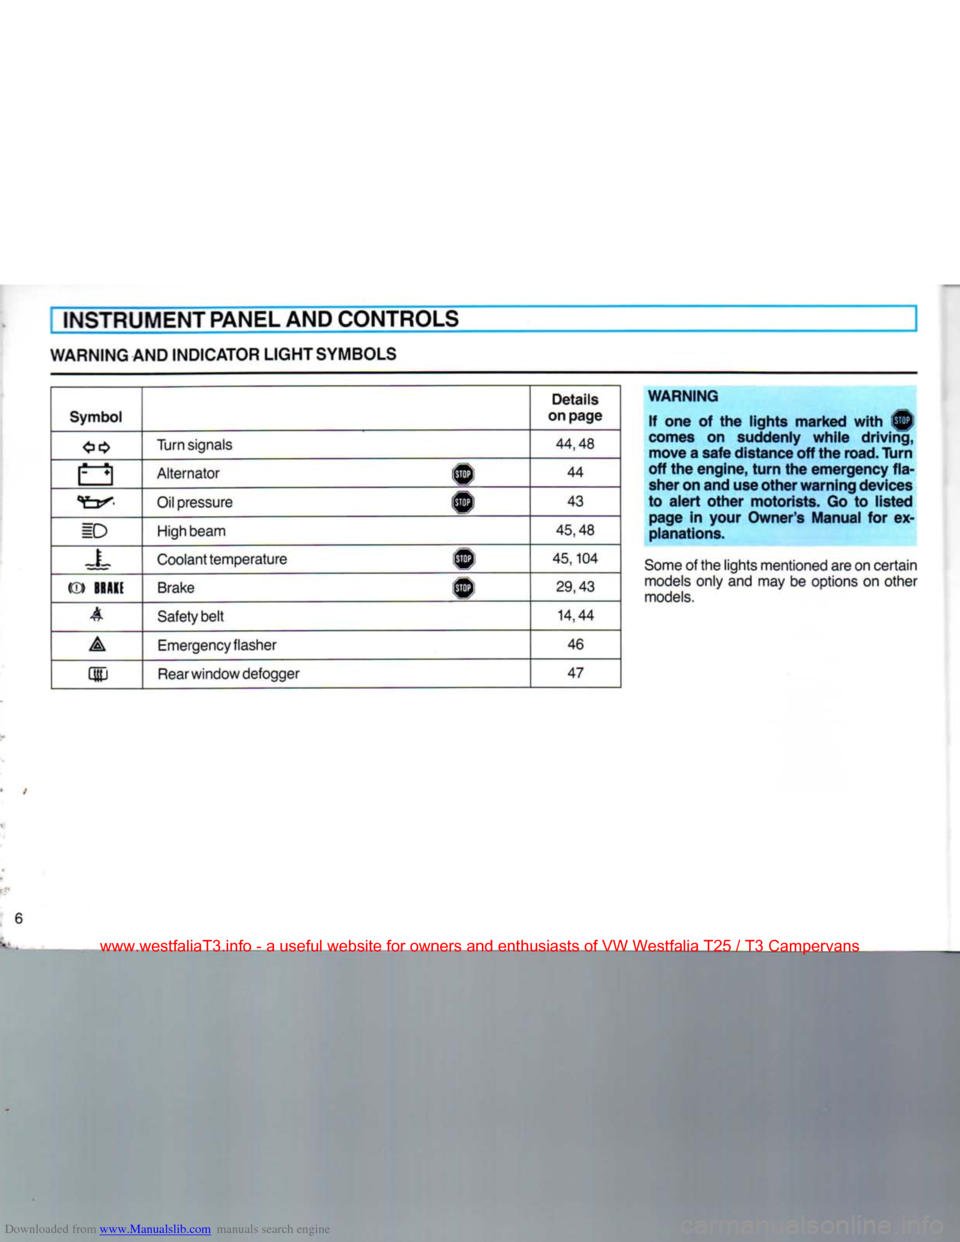
WARNING AND
INDICATOR
LIGHT
SYMBOLS
Symbol
Details
on
page
Turn
signals
44,48
a Alternator A
44
Oil pressure 1^1
43
ID
High beam
45,48
=L Coolant temperature 1^
45,104
(®)
BRAKE
Brake
®
29,43
A Safety belt
14,44
A Emergency flasher
46
m
Rear
window defogger
47
WARNING
If one of the lights marked with ®
comes
on suddenly while driving, move a safe distance off the
road.
Turn
off the engine,
turn
the emergency
fla
sher on and use other warning devices
to alert other motorists. Go to listed page in
your
Owner's
Manual for ex
planations.
Some
of the lights mentioned are on certain
models
only and may be options on other
models.
6
www.westfaliaT3.info - a useful website for owners and enthusiasts of VW Westfalia T25 / T3 Campervans
Page 23 of 165
Downloaded from www.Manualslib.com manuals search engine
CONTROLS
AND
EQUIPMENT
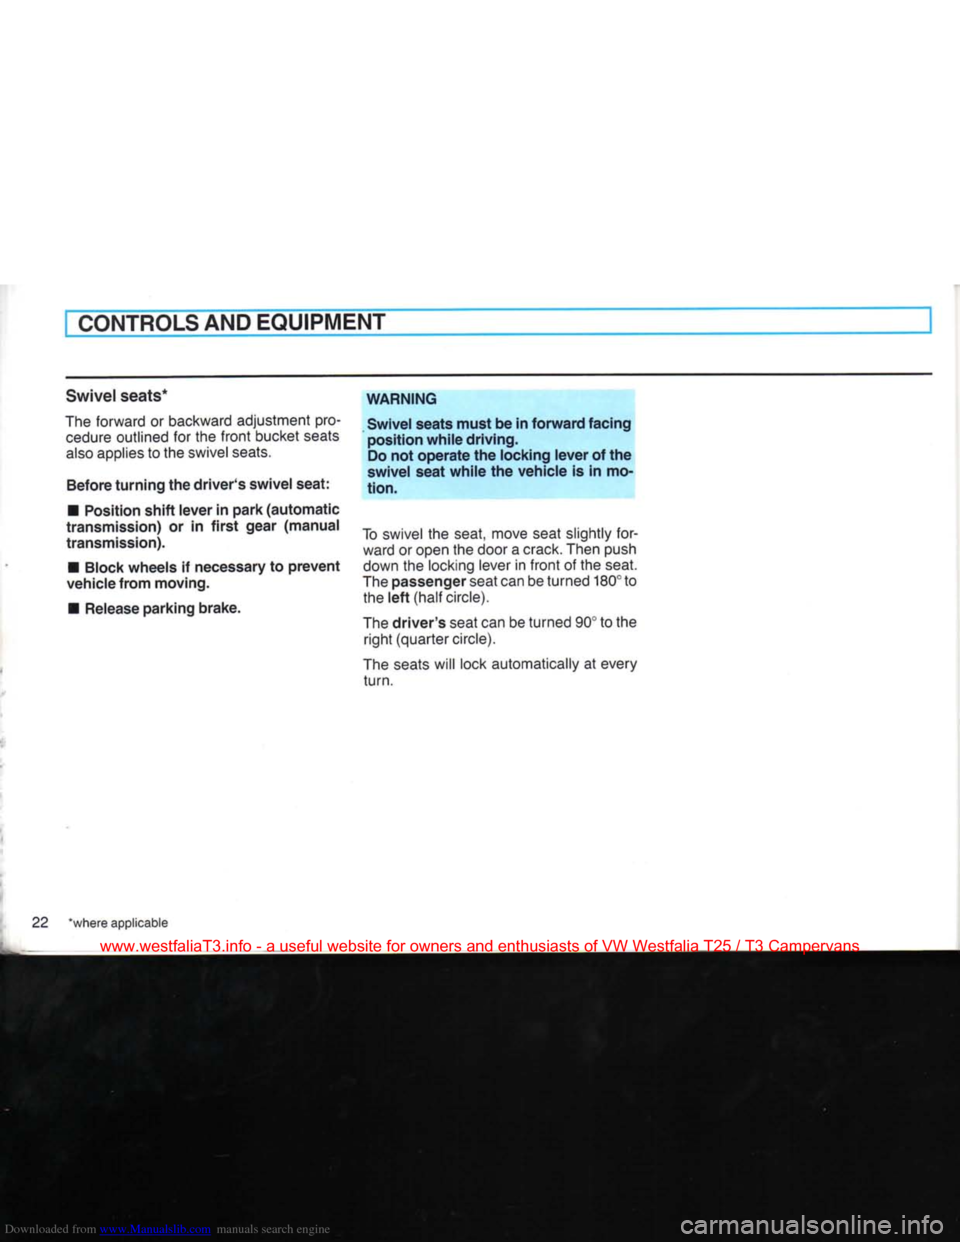
Swivel seats*
The forward or backward adjustment pro cedure outlined for the
front
bucket seats
also
applies to the swivel seats.
Before turning the driver's swivel seat:
•
Position shift lever in park (automatic
transmission) or in first gear (manual
transmission).
•
Block wheels if necessary to
prevent
vehicle from moving.
•
Release parking brake. WARNING
Swivel seats must be in forward facing
position while driving. Do not operate the locking lever of the
swivel seat while the vehicle is in mo
tion.
To swivel the seat, move seat slightly for ward or open the door a crack.
Then
push
down the locking lever in
front
of the seat.
The passenger seat can be turned
180°
to the left
(half
circle).
The driver's seat can be turned
90°
to the
right
(quarter
circle).
The seats will lock automatically at
every
turn.
22
"where applicable
www.westfaliaT3.info - a useful website for owners and enthusiasts of VW Westfalia T25 / T3 Campervans
Page 30 of 165
Downloaded from www.Manualslib.com manuals search engine
^EDALS
BRAKES CONTROLS AND EQUIPMENT
WARNING • The movement of the pedals must
never be obstructed by a floor mat or
any other object.
• In case one of the two brake circuits
fails,
increased brake pedal travel is required to bring your vehicle to a full
stop.
• It should always be possible to
depress the clutch and accelerator pedals fully.
• All pedals must be able to return
freely to their normal positions.
Only use floor mats which leave the pedal area free and can be secured with
floor mat fasteners. Functioning of brake system
Your vehicle is equipped with a power assisted hydraulic dual circuit brake
system with disc brakes at the front and
self-adjusting drum brakes at the rear. Both circuits function independently.
One brake circuit operates the front
wheels and the other the rear wheels. In the unlikely event of hydraulic failure of
one circuit, push the brake pedal down
firmly and hold it in that position. A mechanical linkage activates the second
circuit, and you will be able to bring the
vehicle to a stop.
WARNING Failure of one brake circuit will impair
the braking capability resulting in an increased stopping distance. If one brake circuit fails, the other will still
operate. However, you will notice an increased pedal travel when you step on
the brake. Should you encounter such experience, bring your vehicle safely to a
full stop.
Avoid driving the vehicle and have it
towed to the nearest Volkswagen dealer or qualified workshop.
Brake operation and brake
warning light
Make it a habit to check the operation of
your brakes before driving. The brake
warning light will light up while the engine is cranking and the parking brake is pulled
and/or the brake fluid level is too low. For more details see "Brake warning light" on
page 43.
Keep in mind that the braking distance
increases very rapidly as the speed increa
ses.
At 60 mph or at 100 km/h, for example, it is not twice but four times longer than at 30 mph or at 50 km/h. Tire
traction is also less effective when the roads are wet and slippery. Therefore,
always maintain a safe distance from the
vehicle in front of you.
29
www.westfaliaT3.info - a useful website for owners and enthusiasts of VW Westfalia T25 / T3 Campervans
Page 31 of 165
Downloaded from www.Manualslib.com manuals search engine
CONTROLS
AND
EQUIPMENT
Brake
booster
The brake booster works
only
when
the engine is running.
WARNING
When the vehicle is moving while the engine is not running, more force on
the brake pedal is required to bring the
vehicle to
a
stop. Conditions affecting braking
efficiency
Moisture or road salt
WARNING
•
Under
certain
climatic
and
operating
conditions such as passing
through
water, driving in
heavy
rain or after
washing the vehicle the effectiveness of the brakes can be reduced. In
winter
ice
can accumulate on the brake pads,
linings, discs and drums. Cautiously
apply brakes for a test. Brakes will dry,
ice
coatings will be cleaned off after a
few cautious brake applications.
• Driving for an extended period of
time
on salt covered roads
without
using
your
brakes can also affect brak
ing
efficiency. The accumulated salt
coating
must be cleaned off the brake
discs
and brake pads be
a
few cautious brake applications.
• Do not "ride the brakes" by resting
your
foot
on the pedal
when
not in
tending to brake.
This
may cause the brakes to overheat, premature wear
and increased stopping distance. • Before descending
a
steep grade, re
duce speed and shift transmission into
a
lower
gear or
lower
driving position to control speed. Do not
ride
the
brakes or hold the pedal
down
too long, or too
often.
This
could cause the brakes to get hot
and
diminish
braking efficiency.
New brake pads or linings • New brake pads and linings do not have
optimum friction properties and must be
"broken in" during the initial 100 to 150
miles
(150 to 200 kilometers) of normal
city driving. You can compensate for this by applying more pressure on the brake
pedal.
This
also applies later
when
new
pads or linings are installed.
Brake
fluid level • If the brake fluid level is too low,
malfunctions or
even
a failure in the brake
system could result.
Therefore,
it is important to check
your
brake fluid level
regularly. See page 108 for more details.
Low brake fluid is indicated by the brake
warning light (see page 43).
www.westfaliaT3.info - a useful website for owners and enthusiasts of VW Westfalia T25 / T3 Campervans
Page 32 of 165
Downloaded from www.Manualslib.com manuals search engine
CONTROLS AND
EQUIPMENT
=ailure
of one
brake
circuit
I the brake pedal travel should suddenly
icrease,
one of the brake circuits may
_ave
failed. Should this happen, you will
m able to bring your vehicle safely to a
s:op,
however, you will have to push hard
er on the brake pedal and it will take a onger distance to stop the vehicle.
Con
tact your Volkswagen dealership for as
sistance.
Brake
wear
~he brakes on our automobiles are still subject to wear depending largely on operating conditions and driving habits. On ve
hicles
which are driven mostly in stop-and-
50 city
traffic
or which are driven hard, the
crake linings should be checked by your
Volkswagen
dealer more often than
specified
in the Maintenance brochure.
Front
spoiler
If you
install
a
front
spoiler on
your
vehi
cle, be
sure
the air
flow
to the
front
brakes
is not
obstructed,
otherwise
the
brake
system
could
overheat.
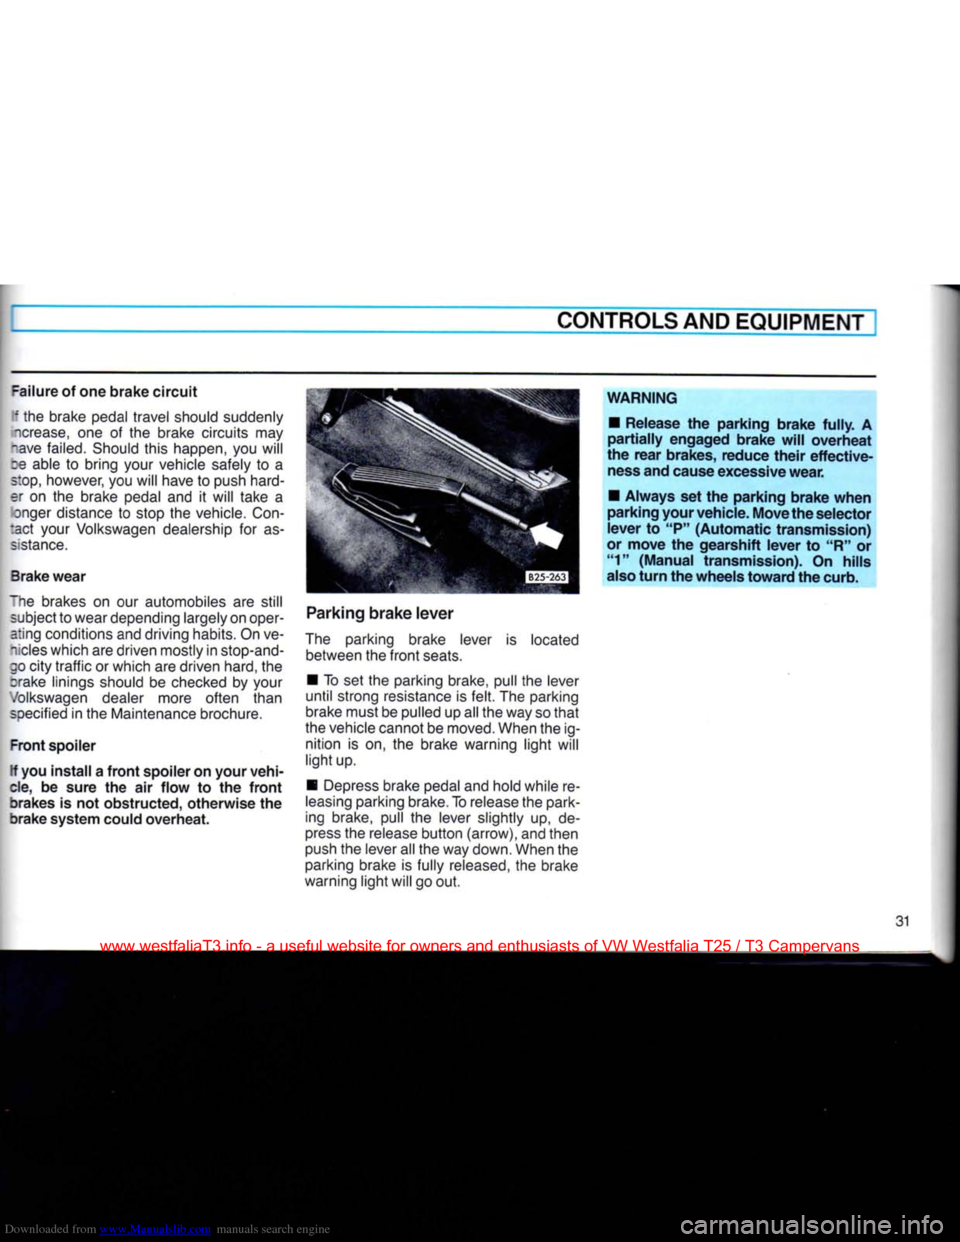
Parking
brake
lever
The parking brake lever is located between the
front
seats.
• To set the parking brake, pull the lever
until
strong resistance is
felt.
The parking
brake must be pulled up all the way so
that
the vehicle cannot be moved. When the ig nition is on, the brake warning
light
will
light
up.
• Depress brake pedal and hold while re
leasing
parking brake. To release the park
ing brake, pull the lever slightly up, de
press
the release
button
(arrow), and then
push the lever all the way down. When the parking brake is fully released, the brake
warning
light
will go out.
WARNING
•
Release
the
parking
brake
fully.
A
partially
engaged
brake
will
overheat
the
rear
brakes,
reduce
their
effective
ness and cause excessive
wear.
•
Always
set the
parking
brake
when
parking
your
vehicle.
Move
the
selector
lever
to "P"
(Automatic
transmission)
or
move
the
gearshift
lever
to "R" or "1"
(Manual
transmission).
On
hills
also
turn
the
wheels
toward
the curb.
31
www.westfaliaT3.info - a useful website for owners and enthusiasts of VW Westfalia T25 / T3 Campervans
Page 38 of 165
Downloaded from www.Manualslib.com manuals search engine
CONTROLS
AND
EQUIPMENT
•
Never shift into Reverse (R) or Park
(P) when the vehicle is in motion.
•
Do not remove the key from the ig
nition steering lock until you have
parked the vehicle, because removal
of the key
will
lock the steering wheel.
•
If the selector lever is unintention
ally moved into Neutral (N)
while
driv
ing,
take
your foot off the accelerator pedal and
wait
until the engine speed
has
dropped to idling before selecting
a driving position.
Maneuvering
•'/hen
alternating between forward and
-averse
- for
instance,
while
maneuvering
ne
vehicle
into a tight parking
space
-
:nly
shift when the
vehicle
has
come
to a
full stop and the
engine
is running at idle
soeed.
Stuck
in snow, mud or sand
When
alternating between forward and
reverse
in an effort to free the
vehicle,
depress
the
accelerator
pedal
slightly
while
the
transmission
is in
gear,
and
release
the
accelerator
pedal
while
shifting.
Do not
race
the
engine
and
avoid
spinning
the
wheels.
Do not repeat
"rocking"
back and
forth
with
wheels
spinning
at high engine speed and heavy
throttle,
as serious damage may
be caused to the automatic transmis
sion
and other critical parts.
Kickdown
device
The
kickdown
device
gives
maximum
acceleration
when the
accelerator
pedal
is
pressed
down
past
the full throttle
posi
tion.
Depending
on
road
speed
and
engine
speed,
either the upshift is
delayed
(forced
throttle) or the box
changes
down
into
the next lower
gear.
WARNING
Be
careful when using the kickdown on
slippery
roads. Rapid acceleration may
cause
skidding.
Stopping
•
When
stopping briefly, at a traffic light
for
example,
it is not
necessary
to
move
the
selector
lever
to
Neutral.
Simply
apply
the
brakes.
To start
again
release
brake
and
accelerate.
•
The driving
positions
must
never
be
used
for holding the
vehicle
at rest
uphill.
Always
use your foot
brakes
when
stopped
on
inclines.
WARNING
•
Never get out of the driver's seat
when the engine is running and the
selector
lever is not securely locked in
the P position.
•
If you must leave the vehicle move
the selector lever securely into the P
position
and apply parking brake
firmly.
Towing
To
tow the
vehicle
see instructions
"Emergency
towing" on
page
138.
www.westfaliaT3.info - a useful website for owners and enthusiasts of VW Westfalia T25 / T3 Campervans
Page 39 of 165
Downloaded from www.Manualslib.com manuals search engine
CONTROLS AND EQUIPMENT
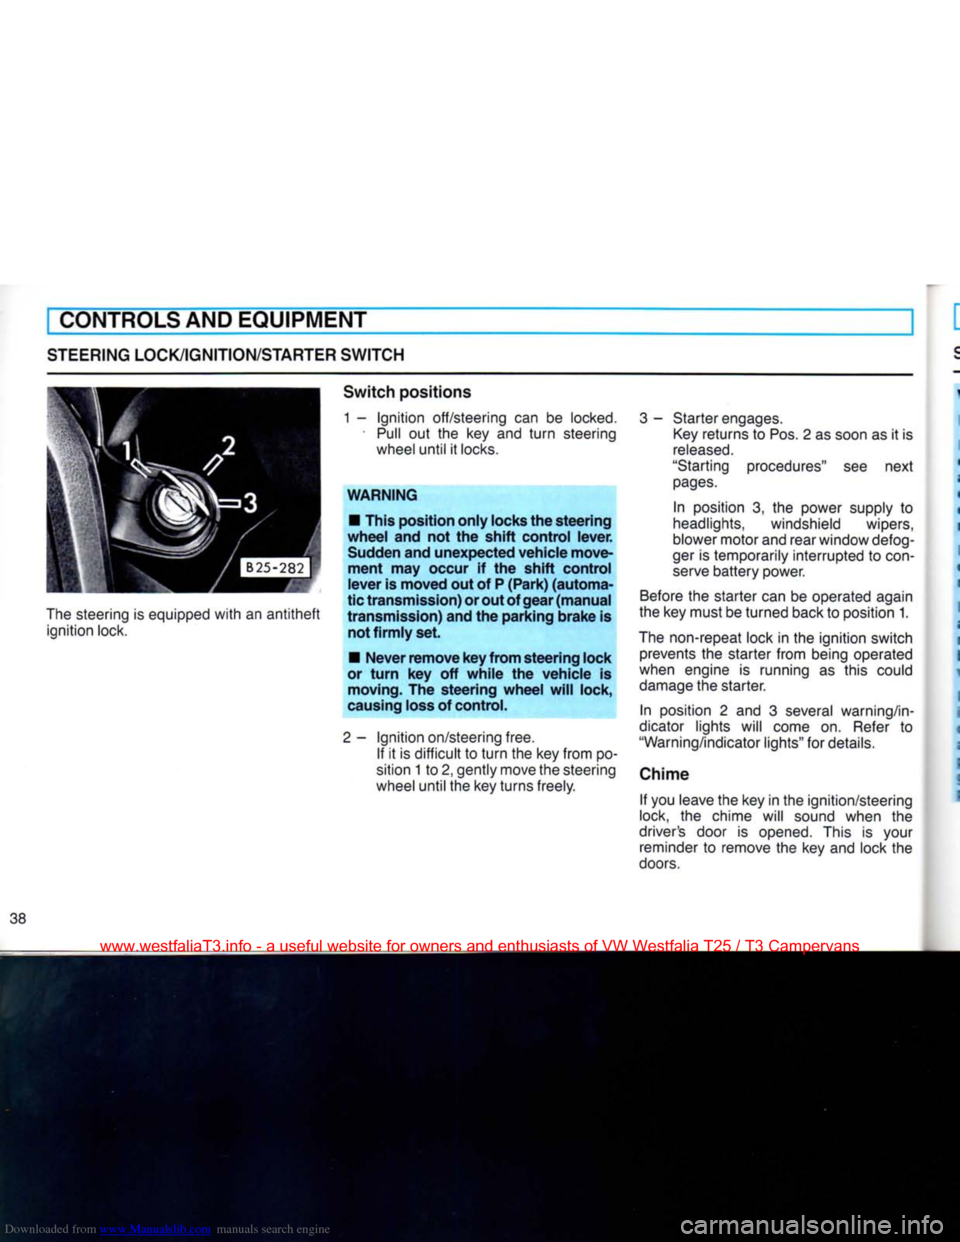
STEERING LOCK/IGNITION/STARTER
SWITCH
The
steering is equipped
with
an
antitheft
ignition lock.
Switch
positions
1 -
Ignition
off/steering can be
locked.
•
Pull
out the key and
turn
steering wheel until it
locks.
WARNING
• This position
only
locks the
steering
wheel
and not the
shift
control
lever.
Sudden and
unexpected
vehicle
move
ment
may occur if the
shift
control
lever
is
moved
out of P
(Park)
(automa
tic
transmission)
or out of
gear
(manual
transmission)
and the
parking
brake
is not
firmly
set.
•
Never
remove
key
from
steering
lock
or
turn
key off
while
the
vehicle
is moving. The
steering
wheel
will
lock,
causing loss of control.
2-
Ignition
on/steering free. If it is difficult to
turn
the key from po
sition 1 to 2, gently move the steering
wheel until the key turns freely.
3
- Starter engages.
Key
returns to Pos. 2 as soon as it is
released.
"Starting procedures" see next
pages.
In position 3, the power supply to
headlights, windshield wipers,
blower motor and rear window defog-
ger
is temporarily interrupted to
con
serve
battery power.
Before
the starter can be operated again
the key must be turned back to position 1.
The
non-repeat lock in the ignition switch prevents the starter from being operated
when engine is running as this could
damage
the starter.
In position 2 and 3 several warning/in
dicator lights will come on.
Refer
to
"Warning/indicator lights" for details.
Chime If you leave the key in the ignition/steering
lock, the chime will sound when the
driver's door is opened. This is your reminder to remove the key and lock the
doors.
www.westfaliaT3.info - a useful website for owners and enthusiasts of VW Westfalia T25 / T3 Campervans
Page 44 of 165
Downloaded from www.Manualslib.com manuals search engine
CONTROLS
AND
EQUIPMENT
WARNING
/ INDICATOR
LIGHTS
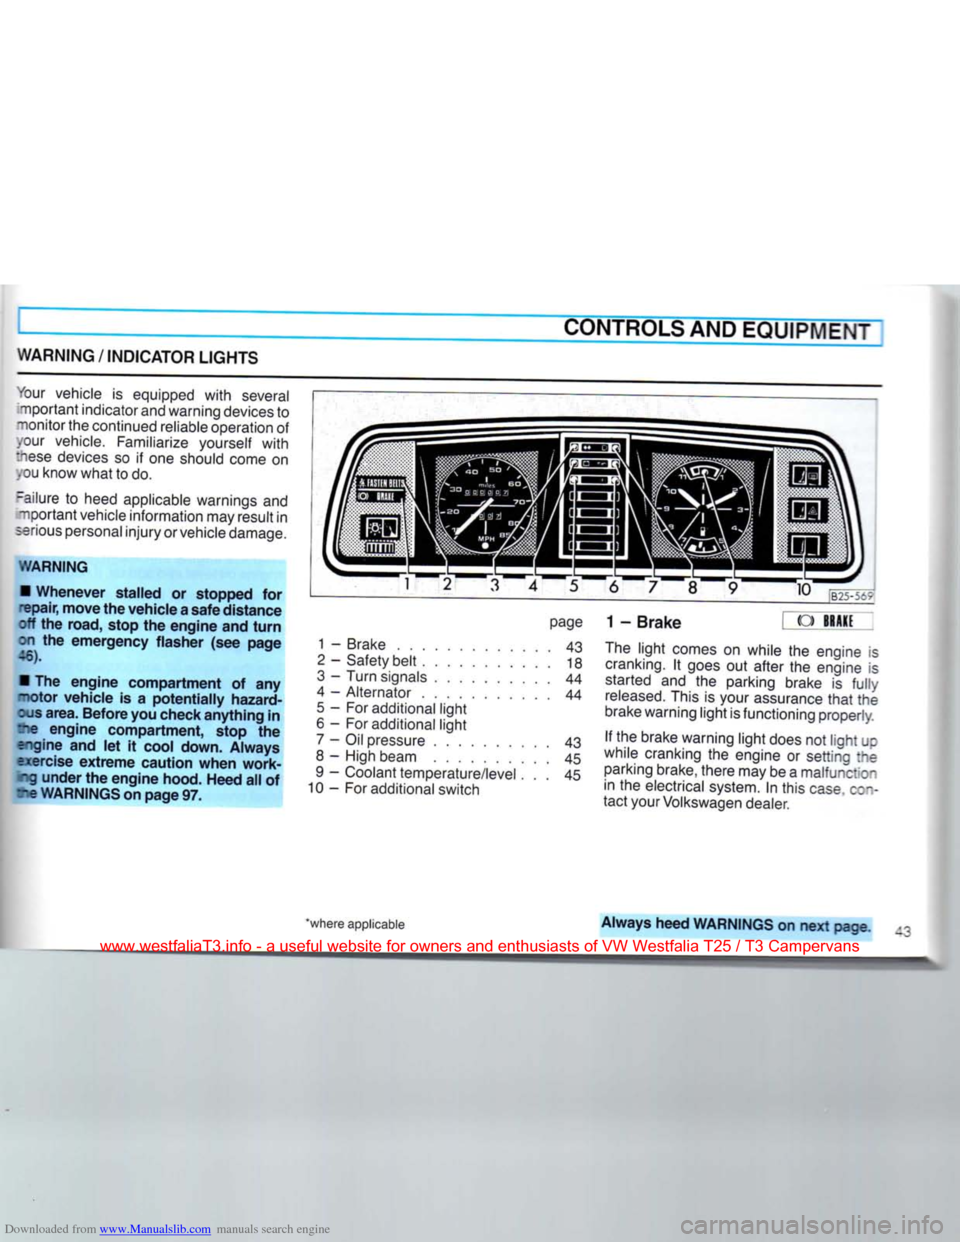
1 2 3 4 5 6 7 8
your vehicle is equipped
with
several
•nportant indicator and warning devices to
~ionitor the continued reliable operation of .our vehicle. Familiarize yourself
with
:hese
devices so if one should come on .ou know what to do.
-allure to heed applicable warnings and "nportant vehicle information may result in
serious
personal injury or vehicle damage.
WARNING
•
Whenever
stalled
or stopped for
epair,
move
the
vehicle
a
safe
distance
off the road, stop the
engine
and
turn
on the
emergency
flasher
(see
page
46).
• The
engine
compartment
of any
-lotor
vehicle
is a
potentially
hazard
ous
area.
Before
you check
anything
in
?ie
engine
compartment,
stop the
engine
and let it cool down.
Always
exercise
extreme
caution
when
work
ing
under
the
engine
hood.
Heed
all of
re
WARNINGS
on
page
97.
page
1 - Brake 43
2
- Safety belt 18
3
- Turn signals 44
4 - Alternator 44
5
- For additional light
6 - For additional light 7 - Oil pressure 43
8 - High beam 45
9 - Coolant temperature/level . . . 45
10 - For additional switch 9 10
B25-5t?
1-Brake
« ->
The
light comes on while the engine is
cranking.
It goes out after the engine is started and the parking brake is
fully
released.
This is your assurance
that
the
brake warning light is functioning properly.
If the brake warning light does not light JC
while cranking the engine or setting :ne parking brake, there may be a malfunction in the electrical system. In this
case
c;~-
tact your Volkswagen dealer.
'where applicable
Always
heed
WARNINGS
on next page
www.westfaliaT3.info - a useful website for owners and enthusiasts of VW Westfalia T25 / T3 Campervans