dimensions VOLVO C70 2001 Owners Manual
[x] Cancel search | Manufacturer: VOLVO, Model Year: 2001, Model line: C70, Model: VOLVO C70 2001Pages: 88, PDF Size: 2.07 MB
Page 36 of 88

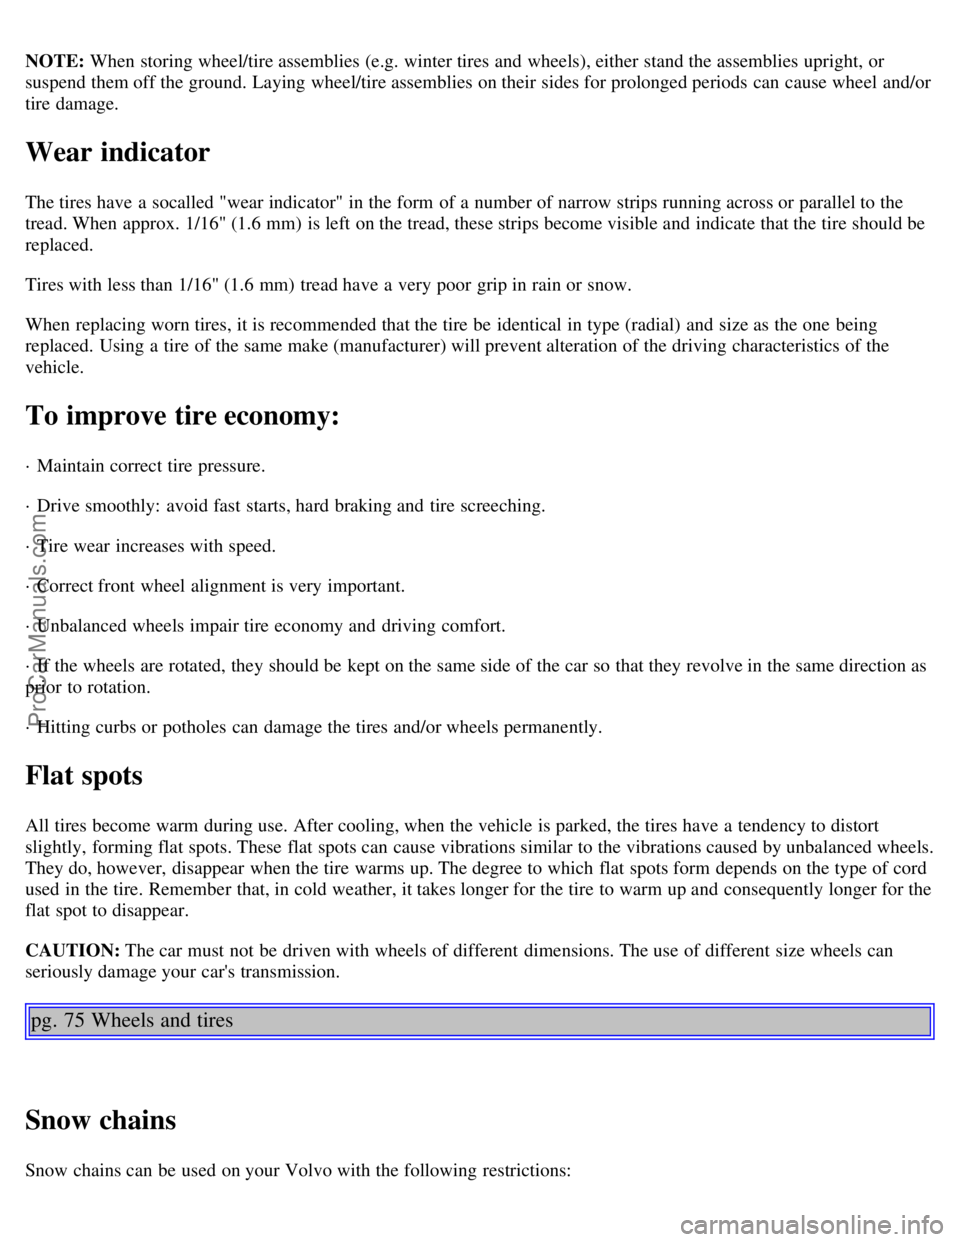
NOTE: When storing wheel/tire assemblies (e.g. winter tires and wheels), either stand the assemblies upright, or
suspend them off the ground. Laying wheel/tire assemblies on their sides for prolonged periods can cause wheel and/or
tire damage.
Wear indicator
The tires have a socalled "wear indicator" in the form of a number of narrow strips running across or parallel to the
tread. When approx. 1/16" (1.6 mm) is left on the tread, these strips become visible and indicate that the tire should be
replaced.
Tires with less than 1/16" (1.6 mm) tread have a very poor grip in rain or snow.
When replacing worn tires, it is recommended that the tire be identical in type (radial) and size as the one being
replaced. Using a tire of the same make (manufacturer) will prevent alteration of the driving characteristics of the
vehicle.
To improve tire economy:
· Maintain correct tire pressure.
· Drive smoothly: avoid fast starts, hard braking and tire screeching.
· Tire wear increases with speed.
· Correct front wheel alignment is very important.
· Unbalanced wheels impair tire economy and driving comfort.
· If the wheels are rotated, they should be kept on the same side of the car so that they revolve in the same direction as
prior to rotation.
· Hitting curbs or potholes can damage the tires and/or wheels permanently.
Flat spots
All tires become warm during use. After cooling, when the vehicle is parked, the tires have a tendency to distort
slightly, forming flat spots. These flat spots can cause vibrations similar to the vibrations caused by unbalanced wheels.
They do, however, disappear when the tire warms up. The degree to which flat spots form depends on the type of cord
used in the tire. Remember that, in cold weather, it takes longer for the tire to warm up and consequently longer for the
flat spot to disappear.
CAUTION: The car must not be driven with wheels of different dimensions. The use of different size wheels can
seriously damage your car's transmission.
pg. 75 Wheels and tires
Snow chains
Snow chains can be used on your Volvo with the following restrictions:
ProCarManuals.com
Page 41 of 88

The spare wheel is located under the carpet on the trunk floor. The jack and crank are secured in the wheel recess.
· Engage the parking brake.
· Put the gear selector in (P)ark (automatic) or in Reverse (manual).
· With the car still on the ground, use the lug wrench to loosen the wheel bolts 1/2 -1 turn. Turn the bolts
counterclockwise to loosen.
· Fold out the crank handle on the jack by pressing the knob on the handle downward. To attach the jack, refer to the
illustration on the following page.
CAUTION: The car must not be driven with wheels of different dimensions or with a spare tire other than the one that
came with the car. The use of different size wheels can seriously damage your car's transmission.
NOTE: To avoid excessive wear and the necessity of rebalancing, mark and reinstall wheels in the same location and
position as before removal. To lessen the chance of imbalance, each wheel hub is equipped with a guide stud to ensure
that a removed wheel can be reinstalled in its original position (as when changing over to winter tires/wheels).
pg. 81 Wheel changing
There is a jack attachment located in the center on each side of the car. Position the jack on the bar in the attachment
as shown in illustration above and crank while simultaneously guiding the base of the jack to the ground. The base of
the jack must be flat on a level, firm, non-slippery surface. Before raising the car, check that the jack is still
correctly positioned in the attachment. Raise the vehicle until both wheels on the side of the car where the jack is
attached are lifted off the ground. Unscrew the wheel bolts completely and carefully remove the wheel so as not to
damage the thread on the studs.
Installing the wheel
Clean the contact surfaces on the wheel and hub. Lift the wheel and place it on the hub. Make sure that you align the
wheel with the guide stud on the wheel hub prior to installation. Install the wheel bolts crosswise (see illustration) and
tighten by turning lightly clockwise. Lower the vehicle to the ground and alternately tighten the bolts to 100 ft. lbs.
(136 Nm). Install the wheel cap (where applicable).
ProCarManuals.com
Page 42 of 88

WARNING!
· The jack's attachment must engage the bar in the jack attachment (A). The car's weight must not rest on the jack
attachment (B).
· Be sure the jack is on a firm, level, non-slippery surface.
· Never allow any part of your body to be extended under a car supported by a jack.
· Use the jack intended for the car when replacing a wheel. For any other job, use stands to support the side of the
car being worked on. -
· Apply the parking brake, select position P (automatic transmission) or Reverse gear (manual transmission).
· Block the wheels standing on the ground, use rigid wooden blocks or large stones.
· The jack should be kept well-greased.
CAUTION : Correct tightening torque on wheel bolts must be observed. The wheel bolts should never be greased or
lubricated. The extended, chromed wheel bolts must not be used with steel rims, as they make it impossible to fit the
hub caps.
Correct tightening order for wheel bolts
pg. 82 Spare tire
Temporary Spare (certain models)
The spare tire in your car is called a "Temporary Spare". It has the following designation: T125/90R15.
Recommended tire pressure (see decal on fuel filler flap) should be maintained irrespective of which position on the
car the Temporary Spare tire is used on.
In the event of damage to this tire, a new one can be purchased from your Volvo retailer.
CAUTION: The car must not be driven with wheels of different dimensions or with a spare tire other than the one that
ProCarManuals.com
Page 60 of 88

2 0 0 1
VOLVO C70
Chapter 9 - Specifications
pg. 119 Specifications
Specifications
This chapter contains facts and figures pertaining to the technical specifications of your car. Oil/fluids specifications
120
Engine specifications121
Cooling/fuel/distributor ignition systems122
Front/rear suspensions122
Transmission, Capacities, Vehicle loading123
Electrical system/bulbs124
Dimensions and weights125
Service manuals, Road assistance126
pg. 120 Oil/fluid specifications
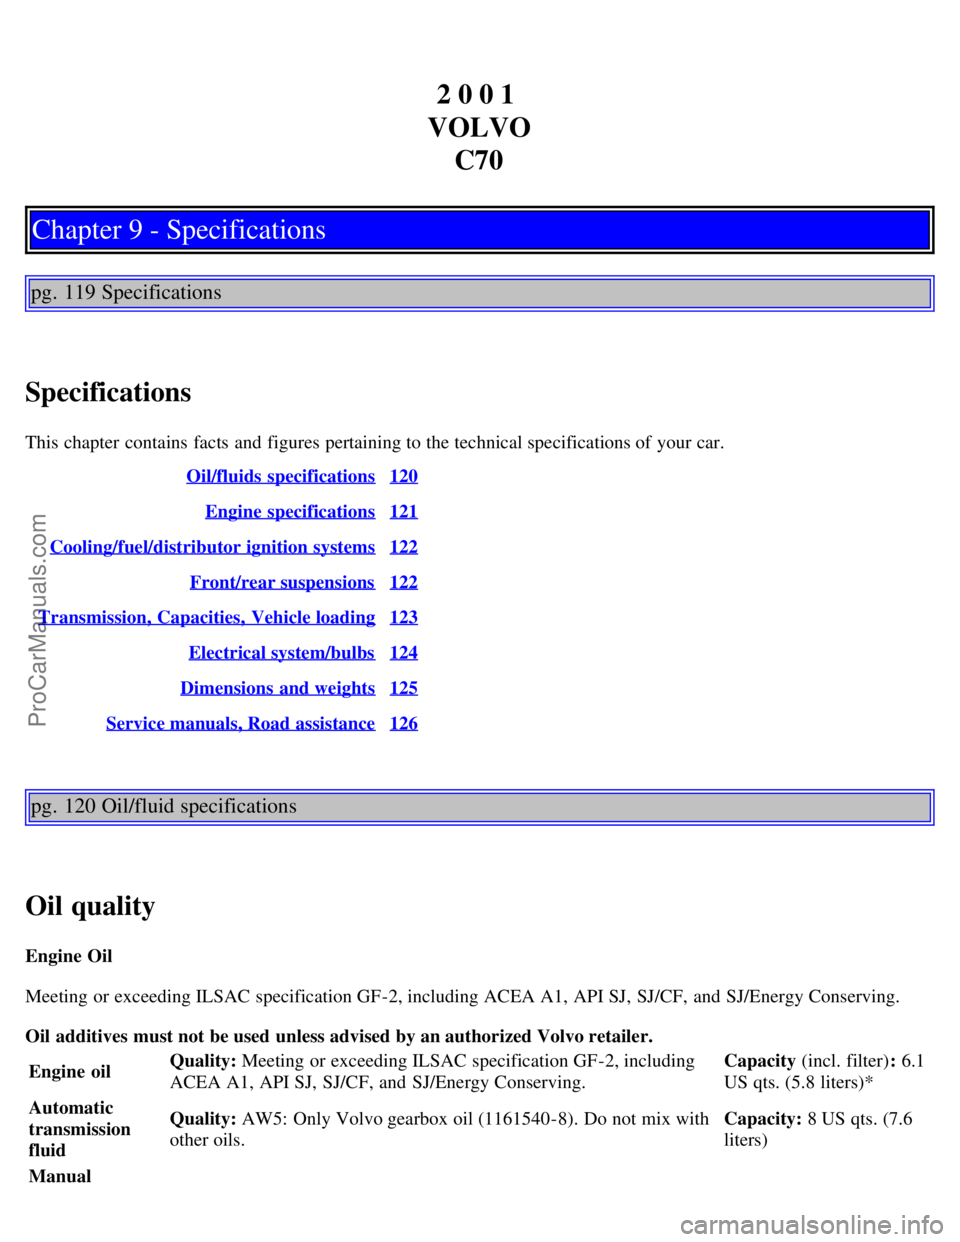
Oil quality
Engine Oil
Meeting or exceeding ILSAC specification GF-2, including ACEA A1, API SJ, SJ/CF, and SJ/Energy Conserving.
Oil additives must not be used unless advised by an authorized Volvo retailer.
Engine oil Quality:
Meeting or exceeding ILSAC specification GF-2, including
ACEA A1, API SJ, SJ/CF, and SJ/Energy Conserving. Capacity (incl. filter)
: 6.1
US qts. (5.8 liters)*
Automatic
transmission
fluid Quality:
AW5: Only Volvo gearbox oil (1161540-8). Do not mix with
other oils. Capacity:
8 US qts. (7.6
liters)
Manual
ProCarManuals.com
Page 65 of 88

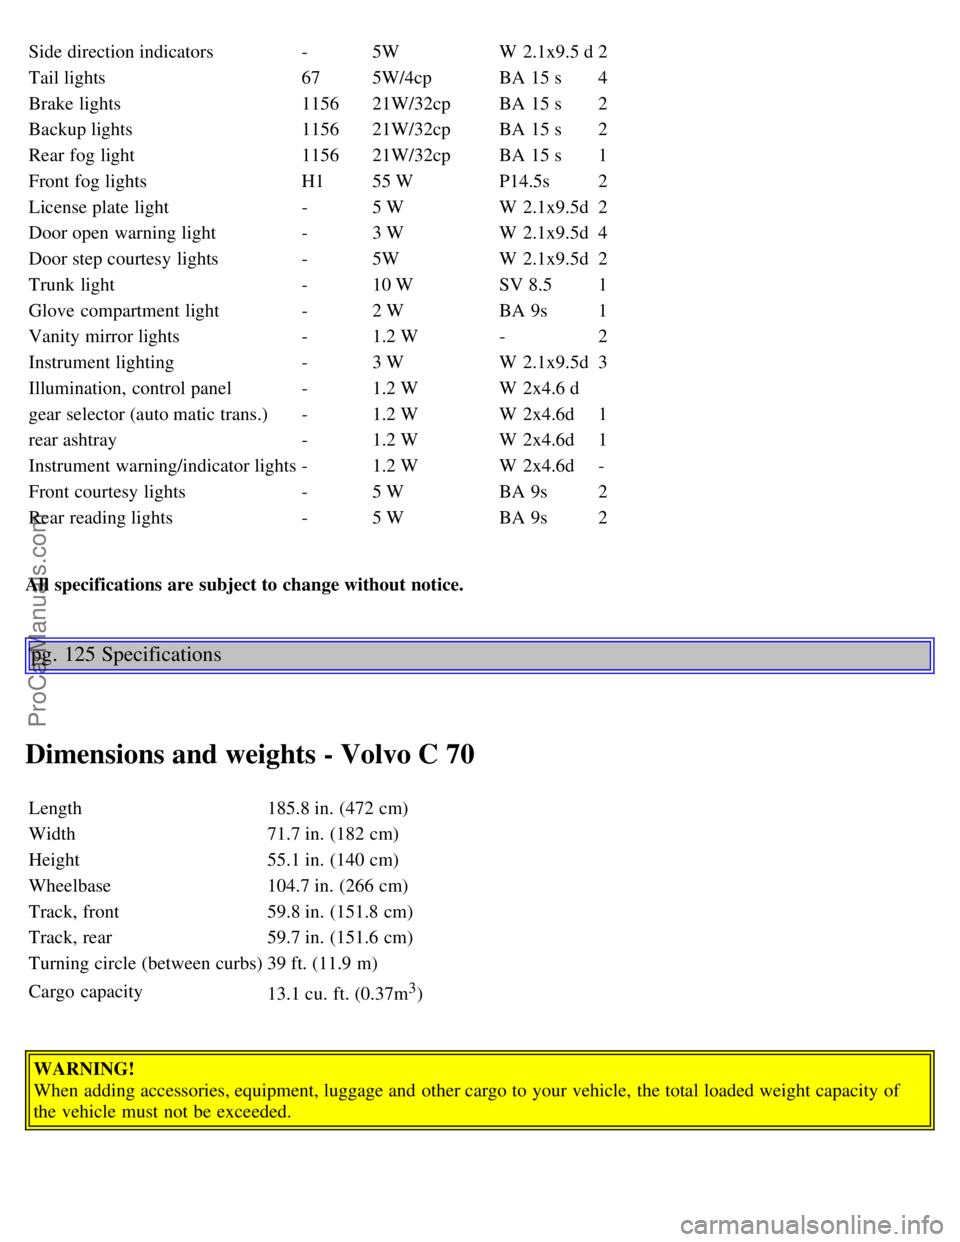
Side direction indicators-5W W 2.1x9.5 d2
Tail lights 675W/4cp BA 15 s4
Brake lights 115621W/32cp BA 15 s2
Backup lights 115621W/32cp BA 15 s2
Rear fog light 115621W/32cp BA 15 s1
Front fog lights H155 W P14.5s2
License plate light -5 W W 2.1x9.5d2
Door open warning light -3 W W 2.1x9.5d4
Door step courtesy lights -5W W 2.1x9.5d2
Trunk light -10 W SV 8.51
Glove compartment light -2 W BA 9s1
Vanity mirror lights -1.2 W -2
Instrument lighting -3 W W 2.1x9.5d3
Illumination, control panel -1.2 W W 2x4.6 d
gear selector (auto matic trans.) -1.2 W W 2x4.6d1
rear ashtray -1.2 W W 2x4.6d1
Instrument warning/indicator lights -1.2 W W 2x4.6d-
Front courtesy lights -5 W BA 9s2
Rear reading lights -5 W BA 9s2
All specifications are subject to change without notice.
pg. 125 Specifications
Dimensions and weights - Volvo C 70
Length 185.8 in. (472 cm)
Width 71.7 in. (182 cm)
Height 55.1 in. (140 cm)
Wheelbase 104.7 in. (266 cm)
Track, front 59.8 in. (151.8 cm)
Track, rear 59.7 in. (151.6 cm)
Turning circle (between curbs) 39 ft. (11.9 m)
Cargo capacity 13.1 cu. ft. (0.37m
3)
WARNING!
When adding accessories, equipment, luggage and other cargo to your vehicle, the total loaded weight capacity of
the vehicle must not be exceeded.
ProCarManuals.com
Page 80 of 88

Bulb failure warning17,19
Bulbs124
C
Capacities123
Central locking button36
Chains (snow)75
Changing a wheel80
Child booster cushion12
Child Restraint Anchorages10
Child safety12
Clock16
Clock - resetting25
Clutch fluid114
Clutch interlock60
Coolant - checking/changing116
Coolant level sensor19
Coolant level warning light17
Cooling system64,122
Courtesy lights - exterior20
Courtesy lights - front49
Cruise control29
D
Daytime running lights24
Demister - rear window23
Dimensions125
Distributor ignition system122
Diversity antenna183
Doors and locks42
Driving economy58
Driving mode W62
E
EBD (Electronic Brake-force Distribution)72
ECC - Electronic Climate Control34,35
Electrical system64,124
Electrically heated front seats30
Electrically operated front seats46,47
Electrically operated sun roof41
Electrically-operated windows36
Electronic Brake Distribution (EBD)70
Electronic Brake-force Distribution (EBD)70
Emergency towing66
Emergency warning flashers23
Engine121
Engine compartment117
ProCarManuals.com