change wheel VOLVO C70 2008 Owners Manual
[x] Cancel search | Manufacturer: VOLVO, Model Year: 2008, Model line: C70, Model: VOLVO C70 2008Pages: 246, PDF Size: 5.14 MB
Page 51 of 246
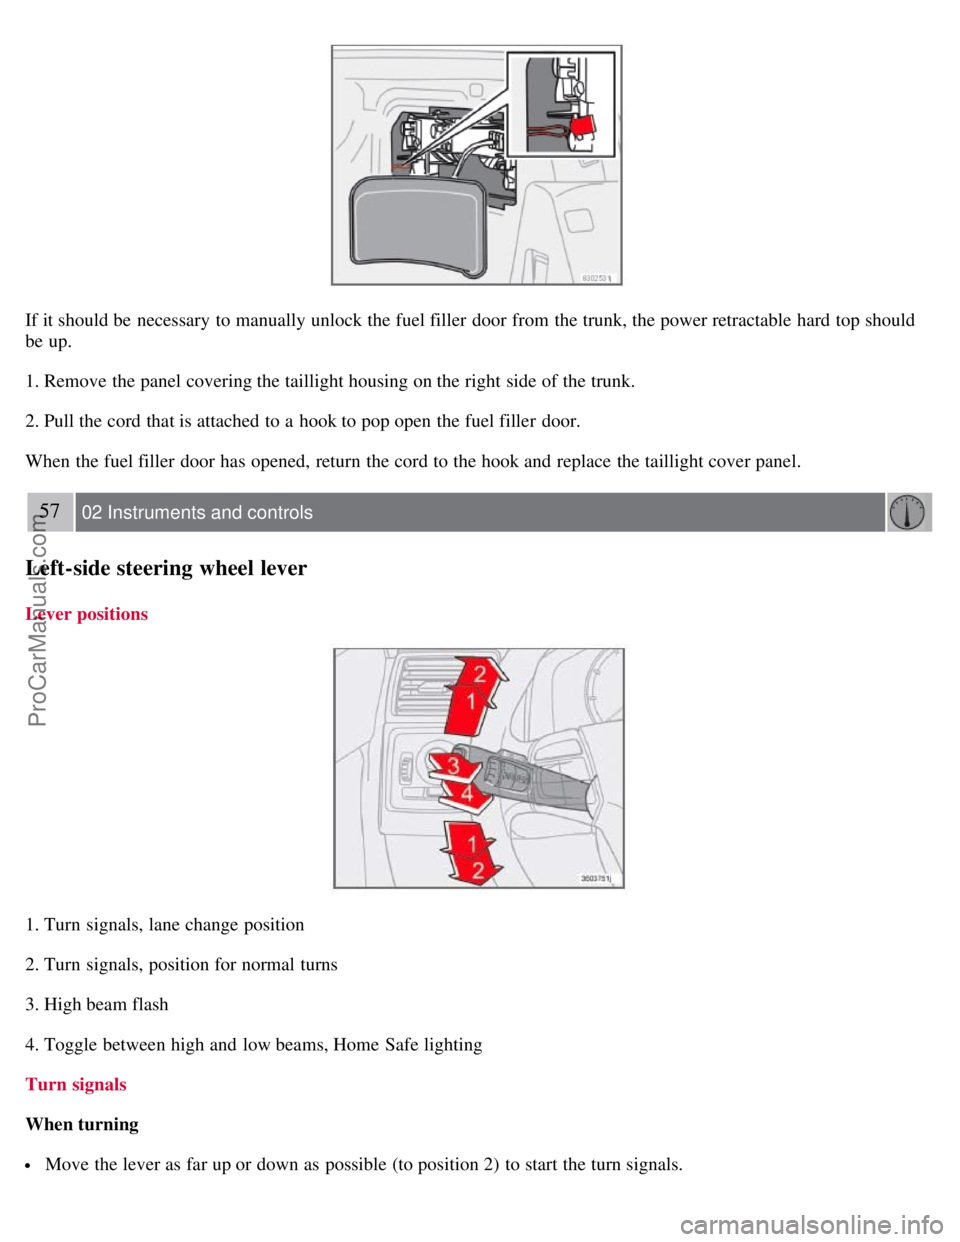
If it should be necessary to manually unlock the fuel filler door from the trunk, the power retractable hard top should
be up.
1. Remove the panel covering the taillight housing on the right side of the trunk.
2. Pull the cord that is attached to a hook to pop open the fuel filler door.
When the fuel filler door has opened, return the cord to the hook and replace the taillight cover panel.
57 02 Instruments and controls
Left-side steering wheel lever
Lever positions
1. Turn signals, lane change position
2. Turn signals, position for normal turns
3. High beam flash
4. Toggle between high and low beams, Home Safe lighting
Turn signals
When turning
Move the lever as far up or down as possible (to position 2) to start the turn signals.
ProCarManuals.com
Page 52 of 246

The turn signals will be cancelled automatically by the movement of the steering wheel, or the lever can be returned to
its initial position by hand.
When changing lanes
The driver can automatically flash the turn signals 3 times by:
Moving the turn signal lever up or down to position 1 and releasing it.
Moving the lever up or down to position 2 and immediately back to its original position.
NOTE
This automatic flashing sequence can be interrupted by immediately moving the lever in the opposite direction.
If the turn signal indicator flashes faster than normal, check for a burned-out turn signal bulb.
High/low beam headlights
Continuous high beams
1. Turn the ignition key to position II.
2. With the light switch (1) in position
, (see page 55) pull the turn signal lever toward the steering wheel (position
4) to toggle between high and low beams.
High beam flash
1. Turn the ignition key to position II.
2. Pull the turn signal lever to position 3. The high beams will remain on until the lever is released.
Home safe lighting
When you leave your car at night, you can make use of the home safe lighting function to illuminate the area in front
of the car.
1. Remove the key from the ignition switch.
2. Pull the direction indicator lever as far as possible towards the steering wheel (to position 4) and release it.
3. Exit the car and lock the doors.
The headlights and parking lights will illuminate and remain on for 30
1, 60 or 90 seconds. The time interval can be
changed according to your preferences by using the Personal Settings function, see page 71
for more information.
1Factory setting
58 02 Instruments and controls
Trip computer
ProCarManuals.com
Page 155 of 246

Tables listing the recommended inflation pressure for your vehicle can be found on pages 172 and 173. A tire inflation
pressure placard is also located on the driver's side Bpillar (the structural member at the side of the vehicle, at the rear
of the driver's door opening). This placard indicates the designation of the factory-mounted tires on your vehicle, as
well as load limits and inflation pressure.
NOTE
The placards shown indicate inflation pressure for the tires installed on the car at the factory only.
Use a tire gauge to check the tire inflation pressure, including the spare, at least once a month and before long trips.
You are strongly urged to buy a reliable tire pressure gauge, as automatic service station gauges may be inaccurate.
Use the recommended cold inflation pressure for optimum tire performance and wear.
Under-inflation or over-inflation may cause uneven treadwear patterns.
WARNING
Under-inflation is the most common cause of tire failure and may result in severe tire cracking, tread separation,
or "blowout," with unexpected loss of vehicle control and increased risk of injury.
Under-inflated tires reduce the load carrying capacity of your vehicle.
When weather temperature changes occur, tire inflation pressures also change. A 10-degree temperature drop causes a
corresponding drop of 1 psi (7 kPa) in inflation pressure. Check your tire pressures frequently and adjust them to the
proper pressure, which can be found on the vehicle's tire information placard or certification label.
Checking tire pressure
Cold tires
Inflation pressure should be checked when the tires are cold.
The tires are considered to be cold when they have the same temperature as the surrounding (ambient) air.
This temperature is normally reached after the car has been parked for at least 3 hours.
171 07 Wheels and tires
Tire inflation
After driving a distance of approximately 1 mile ( 1.6 km), the tires are considered to be hot. If you have to drive
farther than this distance to pump your tire(s), check and record the tire pressure first and add the appropriate air
ProCarManuals.com
Page 164 of 246
182 07 Wheels and tires
Tire rotation
Summer and winter tires
When switching between summer and winter tires, mark the tires to indicate where they were mounted on the car,
e.g. LF = left front, RR = right rear
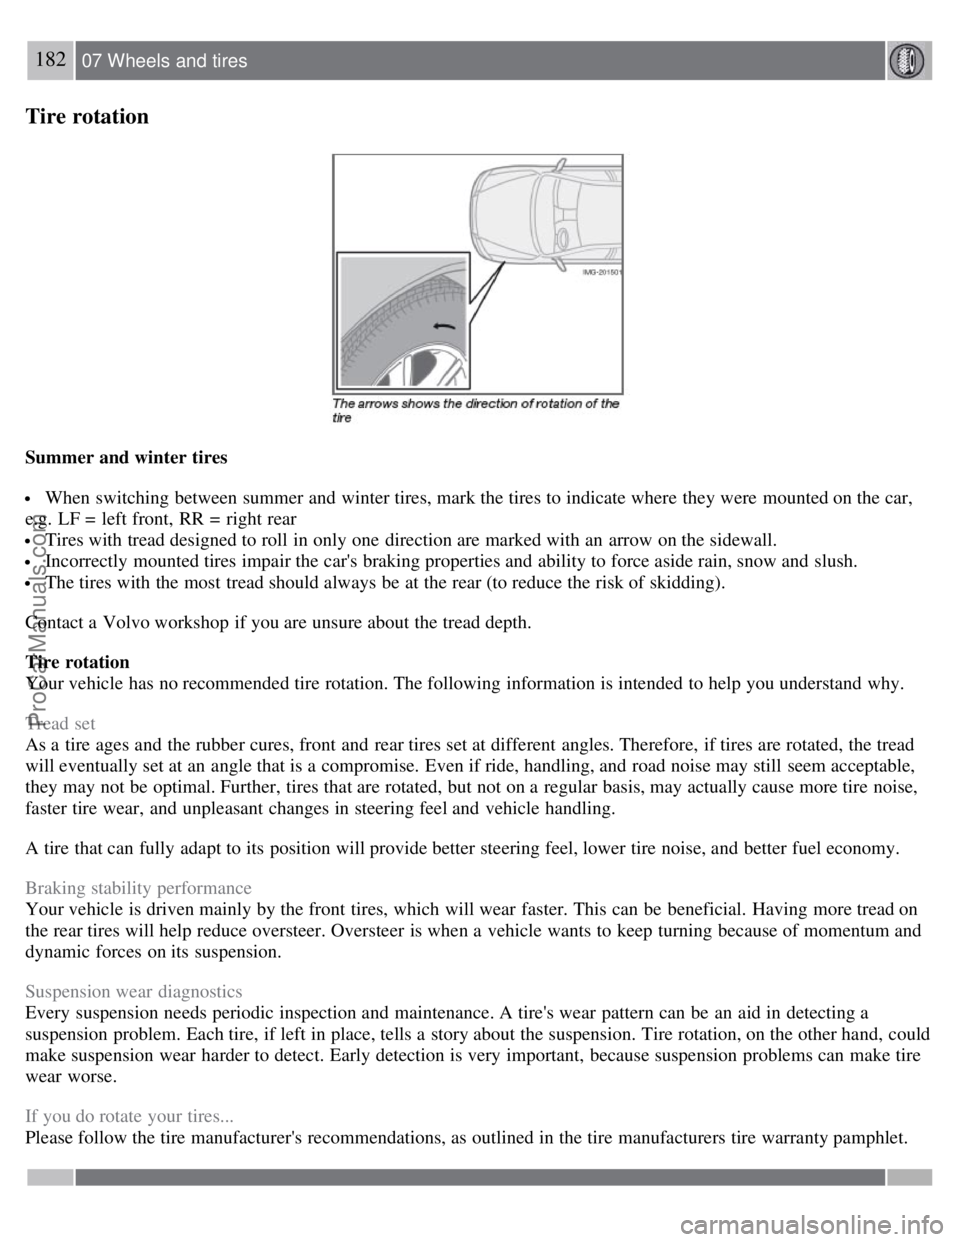
Tires with tread designed to roll in only one direction are marked with an arrow on the sidewall.
Incorrectly mounted tires impair the car's braking properties and ability to force aside rain, snow and slush.
The tires with the most tread should always be at the rear (to reduce the risk of skidding).
Contact a Volvo workshop if you are unsure about the tread depth.
Tire rotation
Your vehicle has no recommended tire rotation. The following information is intended to help you understand why.
Tread set
As a tire ages and the rubber cures, front and rear tires set at different angles. Therefore, if tires are rotated, the tread
will eventually set at an angle that is a compromise. Even if ride, handling, and road noise may still seem acceptable,
they may not be optimal. Further, tires that are rotated, but not on a regular basis, may actually cause more tire noise,
faster tire wear, and unpleasant changes in steering feel and vehicle handling.
A tire that can fully adapt to its position will provide better steering feel, lower tire noise, and better fuel economy.
Braking stability performance
Your vehicle is driven mainly by the front tires, which will wear faster. This can be beneficial. Having more tread on
the rear tires will help reduce oversteer. Oversteer is when a vehicle wants to keep turning because of momentum and
dynamic forces on its suspension.
Suspension wear diagnostics
Every suspension needs periodic inspection and maintenance. A tire's wear pattern can be an aid in detecting a
suspension problem. Each tire, if left in place, tells a story about the suspension. Tire rotation, on the other hand, could
make suspension wear harder to detect. Early detection is very important, because suspension problems can make tire
wear worse.
If you do rotate your tires...
Please follow the tire manufacturer's recommendations, as outlined in the tire manufacturers tire warranty pamphlet.
ProCarManuals.com
Page 167 of 246

Positioning the jack1
There are two jack attachment points on each side of the car.
6. Position the jack correctly in the attachment (see illustration above) and crank while simultaneously guiding the base
of the jack to the ground. The base of the jack must be flat on a level, firm, non-slippery surface.
7. Before raising the car, check that the jack is still correctly positioned in the attachment.
1Not included on models equipped with the tire sealing system.
WARNING
The jack must correctly engage the jack attachment.
Be sure the jack is on a firm, level, non-slippery surface.
Never allow any part of your body to be extended under a car supported by a jack.
Use the jack intended for the car when changing a tire. For any other job, use stands to support the car.
Apply the parking brake and put the gear selector in the Park (P) position.
Block the wheels standing on the ground, use rigid wooden blocks or large stones.
The jack should be kept well-greased and clean, and should not be damaged.
No objects should be placed between the base of jack and the ground, or between the jack and the attachment bar
on the vehicle.
Removing the wheel
8. Raise the vehicle until the wheel to be changed is lifted off the ground.
9. Unscrew the wheel bolts completely and carefully remove the wheel so as not to damage the threads on the studs.
Installing a wheel
1. Clean the contact surfaces on the wheel and hub.
2. Lift the wheel and place it on the hub.
3. Install the wheel nuts and tighten hand -tight. Using the lug wrench, tighten crosswise until all nuts are snug.
4. Lower the vehicle to the ground and alternately tighten the bolts crosswise to 96 ft. lbs. (130 Nm).
5. Install the wheel cap (where applicable).
186 07 Wheels and tires
ProCarManuals.com
Page 175 of 246

TPMS indicates low tire pressure but does not replace normal tire maintenance. For information on correct tire
pressure, please refer to the tables beginning on page 172 or consult your Volvo retailer.
The tire pressure warning light will not identify which tire is underinflated. Be sure to check all four tires.
A certain amount of air seepage from the tires occurs naturally and tire pressure fluctuates with seasonal changes
in temperature. Always check tire pressure regularly.
Erasing warning messages
When a low tire pressure warning message has been displayed, and the tire pressure warning light has come on:
1. Use a tire pressure gauge to check the inflation pressure of all four tires.
2. Re-inflate the tire(s) to the correct pressure (consult the tire pressure placard or the tables beginning on page 172
.
3. In certain cases, it may be necessary to drive the vehicle for several minutes at a speed of 20 mph (30 km/h) or
faster. This will erase the warning text and the warning light will go out.
WARNING
Incorrect inflation pressure could lead to tire failure, resulting in a loss of control of the vehicle.
Changing wheels with TPMS
Please note the following when changing or replacing the factory installed TPMS wheels/tires on the vehicle:
Only the factory-mounted wheels are equipped with TPMS sensors in the valves.
If the vehicle is equipped with a temporary spare tire, this tire does not have a TPMS sensor.
If wheels without TPMS sensors are mounted on the vehicle, TIRE PRESS SYST SERVICE REQUIRED will be
displayed each time the vehicle is driven above 25 mph (40 km/h) for 10 minutes or more.
Once TPMS sensors are properly installed, the warning message should not reappear. If the message is still
displayed, drive the vehicle for several minutes at a speed of 20 mph (30 km/h) or faster to erase the message.
Volvo recommends that TPMS sensors be fitted on all wheels used on the vehicle. Volvo does not recommend
moving sensors back and forth between sets of wheels.
NOTE
If you change to tires with a different recommended inflation pressure, the TPMS system must be recalibrated to
these tires. This must be done by a trained and qualified Volvo service technician.
If a tire is changed, or if the TPMS sensor is moved to another wheel, the sensor's seal, nut, and valve core should
be replaced.
When installing TPMS sensors, the vehicle must be parked for at least 15 minutes with the ignition off. if the
vehicle is driven within 15 minutes, a TPMS error message will be displayed.
CAUTION
When inflating tires with TPMS valves, press the pump's mouthpiece straight onto the valve to help avoid bending or
otherwise damaging the valve.
Contents | Top of Page
ProCarManuals.com
Page 190 of 246
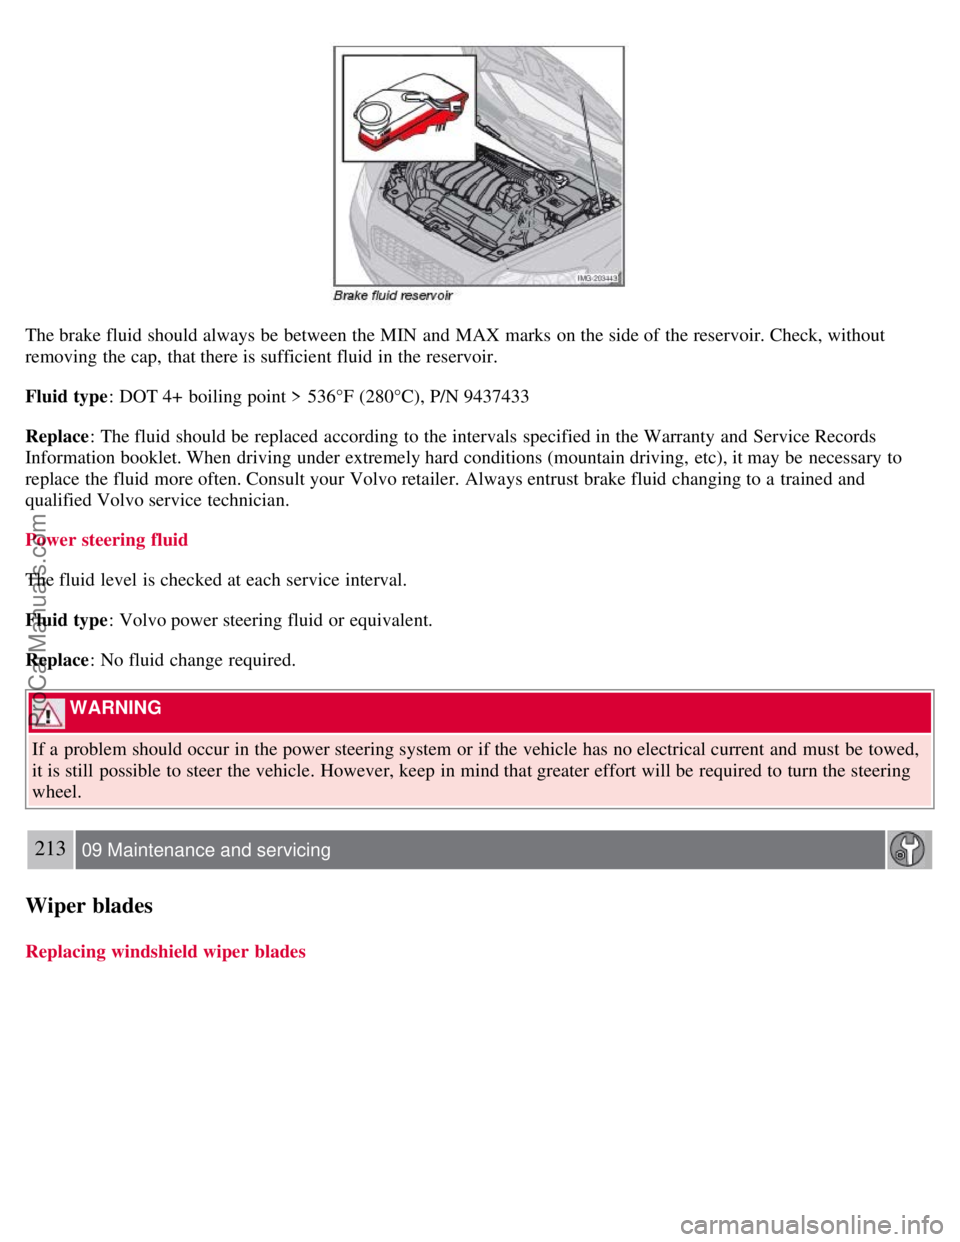
The brake fluid should always be between the MIN and MAX marks on the side of the reservoir. Check, without
removing the cap, that there is sufficient fluid in the reservoir.
Fluid type: DOT 4+ boiling point > 536°F (280°C), P/N 9437433
Replace : The fluid should be replaced according to the intervals specified in the Warranty and Service Records
Information booklet. When driving under extremely hard conditions (mountain driving, etc), it may be necessary to
replace the fluid more often. Consult your Volvo retailer. Always entrust brake fluid changing to a trained and
qualified Volvo service technician.
Power steering fluid
The fluid level is checked at each service interval.
Fluid type : Volvo power steering fluid or equivalent.
Replace : No fluid change required.
WARNING
If a problem should occur in the power steering system or if the vehicle has no electrical current and must be towed,
it is still possible to steer the vehicle. However, keep in mind that greater effort will be required to turn the steering
wheel.
213 09 Maintenance and servicing
Wiper blades
Replacing windshield wiper blades
ProCarManuals.com
Page 211 of 246
6. Turn the volume knob to raise or lower the AUX Input Volume until you hear music at a comfortable level.
235 10 Audio
Audio functions
7. If there is distortion, lower your music player's headphone volume until the distortion goes away.
8. Finally, exit the menu and adjust the audio volume to a comfortable level.
Volume
Use the volume dial (1) or the buttons in the optional steering wheel keypad to adjust the volume level. The volume
level is also adjusted automatically according to the vehicle's speed, see page 239
for more information on this
function.
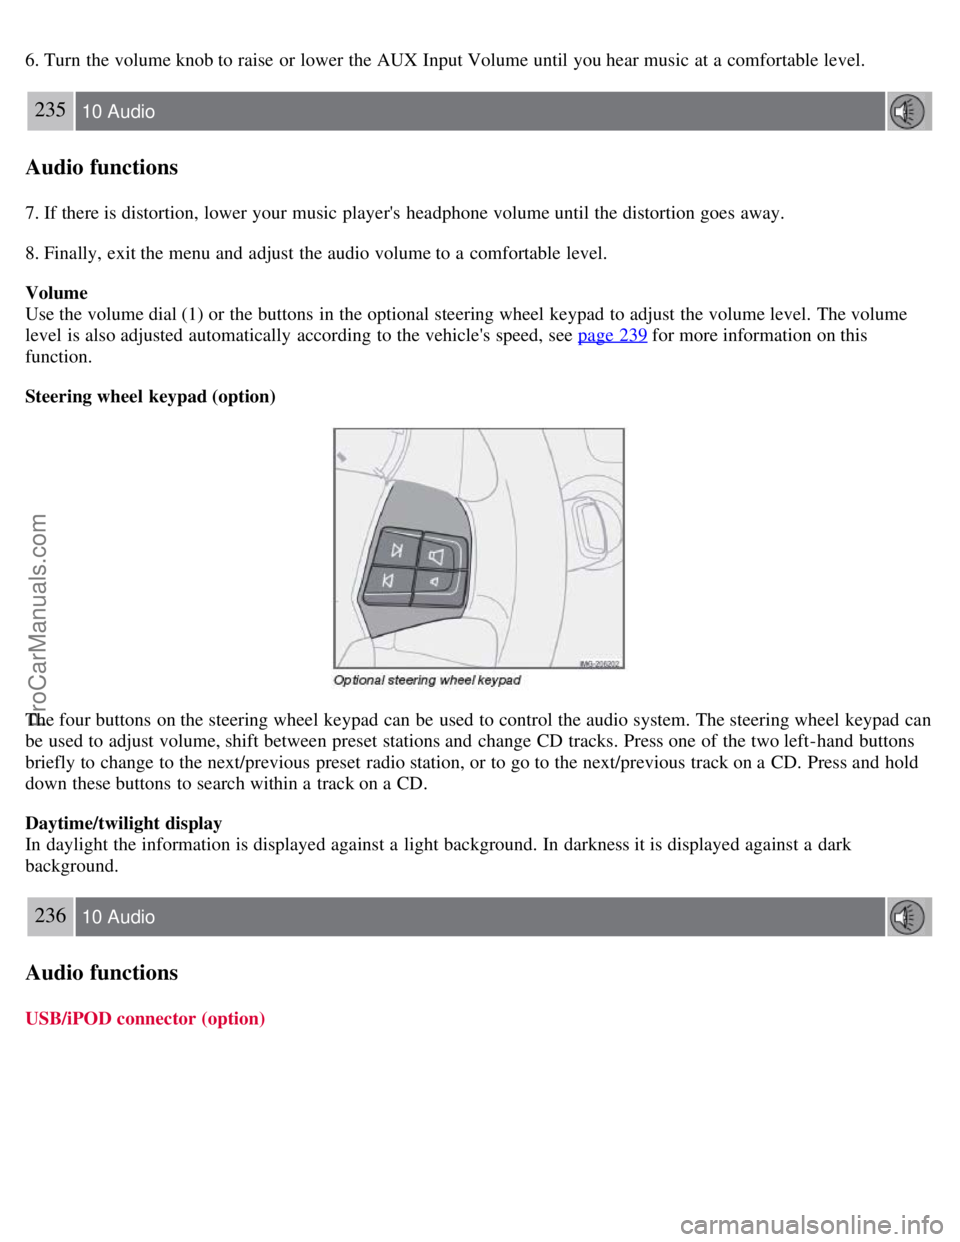
Steering wheel keypad (option)
The four buttons on the steering wheel keypad can be used to control the audio system. The steering wheel keypad can
be used to adjust volume, shift between preset stations and change CD tracks. Press one of the two left-hand buttons
briefly to change to the next/previous preset radio station, or to go to the next/previous track on a CD. Press and hold
down these buttons to search within a track on a CD.
Daytime/twilight display
In daylight the information is displayed against a light background. In darkness it is displayed against a dark
background.
236 10 Audio
Audio functions
USB/iPOD connector (option)
ProCarManuals.com
Page 224 of 246
files. The length of time that this takes depends on the quality of the disc.
Navigating the disc and playing tracks
If a disc with audio files is in the CD player, press ENTER to display a list of folders on the disc.
Use the up and down arrows in the navigation control (see the illustration on page 234
) to move among the folders on
the disc. Audio files have the
symbol and folders containing these files have the symbol. Press ENTER to play a
selected folder or a file.
When the music file has been played, the player will continue to play the rest of the files in the current folder. When
all of the files in the folder have been played, the player will automatically go to the next folder and play the files in it.
Press the left or right arrow key on the navigation control if the entire name of the current track does not fit in the
display.
Changing tracks
Briefly press the left or right arrow keys on the MENU NAVIGATION control to skip to the previous or next
track/file.
NOTE
The TUNING dial (6) (turn clockwise to go to the next track/file, or counterclockwise to go to the previous
track/file) or the optional steering wheel keypad can also be used for this purpose.
Fast forward/back
Press and hold down the left or right arrows keys in the MENU NAVIGATION control (or the corresponding keys on
the optional steering wheel keypad) to search within a track/file or the whole disc. The search continues for as long as
the buttons are held down.
Random play
This function plays the tracks/files on a CD (or on all of the CDs if the vehicle is equipped with the optional CD
changer) in random order (shuffle).
247 10 Audio
CD player/CD changer (option)
Activating/deactivating the random function-CD player
If a normal CD is being played:
1. Press MENU followed by ENTER .
2. Select Random and press ENTER .
If a CD with audio files is being played:
1. Press MENU followed by ENTER .
2. Select Random and press ENTER .
3. Select Disc or Folder and press ENTER .
Activating/deactivating the random function-CD changer
If a normal CD is being played:
ProCarManuals.com
Page 237 of 246

2 0 0 8
VOLVO C70
264-269 12 Index
12 volt socket 68, 108
A
Accessory installation8
Air conditioning80, 83
Air distribution86
Air vents81
Airbags
disabling the front passenger's airbag21, 22, 23
door mounted inflatable curtain25
front airbag18, 19, 20
side impact24
Alarm system126, 127
turning off alarm sensors127
Anti-lock brakes6
general information147, 148
warning light50
Approach lighting72, 113
Audio system
automatic sound control238
auxiliary connector234
CD care248
CD changer/player245, 246, 247
controls234
equalizer238
menu249
MP3 and WMA files246
radio function239
Sirius satellite radio241, 242, 243
sound settings235
steering wheel keypad235
surround sound235
USB/iPOD connector236
Automatic Locking Retractor32
Automatic sound control238
Automatic transmission144, 145
ProCarManuals.com