lights VOLVO S40 2005 User Guide
[x] Cancel search | Manufacturer: VOLVO, Model Year: 2005, Model line: S40, Model: VOLVO S40 2005Pages: 127, PDF Size: 2.32 MB
Page 37 of 127
The air is not recirculated.
pg. 71 Manual climate control
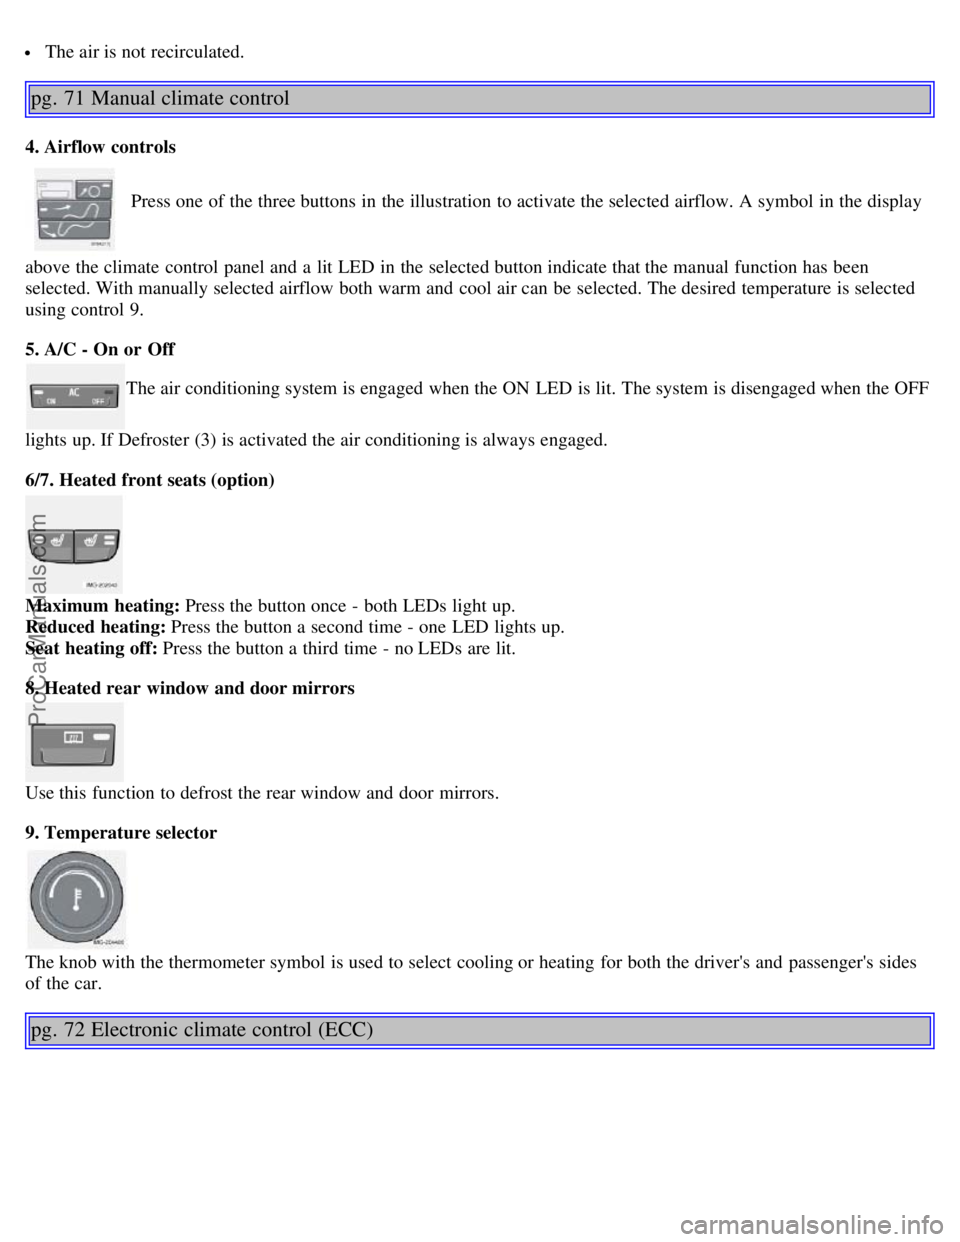
4. Airflow controls
Press one of the three buttons in the illustration to activate the selected airflow. A symbol in the display
above the climate control panel and a lit LED in the selected button indicate that the manual function has been
selected. With manually selected airflow both warm and cool air can be selected. The desired temperature is selected
using control 9.
5. A/C - On or Off
The air conditioning system is engaged when the ON LED is lit. The system is disengaged when the OFF
lights up. If Defroster (3) is activated the air conditioning is always engaged.
6/7. Heated front seats (option)
Maximum heating: Press the button once - both LEDs light up.
Reduced heating: Press the button a second time - one LED lights up.
Seat heating off: Press the button a third time - no LEDs are lit.
8. Heated rear window and door mirrors
Use this function to defrost the rear window and door mirrors.
9. Temperature selector
The knob with the thermometer symbol is used to select cooling or heating for both the driver's and passenger's sides
of the car.
pg. 72 Electronic climate control (ECC)
ProCarManuals.com
Page 39 of 127
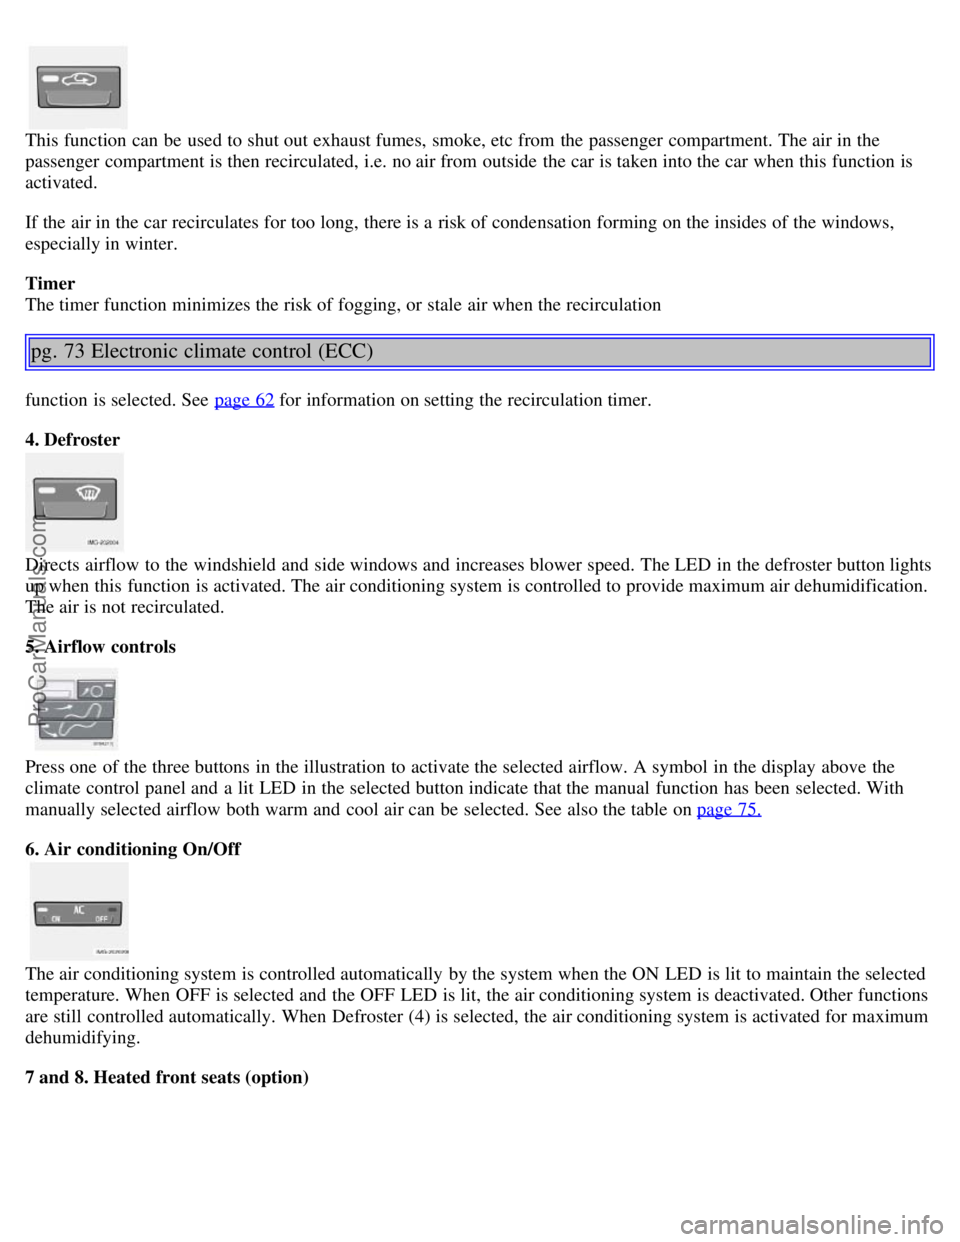
This function can be used to shut out exhaust fumes, smoke, etc from the passenger compartment. The air in the
passenger compartment is then recirculated, i.e. no air from outside the car is taken into the car when this function is
activated.
If the air in the car recirculates for too long, there is a risk of condensation forming on the insides of the windows,
especially in winter.
Timer
The timer function minimizes the risk of fogging, or stale air when the recirculation
pg. 73 Electronic climate control (ECC)
function is selected. See page 62 for information on setting the recirculation timer.
4. Defroster
Directs airflow to the windshield and side windows and increases blower speed. The LED in the defroster button lights
up when this function is activated. The air conditioning system is controlled to provide maximum air dehumidification.
The air is not recirculated.
5. Airflow controls
Press one of the three buttons in the illustration to activate the selected airflow. A symbol in the display above the
climate control panel and a lit LED in the selected button indicate that the manual function has been selected. With
manually selected airflow both warm and cool air can be selected. See also the table on page 75.
6. Air conditioning On/Off
The air conditioning system is controlled automatically by the system when the ON LED is lit to maintain the selected
temperature. When OFF is selected and the OFF LED is lit, the air conditioning system is deactivated. Other functions
are still controlled automatically. When Defroster (4) is selected, the air conditioning system is activated for maximum
dehumidifying.
7 and 8. Heated front seats (option)
ProCarManuals.com
Page 40 of 127
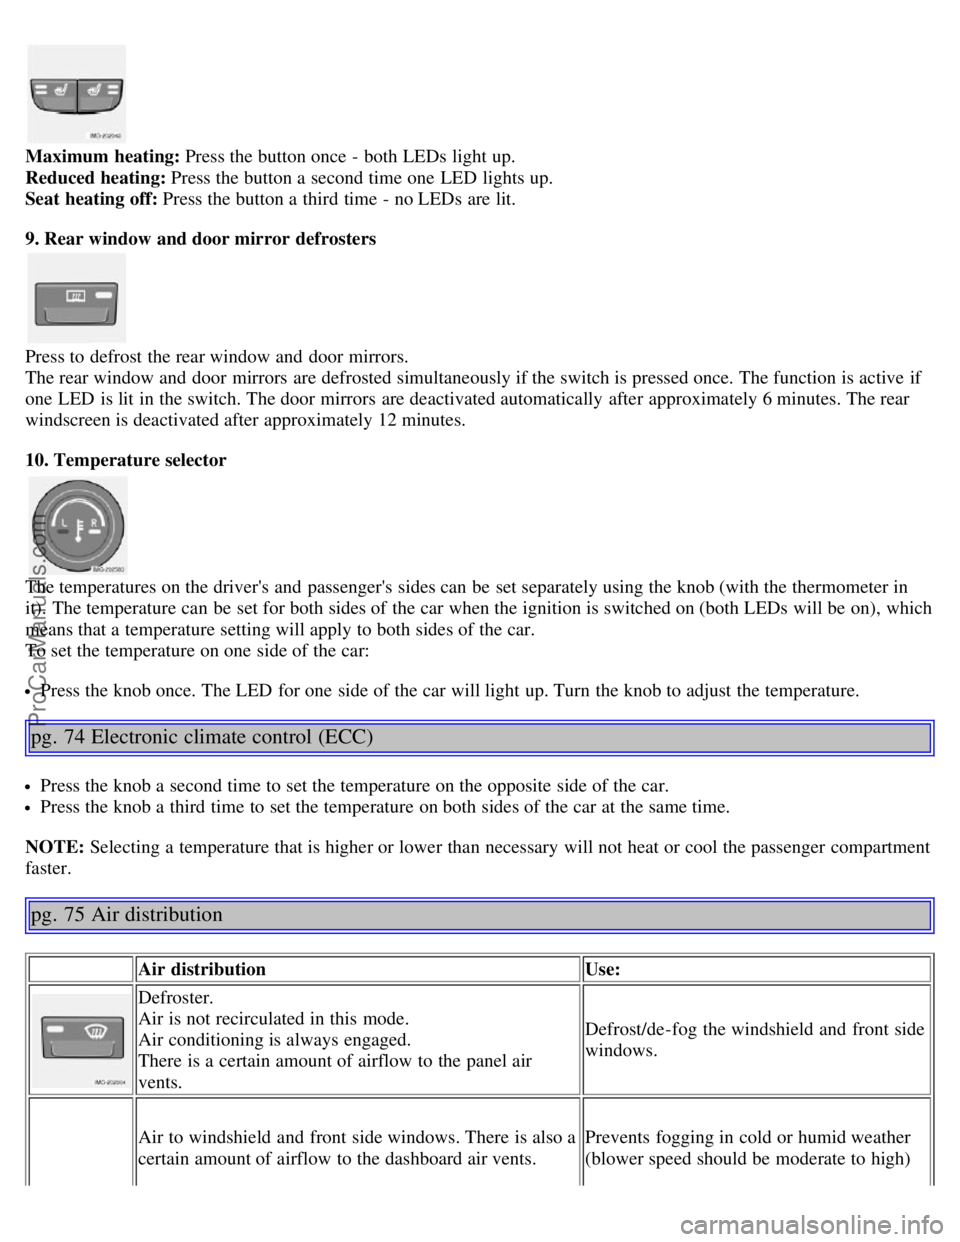
Maximum heating: Press the button once - both LEDs light up.
Reduced heating: Press the button a second time one LED lights up.
Seat heating off: Press the button a third time - no LEDs are lit.
9. Rear window and door mirror defrosters
Press to defrost the rear window and door mirrors.
The rear window and door mirrors are defrosted simultaneously if the switch is pressed once. The function is active if
one LED is lit in the switch. The door mirrors are deactivated automatically after approximately 6 minutes. The rear
windscreen is deactivated after approximately 12 minutes.
10. Temperature selector
The temperatures on the driver's and passenger's sides can be set separately using the knob (with the thermometer in
it). The temperature can be set for both sides of the car when the ignition is switched on (both LEDs will be on), which
means that a temperature setting will apply to both sides of the car.
To set the temperature on one side of the car:
Press the knob once. The LED for one side of the car will light up. Turn the knob to adjust the temperature.
pg. 74 Electronic climate control (ECC)
Press the knob a second time to set the temperature on the opposite side of the car.
Press the knob a third time to set the temperature on both sides of the car at the same time.
NOTE: Selecting a temperature that is higher or lower than necessary will not heat or cool the passenger compartment
faster.
pg. 75 Air distribution
Air distribution Use:
Defroster.
Air is not recirculated in this mode.
Air conditioning is always engaged.
There is a certain amount of airflow to the panel air
vents.Defrost/de-fog the windshield and front side
windows.
Air to windshield and front side windows. There is also a
certain amount of airflow to the dashboard air vents. Prevents fogging in cold or humid weather
(blower speed should be moderate to high)
ProCarManuals.com
Page 45 of 127
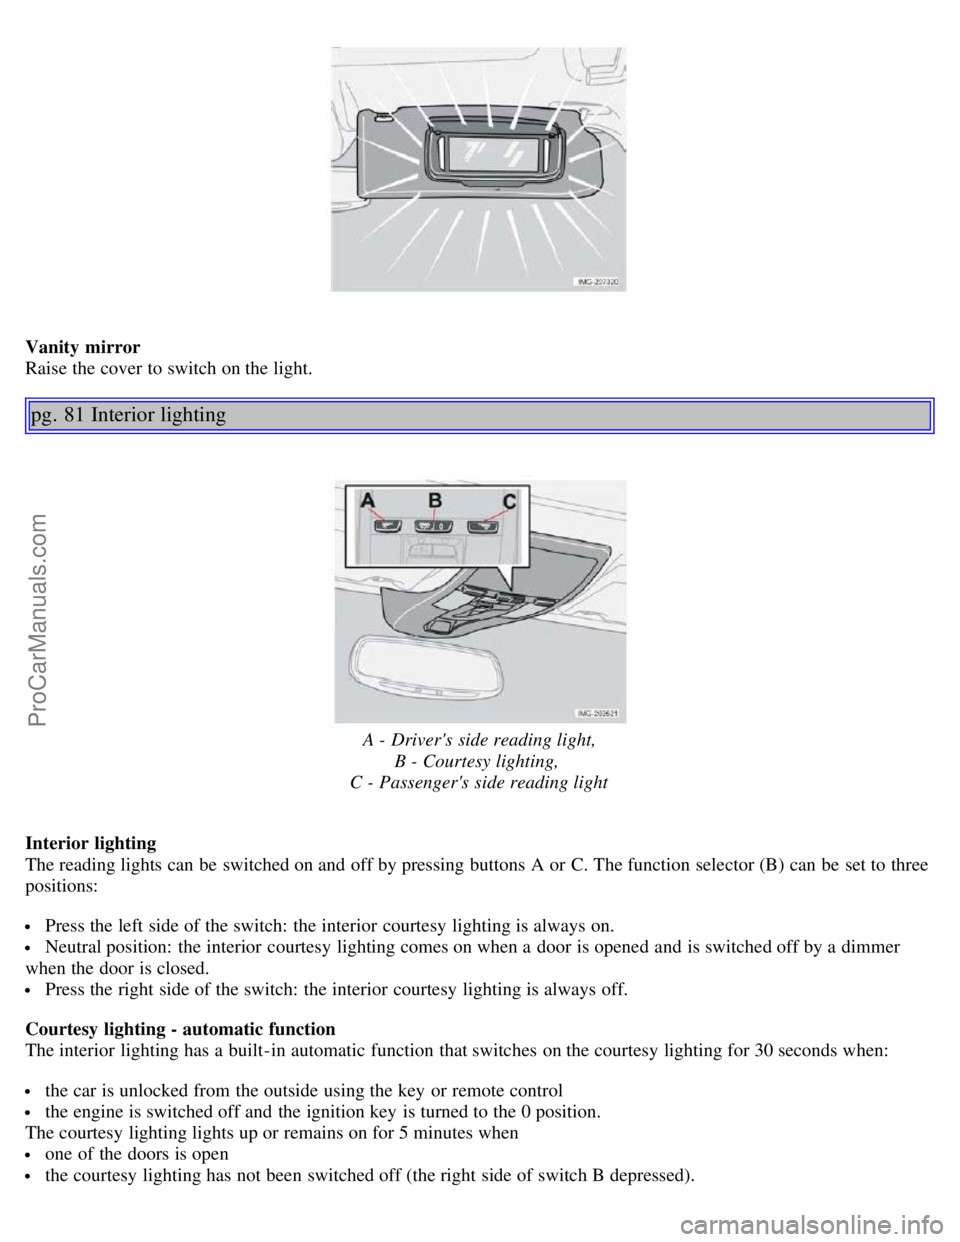
Vanity mirror
Raise the cover to switch on the light.
pg. 81 Interior lighting
A - Driver's side reading light,B - Courtesy lighting,
C - Passenger's side reading light
Interior lighting
The reading lights can be switched on and off by pressing buttons A or C. The function selector (B) can be set to three
positions:
Press the left side of the switch: the interior courtesy lighting is always on.
Neutral position: the interior courtesy lighting comes on when a door is opened and is switched off by a dimmer
when the door is closed.
Press the right side of the switch: the interior courtesy lighting is always off.
Courtesy lighting - automatic function
The interior lighting has a built-in automatic function that switches on the courtesy lighting for 30 seconds when:
the car is unlocked from the outside using the key or remote control
the engine is switched off and the ignition key is turned to the 0 position.
The courtesy lighting lights up or remains on for 5 minutes when
one of the doors is open
the courtesy lighting has not been switched off (the right side of switch B depressed).
ProCarManuals.com
Page 46 of 127
The automatic lighting goes out when
the engine is started
the car is locked from the outside using the key or remote control.
If the courtesy lighting is not switched off manually, it will be turned off automatically 5 minutes after the engine has
been switched off.
The courtesy lighting can be switched on or off within 30 minutes after the key has been turned to position 0 by
pressing the switch briefly.
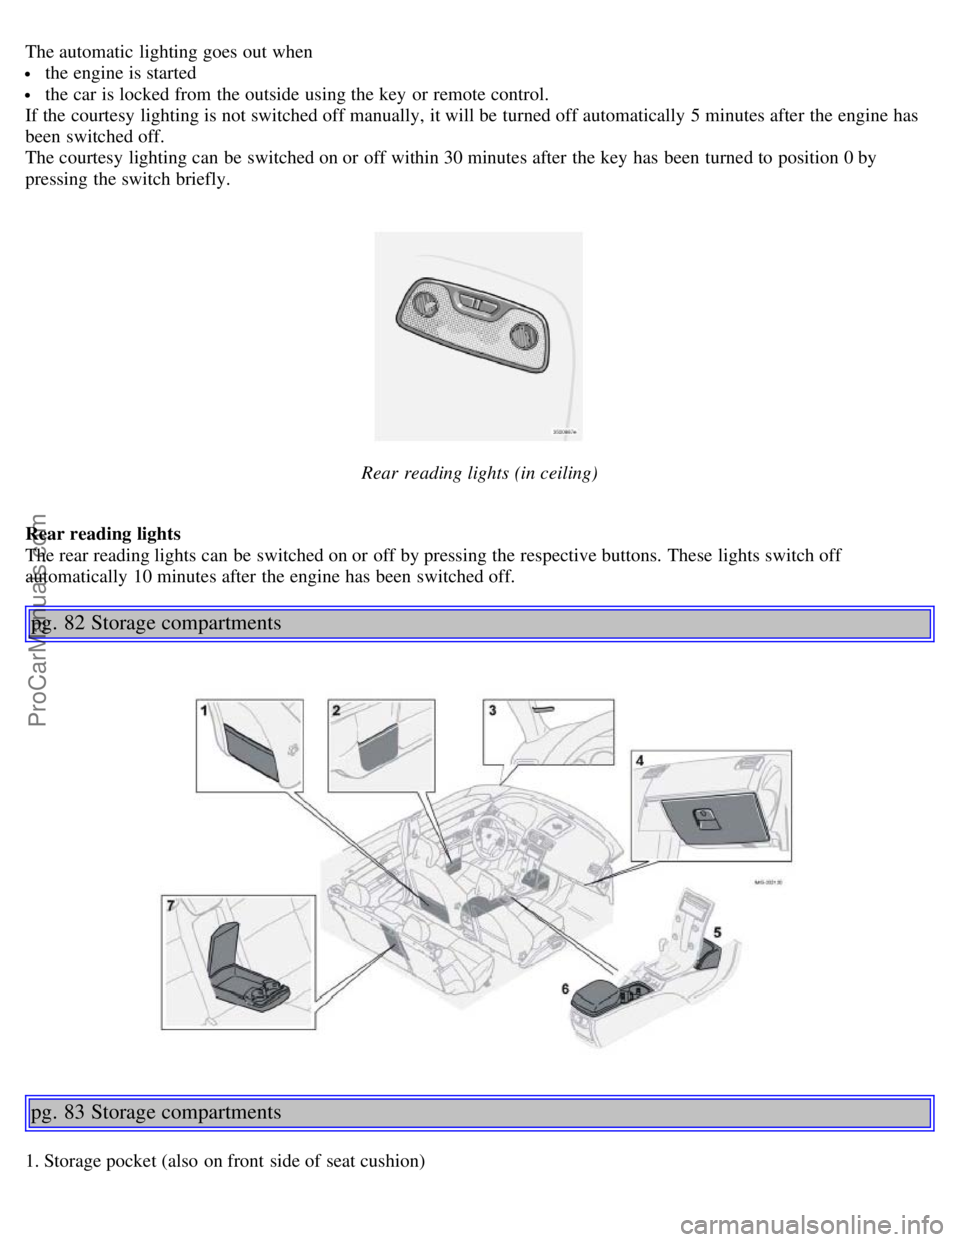
Rear reading lights (in ceiling)
Rear reading lights
The rear reading lights can be switched on or off by pressing the respective buttons. These lights switch off
automatically 10 minutes after the engine has been switched off.
pg. 82 Storage compartments
pg. 83 Storage compartments
1. Storage pocket (also on front side of seat cushion)
ProCarManuals.com
Page 52 of 127
USA - FCC ID: LTQWFS 125VO
This device complies with part 15 of the FCC rules. Operation is subject to the following condition: (1) This device
may not cause harmful interference, and (2) this device must accept any interference received, including interference
that may cause undesired operation.
Canada - IC: 3659A-WFS125VO
Operation is subject to the following conditions: (1) this device may not cause interference, and (2) this device must
accept any interference, including interference that may cause undesired operation of the device.
CAUTION!
Never use force on the narrow section of the remote control - this is where the transponder is located. The car cannot
be started if the transponder is damaged.
pg. 89 Remote control and key blade
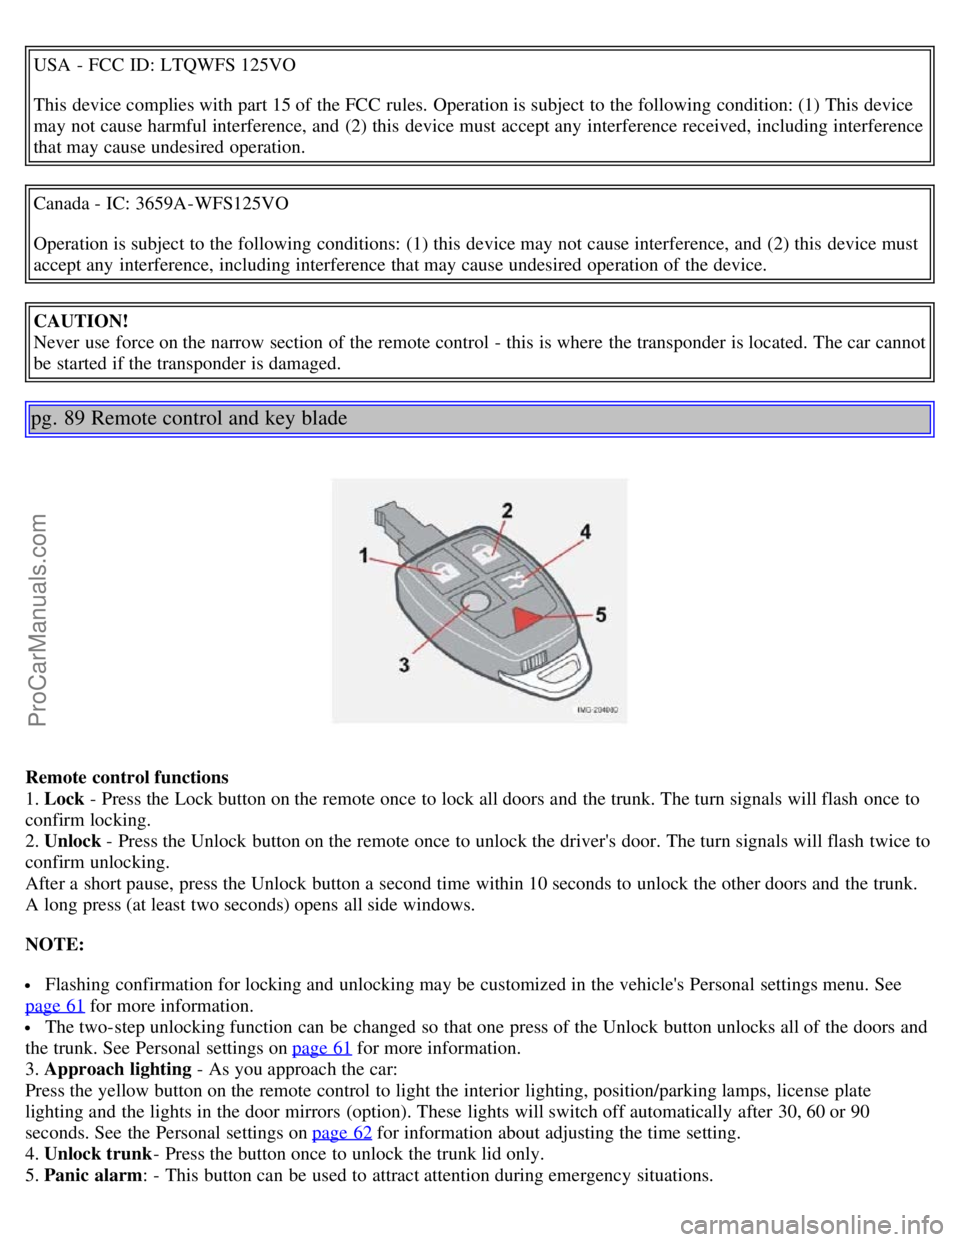
Remote control functions
1. Lock - Press the Lock button on the remote once to lock all doors and the trunk. The turn signals will flash once to
confirm locking.
2. Unlock - Press the Unlock button on the remote once to unlock the driver's door. The turn signals will flash twice to
confirm unlocking.
After a short pause, press the Unlock button a second time within 10 seconds to unlock the other doors and the trunk.
A long press (at least two seconds) opens all side windows.
NOTE:
Flashing confirmation for locking and unlocking may be customized in the vehicle's Personal settings menu. See
page 61
for more information.
The two-step unlocking function can be changed so that one press of the Unlock button unlocks all of the doors and
the trunk. See Personal settings on page 61
for more information.
3. Approach lighting - As you approach the car:
Press the yellow button on the remote control to light the interior lighting, position/parking lamps, license plate
lighting and the lights in the door mirrors (option). These lights will switch off automatically after 30, 60 or 90
seconds. See the Personal settings on page 62
for information about adjusting the time setting.
4. Unlock trunk - Press the button once to unlock the trunk lid only.
5. Panic alarm: - This button can be used to attract attention during emergency situations.
ProCarManuals.com
Page 54 of 127
Turn the key in the driver's door lock once to unlock the driver's door only.
Turn the key again (within 10 seconds) to unlock the other doors and the trunk.
One turn with the key toward lock in the driver's door locks all doors and the trunk.
Valet or service locking
By utilizing the remote control with the key blade removed, the valet locking feature enables you to block access to the
trunk and glove compartment for e.g. valet parking or when the car is brought to the retailer for service.
pg. 91 Remote control and key blade
With the valet locking function activated:
The vehicle's doors can be locked or unlocked
The engine can be started
The glove compartment cannot be unlocked
Access to the trunk is blocked (the trunk lid cannot be unlocked or opened, and the rear seat backrests are locked in
the upright position)
To activate the valet locking function:
1. Remove the key blade from the remote control
2. Turn the key blade 180° clockwise in the glove compartment lock to activate the function. (A message appears in
the information display.)
3. Give the parking attendant or service personnel only the remote control (with the key blade removed)
Turn the key blade 180° counterclockwise in the glove compartment lock to deactivate valet locking.
Weak battery in the remote control
When the battery begins to lose its charge, the Information symbol in the instrument panel (see page 39
) lights up and
REMOTE BATTERY LOW VOLTAGE is shown in the information display.
Replacing the battery in the remote control
If the range of the transmitter is noticeably reduced, this indicates that the battery (type CR 2032, 3V) is weak and
should be replaced. To replace the battery:
1. Remove the key blade.
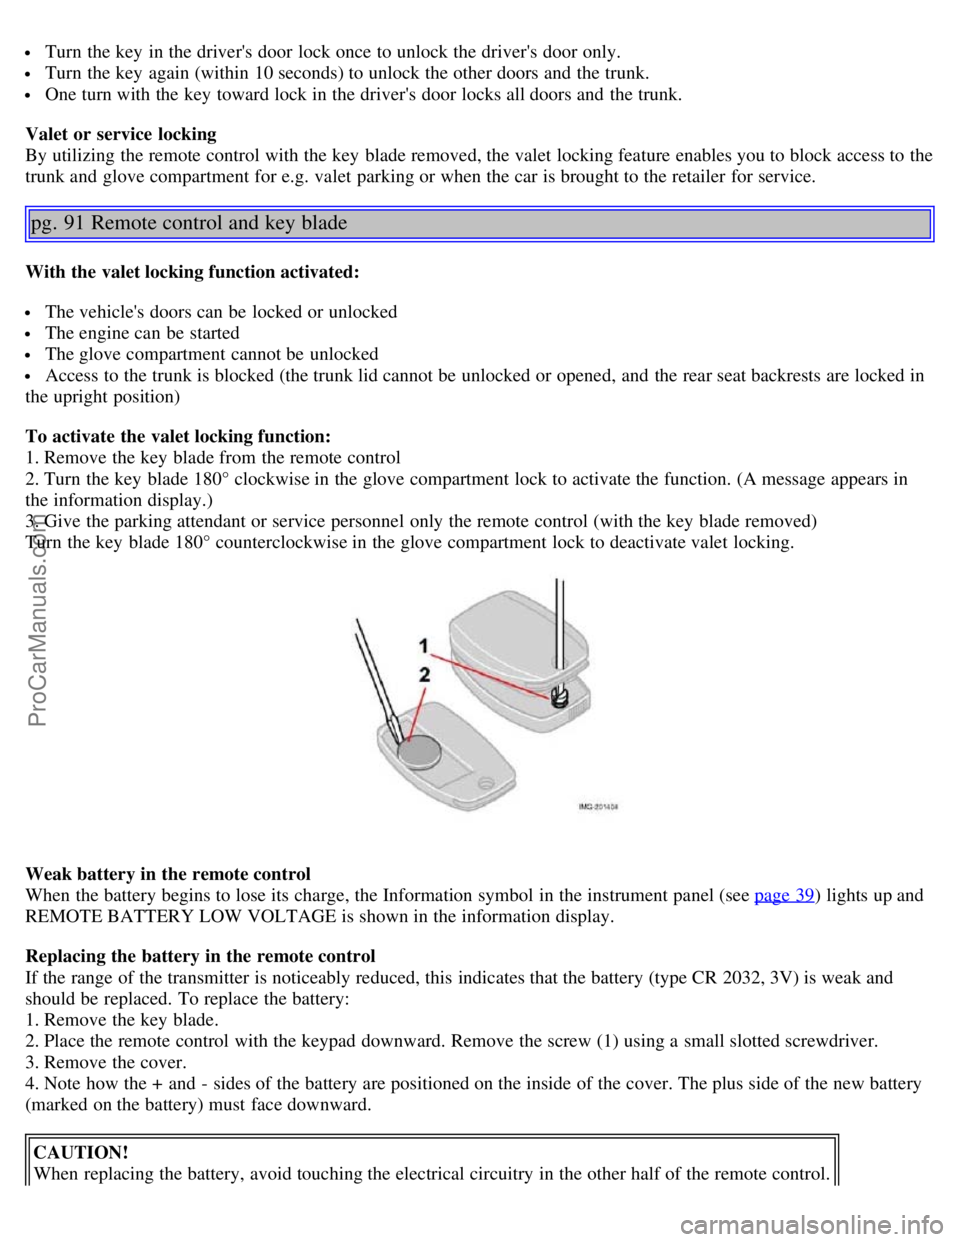
2. Place the remote control with the keypad downward. Remove the screw (1) using a small slotted screwdriver.
3. Remove the cover.
4. Note how the + and - sides of the battery are positioned on the inside of the cover. The plus side of the new battery
(marked on the battery) must face downward.
CAUTION!
When replacing the battery, avoid touching the electrical circuitry in the other half of the remote control.
ProCarManuals.com
Page 62 of 127
occur.
As a minimum, the following items should be checked before any long trip:
Check that engine runs smoothly and that fuel consumption is normal.
Check for fuel, oil, and fluid leakage
Have the transmission oil level checked2.
Check condition of drive belts.
Check state of the battery's charge.
Examine tires carefully (the spare tire as well), and replace those that are worn. Check tire pressures.
The brakes, front wheel alignment, and steering gear should be checked by your Volvo retailer only.
Check all lights, including high beams.
Reflective warning triangles are legally required in some states/provinces.
Have a word with your Volvo retailer if you intend to drive in countries where it may be difficult to obtain the
correct fuel.
Consider your destination. If you will be driving through an area where snow or ice are likely to occur, consider
snow tires.
2. To prevent injury from contact with hot surfaces, do not inspect your vehicle's transmission fluid yourself. Have
your vehicle's transmission fluid level inspected by a qualified Volvo service technician.
pg. 101 Fuel requirements
Octane rating
Volvo engines are designed for optimum performance on unleaded premium gasoline with an AKI octane rating of 91
or above. AKI (ANTI KNOCK INDEX) is an average of the Research Octane Number, RON, and the Motor Octane
Number, MON. ((RON + MON)/2). The minimum octane requirement is AKI 87 (RON 91).
Deposit control gasoline (detergent additives)
Volvo recommends the use of detergent gasoline to control engine deposits. Detergent gasoline is effective in keeping
injectors and intake valves clean. Consistent use of deposit control gasolines will help ensure good driveability and
fuel economy. If you are not sure whether the gasoline contains deposit control additives, check with the service
station operator.
NOTE: Volvo does not recommend the use of store -bought fuel injector cleaning additives.
Unleaded fuel
Each Volvo has a three-way catalytic converter and must use only unleaded gasoline. U.S. and Canadian regulations
require that pumps delivering unleaded gasoline be labelled "UNLEADED". Only these pumps have nozzles which fit
your vehicle's filler inlet. It is unlawful to dispense leaded fuel into a vehicle labelled "unleaded gasoline only".
Leaded gasoline damages the three-way catalytic converter and the heated oxygen sensor system. Repeated use of
leaded gasoline will lessen the effectiveness of the emission control system and could result in loss of emission
warranty coverage. State and local vehicle inspection programs will make detection of misfueling easier, possibly
resulting in emission test failure for misfueled vehicles.
NOTE: Some U.S. and Canadian gasolines contain an octane enhancing additive called methyl-cyclopentadienyl
manganese tricarbonyl (MMT). If such fuels are used, your Emission Control System performance may be affected,
and the Check Engine Light (malfunction indicator lamp) located on your instrument panel may light. If this occurs,
please return your vehicle to an authorized Volvo retailer for maintenance.
Gasoline containing alcohol and ethers
Some fuel suppliers sell gasoline containing "oxygenates" which are usually alcohols or ethers. In some areas, state or
local laws require that the service pump be marked indicating use of alcohols or ethers. However, there are areas in
which the pumps are unmarked. If you are not sure whether there is alcohol or ethers in the gasoline you buy, check
with the service station operator. To meet seasonal air quality standards, some areas require the use of "oxygenated"
ProCarManuals.com
Page 65 of 127
Immobilizer: If two of the keys to your vehicle are close together, e.g., on the same key ring when you try to start
the vehicle, this could cause interference in the immobilizer system and result in the vehicle not starting. If this should
occur, remove one of the keys from the key ring before trying to start the vehicle again.
Keylock: Your vehicle is equipped with a keylock system. When the engine is switched off, the gear selector must
be in the (P)ark position before the key can be removed from the ignition switch.
When starting in cold weather, the automatic transmission may shift up at slightly higher engine speeds than normal
until the automatic transmission fluid reaches normal operating temperature.
Do not race a cold engine immediately after starting. Oil flow may not reach some lubrication points fast enough to
prevent engine damage.
WARNING!
Volvo's floor mats are specially manufactured for your car. They must be firmly secured in the clips on the floor so
that they cannot slide and become trapped under the pedals on the driver's side.
pg. 105 Starting the vehicle
CAUTION!
Automatic transmission: The engine should be idling when you move the gear selector. Never accelerate until after
you feel the transmission engage! Accelerating immediately after selecting a gear will cause harsh engagement and
premature transmission wear. Selecting P or N when idling at a standstill for prolonged periods of time will help
prevent overheating of the automatic transmission fluid.
WARNING!
Always place the gear selector in Park and apply the parking brake before leaving the vehicle. Never leave the
vehicle unattended with the engine running.
Always open garage doors fully before starting the engine inside a garage to ensure adequate ventilation. The
exhaust gases contain carbon monoxide, which is invisible and odorless but very poisonous.
pg. 106 Ignition switch and steering wheel lock
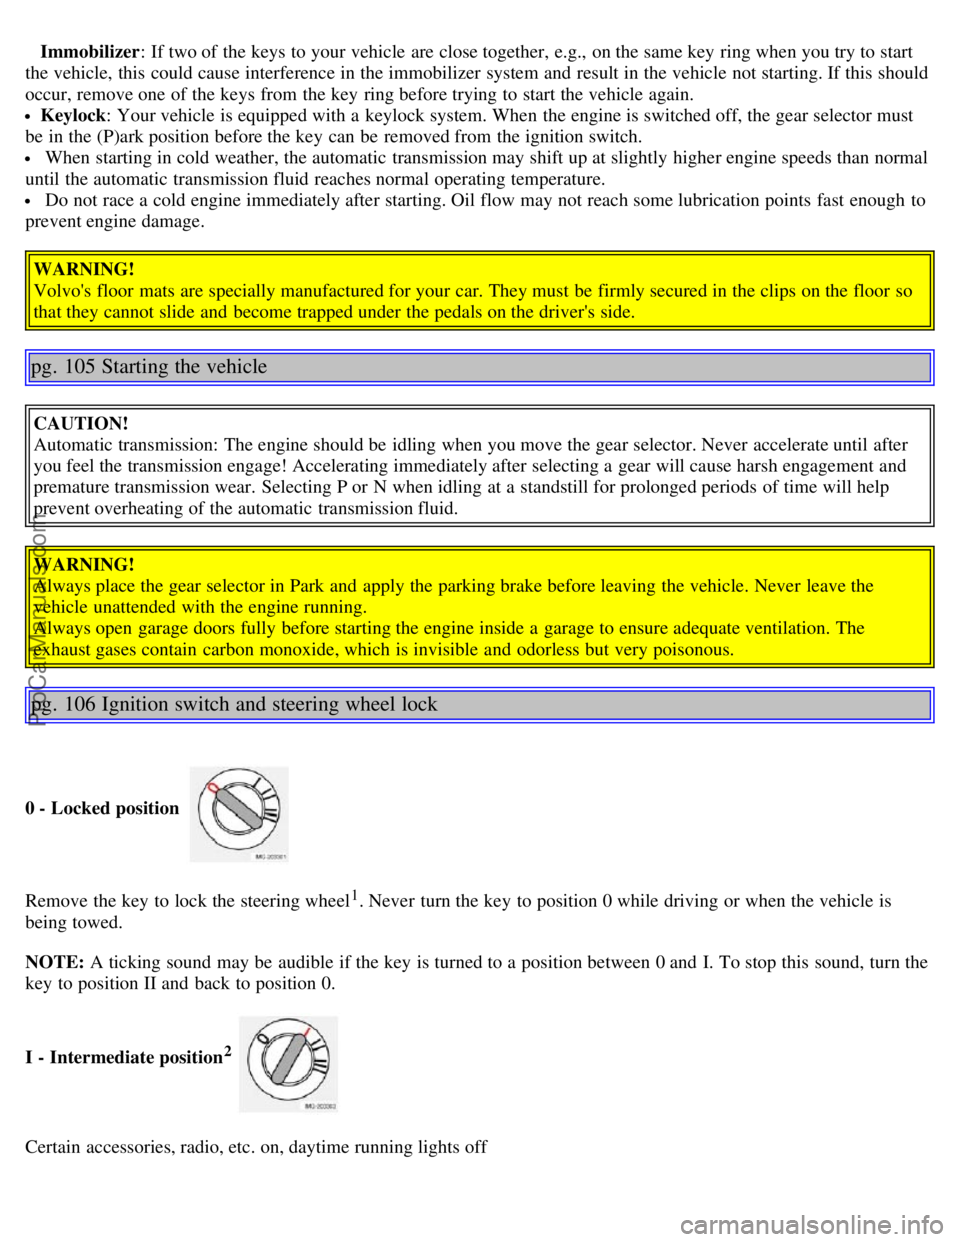
0 - Locked position
Remove the key to lock the steering wheel1. Never turn the key to position 0 while driving or when the vehicle is
being towed.
NOTE: A ticking sound may be audible if the key is turned to a position between 0 and I. To stop this sound, turn the
key to position II and back to position 0.
I - Intermediate position
2
Certain accessories, radio, etc. on, daytime running lights off
ProCarManuals.com
Page 89 of 127
positively affect your vehicle's emissions, should be performed as indicated. It is recommended that receipts for
vehicle emission maintenance be retained in case questions arise concerning maintenance. Inspection and maintenance
should also be performed anytime a malfunction is observed or suspected.
Applicable warranties - U.S/Canada
In accordance with applicable U.S. and Canadian regulations, the following list of warranties is provided.
New Vehicle Limited Warranty
Parts and Accessories Limited Warranty
Corrosion Protection Limited Warranty
Seat Belt and Supplemental Restraint Systems Limited Warranty
Emission Design and Defect Warranty
Emission Performance Warranty
These are the federal warranties; other warranties are provided as required by state/provincial law. Refer to your
separate Warranty and Service Records Information booklet for detailed information concerning each of the warranties.
Periodic maintenance helps minimize emissions
Periodic maintenance will help keep your vehicle running well. Your Warranty and Service Records Information
booklet provides a comprehensive periodic maintenance schedule up to 150,000 miles (240,000 km) of vehicle
maintenance. The schedule includes components that affect vehicle emissions. This page describes some of the
emission-related components.
Vehicle Event Data
Your vehicle's driving and safety systems employ computers that monitor, and share with each other, information
about your vehicle's operation. One or more of these computers may store what they monitor, either during normal
vehicle operation or in a crash or near-crash event. Stored information may be read and used by:
Volvo Car Corporation
service and repair facilities
law enforcement or government agencies
others who may assert a legal right to know, or who obtain your consent to know such information.
pg. 147 Maintaining your car
Owner maintenance
Periodic maintenance requirements and intervals are described in your vehicle's Warranty and Service Records
Information booklet.
The following points can be carried out between the normally scheduled maintenance services.
Each time the car is refueled:
Check the engine oil level
Clean the windshield, windshield wipers, headlights, and tail lights
Monthly:
Check cold tire pressure in all tires. Inspect the tires for wear.
Check that engine coolant and other fluid levels are between the indicated "min" and "max" markings.
Clean interior glass surfaces with a glass cleaner and soft paper towels.
Wipe driver information displays with a soft cloth.
Visually inspect battery terminals for corrosion. Corrosion may indicate a loose terminal connector, or a battery near
the end of its useful service life. Consult your Volvo retailer for additional information.
As needed:
ProCarManuals.com