spare wheel VOLVO S40 2006 Owners Manual
[x] Cancel search | Manufacturer: VOLVO, Model Year: 2006, Model line: S40, Model: VOLVO S40 2006Pages: 127, PDF Size: 2.26 MB
Page 63 of 127

Have the transmission oil level checked2.
Check condition of drive belts.
Check state of the battery's charge.
Examine tires carefully (the spare tire as well), and replace those that are worn. Check tire pressures.
The brakes, front wheel alignment, and steering gear should be checked by a trained and qualified Volvo service
technician only.
Check all lights, including high beams.
Reflective warning triangles are legally required in some states/provinces.
Have a word with a trained and qualified Volvo service technician if you intend to drive in countries where it may
be difficult to obtain the correct fuel.
Consider your destination. If you will be driving through an area where snow or ice are likely to occur, consider
snow tires.
2. To prevent injury from contact with hot surfaces, do not inspect your vehicle's transmission fluid yourself. Have
your vehicle's transmission fluid level inspected by a trained and qualified Volvo service technician.
pg. 95 Fuel requirements
Octane rating
Volvo engines are designed for optimum performance on unleaded premium gasoline with an AKI octane rating of 91
or above. AKI (ANTI KNOCK INDEX) is an average of the Research Octane Number, RON, and the Motor Octane
Number, MON. ((RON + MON)/2). The minimum octane requirement is AKI 87 (RON 91).
Deposit control gasoline (detergent additives)
Volvo recommends the use of detergent gasoline to control engine deposits. Detergent gasoline is effective in keeping
injectors and intake valves clean. Consistent use of deposit control gasolines will help ensure good driveability and
fuel economy. If you are not sure whether the gasoline contains deposit control additives, check with the service
station operator.
NOTE: Volvo does not recommend the use of store -bought fuel injector cleaning additives.
Unleaded fuel
Each Volvo has a three-way catalytic converter and must use only unleaded gasoline. U.S. and Canadian regulations
require that pumps delivering unleaded gasoline be labelled "UNLEADED". Only these pumps have nozzles which fit
your vehicle's filler inlet. It is unlawful to dispense leaded fuel into a vehicle labelled "unleaded gasoline only".
Leaded gasoline damages the three-way catalytic converter and the heated oxygen sensor system. Repeated use of
leaded gasoline will lessen the effectiveness of the emission control system and could result in loss of emission
warranty coverage. State and local vehicle inspection programs will make detection of misfueling easier, possibly
resulting in emission test failure for misfueled vehicles.
NOTE: Some U.S. and Canadian gasolines contain an octane enhancing additive called methyl-cyclopentadienyl
manganese tricarbonyl (MMT). If such fuels are used, your Emission Control System performance may be affected,
and the Check Engine Light (malfunction indicator lamp) located on your instrument panel may light. If this occurs,
please return your vehicle to a trained and qualified Volvo service technician for maintenance.
Gasoline containing alcohol and ethers
Some fuel suppliers sell gasoline containing "oxygenates" which are usually alcohols or ethers. In some areas, state or
local laws require that the service pump be marked indicating use of alcohols or ethers. However, there are areas in
which the pumps are unmarked. If you are not sure whether there is alcohol or ethers in the gasoline you buy, check
with the service station operator. To meet seasonal air quality standards, some areas require the use of "oxygenated"
fuel. Volvo allows the use of the following "oxygenated" fuels; however, the octane ratings listed on this page must
still be met.
Alcohol - Ethanol: Fuels containing up to 10% ethanol by volume may be used. Ethanol may also be referred to as
Ethyl alcohol, or "Gasohol". Ethers - MTBE: Fuels containing up to 15% MTBE may be used.
ProCarManuals.com
Page 73 of 127
2 0 0 6
VOLVO S40
Chapter 8 - Volvo Service
pg. 119 Wheels and tires
General information120
Tire inflation122
Tire inflation pressure tables124
Tire designations125
Glossary of tire terminology126
Vehicle loading127
Uniform Tire Quality Grading128
Temporary Spare130
Wheel nuts131
Tire rotation132
Changing a wheel133
pg. 120 General information
General information
Your vehicle is equipped with tires according to the vehicle's tire information placard on the B-pillar (the structural
member at the side of the vehicle, at the rear of the driver's door opening), or on the inside of the fuel filler door on
Canadian models.
The tires have good road holding characteristics and offer good handling on dry and wet surfaces. It should be noted
however that the tires have been developed to give these features on snow/ice-free surfaces.
Certain models are equipped with "all-season" tires, which provide a somewhat higher degree of road holding on
slippery surfaces than tires without the "all-season" rating. However, for optimum road holding on icy or snow-
covered roads, we recommend suitable winter tires on all four wheels.
When replacing tires, be sure that the new tires are the same size designation, type (radial) and preferably from the
same manufacturer, on all four wheels. Otherwise there is a risk of altering the car's roadholding and handling
characteristics.
Storing wheels and tires
When storing complete wheels (tires mounted on rims), they should be suspended off the floor or placed on their sides
ProCarManuals.com
Page 75 of 127
Tire age
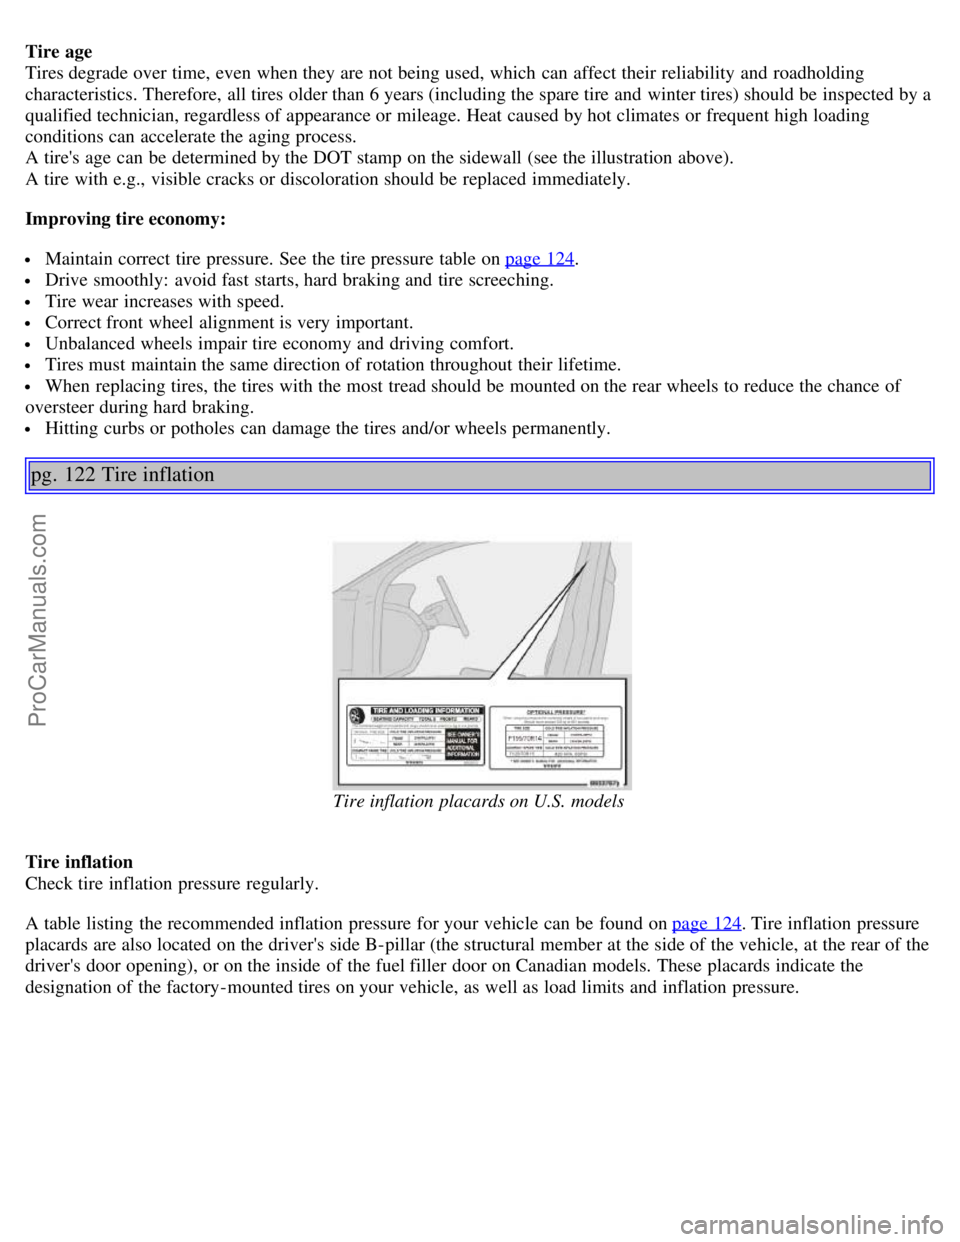
Tires degrade over time, even when they are not being used, which can affect their reliability and roadholding
characteristics. Therefore, all tires older than 6 years (including the spare tire and winter tires) should be inspected by a
qualified technician, regardless of appearance or mileage. Heat caused by hot climates or frequent high loading
conditions can accelerate the aging process.
A tire's age can be determined by the DOT stamp on the sidewall (see the illustration above).
A tire with e.g., visible cracks or discoloration should be replaced immediately.
Improving tire economy:
Maintain correct tire pressure. See the tire pressure table on page 124.
Drive smoothly: avoid fast starts, hard braking and tire screeching.
Tire wear increases with speed.
Correct front wheel alignment is very important.
Unbalanced wheels impair tire economy and driving comfort.
Tires must maintain the same direction of rotation throughout their lifetime.
When replacing tires, the tires with the most tread should be mounted on the rear wheels to reduce the chance of
oversteer during hard braking.
Hitting curbs or potholes can damage the tires and/or wheels permanently.
pg. 122 Tire inflation
Tire inflation placards on U.S. models
Tire inflation
Check tire inflation pressure regularly.
A table listing the recommended inflation pressure for your vehicle can be found on page 124
. Tire inflation pressure
placards are also located on the driver's side B-pillar (the structural member at the side of the vehicle, at the rear of the
driver's door opening), or on the inside of the fuel filler door on Canadian models. These placards indicate the
designation of the factory-mounted tires on your vehicle, as well as load limits and inflation pressure.
ProCarManuals.com
Page 77 of 127
2. Add air to reach the recommended air pressure
3. Replace the valve cap.
4. Repeat this procedure for each tire, including the spare.
5. Visually inspect the tires to make sure there are no nails or other objects embedded that could puncture the tire and
cause an air leak.
6. Check the sidewalls to make sure there are no gouges, cuts, bulges or other irregularities.
NOTE:
If you overfill the tire, release air by pushing on the metal stem in the center of the valve. Then recheck the pressure
with your tire gauge.
Some spare tires require higher inflation pressure than the other tires. Consult the tire inflation table on page 124 or
see the inflation pressure placard.
pg. 124 Tire inflation pressure tables
Tire pressures recommended by Volvo for your vehicle. Refer to the tire inflation placard for information specific to
the tires installed on your vehicle at the factory.
Tire size Cold tire pressure for vehicle loads up to 800 lbs (365 kg)
a psi (kPa)
Front Rear
195/65R15
b 91V 36 (250)
36 (250)
205/55R16 91V 36 (250)36 (250)
205/50R17 93V Extra load 36 (250)36 (250)
215/45R18 93W Extra load 36 (250)36 (250)
Temporary spare tire T125/85R16 99M 61 (420)61 (420)
a. These weights include the weight of all occupants of the car plus cargo.
b. 15" wheels should only be used on models with non-turbo engines, and with 15" front brakes. Consult your Volvo
retailer.
Optional tire pressure. These inflation pressures may only be used when the vehicle is not fully loaded. Tire size Optional cold tire pressure that may only be used for vehicle loads up to 495 lbs
(225 kg). psi (kPa)
Front
Rear
195/65R15 91V 30 (210) 30 (210)
205/55R16 91V 30 (210) 30 (210)
205/50R17 93V Extra load 35 (240) 32 (220)
215/45R18 93W Extra load 35 (240) 32 (220)
Temporary spare tire
T125/85R16 99M 61 (420)
61 (420)
Load ratings
The load ratings in the tables above translate as follows:
91 = 1365 lbs (615 kg), 93 = 1433 lbs (650 kg), 99 = 1709 lbs (755 kg).
ProCarManuals.com
Page 82 of 127
Check local regulations regarding the use of snow chains before installing.
Always follow the chain manufacturer's installation instructions carefully. Install chains as tightly as possible and
retighten periodically.
Never exceed the chain manufacturer's specified maximum speed limit. (Under no circumstances should you
exceed 31 mph
(50 km/h).
Avoid bumps, holes or sharp turns when driving with snow chains.
The handling of the vehicle can be adversely affected when driving with chains. Avoid fast or sharp turns as well
as locked wheel braking.
Snow tires, studded tires
1
Tires for winter use:
Owners who live in or regularly commute through areas with sustained periods of snow or icy driving conditions are
strongly advised to fit suitable winter tires to help retain the highest degree of traction.
It is important to install winter tires on all four wheels to help retain traction during cornering, braking, and
accelerating. Failure to do so could reduce traction to an unsafe level or adversely affect handling.
Do not mix tires of different design as this could also negatively affect overall tire road grip.
Winter tires wear more quickly on dry roads in warm weather. They should be removed when the winter driving
season has ended.
Studded tires should be run-in 300-600 miles (500-1000 km) during which the car should be driven as smoothly as
possible to give the studs the opportunity to seat properly in the tires. The tires should have the same rotational
direction throughout their entire lifetime.
NOTE: Please consult state or provincial regulations restricting the use of studded winter tires before installing such
tires.
1. Where permitted
pg. 130 Temporary Spare
Temporary spare
The spare tire in your vehicle is called a "temporary spare".
Recommended tire pressure (see the placard on the B-pillar or on the fuel filler door) should be maintained irrespective
of which position on the car the temporary spare tire is used on.
In the event of damage to this tire, a new one can be purchased from your Volvo retailer.
WARNING!
Current legislation prohibits the use of the "temporary spare" tire other than as a temporary replacement for a
punctured tire. It must be replaced as soon as possible by a standard tire. Road holding and handling may be affected
with the "temporary spare" in use. Do not exceed 50 m.p.h. (80 km/h). Do not drive farther than 50 miles (80 km) on
a temporary spare tire.
CAUTION!
The car must not be driven with wheels of different dimensions or with a spare tire other than the one that came with
the car. The use of different size wheels can seriously damage your car's transmission.
pg. 131 Wheel nuts
ProCarManuals.com
Page 84 of 127
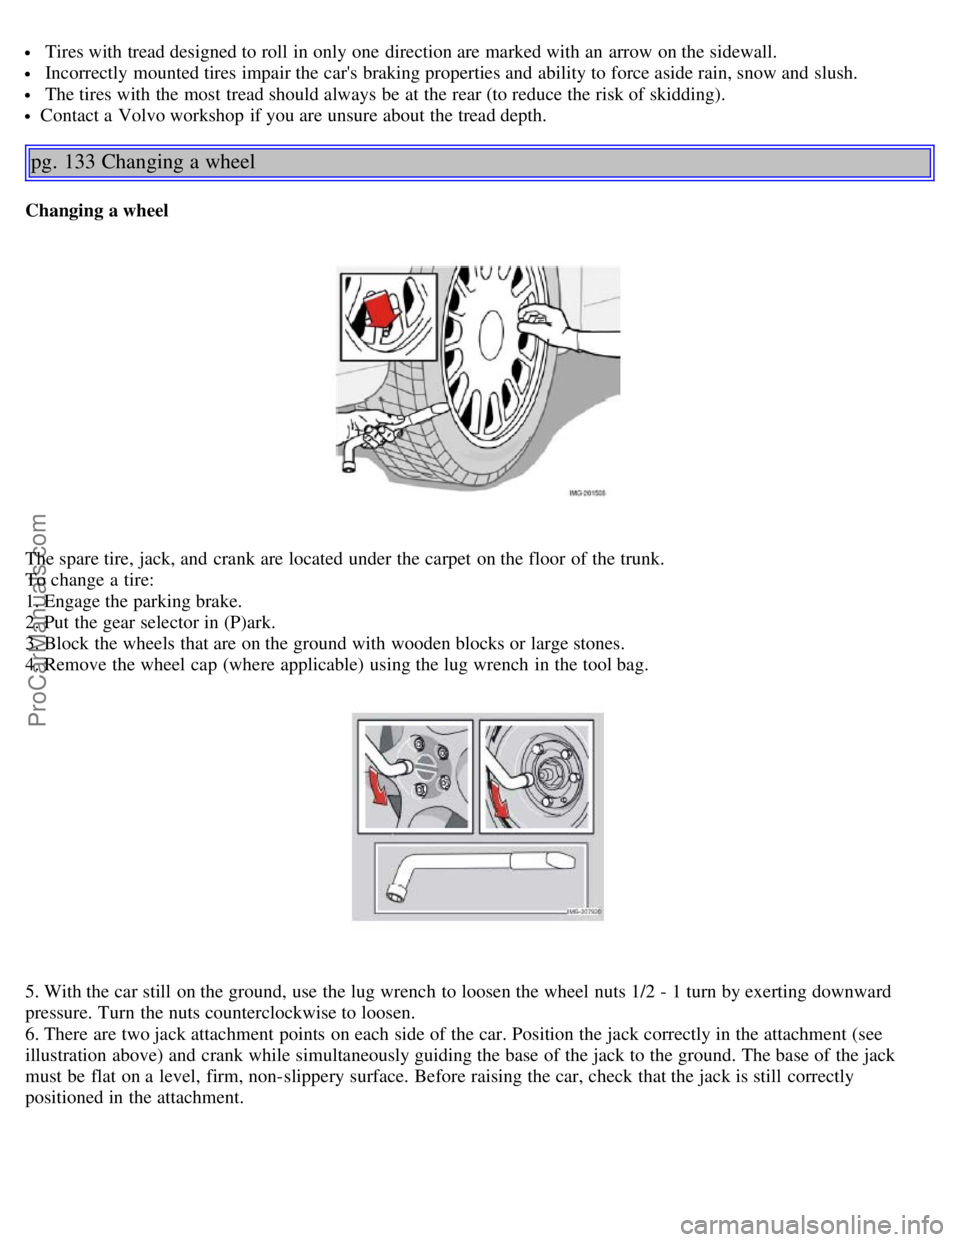
Tires with tread designed to roll in only one direction are marked with an arrow on the sidewall.
Incorrectly mounted tires impair the car's braking properties and ability to force aside rain, snow and slush.
The tires with the most tread should always be at the rear (to reduce the risk of skidding).
Contact a Volvo workshop if you are unsure about the tread depth.
pg. 133 Changing a wheel
Changing a wheel
The spare tire, jack, and crank are located under the carpet on the floor of the trunk.
To change a tire:
1. Engage the parking brake.
2. Put the gear selector in (P)ark.
3. Block the wheels that are on the ground with wooden blocks or large stones.
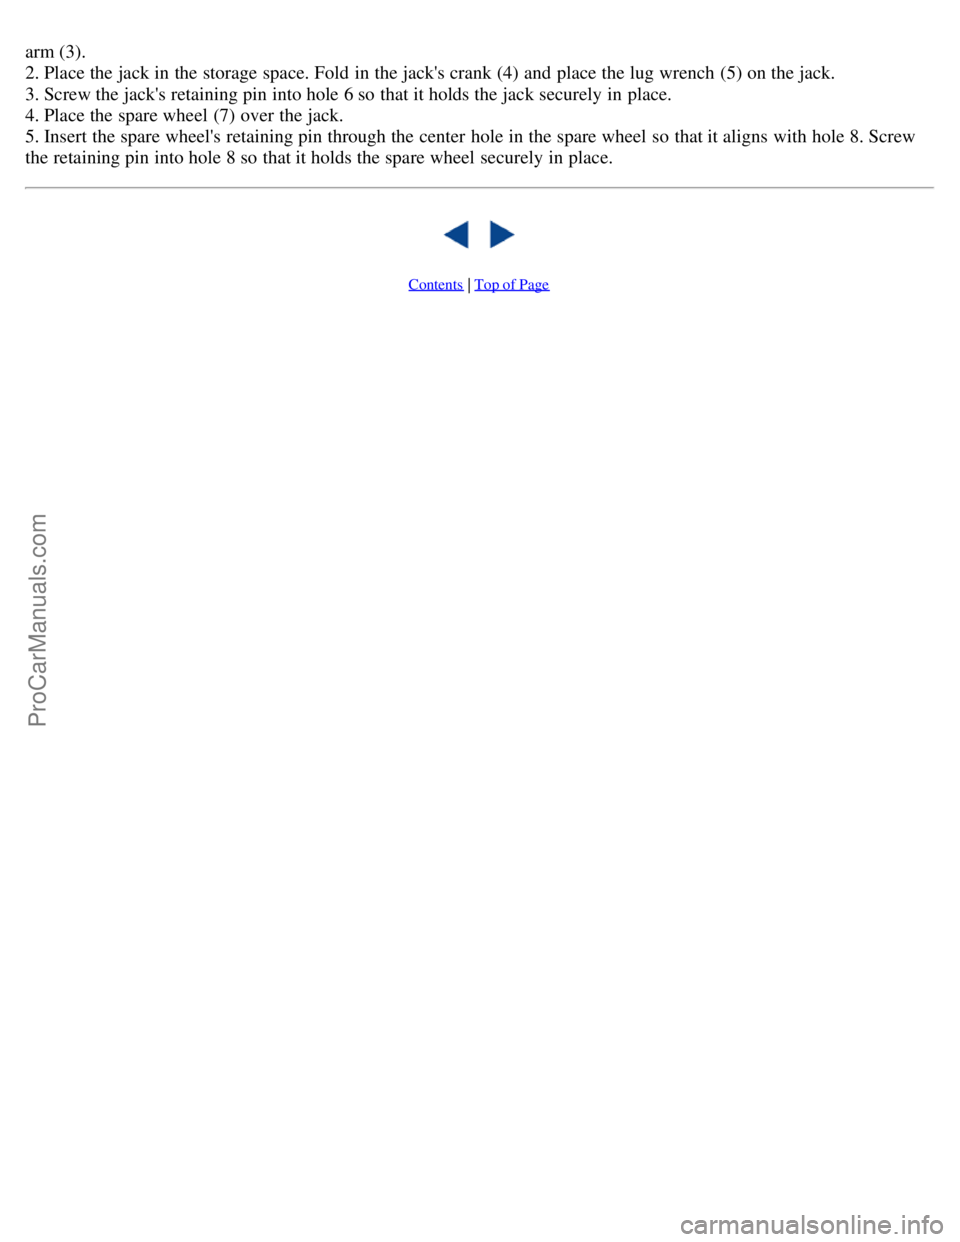
4. Remove the wheel cap (where applicable) using the lug wrench in the tool bag.
5. With the car still on the ground, use the lug wrench to loosen the wheel nuts 1/2 - 1 turn by exerting downward
pressure. Turn the nuts counterclockwise to loosen.
6. There are two jack attachment points on each side of the car. Position the jack correctly in the attachment (see
illustration above) and crank while simultaneously guiding the base of the jack to the ground. The base of the jack
must be flat on a level, firm, non-slippery surface. Before raising the car, check that the jack is still correctly
positioned in the attachment.
ProCarManuals.com
Page 85 of 127

7. Raise the vehicle until the wheel to be changed is lifted off the ground.
8. Unscrew the wheel bolts completely and carefully remove the wheel so as not to damage the threads on the studs.
pg. 134 Changing a wheel
WARNING!
The jack must correctly engage the jack attachment.
Be sure the jack is on a firm, level, non-slippery surface.
Never allow any part of your body to be extended under a car supported by a jack.
Use the jack intended for the car when changing a tire. For any other job, use stands to support the car.
Apply the parking brake and put the gear selector in the (P)ark position.
Block the wheels standing on the ground, use rigid wooden blocks or large stones.
The jack should be kept well-greased.
Installing the wheel
1. Clean the contact surfaces on the wheel and hub.
2. Lift the wheel and place it on the hub.
3. Install the wheel nuts and tighten hand -tight. Using the lug wrench, tighten crosswise until all nuts are snug.
4. Lower the vehicle to the ground and alternately tighten the bolts crosswise to 62 ft. lbs. (85 Nm).
5. Install the wheel cap (where applicable).
Returning the jack and spare wheel to the storage space
1. Crank the jack (1) down approximately halfway until the mark on the washer (2) aligns with the mark on the jack's
ProCarManuals.com
Page 86 of 127
arm (3).
2. Place the jack in the storage space. Fold in the jack's crank (4) and place the lug wrench (5) on the jack.
3. Screw the jack's retaining pin into hole 6 so that it holds the jack securely in place.
4. Place the spare wheel (7) over the jack.
5. Insert the spare wheel's retaining pin through the center hole in the spare wheel so that it aligns with hole 8. Screw
the retaining pin into hole 8 so that it holds the spare wheel securely in place.
Contents | Top of Page
ProCarManuals.com