steering wheel VOLVO S40 2008 Owner's Manual
[x] Cancel search | Manufacturer: VOLVO, Model Year: 2008, Model line: S40, Model: VOLVO S40 2008Pages: 239, PDF Size: 5.94 MB
Page 124 of 239
If you intend to leave your vehicle while it is being refueled, this feature enables you to lock the doors/trunk while
leaving the fuel filler door unlocked.
You can also keep the vehicle locked if you remain inside it during refueling. The central locking button does not lock
the fuel filler door.
Be sure the fuel filler door is not obstructed and is completely closed after refueling.
Open the fuel filler cap slowly during hot weather.
Refueling
The fuel tank is designed to accommodate possible expansion of the fuel in hot weather. See page 252
for fuel tank
volume. Be aware that the "usable" tank capacity will be somewhat less than the specified maximum. When the fuel
level is low, such factors as ambient temperature, the fuel's "Reid vapor pressure" characteristics, and terrain can affect
the fuel pump's ability to supply the engine with an adequate supply of fuel. Therefore, it is advisable to refuel as soon
as possible when the needle nears the red zone, or when the fuel warning light comes on.
CAUTION
Do not refuel with the engine running1. Turn the ignition off or to position I. If the ignition is on, an incorrect
reading could occur in the fuel gauge
After refueling, close the fuel filler cap by turning it clockwise until it clicks into place.
Avoid overfilling the fuel tank. Do not press the handle on the filler nozzle more than one extra time. Too much
fuel in the tank in hot weather conditions can cause the fuel to overflow. Overfilling could also cause damage to the
emission control systems.
Avoid spilling gasoline during refueling. In addition to causing damage to the environment, gasolines containing
alcohol can cause damage to painted surfaces, which may not be covered under the New Vehicle Limited Warranty.
Do not use gasolines containing methanol (methyl alcohol, wood alcohol). This practice can result in vehicle
performance deterioration and can damage critical parts in the fuel system. Such damage may not be covered under
the New Vehicle Limited Warranty.
1If the fuel filler cap is not closed tightly or if the engine is running when the vehicle is refueled, the Check Engine Light (malfunction indicator
lamp) may indicate a fault. However, your vehicle's performance will not be affected. Use only Volvo original or approved fuel filler caps.
135 06 Starting and driving
Ignition switch/Steering wheel lock
Ignition switch and steering wheel lock
0 - Locked position
Remove the key to lock the steering wheel
1. Never turn the key to position 0 while driving or when the vehicle is
being towed.
NOTE
A ticking sound may be audible if the key is turned to a position between 0 and I. To stop this sound, turn the key to
position II and back to position 0.
ProCarManuals.com
Page 125 of 239
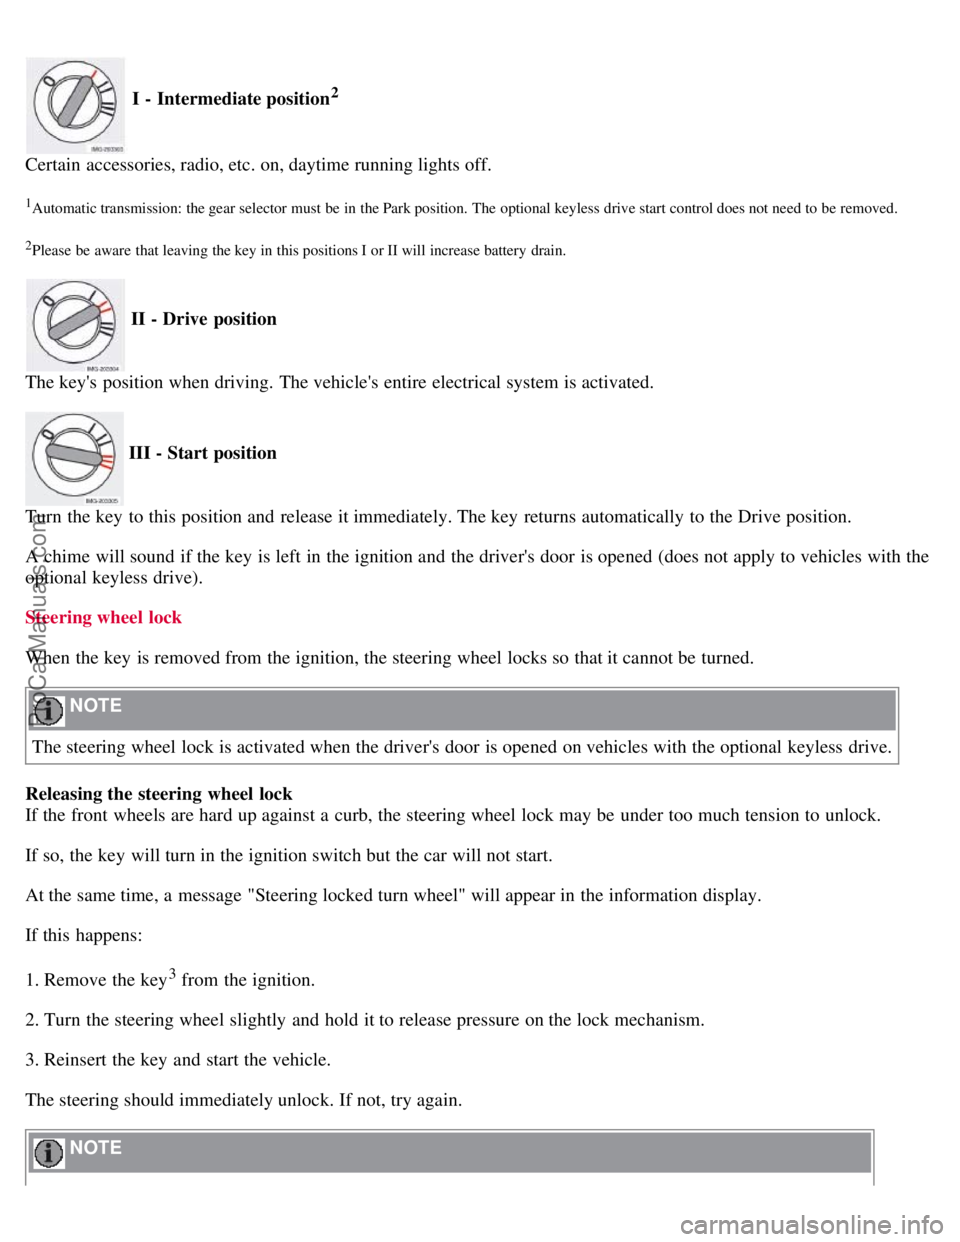
I - Intermediate position2
Certain accessories, radio, etc. on, daytime running lights off.
1Automatic transmission: the gear selector must be in the Park position. The optional keyless drive start control does not need to be removed.
2Please be aware that leaving the key in this positions I or II will increase battery drain.
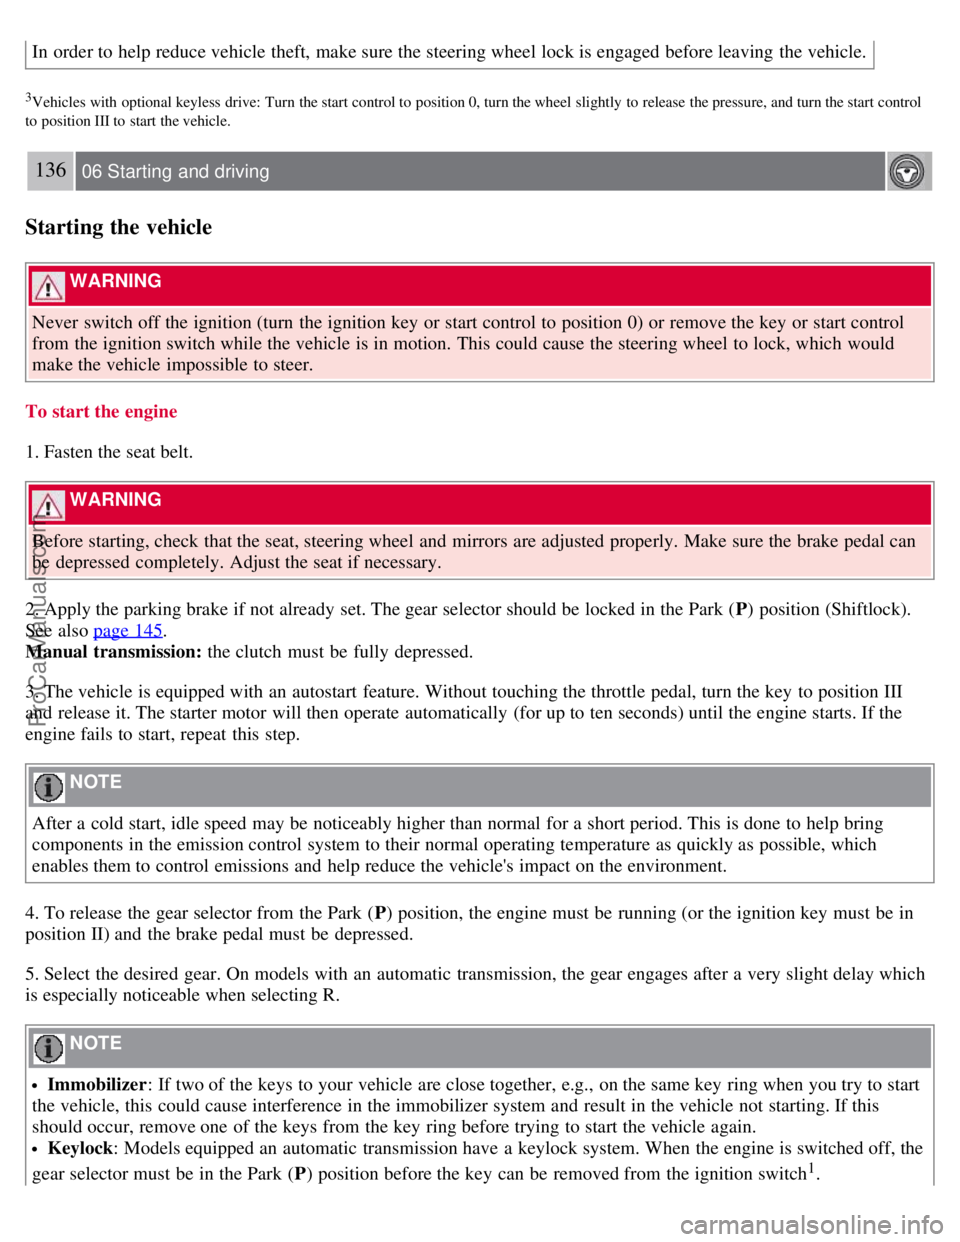
II - Drive position
The key's position when driving. The vehicle's entire electrical system is activated.
III - Start position
Turn the key to this position and release it immediately. The key returns automatically to the Drive position.
A chime will sound if the key is left in the ignition and the driver's door is opened (does not apply to vehicles with the
optional keyless drive).
Steering wheel lock
When the key is removed from the ignition, the steering wheel locks so that it cannot be turned.
NOTE
The steering wheel lock is activated when the driver's door is opened on vehicles with the optional keyless drive.
Releasing the steering wheel lock
If the front wheels are hard up against a curb, the steering wheel lock may be under too much tension to unlock.
If so, the key will turn in the ignition switch but the car will not start.
At the same time, a message "Steering locked turn wheel" will appear in the information display.
If this happens:
1. Remove the key
3 from the ignition.
2. Turn the steering wheel slightly and hold it to release pressure on the lock mechanism.
3. Reinsert the key and start the vehicle.
The steering should immediately unlock. If not, try again.
NOTE
ProCarManuals.com
Page 126 of 239
In order to help reduce vehicle theft, make sure the steering wheel lock is engaged before leaving the vehicle.
3Vehicles with optional keyless drive: Turn the start control to position 0, turn the wheel slightly to release the pressure, and turn the start control
to position III to start the vehicle.
136 06 Starting and driving
Starting the vehicle
WARNING
Never switch off the ignition (turn the ignition key or start control to position 0) or remove the key or start control
from the ignition switch while the vehicle is in motion. This could cause the steering wheel to lock, which would
make the vehicle impossible to steer.
To start the engine
1. Fasten the seat belt.
WARNING
Before starting, check that the seat, steering wheel and mirrors are adjusted properly. Make sure the brake pedal can
be depressed completely. Adjust the seat if necessary.
2. Apply the parking brake if not already set. The gear selector should be locked in the Park ( P) position (Shiftlock).
See also page 145
.
Manual transmission: the clutch must be fully depressed.
3. The vehicle is equipped with an autostart feature. Without touching the throttle pedal, turn the key to position III
and release it. The starter motor will then operate automatically (for up to ten seconds) until the engine starts. If the
engine fails to start, repeat this step.
NOTE
After a cold start, idle speed may be noticeably higher than normal for a short period. This is done to help bring
components in the emission control system to their normal operating temperature as quickly as possible, which
enables them to control emissions and help reduce the vehicle's impact on the environment.
4. To release the gear selector from the Park ( P) position, the engine must be running (or the ignition key must be in
position II) and the brake pedal must be depressed.
5. Select the desired gear. On models with an automatic transmission, the gear engages after a very slight delay which
is especially noticeable when selecting R.
NOTE
Immobilizer : If two of the keys to your vehicle are close together, e.g., on the same key ring when you try to start
the vehicle, this could cause interference in the immobilizer system and result in the vehicle not starting. If this
should occur, remove one of the keys from the key ring before trying to start the vehicle again.
Keylock: Models equipped an automatic transmission have a keylock system. When the engine is switched off, the
gear selector must be in the Park ( P) position before the key can be removed from the ignition switch1.
ProCarManuals.com
Page 138 of 239
Spin control (SC)
The spin control function is designed to help prevent the drive wheels from spinning while the vehicle is accelerating.
Under certain circumstances, such as when driving with snow chains, or driving in deep snow or loose sand, it may be
advisable to temporarily switch off this function for maximum tractive force
1.
1Models equipped with All Wheel Drive (AWD) have an integrated traction control function that cannot be disabled. DSTC is optional on AWD
models.
Temporarily switching off Spin control
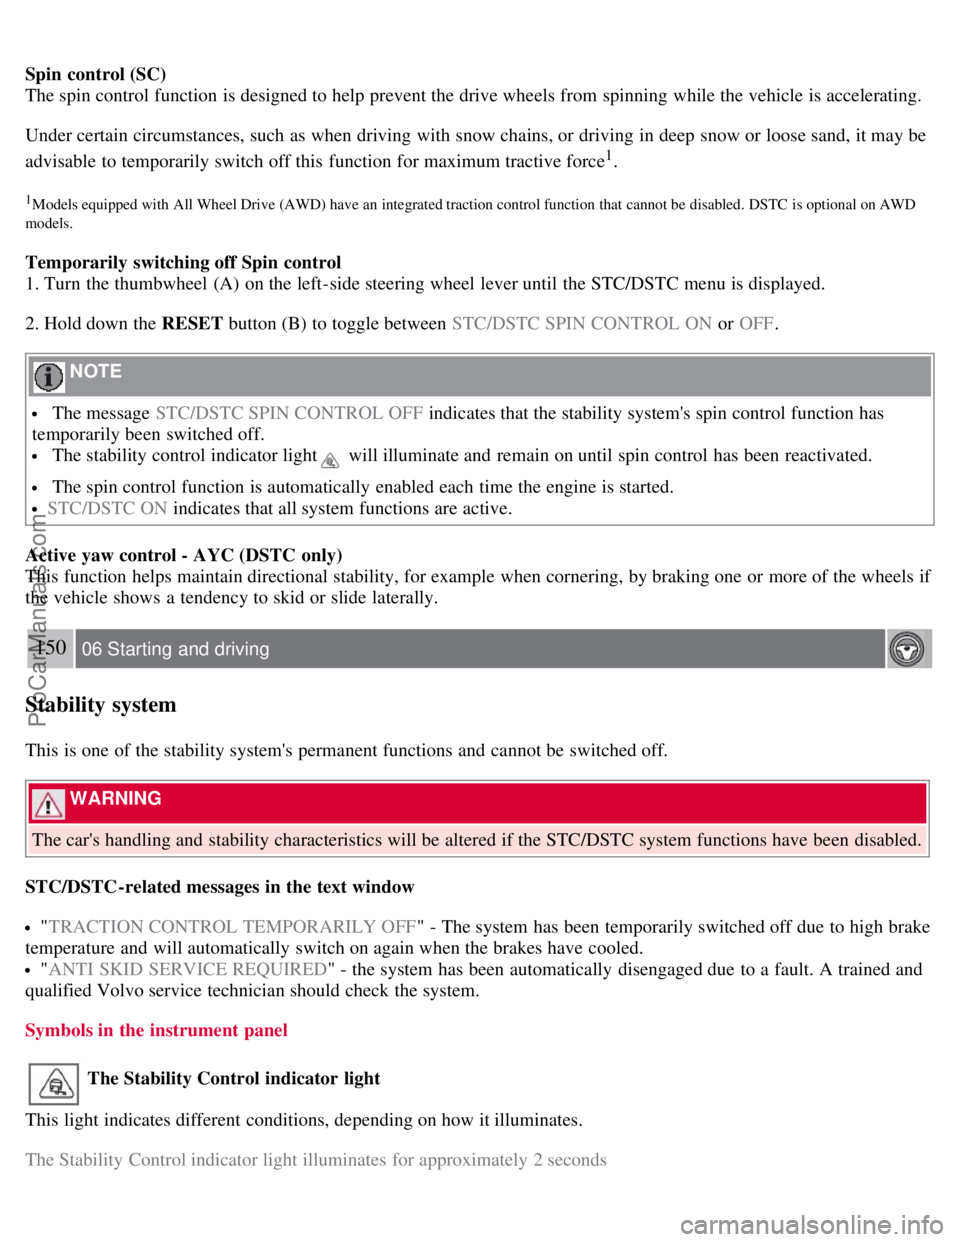
1. Turn the thumbwheel (A) on the left-side steering wheel lever until the STC/DSTC menu is displayed.
2. Hold down the RESET button (B) to toggle between STC/DSTC SPIN CONTROL ON or OFF.
NOTE
The message STC/DSTC SPIN CONTROL OFF indicates that the stability system's spin control function has
temporarily been switched off.
The stability control indicator light will illuminate and remain on until spin control has been reactivated.
The spin control function is automatically enabled each time the engine is started.
STC/DSTC ON indicates that all system functions are active.
Active yaw control - AYC (DSTC only)
This function helps maintain directional stability, for example when cornering, by braking one or more of the wheels if
the vehicle shows a tendency to skid or slide laterally.
150 06 Starting and driving
Stability system
This is one of the stability system's permanent functions and cannot be switched off.
WARNING
The car's handling and stability characteristics will be altered if the STC/DSTC system functions have been disabled.
STC/DSTC-related messages in the text window
" TRACTION CONTROL TEMPORARILY OFF " - The system has been temporarily switched off due to high brake
temperature and will automatically switch on again when the brakes have cooled.
" ANTI SKID SERVICE REQUIRED " - the system has been automatically disengaged due to a fault. A trained and
qualified Volvo service technician should check the system.
Symbols in the instrument panel
The Stability Control indicator light
This light indicates different conditions, depending on how it illuminates.
The Stability Control indicator light illuminates for approximately 2 seconds
ProCarManuals.com
Page 140 of 239
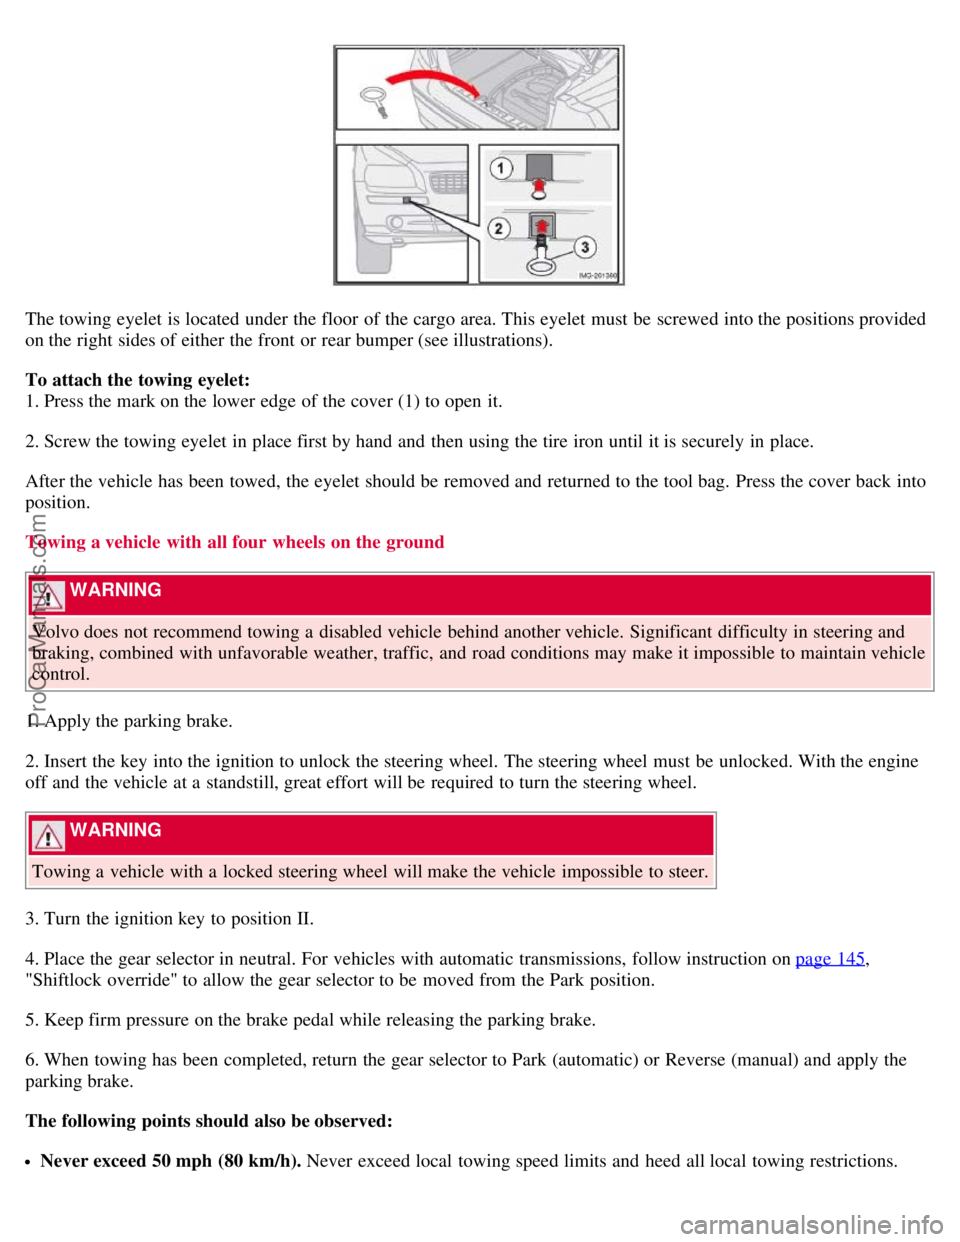
The towing eyelet is located under the floor of the cargo area. This eyelet must be screwed into the positions provided
on the right sides of either the front or rear bumper (see illustrations).
To attach the towing eyelet:
1. Press the mark on the lower edge of the cover (1) to open it.
2. Screw the towing eyelet in place first by hand and then using the tire iron until it is securely in place.
After the vehicle has been towed, the eyelet should be removed and returned to the tool bag. Press the cover back into
position.
Towing a vehicle with all four wheels on the ground
WARNING
Volvo does not recommend towing a disabled vehicle behind another vehicle. Significant difficulty in steering and
braking, combined with unfavorable weather, traffic, and road conditions may make it impossible to maintain vehicle
control.
1. Apply the parking brake.
2. Insert the key into the ignition to unlock the steering wheel. The steering wheel must be unlocked. With the engine
off and the vehicle at a standstill, great effort will be required to turn the steering wheel.
WARNING
Towing a vehicle with a locked steering wheel will make the vehicle impossible to steer.
3. Turn the ignition key to position II.
4. Place the gear selector in neutral. For vehicles with automatic transmissions, follow instruction on page 145
,
"Shiftlock override" to allow the gear selector to be moved from the Park position.
5. Keep firm pressure on the brake pedal while releasing the parking brake.
6. When towing has been completed, return the gear selector to Park (automatic) or Reverse (manual) and apply the
parking brake.
The following points should also be observed:
Never exceed 50 mph (80 km/h). Never exceed local towing speed limits and heed all local towing restrictions.
ProCarManuals.com
Page 141 of 239
Never tow farther than 50 miles (80 km).
Keep the tow rope taut at all times while the vehicle is in motion.
The disabled vehicle should be towed in the forward direction only.
152 06 Starting and driving
Towing
WARNING
Never allow a vehicle to be towed without a driver behind the wheel of the disabled vehicle.
Never remove the key from the ignition while the vehicle is moving. The steering wheel could lock, making it
impossible to steer the vehicle.
When the engine is not running, steering resistance and the effort needed to apply the brakes will be great.
Never attempt to tow a vehicle with a dead battery at night.
CAUTION
Check with state and local authorities before attempting this type of towing, as vehicles being towed are subject to
regulations regarding maximum towing speed, length and type of towing device, lighting, marker flags, etc.
Never attempt to push- or tow-start a vehicle with a dead battery. This would inject unburned fuel into the three-
way catalytic converter(s), causing overheating, backfiring, and damage. See page 153
for instructions on jump
starting the vehicle.
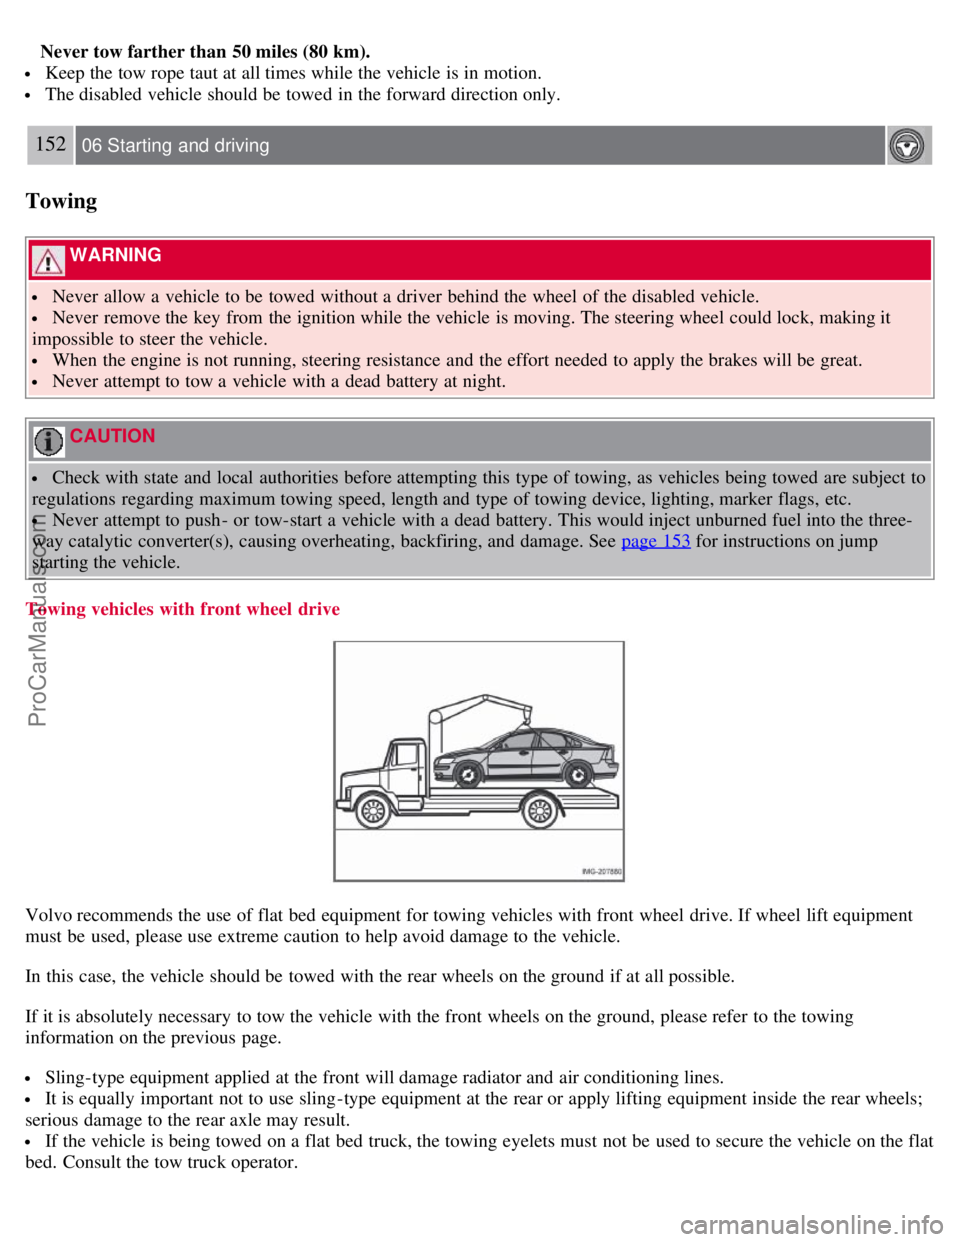
Towing vehicles with front wheel drive
Volvo recommends the use of flat bed equipment for towing vehicles with front wheel drive. If wheel lift equipment
must be used, please use extreme caution to help avoid damage to the vehicle.
In this case, the vehicle should be towed with the rear wheels on the ground if at all possible.
If it is absolutely necessary to tow the vehicle with the front wheels on the ground, please refer to the towing
information on the previous page.
Sling-type equipment applied at the front will damage radiator and air conditioning lines.
It is equally important not to use sling -type equipment at the rear or apply lifting equipment inside the rear wheels;
serious damage to the rear axle may result.
If the vehicle is being towed on a flat bed truck, the towing eyelets must not be used to secure the vehicle on the flat
bed. Consult the tow truck operator.
ProCarManuals.com
Page 167 of 239
they may not be optimal. Further, tires that are rotated, but not on a regular basis, may actually cause more tire noise,
faster tire wear, and unpleasant changes in steering feel and vehicle handling.
A tire that can fully adapt to its position will provide better steering feel, lower tire noise, and better fuel economy.
Braking stability performance
Your vehicle is driven mainly by the front tires, which will wear faster. This can be beneficial. Having more tread on
the rear tires will help reduce oversteer. Oversteer is when a vehicle wants to keep turning because of momentum and
dynamic forces on its suspension.
Suspension wear diagnostics
Every suspension needs periodic inspection and maintenance. A tire's wear pattern can be an aid in detecting a
suspension problem. Each tire, if left in place, tells a story about the suspension. Tire rotation, on the other hand, could
make suspension wear harder to detect. Early detection is very important, because suspension problems can make tire
wear worse.
If you do rotate your tires...
Please follow the tire manufacturer's recommendations, as outlined in the tire manufacturers tire warranty pamphlet.
184 07 Wheels and tires
Changing a wheel
Changing a wheel
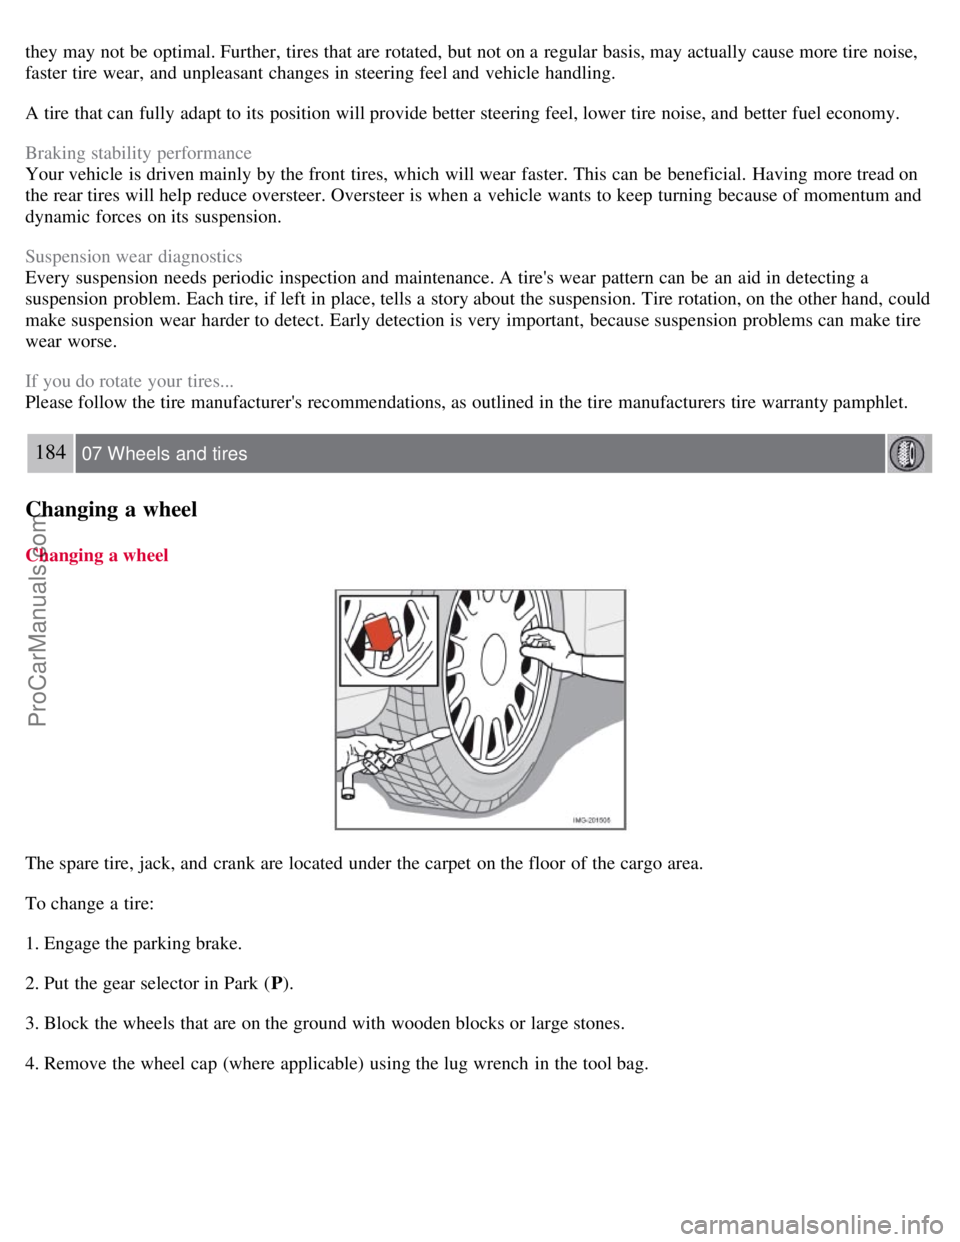
The spare tire, jack, and crank are located under the carpet on the floor of the cargo area.
To change a tire:
1. Engage the parking brake.
2. Put the gear selector in Park (P).
3. Block the wheels that are on the ground with wooden blocks or large stones.
4. Remove the wheel cap (where applicable) using the lug wrench in the tool bag.
ProCarManuals.com
Page 187 of 239
Fluid type: Volvo power steering fluid or equivalent.
Replace: No fluid change required.
WARNING
If a problem should occur in the power steering system or if the vehicle has no electrical current and must be towed,
it is still possible to steer the vehicle. However, keep in mind that greater effort will be required to turn the steering
wheel.
208 09 Maintenance and servicing
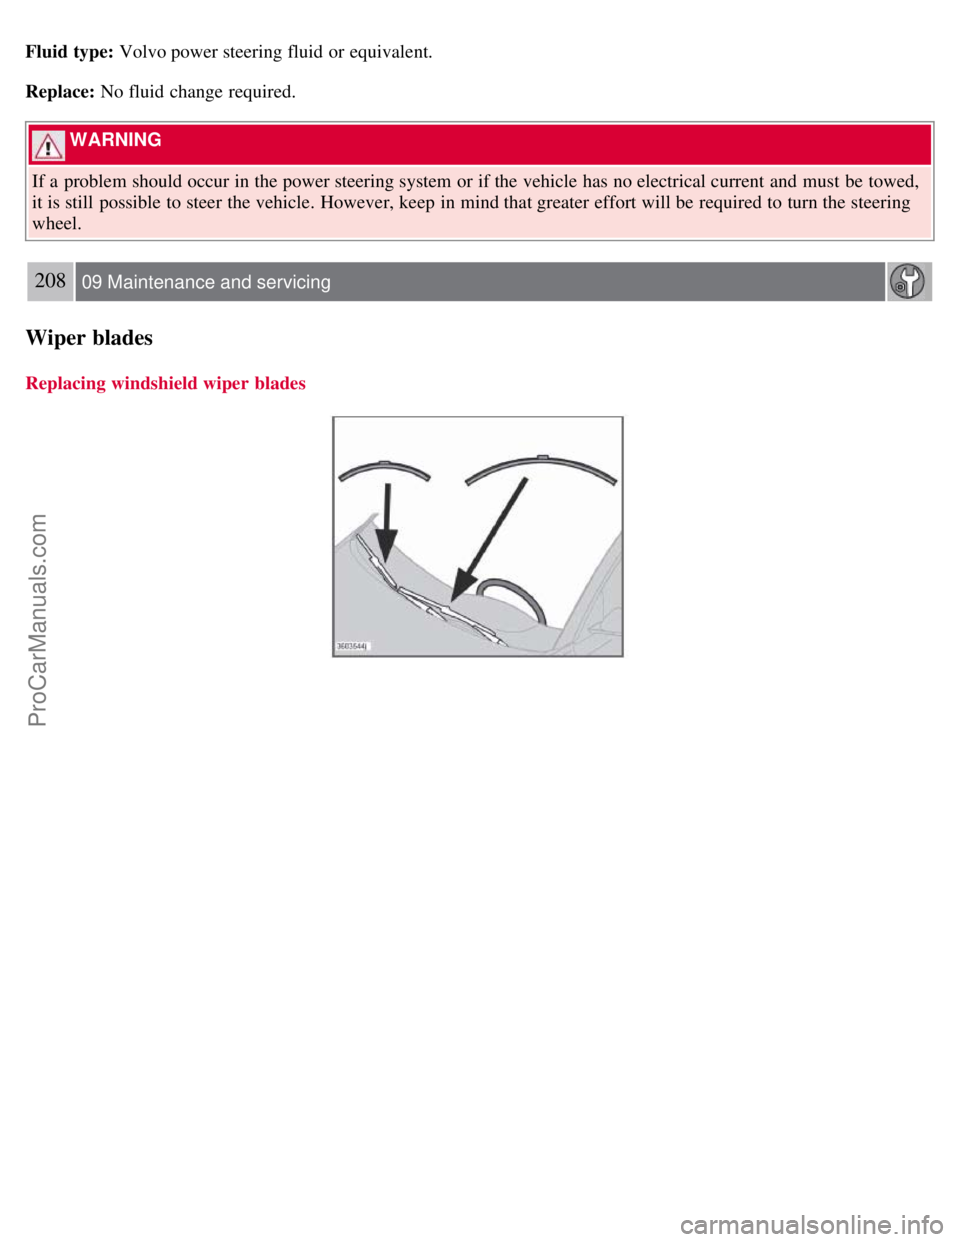
Wiper blades
Replacing windshield wiper blades
ProCarManuals.com
Page 207 of 239
Audio functions
7. If there is distortion, lower your music player's headphone volume until the distortion goes away.
8. Finally, exit the menu and adjust the audio volume to a comfortable level.
Volume
Use the volume dial (1) or the buttons in the optional steering wheel keypad to adjust the volume level. The volume
level is also adjusted automatically according to the vehicle's speed, see page 234
for more information on this
function.
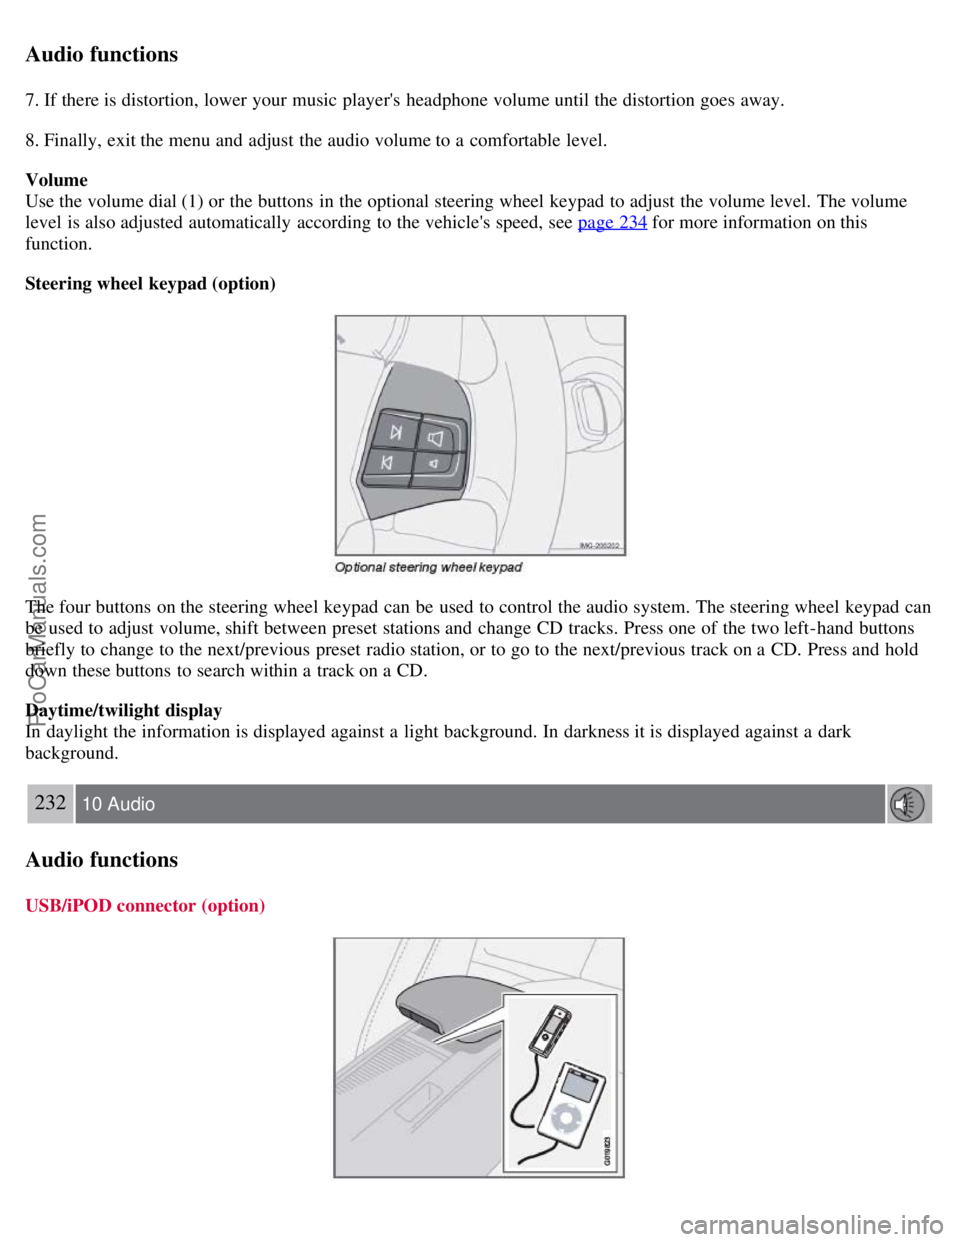
Steering wheel keypad (option)
The four buttons on the steering wheel keypad can be used to control the audio system. The steering wheel keypad can
be used to adjust volume, shift between preset stations and change CD tracks. Press one of the two left-hand buttons
briefly to change to the next/previous preset radio station, or to go to the next/previous track on a CD. Press and hold
down these buttons to search within a track on a CD.
Daytime/twilight display
In daylight the information is displayed against a light background. In darkness it is displayed against a dark
background.
232 10 Audio
Audio functions
USB/iPOD connector (option)
ProCarManuals.com
Page 208 of 239
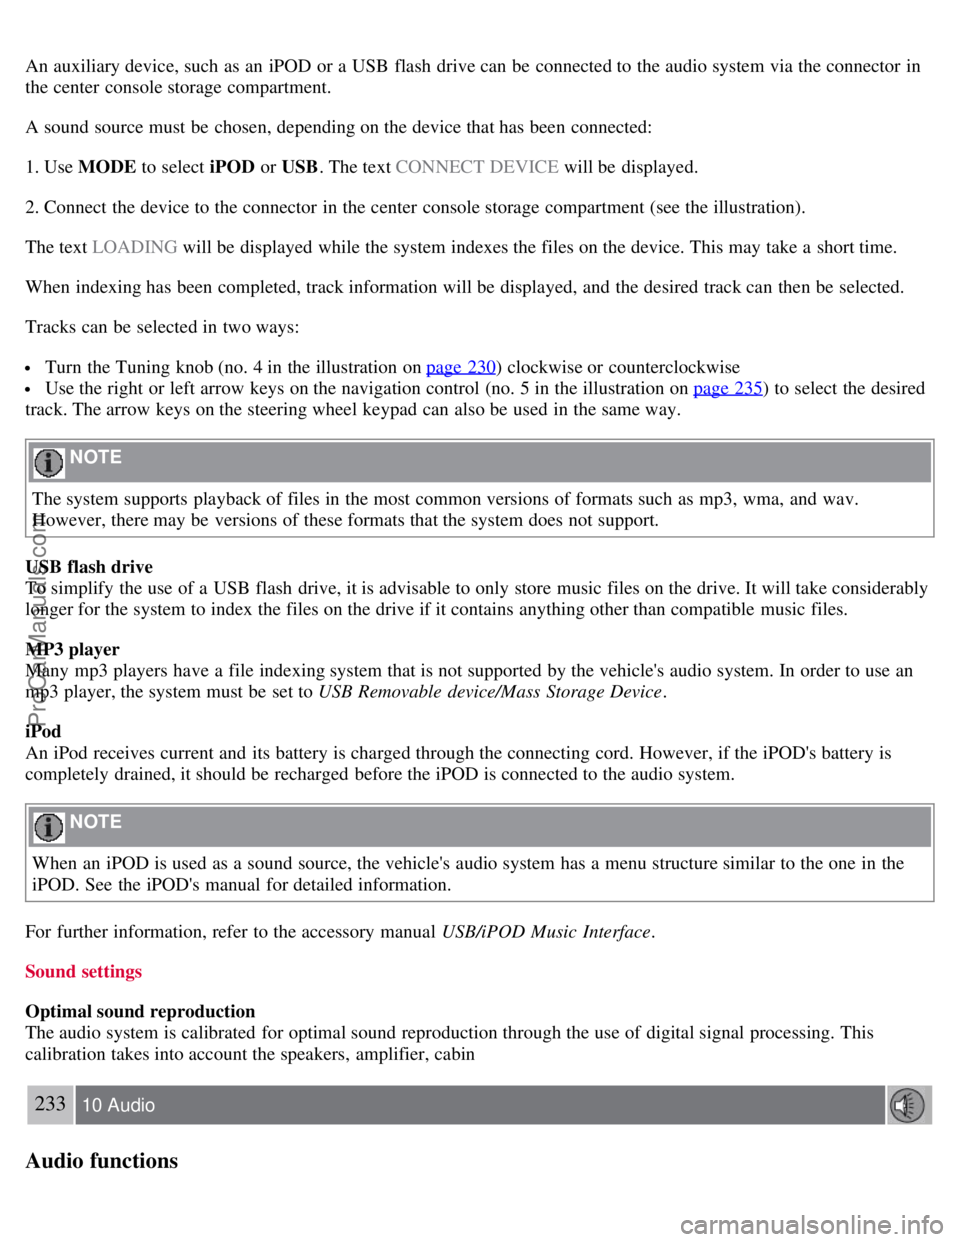
An auxiliary device, such as an iPOD or a USB flash drive can be connected to the audio system via the connector in
the center console storage compartment.
A sound source must be chosen, depending on the device that has been connected:
1. Use MODE to select iPOD or USB. The text CONNECT DEVICE will be displayed.
2. Connect the device to the connector in the center console storage compartment (see the illustration).
The text LOADING will be displayed while the system indexes the files on the device. This may take a short time.
When indexing has been completed, track information will be displayed, and the desired track can then be selected.
Tracks can be selected in two ways:
Turn the Tuning knob (no. 4 in the illustration on page 230) clockwise or counterclockwise
Use the right or left arrow keys on the navigation control (no. 5 in the illustration on page 235) to select the desired
track. The arrow keys on the steering wheel keypad can also be used in the same way.
NOTE
The system supports playback of files in the most common versions of formats such as mp3, wma, and wav.
However, there may be versions of these formats that the system does not support.
USB flash drive
To simplify the use of a USB flash drive, it is advisable to only store music files on the drive. It will take considerably
longer for the system to index the files on the drive if it contains anything other than compatible music files.
MP3 player
Many mp3 players have a file indexing system that is not supported by the vehicle's audio system. In order to use an
mp3 player, the system must be set to USB Removable device/Mass Storage Device .
iPod
An iPod receives current and its battery is charged through the connecting cord. However, if the iPOD's battery is
completely drained, it should be recharged before the iPOD is connected to the audio system.
NOTE
When an iPOD is used as a sound source, the vehicle's audio system has a menu structure similar to the one in the
iPOD. See the iPOD's manual for detailed information.
For further information, refer to the accessory manual USB/iPOD Music Interface .
Sound settings
Optimal sound reproduction
The audio system is calibrated for optimal sound reproduction through the use of digital signal processing. This
calibration takes into account the speakers, amplifier, cabin
233 10 Audio
Audio functions
ProCarManuals.com