Jack VOLVO S60 2001 Owners Manual
[x] Cancel search | Manufacturer: VOLVO, Model Year: 2001, Model line: S60, Model: VOLVO S60 2001Pages: 128, PDF Size: 2.52 MB
Page 52 of 128
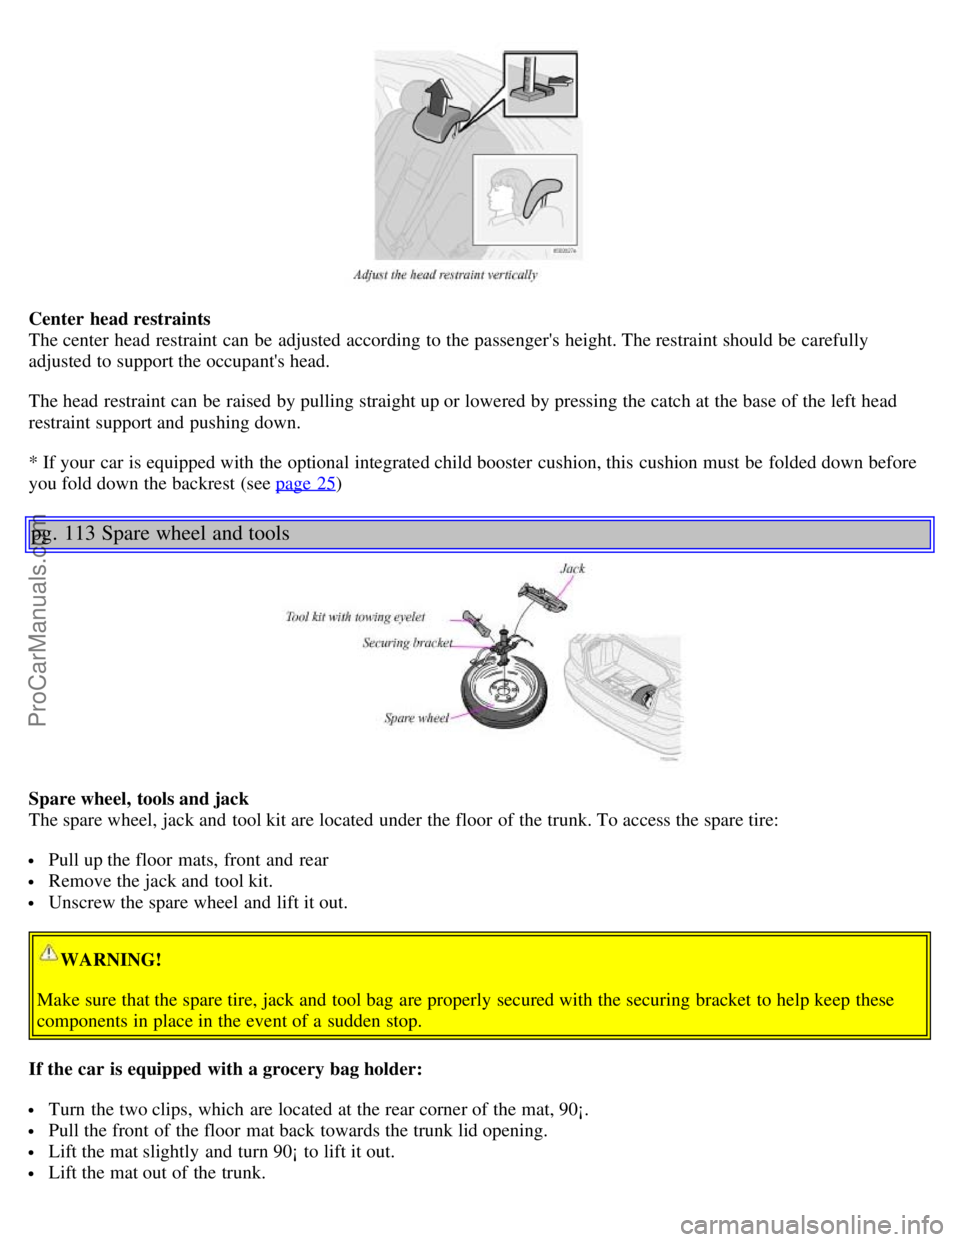
Center head restraints
The center head restraint can be adjusted according to the passenger's height. The restraint should be carefully
adjusted to support the occupant's head.
The head restraint can be raised by pulling straight up or lowered by pressing the catch at the base of the left head
restraint support and pushing down.
* If your car is equipped with the optional integrated child booster cushion, this cushion must be folded down before
you fold down the backrest (see page 25
)
pg. 113 Spare wheel and tools
Spare wheel, tools and jack
The spare wheel, jack and tool kit are located under the floor of the trunk. To access the spare tire:
Pull up the floor mats, front and rear
Remove the jack and tool kit.
Unscrew the spare wheel and lift it out.
WARNING!
Make sure that the spare tire, jack and tool bag are properly secured with the securing bracket to help keep these
components in place in the event of a sudden stop.
If the car is equipped with a grocery bag holder:
Turn the two clips, which are located at the rear corner of the mat, 90¡.
Pull the front of the floor mat back towards the trunk lid opening.
Lift the mat slightly and turn 90¡ to lift it out.
Lift the mat out of the trunk.
ProCarManuals.com
Page 53 of 128

Unscrew the spare tire and lift it out.
Return and secure everything in reverse order.
See also page 157
for more information on using the jack.
pg. 114 Spare wheel and tools
Contents | Top of Page
ProCarManuals.com
Page 94 of 128
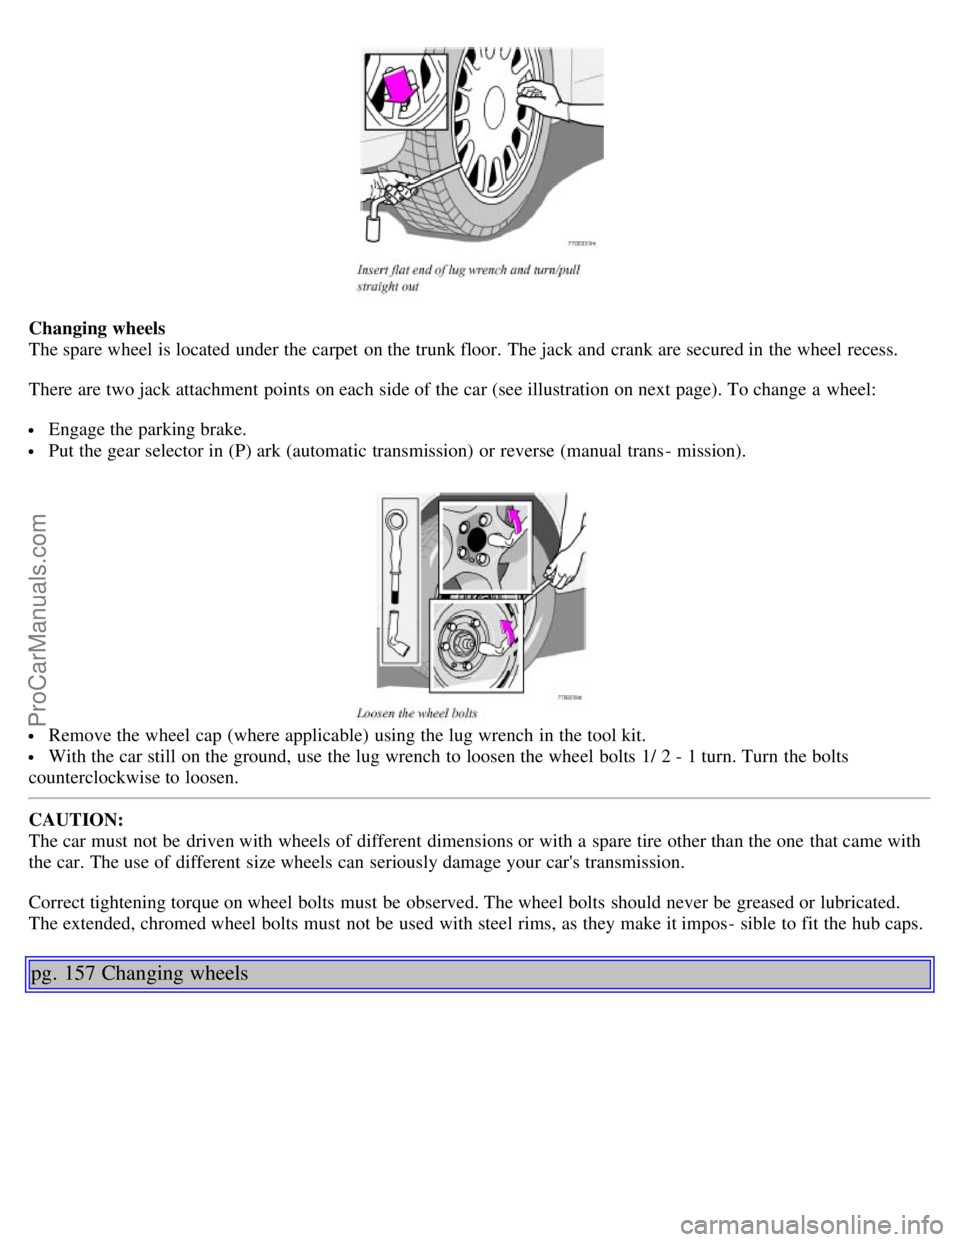
Changing wheels
The spare wheel is located under the carpet on the trunk floor. The jack and crank are secured in the wheel recess.
There are two jack attachment points on each side of the car (see illustration on next page). To change a wheel:
Engage the parking brake.
Put the gear selector in (P) ark (automatic transmission) or reverse (manual trans - mission).
Remove the wheel cap (where applicable) using the lug wrench in the tool kit.
With the car still on the ground, use the lug wrench to loosen the wheel bolts 1/ 2 - 1 turn. Turn the bolts
counterclockwise to loosen.
CAUTION:
The car must not be driven with wheels of different dimensions or with a spare tire other than the one that came with
the car. The use of different size wheels can seriously damage your car's transmission.
Correct tightening torque on wheel bolts must be observed. The wheel bolts should never be greased or lubricated.
The extended, chromed wheel bolts must not be used with steel rims, as they make it impos - sible to fit the hub caps.
pg. 157 Changing wheels
ProCarManuals.com
Page 95 of 128

Position the jack correctly on the bar in the attachment (see illustration above) and crank while simultaneously
guiding the base of the jack to the ground. The base of the jack must be flat on a level, firm, non- slippery surface.
Before raising the car, check that the jack is still correctly positioned in the attachment.
Raise the vehicle until the wheel to be changed is lifted off the ground.
Unscrew the wheel bolts completely and carefully remove the wheel so as not to damage the threads on the studs.
NOTE: To avoid excessive wear and the necessity of rebalancing, mark and reinstall wheels in the same location and
position as before removal. To lessen the chance of imbalance, each wheel hub is equipped with a guide stud to
ensure that a removed wheel can be reinstalled in its original position (as when changing over to winter tires/ wheels).
Installing the wheel
Clean the contact surfaces on the wheel and hub.
Lift the wheel and place it on the hub.
Install the wheel bolts and tighten hand - tight. Using the lug wrench, tighten crosswise until all bolts are snug.
Lower the vehicle to the ground and alternately tighten the bolts crosswise to 102 ft. lbs. (140 Nm).
Install the wheel cap (where applicable).
WARNING!
The jack must correctly engage the bar in the jack attachment. The car's weight must not rest on the jack
attachment. See illustration "Attaching the jack" to the left.
Be sure the jack is on a firm, level, non-slippery surface.
Never allow any part of your body to be extended under a car supported by a jack. Use the jack intended for the car
when replacing a wheel. For any other job, use stands to support the side of the car being worked on.
Apply the parking brake and put the gear selector in the (P) ark position (or reverse on manual transmissions).
Block the wheels standing on the ground, use rigid wooden blocks or large stones. The jack should be kept well-
ProCarManuals.com
Page 104 of 128

Fuel (line) filter
For proper functioning of the vehicle and its emission control systems, the fuel line filter should be replaced at
105,000 miles (168,000 km). The filter is replaced as one complete unit. Replace more frequently if contaminated fuel
is introduced into the tank (or if there is reason to suspect that this has occurred).
PCV system
The orifice nipple in the intake manifold and the filter at the end of the PCV hose in the air cleaner should be
inspected at 60,000 miles (96,000 km) and thereafter, at 30,000 mile (48,000 km) intervals.
Cabin air filter
Replace the cabin air filter with a new one at 15,000 mile (24,000 km) intervals. Volvo recommends replacing the
filter more often if the car is driven under dirty and dusty condi- tions. The filter cannot be cleaned and therefore
should always be replaced with a new one.
pg. 168 Working on your car
Note the following before you begin working on your car:
Battery
Ensure that the battery cables are correctly connected and tightened.
Never disconnect the battery when the engine is running (e. g. when replacing the battery).
Never use a fast charger to charge the battery. The battery cables should be disconnected when recharging.
The battery contains acid that is both corrosive and poisonous. It is important that the battery is handled in an
environ- mentally friendly way. Let your Volvo dealer assist you.
Hoisting the car
If a garage jack is used to lift the car, the two jack attachments points should be used. They are specially reinforced to
bear the weight of the car. A garage jack can also be placed under the front of the engine support frame. Take care not
to damage the splash guard under the engine. Ensure that the jack is positioned so that the car cannot slide off it.
Always use axle stands or similar structures.
If a two- post hoist is used to lift the car, the front and rear lift arm pads should be centered under the reinforced lift
plates on the inboard edge of the sill rail (see illustration).
WARNING!
The car ignition system has very high voltage!
The voltage in the ignition system is dangerous!
Do not touch spark plugs, ignition cables or the ignition coil when the engine is running or the ignition is switched
on!
ProCarManuals.com
Page 122 of 128
Geartronic - manual shifting136
General information2
Generator199
Generator warning light33
Glove compartment108
Glove compartment - locking119
Grocery bag holder112
H
Handling131
Hazard warning flashers42
Head restraint - center, rear112
Headlight washer41
Headlight wiper blades175
Headlights39
Heated front seats42 , 56 , 59
High beam "flash"40
High beam bulb181
High beam indicator30
High/ low beams - replacing179
Hoisting the car168
HomeLink® Universal Transceiver82
Hood170
Hood - opening170
I
IC20
Immobilizer (start inhibitor)116
Indicator and warning symbols30 , 31
Inflatable Curtain20
Instrument lighting39
Instrument panel30
Integrated booster cushion25
Interior99
Interior lighting104
Intermittent wiping41
Introduction1
Isofix fasteners (child seats)25
J
Jack113
, 157
Jump starting143
K
Keylock2
, 128
Keys116
Kickdown134
L
ProCarManuals.com