lock VOLVO S60 2002 Owners Manual
[x] Cancel search | Manufacturer: VOLVO, Model Year: 2002, Model line: S60, Model: VOLVO S60 2002Pages: 106, PDF Size: 1.96 MB
Page 1 of 106
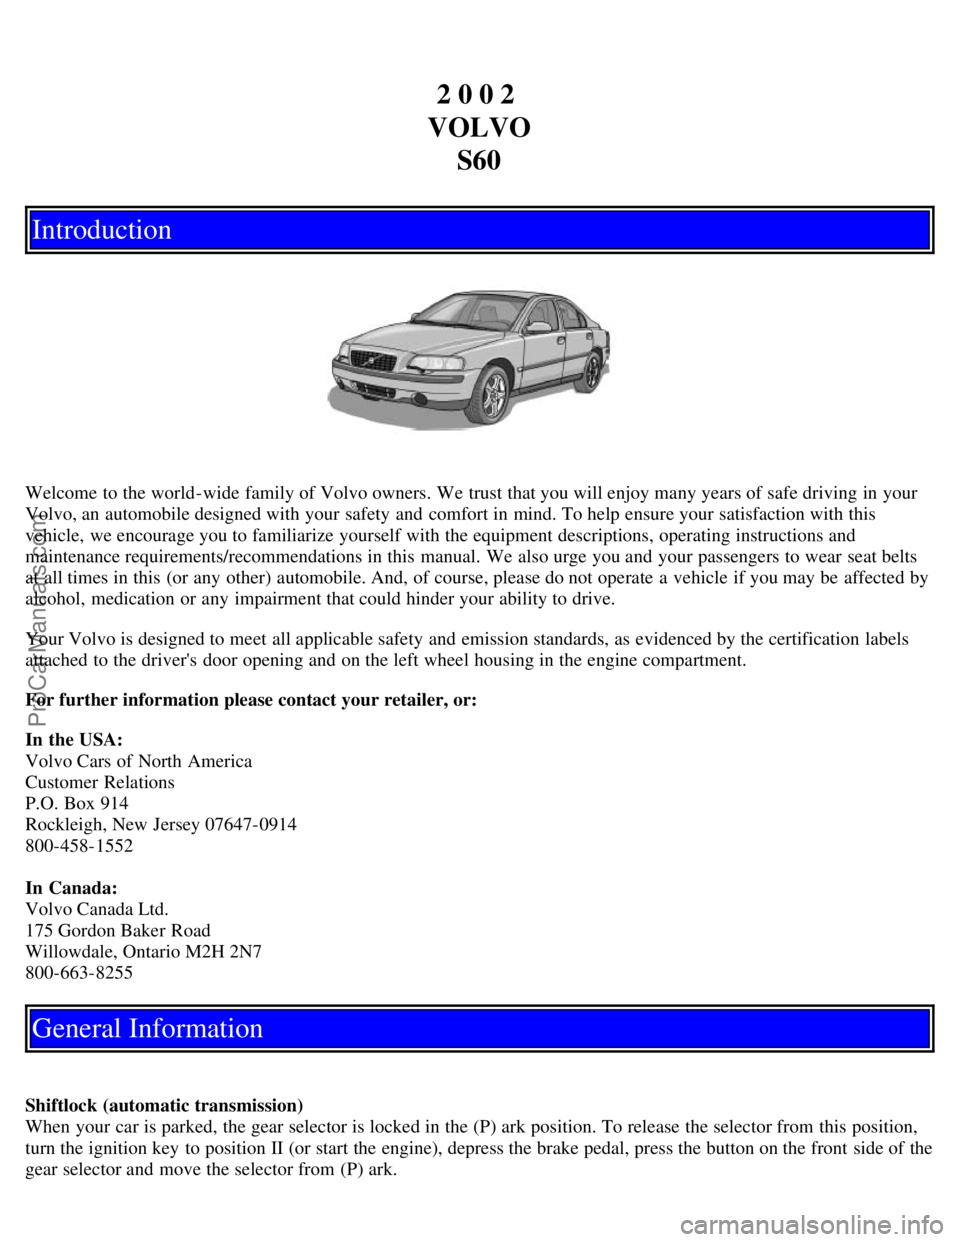
2 0 0 2
VOLVO S60
Introduction
Welcome to the world-wide family of Volvo owners. We trust that you will enjoy many years of safe driving in your
Volvo, an automobile designed with your safety and comfort in mind. To help ensure your satisfaction with this
vehicle, we encourage you to familiarize yourself with the equipment descriptions, operating instructions and
maintenance requirements/recommendations in this manual. We also urge you and your passengers to wear seat belts
at all times in this (or any other) automobile. And, of course, please do not operate a vehicle if you may be affected by
alcohol, medication or any impairment that could hinder your ability to drive.
Your Volvo is designed to meet all applicable safety and emission standards, as evidenced by the certification labels
attached to the driver's door opening and on the left wheel housing in the engine compartment.
For further information please contact your retailer, or:
In the USA:
Volvo Cars of North America
Customer Relations
P.O. Box 914
Rockleigh, New Jersey 07647-0914
800-458-1552
In Canada:
Volvo Canada Ltd.
175 Gordon Baker Road
Willowdale, Ontario M2H 2N7
800-663-8255
General Information
Shiftlock (automatic transmission)
When your car is parked, the gear selector is locked in the (P) ark position. To release the selector from this position,
turn the ignition key to position II (or start the engine), depress the brake pedal, press the button on the front side of the
gear selector and move the selector from (P) ark.
ProCarManuals.com
Page 2 of 106
Keylock (automatic transmission)
When you switch off the ignition, the gear selector must be in the (P) ark position before the key can be removed from
the ignition switch.
Anti-lock Brake System (ABS)
The ABS system in your car performs a self - diagnostic test when the vehicle first reaches the speed of approximately
12 mph (20 km/h). The brake pedal will pulsate several times and a sound may be audible from the ABS control
module. This is normal.
Fuel filler door
The fuel filler door, located on the right rear fender, is connected to your car's central locking system. The driver's door
must be unlocked before the fuel filler door can be opened.
When you lock your car using the central locking button on the driver's door or remote control, the fuel filler door also
locks after a 10-minute delay. If you lock your car with the fuel filler door open, you will need to unlock the car to
allow the fuel filler door to be closed again.
Fuel filler cap
After refueling, close the fuel filler cap by turning it clockwise until it clicks into place. If this cap is not closed tightly
or if the engine is running when the car is refueled, the Malfunction Indicator Lamp (" Check Engine" light) will
illuminate.
Important information
Before you operate your car for the first time, please familiarize yourself with the new- engine oil consumption
information on page 128.
You should also be familiar with the information in chapters one, two and four of this
manual. Information contained in the balance of the manual is extremely useful and should be read after operating the
vehicle for the first time. The manual is structured so that it can be used for reference. For this reason, it should be
kept in the car for ready access.
Do not export your Volvo to another country before investigating that country's applicable safety and exhaust emission
requirements. In some cases it may be difficult or impossible to comply with these requirements. Modifications to the
emission control system( s) may render your Volvo not certifiable for legal operation in the U. S., Canada and other
countries.
All information, illustrations and specifications contained in this manual are based on the latest product information
available at the time of publication. Please note that some vehicles may be equipped differently, depending on special
legal requirements. Optional equipment described in this manual may not be available in all markets.
Volvo reserves the right to make model changes at any time, or to change specifications or design without notice and
without incurring obligation.
Volvo and the environment
Volvo is committed to the well being of its customers. As a natural part of this commitment, we care about the
environment in which we all live. Caring for the environment means an everyday involvement in reducing our
environmental impact.
Volvo's environmental activities are based on a holistic view, which means we consider the overall environmental
impact of a product throughout its complete life cycle. In this context, design, production, product use, and recycling
are all important considerations.
In production, Volvo has partly or completely phased out several chemicals including freons, lead chromates,
naphtanates, asbestos, mercury and cadmium; and reduced the amount of chemicals used in our plants 50% since 1991.
Volvo was the first in the world to introduce into production a three-way catalytic converter with a Lambda sond, now
called oxygen sensor, in 1976. The current version of this highly efficient system reduces emissions of harmful
substances (CO, HC, NOx) from the exhaust pipe by approximately 95% and the search to eliminate the remaining
emissions continues. Volvo is the only automobile manufacturer to offer CFC-free retrofit kits for the air conditioning
system of all models as far back as the 1975 model 240. Advanced electronic engine controls, refined purification
systems and cleaner fuels are bringing us closer to our goal.
After Volvo cars and parts have fulfilled their use, recycling is the next critical step in completing the life cycle. The
metal content is about 75% of the total weight of a car, which makes the car among the most recycled industrial
products. In order to have efficient and well controlled recycling, many Volvo variants have printed dismantling
manuals, indicating the weight and material of individual components.
ProCarManuals.com
Page 4 of 106
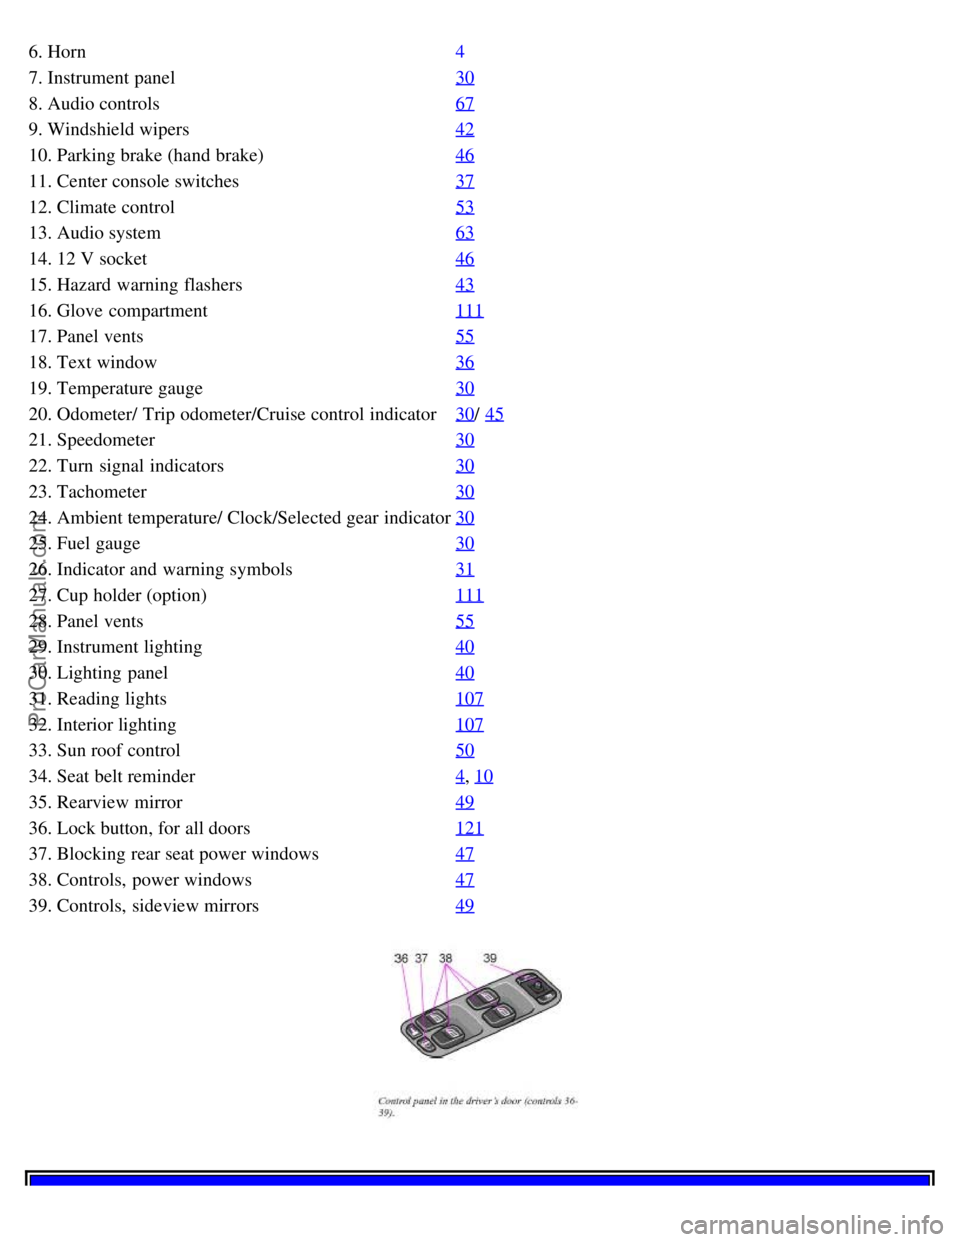
6. Horn4
7. Instrument panel30
8. Audio controls67
9. Windshield wipers42
10. Parking brake (hand brake)46
11. Center console switches37
12. Climate control53
13. Audio system63
14. 12 V socket46
15. Hazard warning flashers43
16. Glove compartment111
17. Panel vents55
18. Text window36
19. Temperature gauge30
20. Odometer/ Trip odometer/Cruise control indicator30/ 45
21. Speedometer30
22. Turn signal indicators30
23. Tachometer30
24. Ambient temperature/ Clock/Selected gear indicator30
25. Fuel gauge30
26. Indicator and warning symbols31
27. Cup holder (option)111
28. Panel vents55
29. Instrument lighting40
30. Lighting panel40
31. Reading lights107
32. Interior lighting107
33. Sun roof control50
34. Seat belt reminder4, 10
35. Rearview mirror49
36. Lock button, for all doors121
37. Blocking rear seat power windows47
38. Controls, power windows47
39. Controls, sideview mirrors49
ProCarManuals.com
Page 5 of 106
Contents
Contents
Safety
Instruments and controls
Climate control
Audio
Interior
Locks and alarm
Starting and driving
Wheels and tires
Car care
Maintenance and service
Specifications
Index
Back Cover
Contents | Top of Page
ProCarManuals.com
Page 7 of 106
Pull the belt out far enough to insert the latch plate into the receptacle until a distinct click is heard. The seat belt
retractor is normally "unlocked" and you can move freely, provided that the shoulder belt is not pulled out too far. The
retractor will lock up as follows:
if the belt is pulled out rapidly
during braking and acceleration
if the vehicle is leaning excessively
when driving in turns For the seat belt to provide maximum protection in the event of an accident, it must be worn
correctly. When wearing the seat belt remember:
The belt should not be twisted or turned.
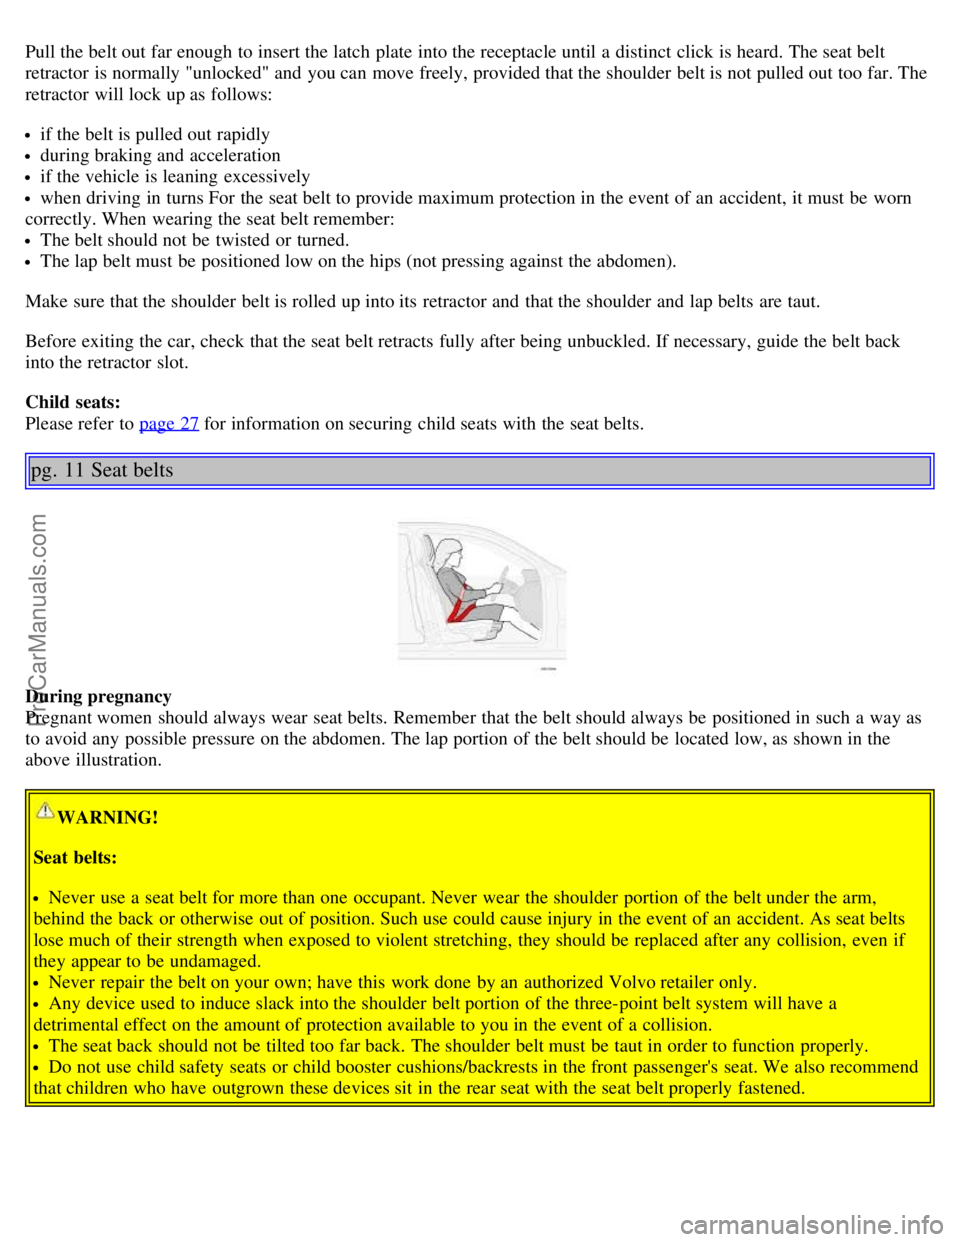
The lap belt must be positioned low on the hips (not pressing against the abdomen).
Make sure that the shoulder belt is rolled up into its retractor and that the shoulder and lap belts are taut.
Before exiting the car, check that the seat belt retracts fully after being unbuckled. If necessary, guide the belt back
into the retractor slot.
Child seats:
Please refer to page 27
for information on securing child seats with the seat belts.
pg. 11 Seat belts
During pregnancy
Pregnant women should always wear seat belts. Remember that the belt should always be positioned in such a way as
to avoid any possible pressure on the abdomen. The lap portion of the belt should be located low, as shown in the
above illustration.
WARNING!
Seat belts:
Never use a seat belt for more than one occupant. Never wear the shoulder portion of the belt under the arm,
behind the back or otherwise out of position. Such use could cause injury in the event of an accident. As seat belts
lose much of their strength when exposed to violent stretching, they should be replaced after any collision, even if
they appear to be undamaged.
Never repair the belt on your own; have this work done by an authorized Volvo retailer only.
Any device used to induce slack into the shoulder belt portion of the three-point belt system will have a
detrimental effect on the amount of protection available to you in the event of a collision.
The seat back should not be tilted too far back. The shoulder belt must be taut in order to function properly.
Do not use child safety seats or child booster cushions/backrests in the front passenger's seat. We also recommend
that children who have outgrown these devices sit in the rear seat with the seat belt properly fastened.
ProCarManuals.com
Page 12 of 106

injury. Have the car towed to an authorized Volvo retailer for repairs.
Automatic transmission:
Before attempting to tow the car, use the following procedure to override the shiftlock system to move the gear
selector to the neutral position.
Switch off the ignition for at least 10 minutes and disconnect the battery
Wait at least one minute
Insert the key in the ignition and turn it to position II
Press firmly on the brake pedal.
Move the gear selector from (P) ark to the (N) eutral position.
There is no maintenance to perform on the SRS yourself. The month and year shown on the decal on the door pillar
indicate when you should contact your Volvo retailer for specific servicing or replacement of airbags and seat belt
tensioners. This service must be performed by an authorized Volvo retailer.
Should you have any questions about the SRS system, please contact your authorized Volvo retailer or Volvo
Customer Support.:
In the USA:
Volvo Cars of North America
Customer Relations
P.O. Box 914
Rockleigh, New Jersey 07647-0914
800-458-1552
In Canada:
Volvo Canada Ltd.
175 Gordon Baker Road
Willowdale, Ontario M2H 2N7
800-663-8255
pg. 17 Airbags (Supplemental Restraint System)
Front airbag (SRS) system
As an enhancement to the three-point seat belt system, your Volvo is equipped with a Supplemental Restraint System
(SRS). The Volvo SRS consists of an airbag (2) on both the driver's and passenger's sides and seat belt tensioners in
both front door pillars. The system is designed to supplement the protection provided by the three-point seat belt
system. All three rear seat belts are also equipped with tensioners.
The SRS system is indicated by the "SRS" embossed on the steering wheel pad and above the glove compartment, and
by decals on both sun visors and on the front and far right side of the dash.
The airbags are folded and located in the steering wheel hub and above the glove compartment.
ProCarManuals.com
Page 16 of 106

5. Odometer
6. Speedometer
7. Warning symbol
8. High beam indicator
9. Tachometer
Indicates engine speed in thousands of revolutions per minute (rpm). Do not drive for long with the needle in the red
section. The engine has an built-in function preventing excessively high engine speeds. When this function operates,
you may discern some pulsation, which in that case is quite normal.
10. Gear and driving mode indicator
The currently selected driving mode is displayed here. If you use the optional Geartronic function on the automatic
transmission, the currently selected gear will be displayed.
11. Ambient temperature gauge
This display indicates the air temperature outside your car. A "snowflake" symbol in the text window is displayed
when the temperature is in the range of 23 - 36° F (- 5 - +2° C). Please note that this symbol does not indicate a fault
with your car.
At low speeds or when the car is not moving, the temperature readings may be slightly higher than the actual ambient
temperature.
12. Clock/set button
Turn the button to set the clock.
13. Fuel gauge
The fuel tank holds approximately 18.5 US gals (70 liters) or 21.1 US gals (80 liters) on turbo models.
When a warning light in the gauge comes on, there are approximately 1.8 US gal. (8 liters) of fuel remaining in the
tank.
14. Indicator and warning symbols
pg. 31 Indicator and warning symbols
The indicator and warning symbols light up when you turn the ignition key to the driving position (position II) before
starting. This shows that the symbols are functioning. When the engine starts, all symbols go out. If the engine is not
started within 5 seconds, all symbols except CHECK ENGINE and
go out. Certain symbols may not have their
functions illustrated, depending on the car's equipment. The symbol for the parking brake goes out when the parking
brake is released.
Warning symbol
in center of dashboard
This symbol shines as a red or orange light depending on the severity of the discovered fault.
Red symbol - Stop the car as soon as possible in a suitable location and read the message shown in the text window.
Orange symbol - Follow the instructions shown in the text window.
ProCarManuals.com
Page 17 of 106

Anti-lock brake system ABS If the warning light comes on, there is a malfunction of the ABS system (the
standard braking system will still function). The vehicle should be driven to a Volvo retailer for inspection. See page
142 for additional information.
pg. 32 Indicator and warning symbols
BRAKE Brake failure warning light
If the light comes on while driving or braking, stop immediately, open the hood and check the brake fluid level in the
reservoir. See page 172
for reservoir position and page 175 for instructions.
Canadian models are equipped with this warning light:
If the BRAKE and ABS warning lights come on at the same time, this could indicate a fault in the brake system.
Stop the car in a suitable place and switch off the engine.
Restart the engine.
If both warning lights go off, no further action is required.
If both lights are still on after the engine has been restarted, switch off the engine again and check the brake fluid
level (see page 172
for the location of the brake fluid reservoir).
WARNING!
If the fluid level is below the MIN mark in the reservoir or if a "Brake failure - Service urgent" message is displayed
in the text window: DO NOT DRIVE. Have the car towed to an authorized Volvo retailer and have the brake system
inspected.
If the brake fluid level is above the MIN mark, drive carefully to an authorized Volvo retailer and have the brake
system inspected.
pg. 33 Indicator and warning symbols
Supplemental Restraint System SRS
If the light comes on (or stays on after the vehicle has started), the SRS diagnostic system has detected a fault. Drive to
an authorized Volvo retailer for an inspection of the system. See the SRS section for more information.
Generator warning light
If the light comes on while the engine is running, have the charging system checked.
PARK BRAKE Parking brake applied
This light will be on when the parking brake (hand brake) is applied. The parking brake lever is situated between the
front seats.
Canadian models are equipped with this symbol.
ProCarManuals.com
Page 20 of 106

1. Folding head restraints (option)
This button is used to fold down the outboard rear head restraints. The ignition key must be in position I or II or the
engine must be running.
NOTE: If the head restraints have been folded down, they must be returned to their original position manually. The
head restraints should be in the upright position before the rear seat backrests are folded down.
WARNING!
For safety reasons, no one should be allowed to sit in the outboard rear seat positions if the head restraints are folded
down. If these positions are occupied, the head restraints should be in the upright (fixed) position.
2. Valet lock (trunk lock)
Pressing this switch locks the trunk, even if the doors are unlocked. The trunk will remain locked even if the doors are
locked/unlocked using the master key or the remote control.
To use this function:
Turn the master key to position II.
Press the "Valet lock" button. An LED in the button will light up and "VALET LOCK ON" will be displayed on the
text window to indicate that this function is activated.
The function can be turned off (deactivated) by turning the ignition key to position II and pressing the "Valet lock"
button again (the LED in the button will go out and "VALET LOCK OFF" will be displayed in the text window).
3. Not in use
4. Stability Traction Control system (option)
NOTE: Press this switch for at least half a second to turn the STC system on or off. An LED in the switch will light
up to indicate that the system is on. See page 143
for more information on STC. This system should be switched off if
you, for any reason, temporarily have to drive with tires of different dimensions (e. g., spare tire).
NOTE: To help reduce the risk that this system is turned off inadvertently, the switch must be held in for at least half
a second to turn STC off. The warning symbol in the instrument panel will light up to indicate that STC is OFF.
pg. 38 Switches in the center console
Dynamic Stability Traction Control system (option)
This button is used to switch DSTC off. When the LED in the button is ON, this indicates that the system is ON (the
light will also come on if a fault has been detected in the system).
NOTE: To avoid inadvertently switching the system off, the button must be pressed for at least half a second before
DSTC is deactivated. The text "DSTC off" will be displayed briefly in the text window. The warning symbol will come
on to indicate that DSTC has been switched off. The system is automatically switched on when the engine is started.
DSTC should be switched off if the steering wheel position or the front wheels are not properly aligned. See
page 144
for more information on
ProCarManuals.com
Page 21 of 106
WARNING!
Please be aware that the car's handling characteristics may be affected if Dynamic Stability Traction Control (DSTC)
is switched off.
5. Not in Use
6. Temporarily disconnecting the alarm sensors (option)
See page 126
for more details.
7. Not in use
8. 12 volt socket
This 12 volt socket can be used to plug in certain accessories such as cellular telephones, etc. The ignition key must be
in position 1 (or higher) for the auxiliary socket to function.
NOTE: The auxiliary sockets can also be used for cigarette lighters, which are available at your Volvo retailer.
pg. 39 Steering wheel adjustment
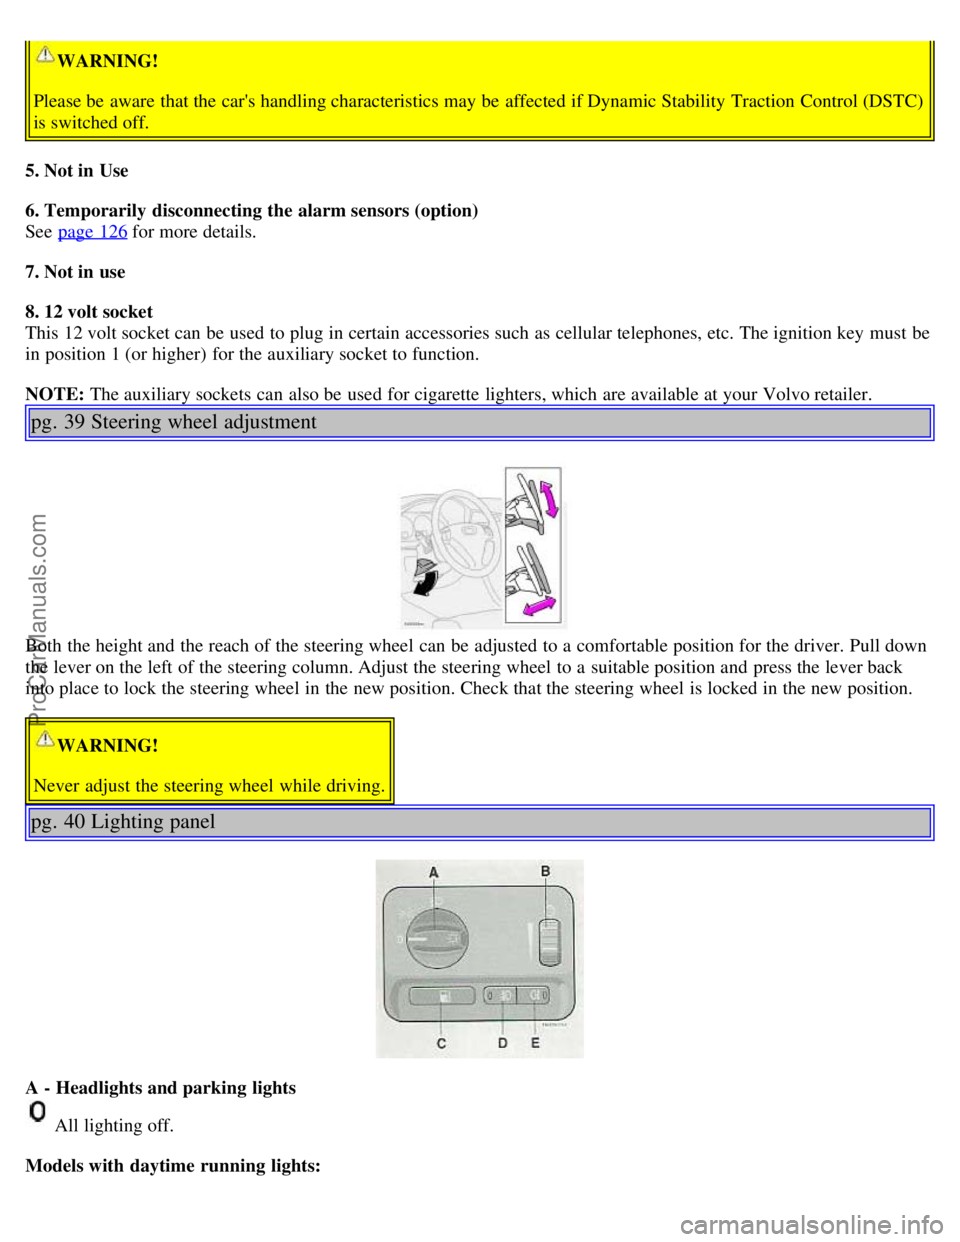
Both the height and the reach of the steering wheel can be adjusted to a comfortable position for the driver. Pull down
the lever on the left of the steering column. Adjust the steering wheel to a suitable position and press the lever back
into place to lock the steering wheel in the new position. Check that the steering wheel is locked in the new position.
WARNING!
Never adjust the steering wheel while driving.
pg. 40 Lighting panel
A - Headlights and parking lights
All lighting off.
Models with daytime running lights:
ProCarManuals.com