set clock VOLVO S60 2006 Owners Manual
[x] Cancel search | Manufacturer: VOLVO, Model Year: 2006, Model line: S60, Model: VOLVO S60 2006Pages: 132, PDF Size: 2.33 MB
Page 18 of 132

on. The text window will provide you with additional information. If the engine temperature remains high, check
coolant level - see page 140.
4. Trip odometer
The trip odometers are used for measuring shorter distances. The right-hand digit gives tenth of a mile/kilometer. Press
the button for more than 2 seconds to reset. Change between trip odometers 1 and 2 using one short press on the
button.
5. Odometer
6. Speedometer
7. Warning symbol
8. High beam indicator
9. Tachometer
Indicates engine speed in thousands of revolutions per minute (rpm). Do not drive for long with the needle in the red
section. The engine has an built-in function preventing excessively high engine speeds. When this function operates,
you may discern some pulsation, which in that case is quite normal.
10. Gear and driving mode indicator
The currently selected driving mode is displayed here. If you use the optional Geartronic function on the automatic
transmission, the currently selected gear will be displayed.
11. Ambient temperature gauge
This display indicates the air temperature outside your car. A "snowflake" symbol in the text window is displayed
when the temperature is in the range of 23 - 36° F (-5 - +2° C).
Please note that this symbol does not indicate a fault with your car.
At low speeds or when the car is not moving, the temperature readings may be slightly higher than the actual ambient
temperature.
12. Clock/set button
Turn the button to set the clock.
13. Fuel gauge
The fuel tank holds approximately:
Front wheel drive, non-turbo models - : 18.5 US gals (70 liters)
All turbo models - : 18 US gals (68 liters)
When a warning light in the gauge comes on, there are approximately 1.8 US gal. (8 liters) of fuel remaining in the
tank.
14. Indicator and warning symbols
pg. 25 Instruments and controls
Indicator and warning symbols
The indicator and warning symbols light up when you turn the ignition key to the driving position (position II) before
starting. This shows that the symbols are functioning. When the engine starts, all symbols go out. If the engine is not
started within 5 seconds, all symbols except CHECK ENGINE and
go out. Certain symbols may not have their
functions illustrated, depending on the car's equipment. The symbol for the parking brake goes out when the parking
brake is released.
ProCarManuals.com
Page 42 of 132

Rear window and sideview mirror defrosters
This function defrosts/de-ices the rear window and sideview mirrors. The LED in the switch will light up to indicate
that the heating function is engaged. See page 37
for additional information on this function.
Never use ice scrapers made of metal as they can easily scratch the mirror surface.
Temperature
These controls are used to individually set the temperature for both sides of the passenger compartment.
Please note that the compartment will not be heated or cooled faster by setting the temperature higher or lower than
necessary.
Set the control to the temperature you prefer.
Defroster
This function defrosts/de-ices the windshield and front side windows. The LED in the switch will light up to indicate
that the defrost function is engaged. Blower speed increases automatically and the air in the passenger compartment is
dehumidified. Recirculation will not function while defrost is engaged.
Blower control
Turn the control clockwise to increase or counterclockwise to decrease the blower speed. Pressing the AUTO switch
will automatically regulate blower speed and override manual adjustment.
NOTE: Turning the blower control counter-clockwise until an orange LED comes on will turn both the blower and the
air conditioning off.
pg. 54 Climate control
Electronic climate control, ECC (contd)
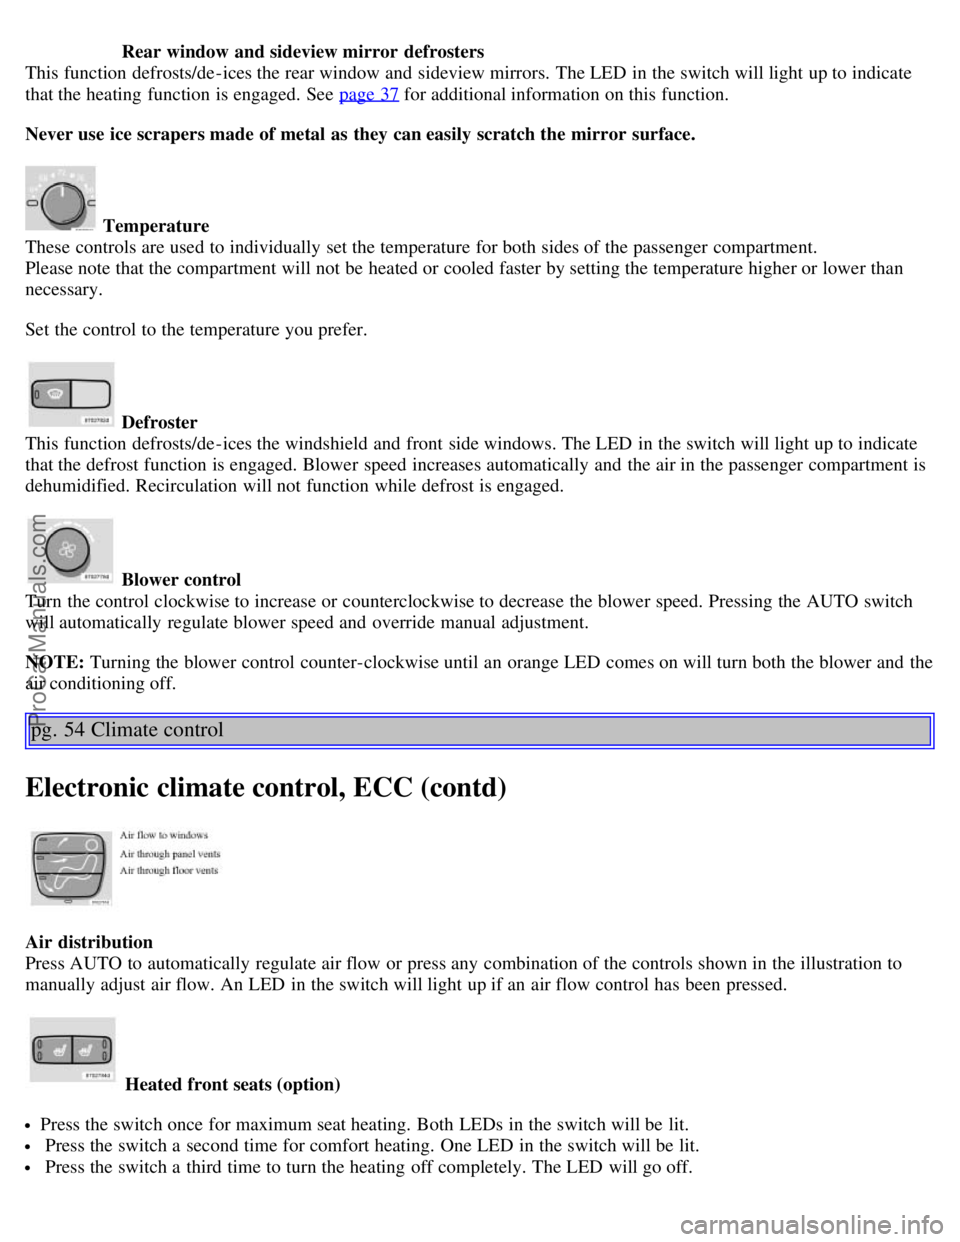
Air distribution
Press AUTO to automatically regulate air flow or press any combination of the controls shown in the illustration to
manually adjust air flow. An LED in the switch will light up if an air flow control has been pressed.
Heated front seats (option)
Press the switch once for maximum seat heating. Both LEDs in the switch will be lit.
Press the switch a second time for comfort heating. One LED in the switch will be lit.
Press the switch a third time to turn the heating off completely. The LED will go off.
ProCarManuals.com