dashboard VOLVO S60 2007 Owners Manual
[x] Cancel search | Manufacturer: VOLVO, Model Year: 2007, Model line: S60, Model: VOLVO S60 2007Pages: 200, PDF Size: 4.03 MB
Page 14 of 200
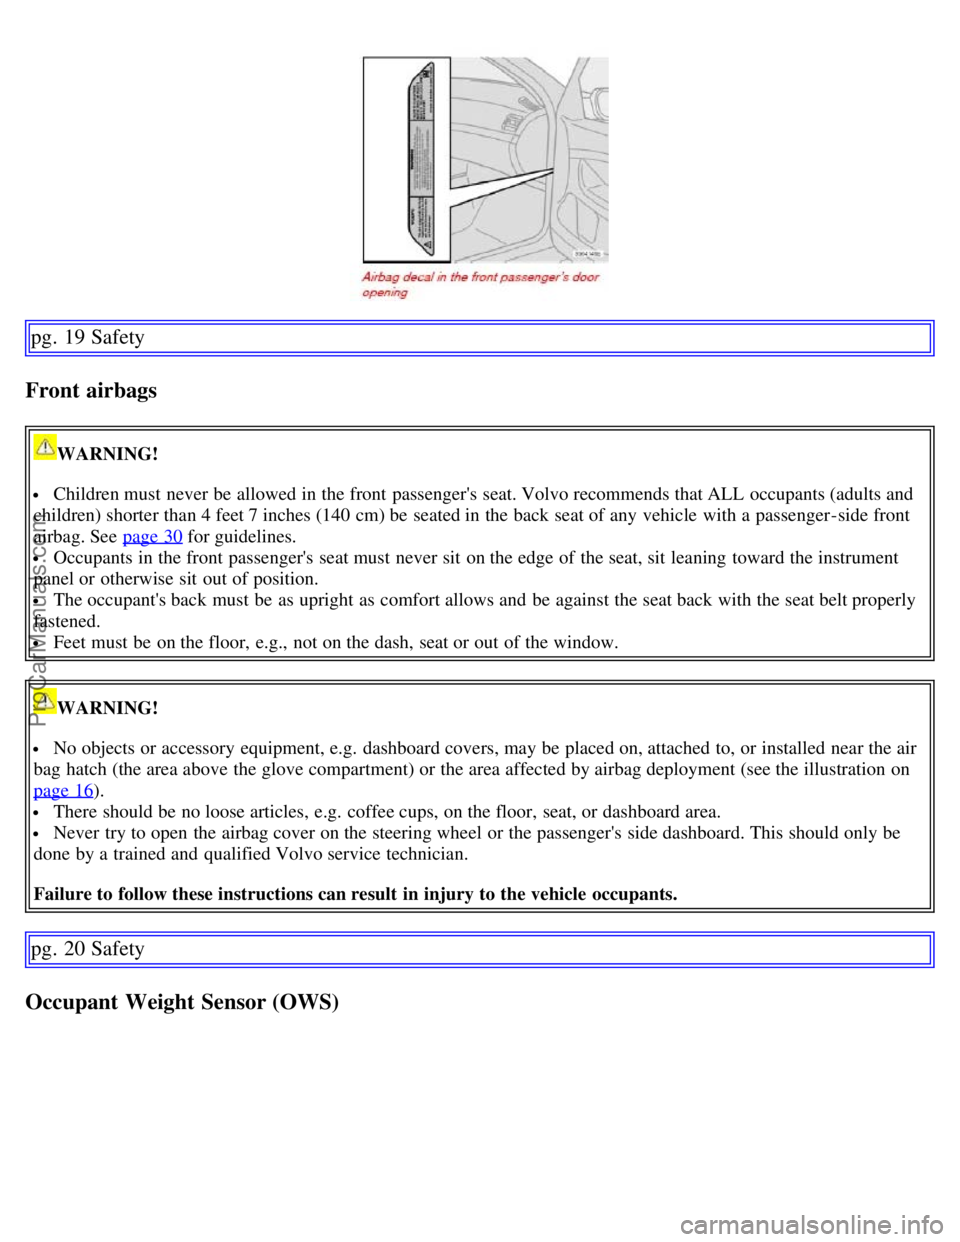
pg. 19 Safety
Front airbags
WARNING!
Children must never be allowed in the front passenger's seat. Volvo recommends that ALL occupants (adults and
children) shorter than 4 feet 7 inches (140 cm) be seated in the back seat of any vehicle with a passenger -side front
airbag. See page 30
for guidelines.
Occupants in the front passenger's seat must never sit on the edge of the seat, sit leaning toward the instrument
panel or otherwise sit out of position.
The occupant's back must be as upright as comfort allows and be against the seat back with the seat belt properly
fastened.
Feet must be on the floor, e.g., not on the dash, seat or out of the window.
WARNING!
No objects or accessory equipment, e.g. dashboard covers, may be placed on, attached to, or installed near the air
bag hatch (the area above the glove compartment) or the area affected by airbag deployment (see the illustration on
page 16
).
There should be no loose articles, e.g. coffee cups, on the floor, seat, or dashboard area.
Never try to open the airbag cover on the steering wheel or the passenger's side dashboard. This should only be
done by a trained and qualified Volvo service technician.
Failure to follow these instructions can result in injury to the vehicle occupants.
pg. 20 Safety
Occupant Weight Sensor (OWS)
ProCarManuals.com
Page 62 of 200
2 0 0 7
VOLVO S60
Climate
pg. 71 Climate
Climate control systems - general information 72
Air distribution73
Electronic climate control, ECC74
pg. 72 Climate
Climate control systems - general information
Condensation on the inside of the windows
Keeping the insides of the windows clean will help reduce the amount of condensation that forms on the windows. Use
a commercial window cleaning agent to clean the windows.
Ice and snow
Always keep the air intake grille at the base of the windshield free of snow.
Cabin air filter
Replace the cabin air filter with a new one at the recommended intervals. Please refer to your Warranty and Service
Records Information booklet, or consult your Volvo retailer for these intervals. The filter should be replaced more
often when driving under dirty and dusty conditions. The filter cannot be cleaned and therefore should always be
replaced with a new one.
Sensors
The sunlight sensor on the dashboard and passenger compartment temperature sensor in the ECC control panel should
not be covered in any way as this could cause incorrect information to be sent to the ECC system.
Parking the vehicle in warm weather
If your vehicle has been parked in the sun in warm weather, opening the windows and moonroof (option) for several
minutes before driving will help release the warm air from the passenger compartment. When the engine is running,
close the windows and moonroof and use the recirculation function for several minutes to enable the air conditioning
to cool the compartment as quickly as possible.
Windows and optional moonroof
The ECC system will function best if the windows and optional moonroof are closed. If you drive with the moonroof
open, we recommend that you manually adjust the temperature and blower control (the LED in the AUTO switch
should be off).
Acceleration
The air conditioning is momentarily disengaged during full-throttle acceleration.
ProCarManuals.com
Page 164 of 200
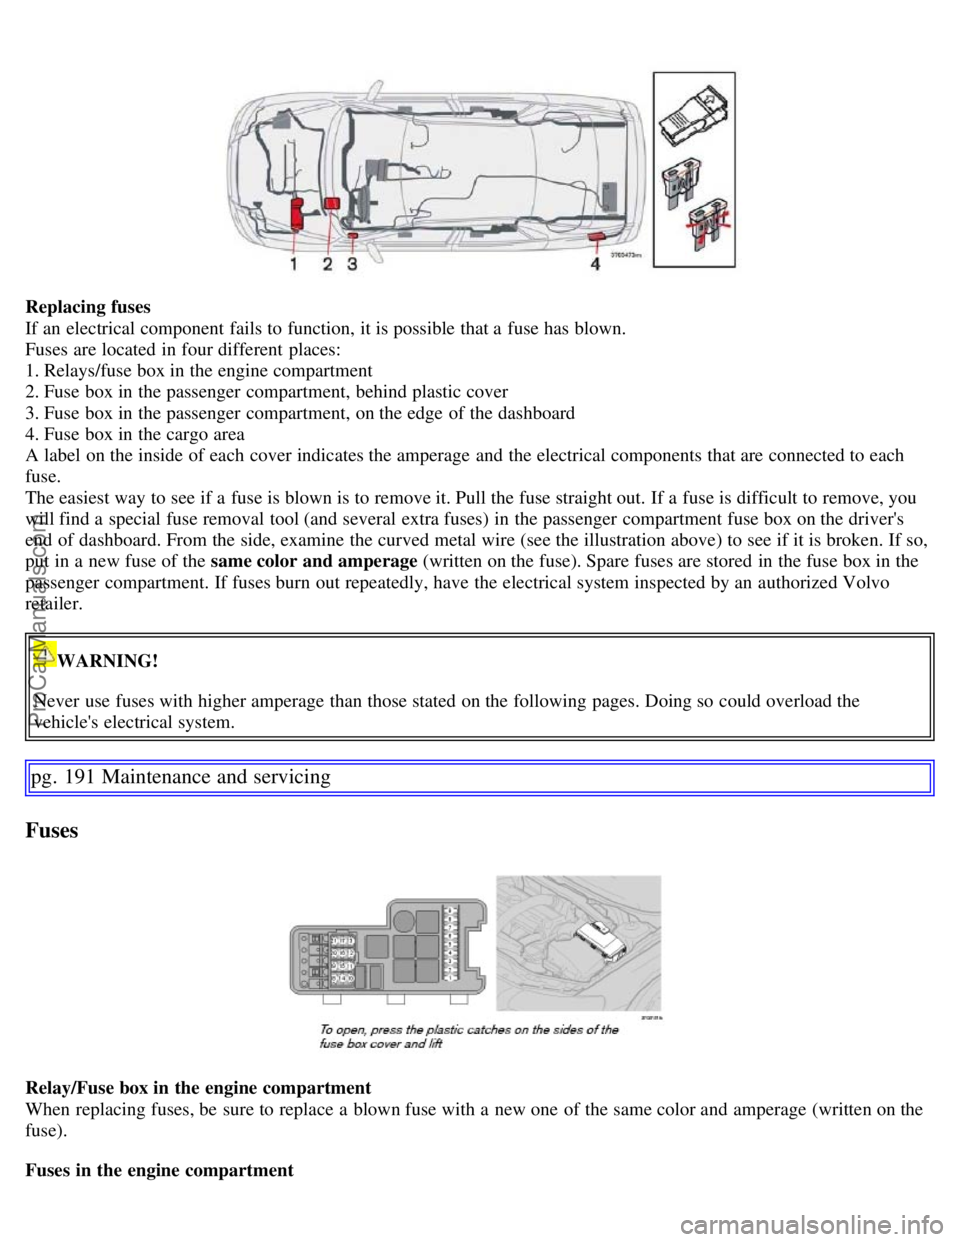
Replacing fuses
If an electrical component fails to function, it is possible that a fuse has blown.
Fuses are located in four different places:
1. Relays/fuse box in the engine compartment
2. Fuse box in the passenger compartment, behind plastic cover
3. Fuse box in the passenger compartment, on the edge of the dashboard
4. Fuse box in the cargo area
A label on the inside of each cover indicates the amperage and the electrical components that are connected to each
fuse.
The easiest way to see if a fuse is blown is to remove it. Pull the fuse straight out. If a fuse is difficult to remove, you
will find a special fuse removal tool (and several extra fuses) in the passenger compartment fuse box on the driver's
end of dashboard. From the side, examine the curved metal wire (see the illustration above) to see if it is broken. If so,
put in a new fuse of the same color and amperage (written on the fuse). Spare fuses are stored in the fuse box in the
passenger compartment. If fuses burn out repeatedly, have the electrical system inspected by an authorized Volvo
retailer.
WARNING!
Never use fuses with higher amperage than those stated on the following pages. Doing so could overload the
vehicle's electrical system.
pg. 191 Maintenance and servicing
Fuses
Relay/Fuse box in the engine compartment
When replacing fuses, be sure to replace a blown fuse with a new one of the same color and amperage (written on the
fuse).
Fuses in the engine compartment
ProCarManuals.com
Page 167 of 200
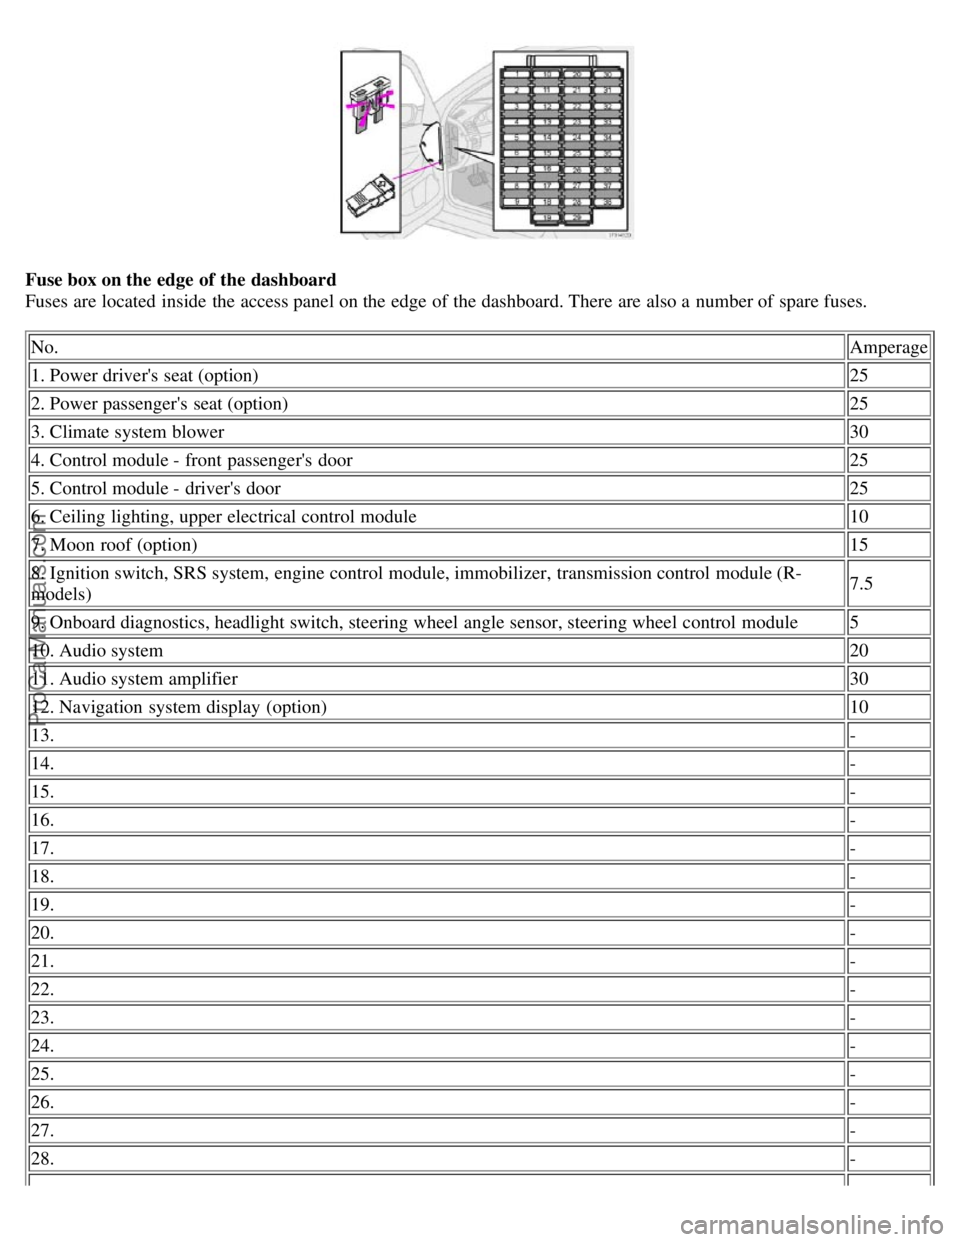
Fuse box on the edge of the dashboard
Fuses are located inside the access panel on the edge of the dashboard. There are also a number of spare fuses.No. Amperage
1. Power driver's seat (option) 25
2. Power passenger's seat (option) 25
3. Climate system blower 30
4. Control module - front passenger's door 25
5. Control module - driver's door 25
6. Ceiling lighting, upper electrical control module 10
7. Moon roof (option) 15
8. Ignition switch, SRS system, engine control module, immobilizer, transmission control module (R-
models) 7.5
9. Onboard diagnostics, headlight switch, steering wheel angle sensor, steering wheel control module 5
10. Audio system 20
11. Audio system amplifier 30
12. Navigation system display (option) 10
13. -
14. -
15. -
16. -
17. -
18. -
19. -
20. -
21. -
22. -
23. -
24. -
25. -
26. -
27. -
28. -
ProCarManuals.com
Page 171 of 200

Label information
1. Model plate
Vehicle Identification Number (VIN). Codes for color and upholstery, etc.
2. Child safety lock labels
1
3. Federal Motor Vehicle Safety Standards (FMVSS) specifications (USA) and Ministry of Transport (CMVSS)
standards (Canada)
Your Volvo is designed to meet all applicable safety standards, as evidenced by the certification label on the facing
side of the driver's door. For further information regarding these regulations, please consult your Volvo retailer.
4. Loads and Tire Pressures
The appearance of the decal will vary, depending on the market for which the vehicle is intended.
Canadian models: upper decal
U.S. models: lower decal
5. Vehicle Identification Number (VIN)
The VIN plate is located on the top left surface of the dashboard. The VIN is also stamped on the right hand door
pillar.
The Vehicle Identification Number (VIN) should always be quoted in all correspondence concerning your vehicle with
the retailer and when ordering parts.
6. Vehicle Emission Control Information/ Vacuum hose routing
Your Volvo is designed to meet all applicable emission standards, as evidenced by the certification label on the
underside of the hood. For further information regarding these regulations, please consult your Volvo retailer.
1. Not on vehicles equipped with the optional power child safety locks.
pg. 200 Specifications
Dimensions and weights
Dimensions Length 180 in. (458 cm)
S60R - 181.7 in. (462 cm)
Width 71 in. (180 cm)
S60R - 71 in. (180 cm)
Height 56.2 in. (143 cm)
S60R - 55.7 in. (142 cm)
Wheelbase 107 in. (272 cm)
Front track 61.5 in. (156 cm)
Rear track 61.4 in. (156 cm)
Turning circle 35.4-38.7 ft.
(10.8-11.8 m)
S60R: 42.7 ft (13 m)
Cargo capacity, trunk SAE V1 - 13.9 (394)
Max. loads
ProCarManuals.com
Page 189 of 200
Fast forward/back
Press and hold down the
or keys to search within a track or the entire disc. The search continues for as long
as the buttons are held in.
The corresponding keys on the optional steering wheel keypad cannot be used for fast forward/back.
Random play
This function plays the tracks on a CD in random order (shuffle).
Select CD mode and press the RND button. RND is shown in the display as long as the function is activated.
Random tracks from randomly selected discs will be played.
Press RND again to stop random play.
Scan
This function plays the first 10 seconds of each track on the CD.
Press SCAN to start the function.
Press SCAN or EXIT to stop the scan function and listen to an entire track.
Scan only works on the selected disc.
pg. 226 Specifications
Dolby Surround Pro Logic II - HU-850 only
Dolby Surround Pro Logic II
Dolby Surround Pro Logic II is a further development of the previous version of the system and provides enhanced
sound quality. The improved sound is particularly apparent to passengers in the rear seat.
Dolby Surround Pro Logic II, together with a center speaker in the dashboard, offers you a sound experience very
close to a live performance. The normal left-right stereo channels are divided to left-center -right. In addition, surround
sound is produced by the rear speakers. This surround sound mirrors the ambience of a concert hall.
NOTE:
Dolby Surround Pro Logic II is optimized for CD mode.
When listening to FM radio stations, Dolby Surround Pro Logic II functions best in areas with strong reception. If
reception is weak, selecting 2 or 3- channel stereo may provide better sound quality.
3 channel stereo is recommended for AM and FM broadcasts.
Dolby Surround Pro Logic II and the Dolby icon are trademarks of Dolby Laboratories Licensing Corporation.
Dolby Pro Logic II Surround System is manufactured under license from Dolby Laboratories Licensing Corporation.
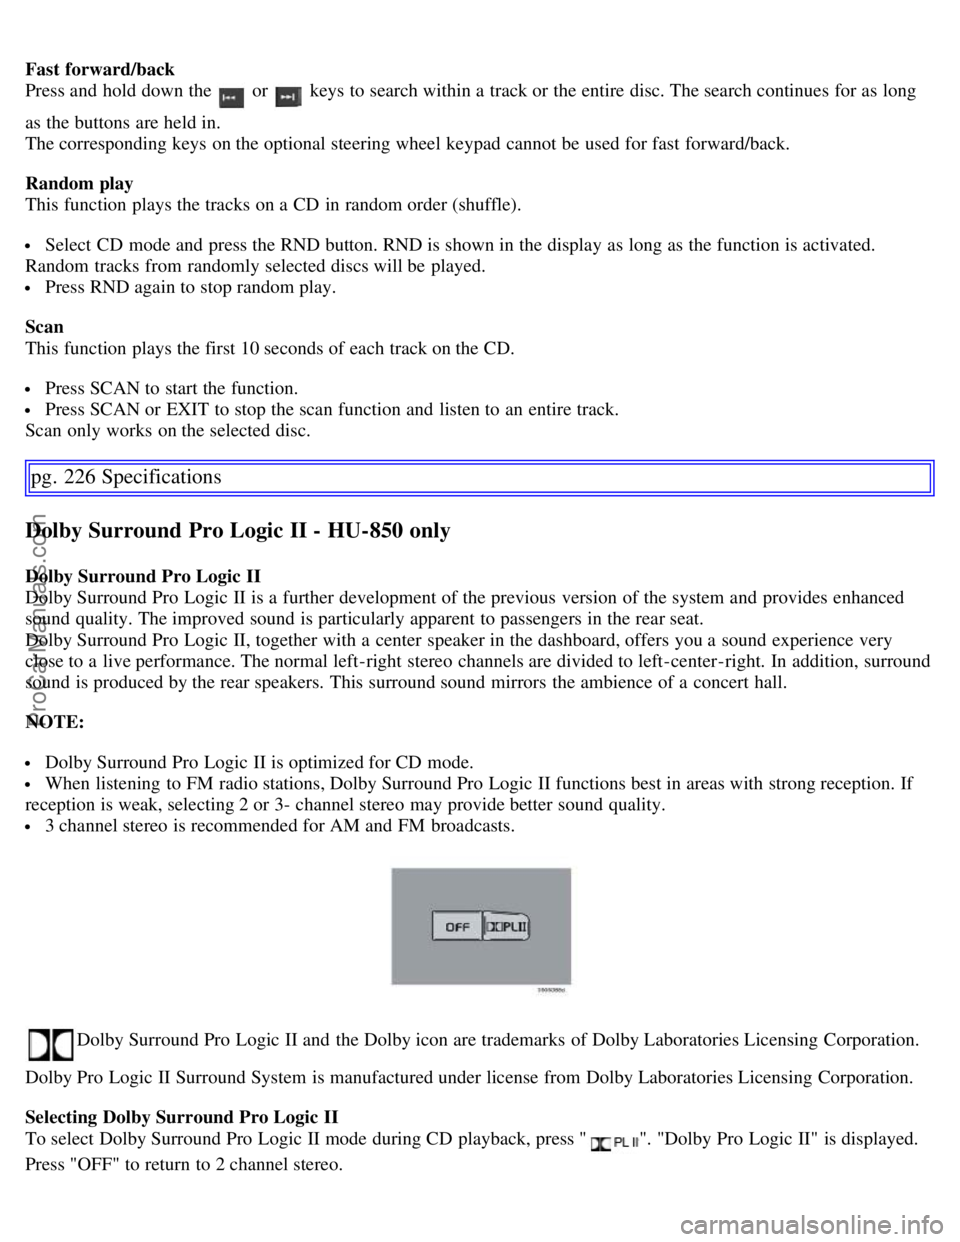
Selecting Dolby Surround Pro Logic II
To select Dolby Surround Pro Logic II mode during CD playback, press "
". "Dolby Pro Logic II" is displayed.
Press "OFF" to return to 2 channel stereo.
ProCarManuals.com
Page 190 of 200
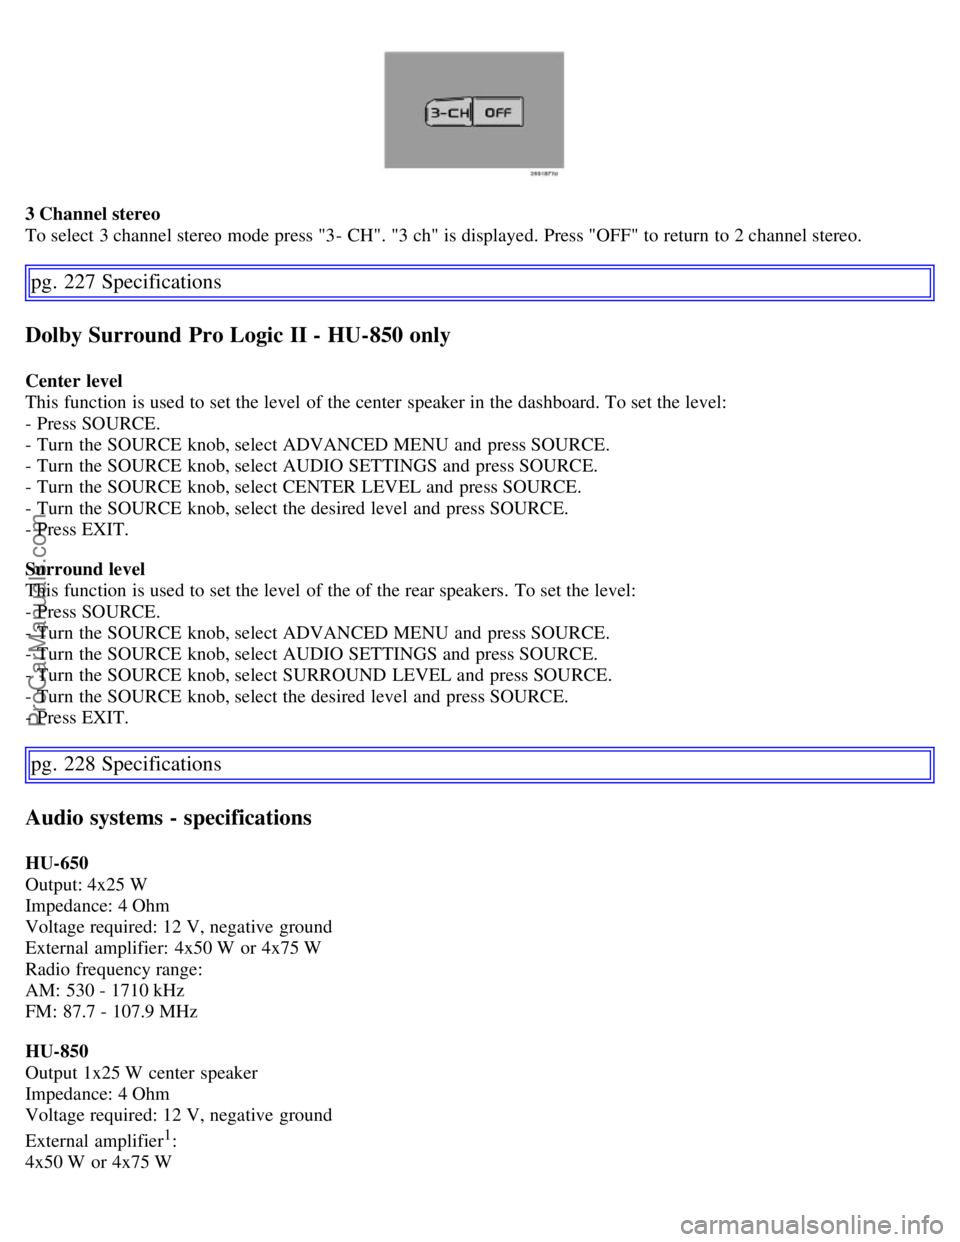
3 Channel stereo
To select 3 channel stereo mode press "3- CH". "3 ch" is displayed. Press "OFF" to return to 2 channel stereo.
pg. 227 Specifications
Dolby Surround Pro Logic II - HU-850 only
Center level
This function is used to set the level of the center speaker in the dashboard. To set the level:
- Press SOURCE.
- Turn the SOURCE knob, select ADVANCED MENU and press SOURCE.
- Turn the SOURCE knob, select AUDIO SETTINGS and press SOURCE.
- Turn the SOURCE knob, select CENTER LEVEL and press SOURCE.
- Turn the SOURCE knob, select the desired level and press SOURCE.
- Press EXIT.
Surround level
This function is used to set the level of the of the rear speakers. To set the level:
- Press SOURCE.
- Turn the SOURCE knob, select ADVANCED MENU and press SOURCE.
- Turn the SOURCE knob, select AUDIO SETTINGS and press SOURCE.
- Turn the SOURCE knob, select SURROUND LEVEL and press SOURCE.
- Turn the SOURCE knob, select the desired level and press SOURCE.
- Press EXIT.
pg. 228 Specifications
Audio systems - specifications
HU-650
Output: 4x25 W
Impedance: 4 Ohm
Voltage required: 12 V, negative ground
External amplifier: 4x50 W or 4x75 W
Radio frequency range:
AM: 530 - 1710 kHz
FM: 87.7 - 107.9 MHz
HU-850
Output 1x25 W center speaker
Impedance: 4 Ohm
Voltage required: 12 V, negative ground
External amplifier
1:
4x50 W or 4x75 W
ProCarManuals.com
Page 200 of 200
Turn signal, rear187
Turn signals55
Type designations198
U
Uniform Tire Quality Grading155
, 159
Unlocking the car100
Unlocking the trunk100
Use of Additives107
V
Valet key96
Valet locking50
Vanity mirror85
Vanity mirror bulb, changing189
Vehicle Event Data168
Vehicle Identification Number (VIN)199
Vehicle loading153
Vehicle weights201
VIN (Vehicle Identification Number)199
Volvo and the environment4
W
W - Winter117
, 119
Warning symbol in center of dashboard45
Warranties168
Washer fluid reservoir173, 176
Washing the car162
Waxing163
Weight distribution114
Weights201
Windshield washer fluid reservoir176
Windshield wipers56
Winter/Wet driving mode136
Contents | Top of Page
ProCarManuals.com