door lock VOLVO S60 2008 User Guide
[x] Cancel search | Manufacturer: VOLVO, Model Year: 2008, Model line: S60, Model: VOLVO S60 2008Pages: 230, PDF Size: 5.33 MB
Page 52 of 230
down. If these positions are occupied, the head restraints should be in the upright (fixed) position.
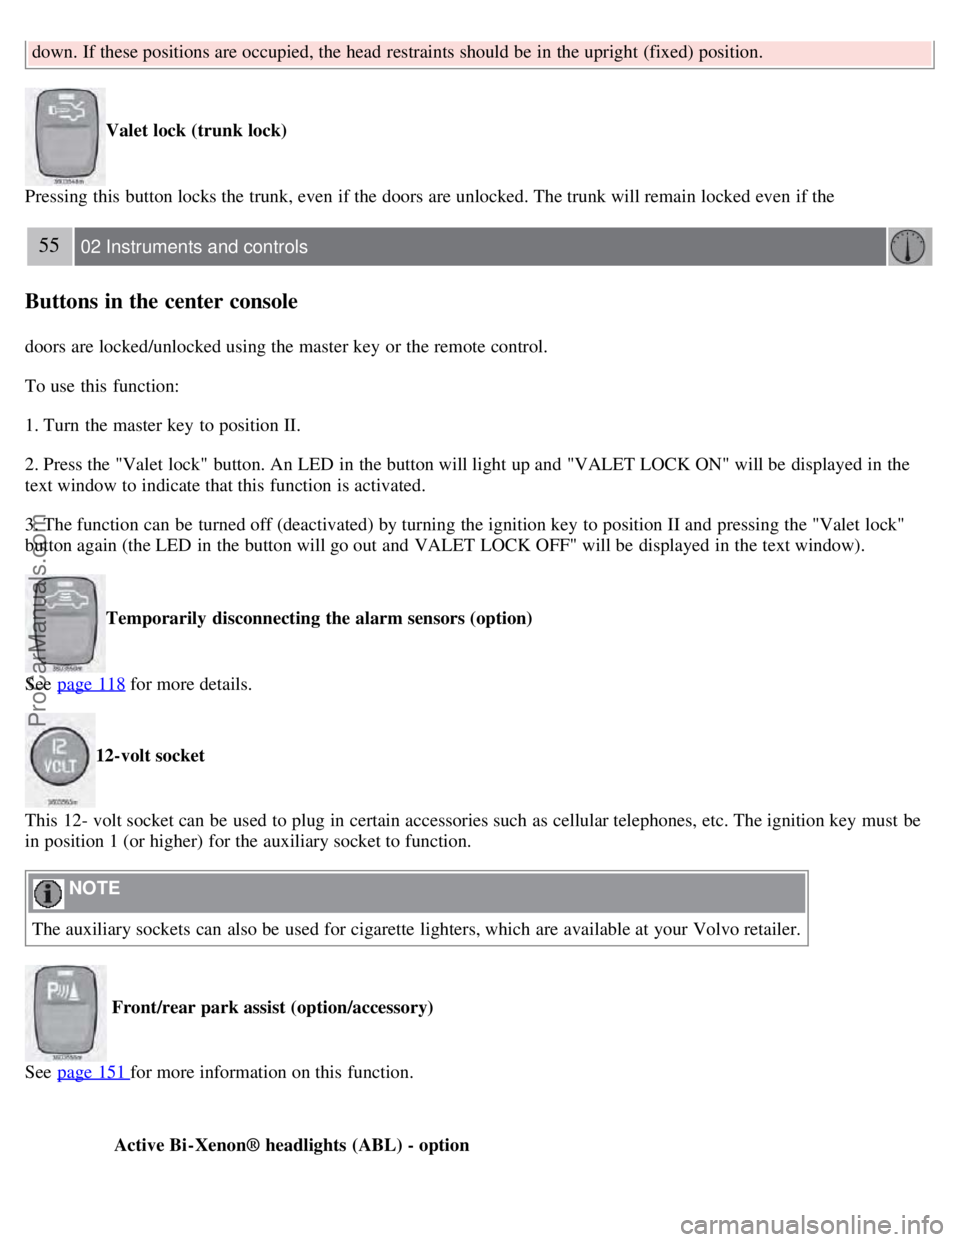
Valet lock (trunk lock)
Pressing this button locks the trunk, even if the doors are unlocked. The trunk will remain locked even if the
55 02 Instruments and controls
Buttons in the center console
doors are locked/unlocked using the master key or the remote control.
To use this function:
1. Turn the master key to position II.
2. Press the "Valet lock" button. An LED in the button will light up and "VALET LOCK ON" will be displayed in the
text window to indicate that this function is activated.
3. The function can be turned off (deactivated) by turning the ignition key to position II and pressing the "Valet lock"
button again (the LED in the button will go out and VALET LOCK OFF" will be displayed in the text window).
Temporarily disconnecting the alarm sensors (option)
See page 118
for more details.
12-volt socket
This 12- volt socket can be used to plug in certain accessories such as cellular telephones, etc. The ignition key must be
in position 1 (or higher) for the auxiliary socket to function.
NOTE
The auxiliary sockets can also be used for cigarette lighters, which are available at your Volvo retailer.
Front/rear park assist (option/accessory)
See page 151
for more information on this function.
Active Bi -Xenon® headlights (ABL) - option
ProCarManuals.com
Page 54 of 230
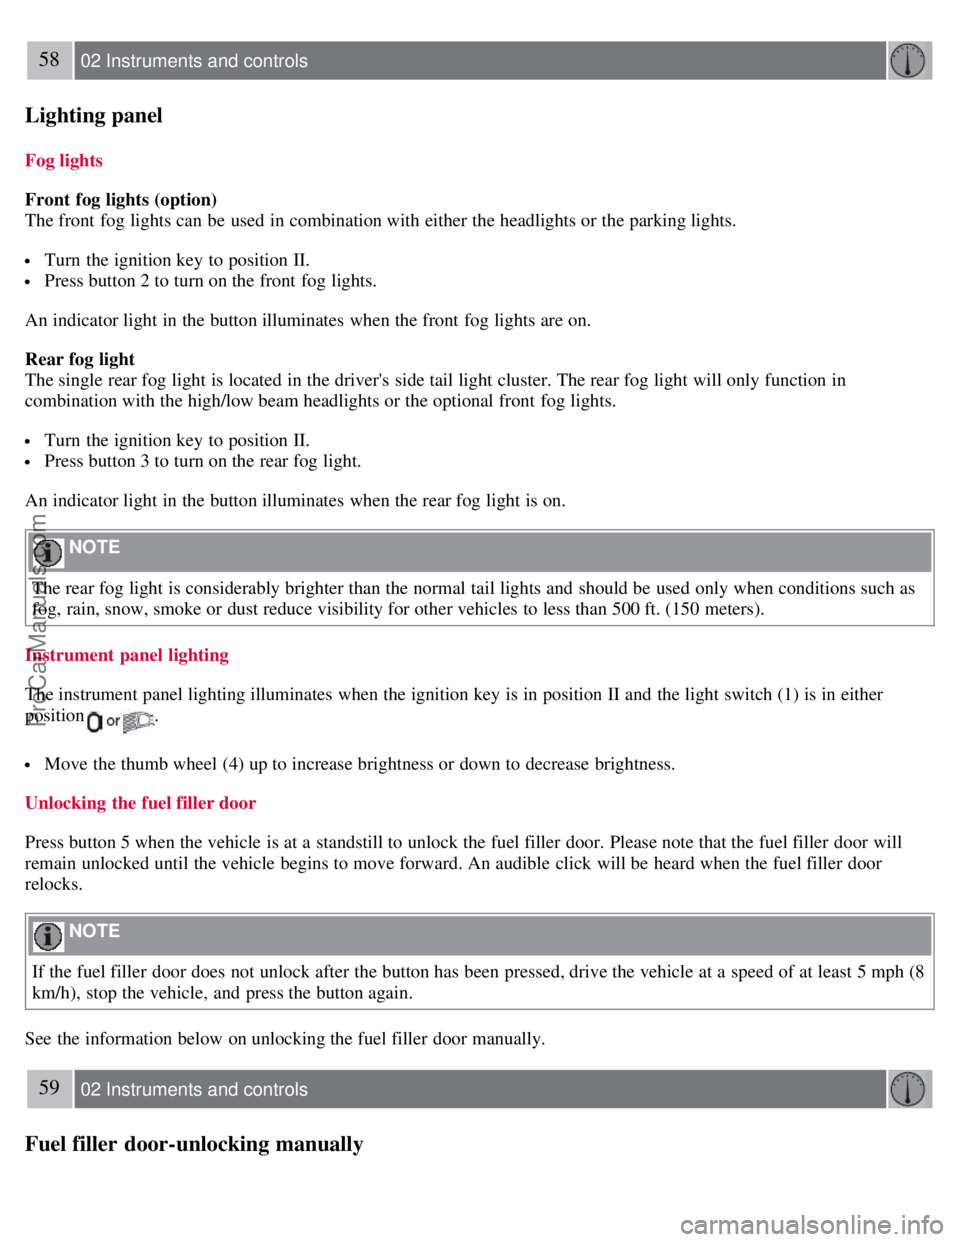
2. Front fog lights
3. Rear fog light
4. Instrument panel lighting
5. Fuel filler door unlock button
Parking lights
The front and rear parking lights can be turned on even when the ignition is switched off.
Turn switch 1 to position .
The license plate lights also illuminate when the parking lights are switched on.
Headlights
Turn the ignition key to position II.
The low beam headlights (daytime running lights) illuminate automatically, except when the light switch (1) is in
position
1.
See page 60
for information on switching between high and low beams.
NOTE
Active Bi -Xenon® headlights (option): Turn the headlight switch to position 0 to activate a daylight sensor, which
automatically switches the low beams on or off, depending on ambient light conditions. When driving in daylight, the
headlights will switch off and the daytime running lights will come on. In darkness, the daytime running lights will
switch off and the Active Bi -Xenon® headlights will switch on.
1On Canadian models, the daytime running lights will remain on with the light switch in this position.
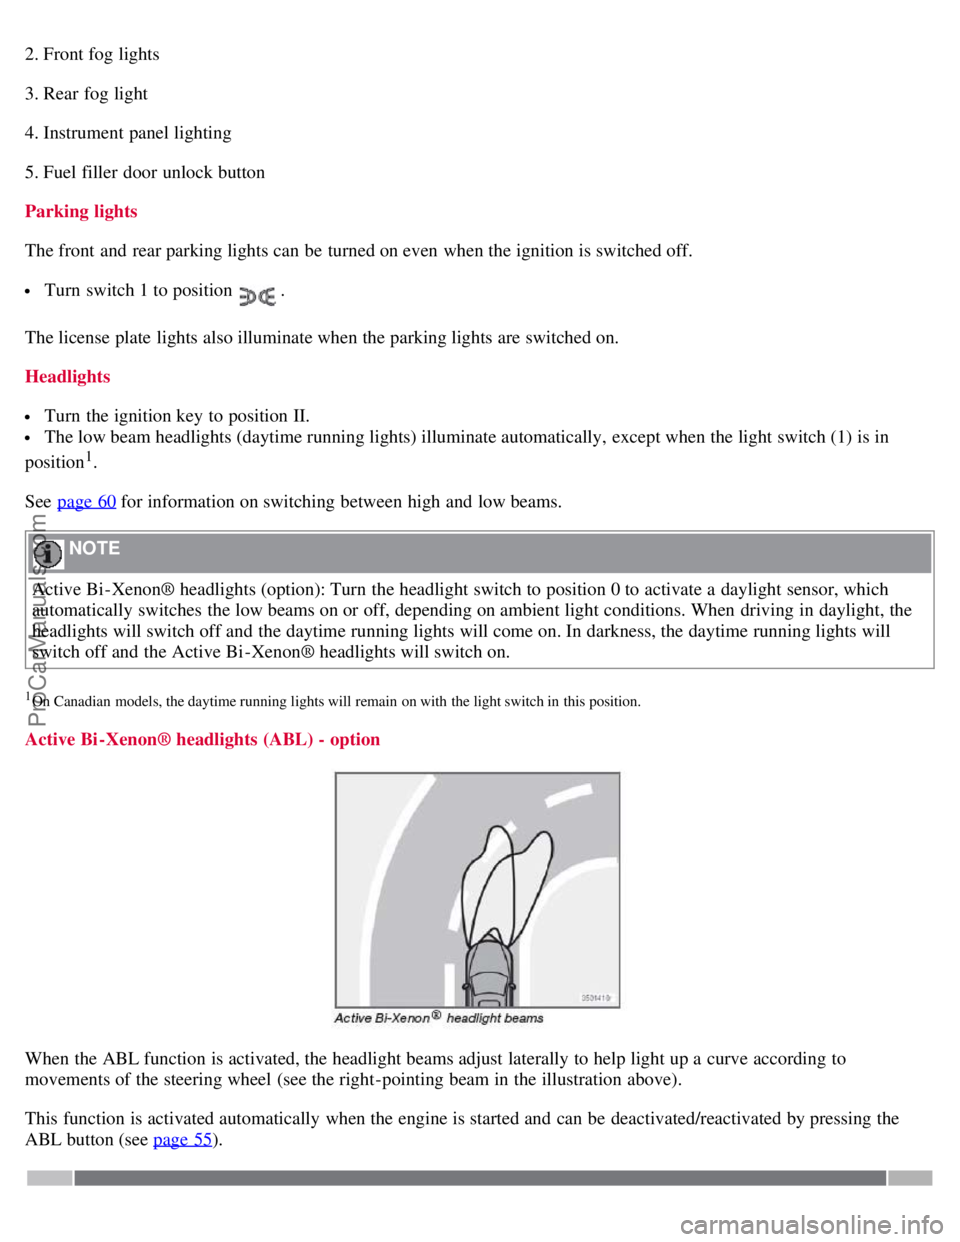
Active Bi -Xenon® headlights (ABL) - option
When the ABL function is activated, the headlight beams adjust laterally to help light up a curve according to
movements of the steering wheel (see the right-pointing beam in the illustration above).
This function is activated automatically when the engine is started and can be deactivated/reactivated by pressing the
ABL button (see page 55
).
ProCarManuals.com
Page 55 of 230
58 02 Instruments and controls
Lighting panel
Fog lights
Front fog lights (option)
The front fog lights can be used in combination with either the headlights or the parking lights.
Turn the ignition key to position II.
Press button 2 to turn on the front fog lights.
An indicator light in the button illuminates when the front fog lights are on.
Rear fog light
The single rear fog light is located in the driver's side tail light cluster. The rear fog light will only function in
combination with the high/low beam headlights or the optional front fog lights.
Turn the ignition key to position II.
Press button 3 to turn on the rear fog light.
An indicator light in the button illuminates when the rear fog light is on.
NOTE
The rear fog light is considerably brighter than the normal tail lights and should be used only when conditions such as
fog, rain, snow, smoke or dust reduce visibility for other vehicles to less than 500 ft. (150 meters).
Instrument panel lighting
The instrument panel lighting illuminates when the ignition key is in position II and the light switch (1) is in either
position
.
Move the thumb wheel (4) up to increase brightness or down to decrease brightness.
Unlocking the fuel filler door
Press button 5 when the vehicle is at a standstill to unlock the fuel filler door. Please note that the fuel filler door will
remain unlocked until the vehicle begins to move forward. An audible click will be heard when the fuel filler door
relocks.
NOTE
If the fuel filler door does not unlock after the button has been pressed, drive the vehicle at a speed of at least 5 mph (8
km/h), stop the vehicle, and press the button again.
See the information below on unlocking the fuel filler door manually.
59 02 Instruments and controls
Fuel filler door-unlocking manually
ProCarManuals.com
Page 56 of 230
Manually unlocking the fuel filler door
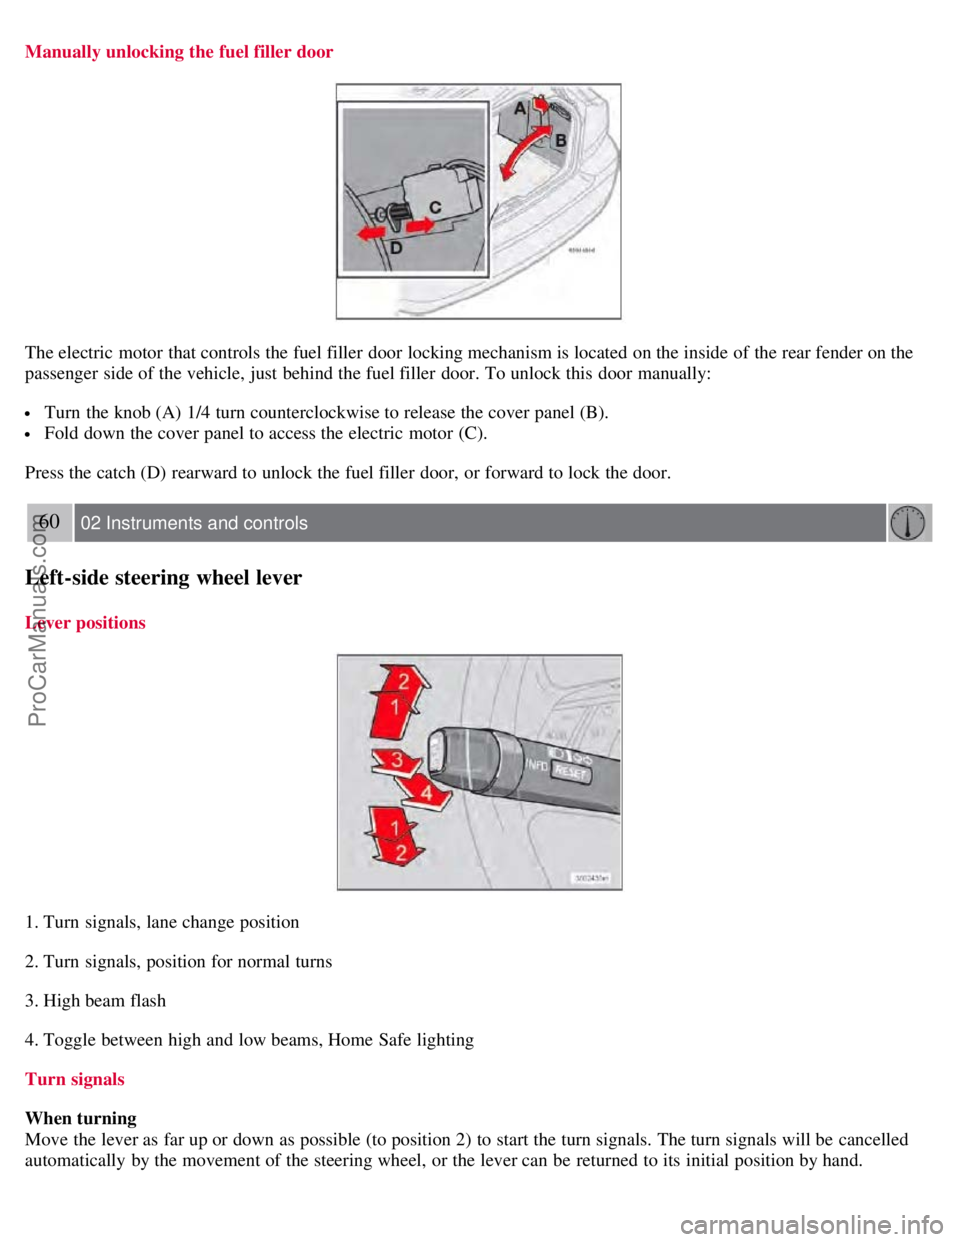
The electric motor that controls the fuel filler door locking mechanism is located on the inside of the rear fender on the
passenger side of the vehicle, just behind the fuel filler door. To unlock this door manually:
Turn the knob (A) 1/4 turn counterclockwise to release the cover panel (B).
Fold down the cover panel to access the electric motor (C).
Press the catch (D) rearward to unlock the fuel filler door, or forward to lock the door.
60 02 Instruments and controls
Left-side steering wheel lever
Lever positions
1. Turn signals, lane change position
2. Turn signals, position for normal turns
3. High beam flash
4. Toggle between high and low beams, Home Safe lighting
Turn signals
When turning
Move the lever as far up or down as possible (to position 2) to start the turn signals. The turn signals will be cancelled
automatically by the movement of the steering wheel, or the lever can be returned to its initial position by hand.
ProCarManuals.com
Page 57 of 230
When changing lanes
The driver can automatically flash the turn signals 3 times by:
Moving the turn signal lever up or down to position 1 and releasing it.
Moving the lever up or down to position 2 and immediately back to its original position.
NOTE
This automatic flashing sequence can be interrupted by immediately moving the lever in the opposite direction.
If the turn signal indicator flashes faster than normal, check for a burned-out turn signal bulb.
High/low beam headlights
Continuous high beams
Turn the ignition key to position II.
With the light switch (1) in position, (see page 57) pull the turn signal lever toward the steering wheel (position 4) to
toggle between high and low beams (this also applies on models equipped with the optional Active Bi -Xenon®
headlights).
High beam flash
Turn the ignition key to position II.
Pull the turn signal lever to position 3. The high beams will remain on until the lever is released.
Home safe lighting
When you leave your vehicle at night, you can make use of the home safe lighting function to illuminate the area in front
of the vehicle.
Remove the key from the ignition switch.
Pull the direction indicator lever as far as possible towards the steering wheel (to position 4) and release it.
Exit the vehicle and lock the doors.
The headlights and parking lights will illuminate and remain on for 30
1, 60 or 90 seconds. The time interval can be
changed by a trained and qualified Volvo service technician.
1Factory setting
61 02 Instruments and controls
Right-side steering wheel lever
Windshield wipers
ProCarManuals.com
Page 67 of 230
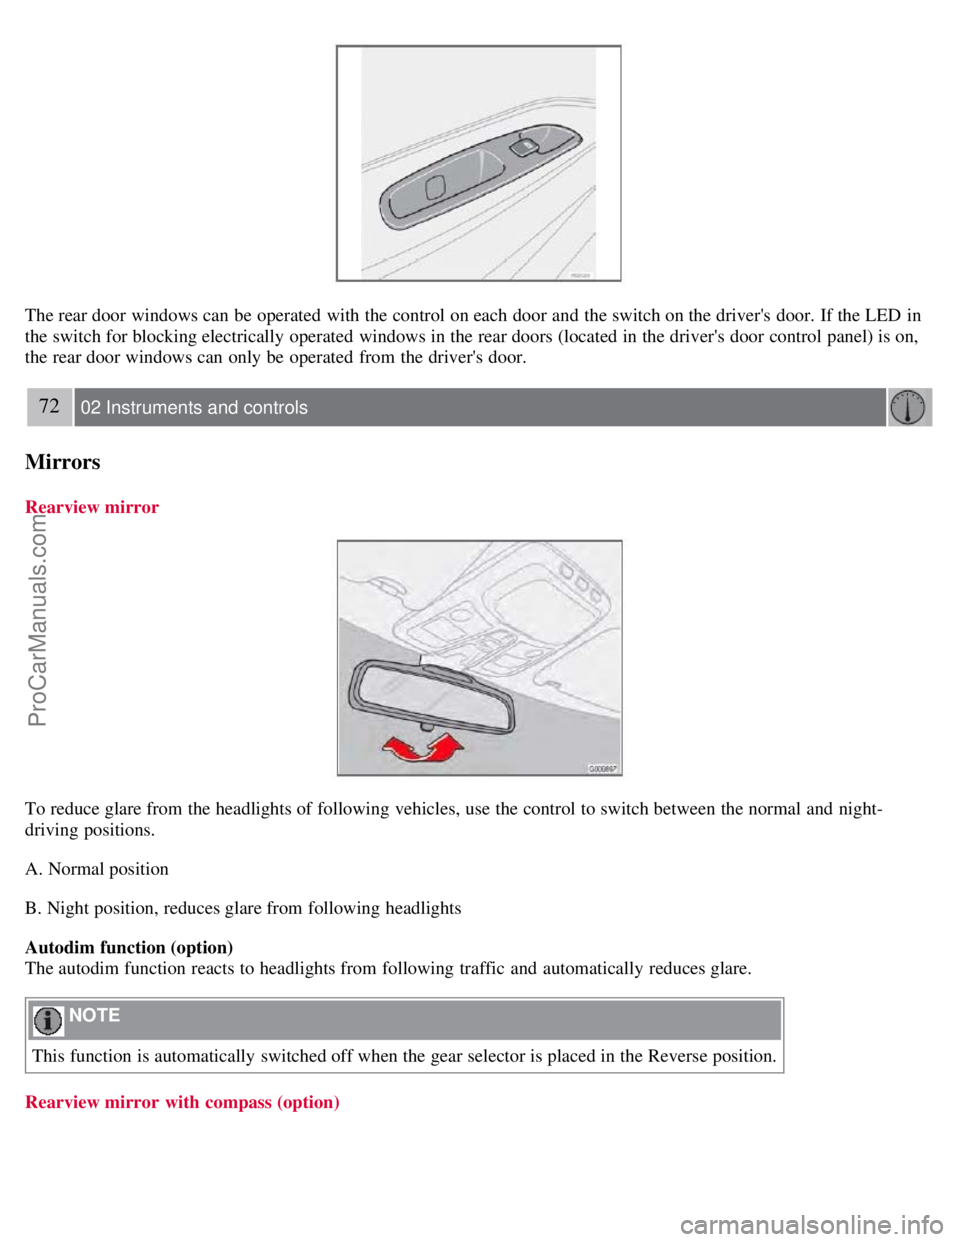
The rear door windows can be operated with the control on each door and the switch on the driver's door. If the LED in
the switch for blocking electrically operated windows in the rear doors (located in the driver's door control panel) is on,
the rear door windows can only be operated from the driver's door.
72 02 Instruments and controls
Mirrors
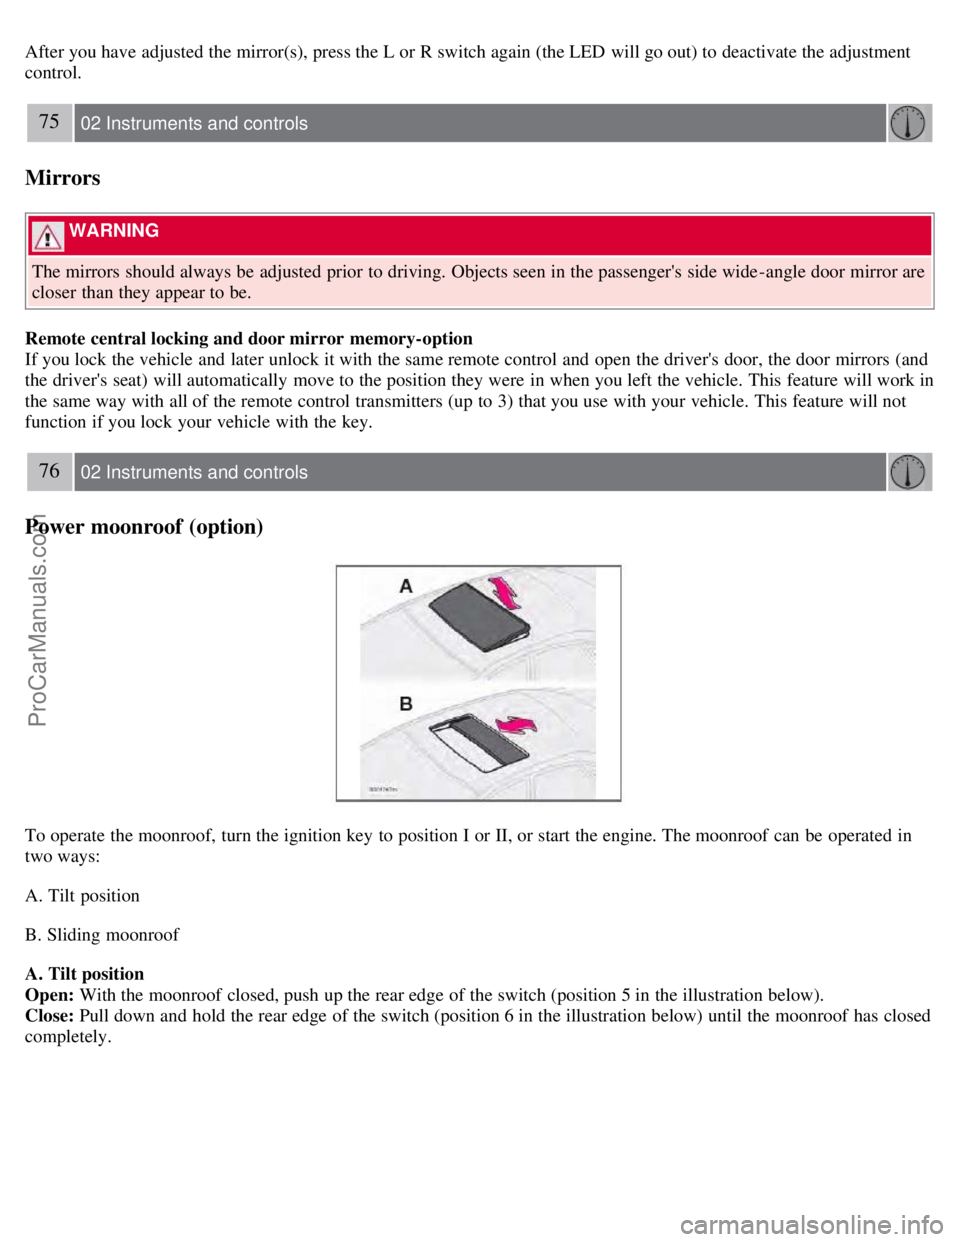
Rearview mirror
To reduce glare from the headlights of following vehicles, use the control to switch between the normal and night-
driving positions.
A. Normal position
B. Night position, reduces glare from following headlights
Autodim function (option)
The autodim function reacts to headlights from following traffic and automatically reduces glare.
NOTE
This function is automatically switched off when the gear selector is placed in the Reverse position.
Rearview mirror with compass (option)
ProCarManuals.com
Page 70 of 230
After you have adjusted the mirror(s), press the L or R switch again (the LED will go out) to deactivate the adjustment
control.
75 02 Instruments and controls
Mirrors
WARNING
The mirrors should always be adjusted prior to driving. Objects seen in the passenger's side wide -angle door mirror are
closer than they appear to be.
Remote central locking and door mirror memory-option
If you lock the vehicle and later unlock it with the same remote control and open the driver's door, the door mirrors (and
the driver's seat) will automatically move to the position they were in when you left the vehicle. This feature will work in
the same way with all of the remote control transmitters (up to 3) that you use with your vehicle. This feature will not
function if you lock your vehicle with the key.
76 02 Instruments and controls
Power moonroof (option)
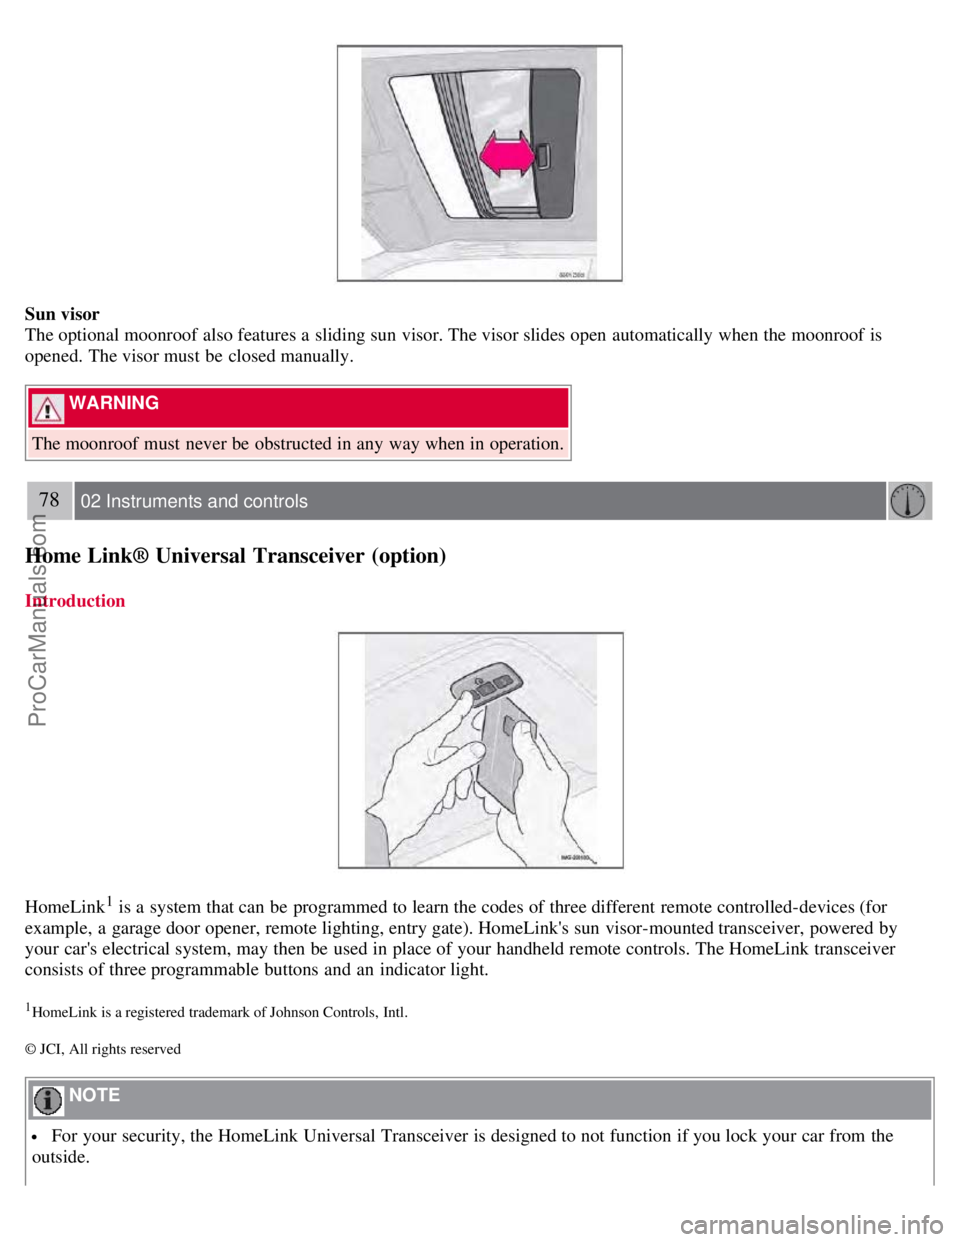
To operate the moonroof, turn the ignition key to position I or II, or start the engine. The moonroof can be operated in
two ways:
A. Tilt position
B. Sliding moonroof
A. Tilt position
Open: With the moonroof closed, push up the rear edge of the switch (position 5 in the illustration below).
Close: Pull down and hold the rear edge of the switch (position 6 in the illustration below) until the moonroof has closed
completely.
ProCarManuals.com
Page 72 of 230
Sun visor
The optional moonroof also features a sliding sun visor. The visor slides open automatically when the moonroof is
opened. The visor must be closed manually.
WARNING
The moonroof must never be obstructed in any way when in operation.
78 02 Instruments and controls
Home Link® Universal Transceiver (option)
Introduction
HomeLink1 is a system that can be programmed to learn the codes of three different remote controlled-devices (for
example, a garage door opener, remote lighting, entry gate). HomeLink's sun visor-mounted transceiver, powered by
your car's electrical system, may then be used in place of your handheld remote controls. The HomeLink transceiver
consists of three programmable buttons and an indicator light.
1HomeLink is a registered trademark of Johnson Controls, Intl.
© JCI, All rights reserved
NOTE
For your security, the HomeLink Universal Transceiver is designed to not function if you lock your car from the
outside.
ProCarManuals.com
Page 81 of 230
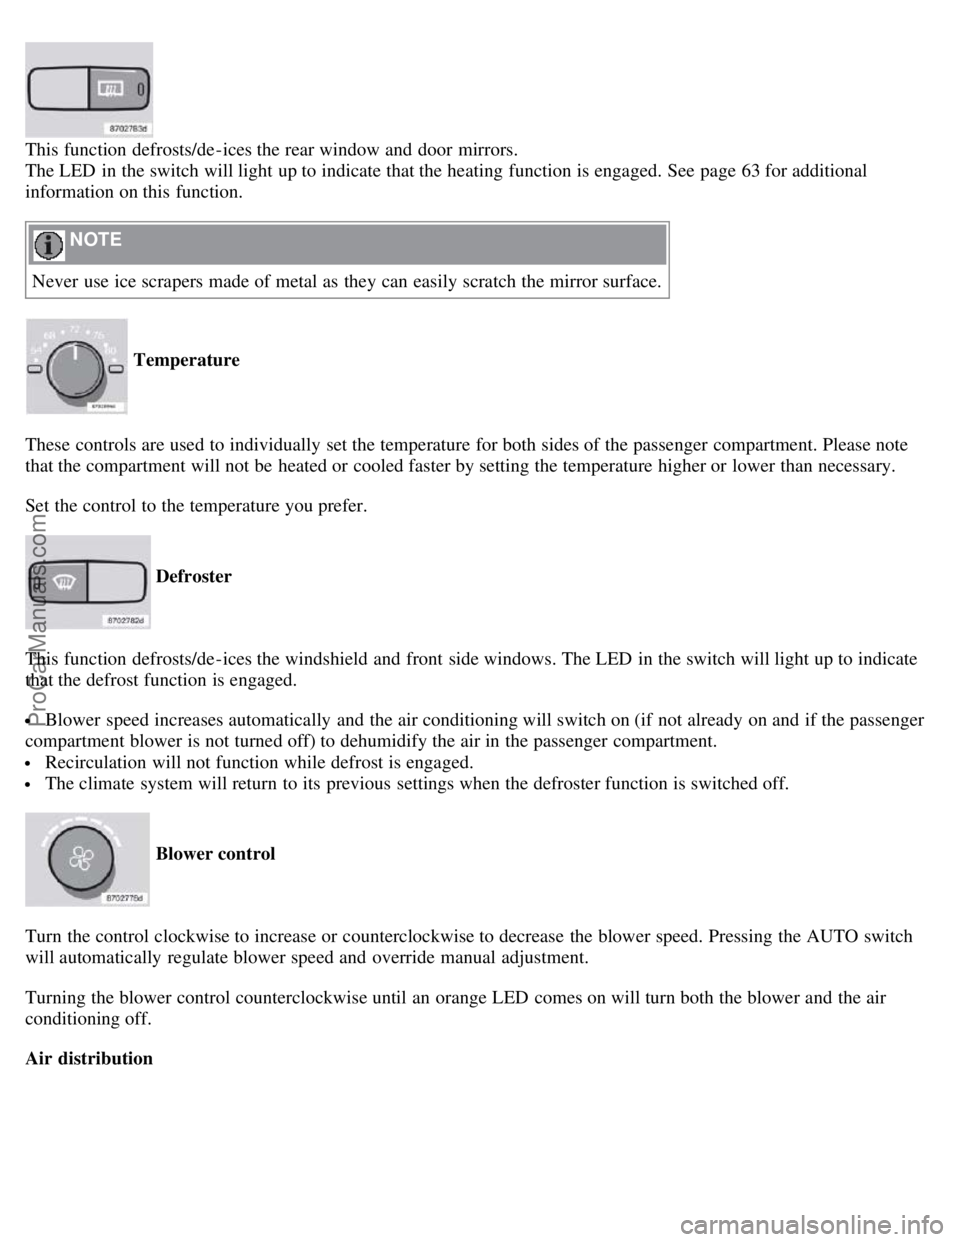
This function defrosts/de-ices the rear window and door mirrors.
The LED in the switch will light up to indicate that the heating function is engaged. See page 63 for additional
information on this function.
NOTE
Never use ice scrapers made of metal as they can easily scratch the mirror surface.
Temperature
These controls are used to individually set the temperature for both sides of the passenger compartment. Please note
that the compartment will not be heated or cooled faster by setting the temperature higher or lower than necessary.
Set the control to the temperature you prefer.
Defroster
This function defrosts/de-ices the windshield and front side windows. The LED in the switch will light up to indicate
that the defrost function is engaged.
Blower speed increases automatically and the air conditioning will switch on (if not already on and if the passenger
compartment blower is not turned off) to dehumidify the air in the passenger compartment.
Recirculation will not function while defrost is engaged.
The climate system will return to its previous settings when the defroster function is switched off.
Blower control
Turn the control clockwise to increase or counterclockwise to decrease the blower speed. Pressing the AUTO switch
will automatically regulate blower speed and override manual adjustment.
Turning the blower control counterclockwise until an orange LED comes on will turn both the blower and the air
conditioning off.
Air distribution
ProCarManuals.com
Page 87 of 230
Power seat - (option on certain models)
Operation
Driver's seat: The seat can be adjusted if the ignition key is in position I, II or if the engine is running. It can also be
adjusted as follows with the ignition off:
Within several minutes after the driver's door has been unlocked from the outside, has been opened, and remains
open.
Within a short period if the driver's door has just been closed.
Within a short period if the driver's door has not been opened after the ignition has been switched off.
Passenger seat: The seat can only be adjusted if the ignition key is in position I, II or if the engine is running.
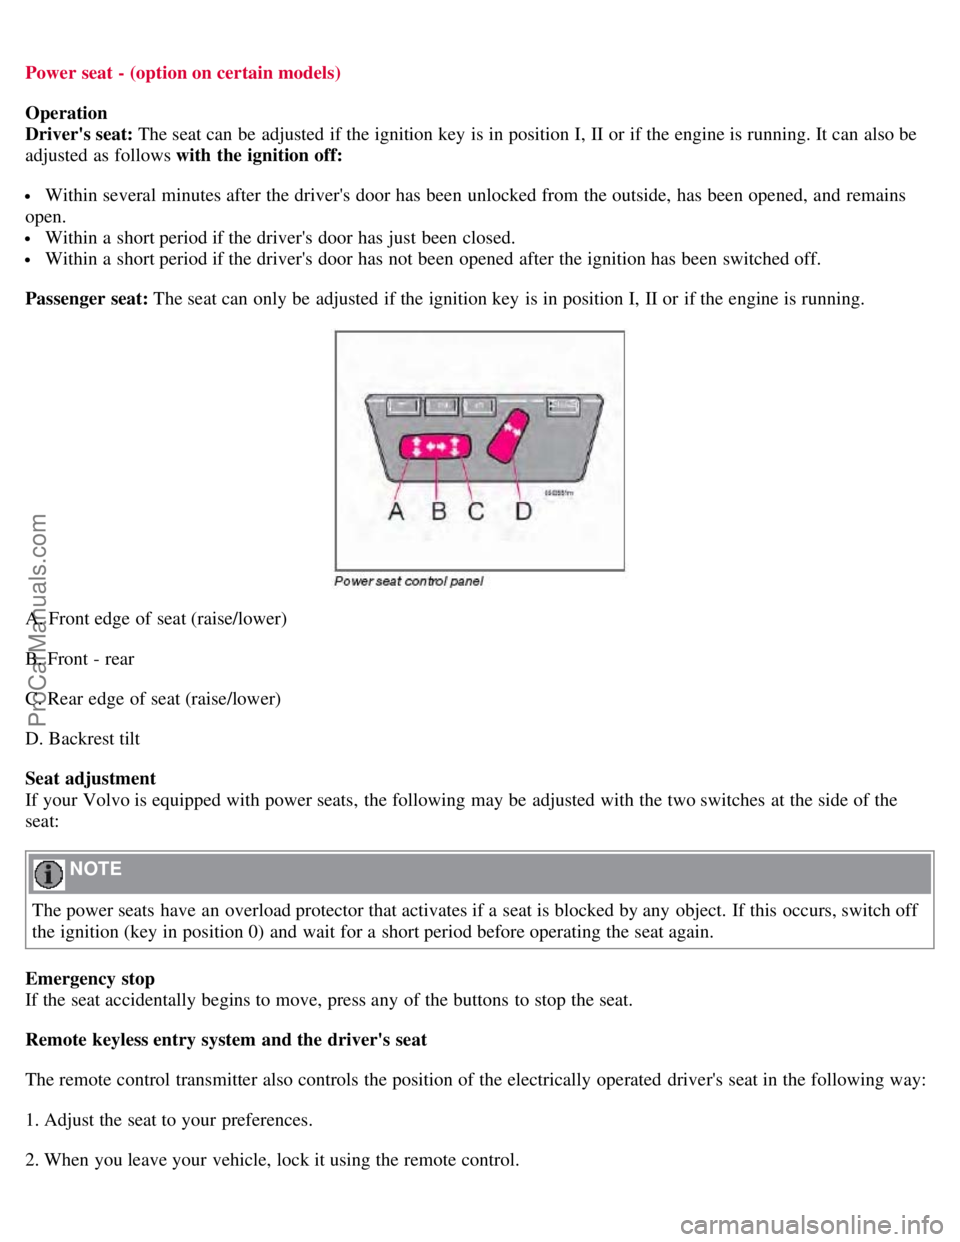
A. Front edge of seat (raise/lower)
B. Front - rear
C. Rear edge of seat (raise/lower)
D. Backrest tilt
Seat adjustment
If your Volvo is equipped with power seats, the following may be adjusted with the two switches at the side of the
seat:
NOTE
The power seats have an overload protector that activates if a seat is blocked by any object. If this occurs, switch off
the ignition (key in position 0) and wait for a short period before operating the seat again.
Emergency stop
If the seat accidentally begins to move, press any of the buttons to stop the seat.
Remote keyless entry system and the driver's seat
The remote control transmitter also controls the position of the electrically operated driver's seat in the following way:
1. Adjust the seat to your preferences.
2. When you leave your vehicle, lock it using the remote control.
ProCarManuals.com