brake light VOLVO S80 1999 Owners Manual
[x] Cancel search | Manufacturer: VOLVO, Model Year: 1999, Model line: S80, Model: VOLVO S80 1999Pages: 96, PDF Size: 2.27 MB
Page 3 of 96

Anti-lock Brake System (ABS)
The ABS system in your car performs a self -diagnostic test when the vehicle first reaches the speed of approximately
12 mph (20 km/h). The brake pedal will pulsate several times and a sound may be audible from the ABS control
module. This is normal.
Fuel tank cover The fuel tank cover, located on the right rear fender, is connected to your car's central locking system.
The driver's door must be unlocked before the fuel tank cover can be opened.
Fuel filler cap
After refueling, close the fuel filler cap by turning it clockwise until it clicks into place If this cap is not closed tightly
or if the engine is running when the car is refueled, the Malfunction Indicator Lamp ("Check Engine" light) may
indicate a fault.
Important
Before you operate your car for the first time, please familiarize yourself with the BREAK-IN information on
page 62
. You should also be familiar with the information in the first three chapters of this manual.
Information contained in the balance of the manual is extremely useful and should be read after operating the
vehicle for the first time.
The manual is structured so that it can be used for reference. For this reason, it should be kept in the car for
ready access.
Do not export your Volvo to another country before investigating that country's applicable safety and exhaust
emission requirements. In some cases it may be difficult or impossible to comply with these requirements.
Modifications to the emission control system(s) may render your Volvo not certifiable for legal operation in the
U.S., Canada and other countries.
All information, illustrations and specifications contained in this manual are based on the latest product
information available at the time of publication. Please note that some vehicles may be equipped differently,
depending on special legal requirments and that optional equipment described in this manual may not be
available in all markets.
Volvo reserves the right to make model changes at any time, or to change specifications or design, without
notice and without incurring obligation.
Volvo and the environment
Volvo is committed to the well being of our customers. As a natural part of this commitment, we care about the
environment in which we all live. Caring for the environment means an everyday involvement in reducing our
environmental impact.
Volvo's environmental activities are based on a holistic view, which means we consider the overall environmental
impact of a product throughout its complete life cycle. In this context, design, production, product use, and recycling
are all important considerations.
In production, Volvo has partly or completely phased out several chemicals including freons, lead chromates,
naphtanates, asbestos, mercury and cadmium; and reduced the amount of chemicals used in our plants 50% since 1991.
In use, Volvo was the first in the world to introduce into production a three-way catalytic converter with a Lambda
sond, now called oxygen sensor, in 1976. The current version of this highly efficient system reduces emissions of
harmful substances (CO, HC, NOx) from the exhaust pipe by approximately 95% and the search to eliminate the
ProCarManuals.com
Page 15 of 96
1 9 9 9
VOLVO S80
Chapter 2 - Instruments, switches and controls
pg. 19 Instruments, switches and controls
Interior20
Exterior21
Instruments22
Instrument panel23
Indicator and warning lights24
Indicator and warning lights24
Text information window26
Switches in center console27
Trip computer28
Cruise control29
Headlights, parking lights, fog lights, instrument illumination30
Turn signals, windshield wipers/washers31
Steering wheel adjustment/lock, ignition switch32
Warning flashers, heated mirrors/rear window/front seats33
Parking brake, auxiliary socket34
Electrically operated windows35
Rearview/sideview/vanity mirrors36
Sun roof37
pg. 20 Interior
ProCarManuals.com
Page 17 of 96
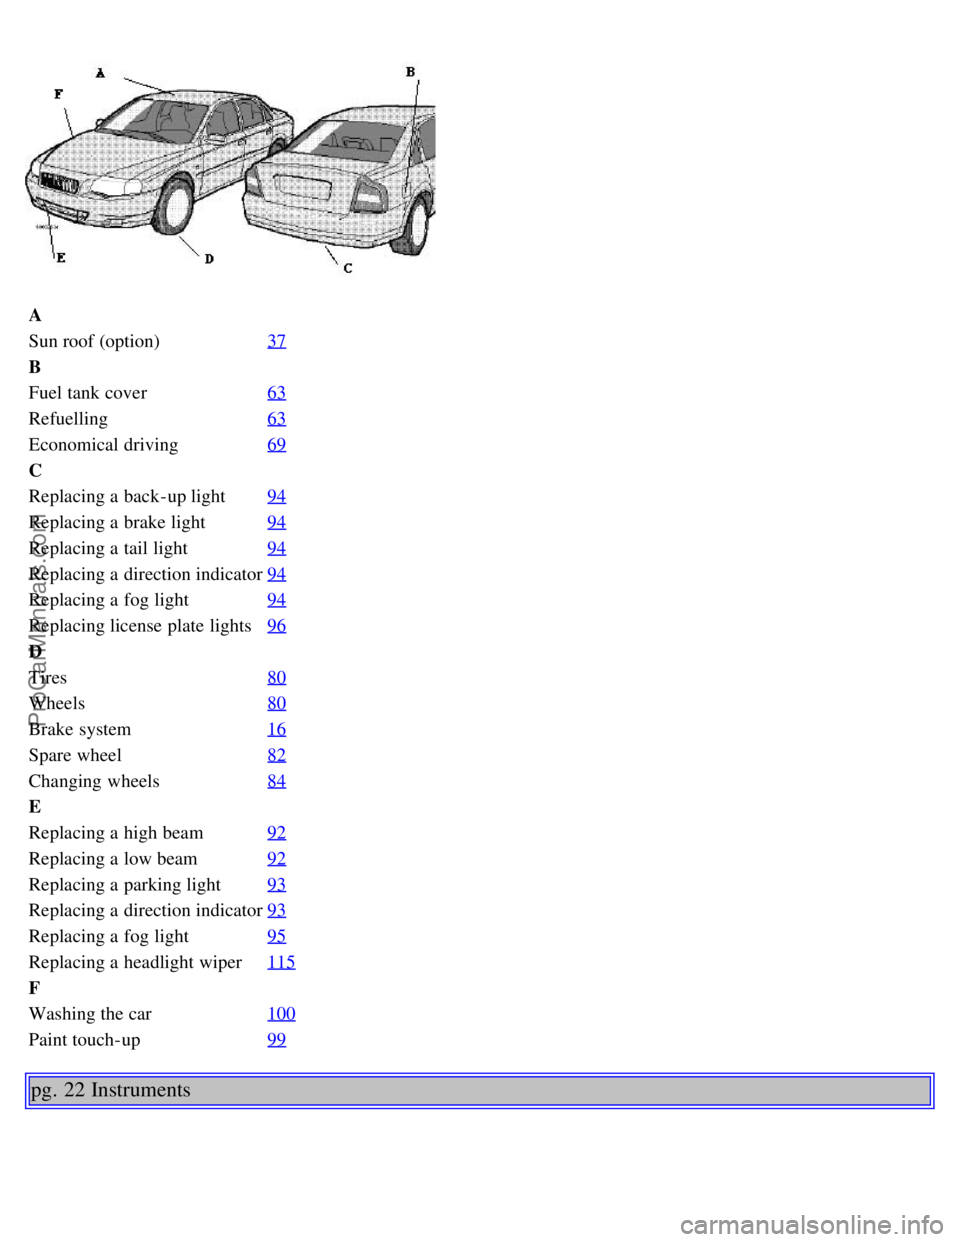
A
Sun roof (option)37
B
Fuel tank cover63
Refuelling63
Economical driving69
C
Replacing a back-up light94
Replacing a brake light94
Replacing a tail light94
Replacing a direction indicator94
Replacing a fog light94
Replacing license plate lights96
D
Tires80
Wheels80
Brake system16
Spare wheel82
Changing wheels84
E
Replacing a high beam92
Replacing a low beam92
Replacing a parking light93
Replacing a direction indicator93
Replacing a fog light95
Replacing a headlight wiper115
F
Washing the car100
Paint touch-up99
pg. 22 Instruments
ProCarManuals.com
Page 20 of 96
Turn the button to adjust the clock.
13 Fuel gauge
The fuel tank holds approximately 21.1 US gal. (80 liters).
When the warning light comes on there is approximately 1.8 US gal. (8 liters) of fuel remaining.
14 Indicator and warning lights
pg. 24 Indicator and warning lights
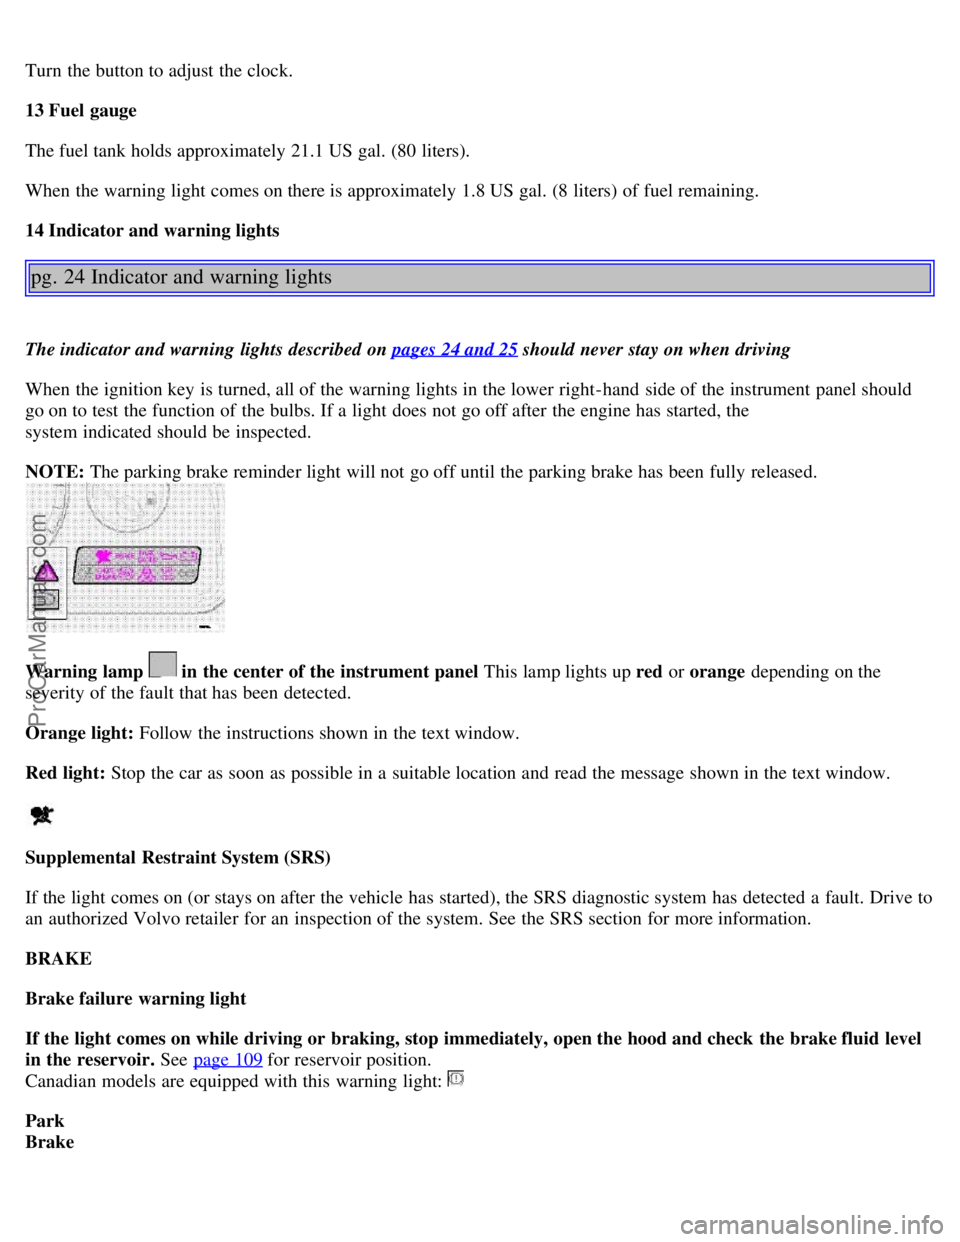
The indicator and warning lights described on pages 24 and 25 should never stay on when driving
When the ignition key is turned, all of the warning lights in the lower right-hand side of the instrument panel should
go on to test the function of the bulbs. If a light does not go off after the engine has started, the
system indicated should be inspected.
NOTE: The parking brake reminder light will not go off until the parking brake has been fully released.
Warning lamp in the center of the instrument panel This lamp lights up red or orange depending on the
severity of the fault that has been detected.
Orange light: Follow the instructions shown in the text window.
Red light: Stop the car as soon as possible in a suitable location and read the message shown in the text window.
Supplemental Restraint System (SRS)
If the light comes on (or stays on after the vehicle has started), the SRS diagnostic system has detected a fault. Drive to
an authorized Volvo retailer for an inspection of the system. See the SRS section for more information.
BRAKE
Brake failure warning light
If the light comes on while driving or braking, stop immediately, open the hood and check the brake fluid level
in the reservoir. See page 109
for reservoir position.
Canadian models are equipped with this warning light:
Park
Brake
ProCarManuals.com
Page 21 of 96
Parking brake reminder light
This light will be on when the parking brake (hand brake) is applied. The parking brake lever is situated between the
front seats.
Canadian models are equipped with this warning light:
Oil pressure warning light
If the light comes on while driving, stop the car and then stop the engine immediately and check the engine oil
level . See page 111
. If the light stays on after restart, have the car towed to the nearest authorized Volvo retailer. After
hard driving, the light may come on occasionally when the engine is idling. This is normal, provided it goes off when
the engine speed is increased.
Generator warning light
If the light comes on while the engine is running, have the charging system checked.
pg. 25 Indicator and warning lights
Rear fog light
This light indicates that the rear fog light is on.
CHECK
ENGINE
Malfunction indicator lamp
If the light comes on (or stays on after the vehicle has started), the engine diagnostic system has detected a possible
fault in the emission control system. Although driveability may not be affected, see an authorized Volvo retailer as
soon as possible for inspection.
NOTE : If the fuel filler cap is not closed tightly or if the engine is running when the car is refueled, the Malfunction
Indicator Lamp may indicate a fault. However, your vehicle's performance will not be affected. Use only Volvo
original or approved fuel filler caps.
Anti-lock Brake System ABS
If the warning light comes on, there is a malfunction of the ABS system (the standard braking system pwill however
function). The vehicle should be driven to a Volvo retailer for inspection. See page 17 for additional information.
Stability Traction Control (STC) system (option)
An LED in the STC switch in the center console will light up to indicate that the system is activated. See page 18 for
further information.
ProCarManuals.com
Page 47 of 96
Starting the engine
1. Fasten the seat belt.WARNING!
Before starting, check that the seat, steering wheel and mirrors are adjusted properly. Make sure the brake pedal can
be depressed completely. Adjust the seat if necessary. See page 46
.
2. Apply the parking brake, if not already set. The gear selector is locked in the (P)ark position (SHIFTLOCK).
3. Without touching the accelerator pedal, turn the ignition key* to the starting position. Allow the starter to operate
for up to 5 seconds (turbo: 10 seconds). Release the key as soon as the engine starts. If the engine fails to start, repeat
this step.
For cold starts at altitudes above 6000 ft (1800 meters), depress the accelerator pedal halfway and turn the key to the
starting position. Release the pedal slowly when the engine starts.
4. To release the gear selector from the (P)ark position, the engine must be running (or the ignition key must be in
position II) and the brake pedal must be depressed.
5. Select the desired gear. The gear engages after a very slight delay which is especially noticeable when selecting R.
NOTE:
· Your car is equipped with a KEYLOCK system. When the engine is switched off, the gear selector must be in the
( P )ark position before the key can be removed from the ignition switch.
· When starting in cold weather, the transmission may shift up at slightly higher engine speeds than normal until the
automatic transmission fluid reaches normal operating temperature.
CAUTION :
· The engine should be idling when you move the gear selector. Never accelerate until after you feel the gear engage!
Accelerating immediately after selecting a gear will cause harsh gear engagement and premature transmission wear.
· Selecting P or N when idling at a standstill for prolonged periods of time will help prevent overheating of the
automatic transmission fluid.
· Do not race a cold engine immediately after starting. Oil flow may not reach some lubrication points fast enough to
prevent engine damage.
WARNING!
· Always place the gear selector in Park and apply the parking brake before leaving the vehicle. Never leave the car
unattended with the engine running.
· Always open the garage doors fully before starting the engine inside a garage to ensure adequate ventilation. The
exhaust gases contain carbon monoxide, which is invisible and odorless but very
poisonous.
* Your car is equipped with an electronic start inhibitor (immobilizer). The keys you received with your car are
specially coded. The code in the key is transmitted to an antenna in the ignition switch where it is compared to the
code stored in the start inhibitor module. The car can only be started if a properly coded key is used.
If two of the keys to your car are close together, e.g., on the same key ring, when you try to start the car, this could
cause interference in the immobilizer system and result in the car not starting. If this should occur, remove one of the
keys from the key ring before trying to start the car again.
ProCarManuals.com
Page 50 of 96
Kickdown
Automatic shift to a lower gear (kickdown) is achieved by depressing the accelerator pedal fully and briskly. An
upshift will occur when approaching the top speed for a particular gear or by releasing the accelerator pedal slightly.
Kickdown can be used for maximum acceleration or when passing at highway speeds.
pg. 67 Automatic transmission (Geartronic)
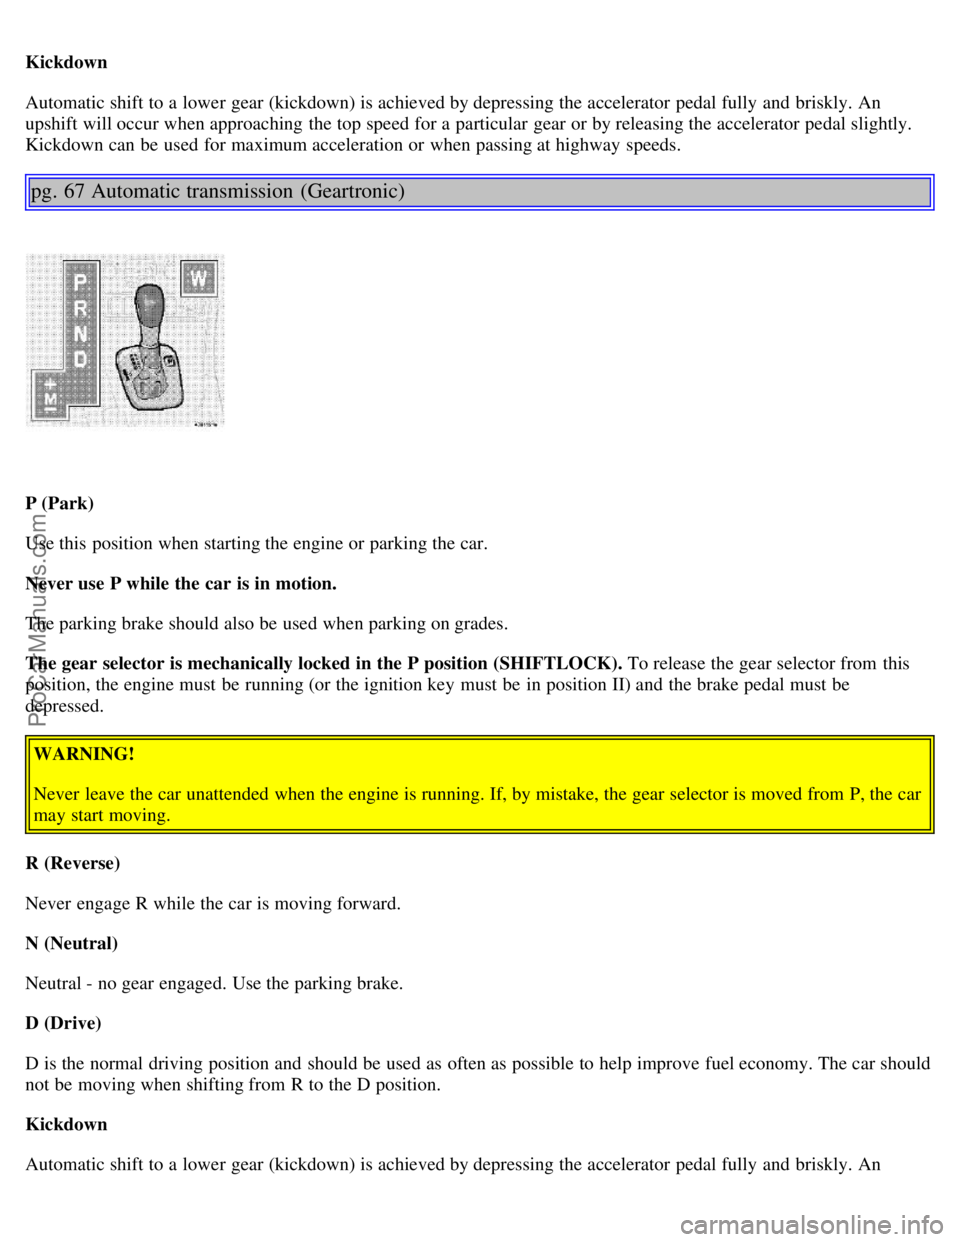
P (Park)
Use this position when starting the engine or parking the car.
Never use P while the car is in motion.
The parking brake should also be used when parking on grades.
The gear selector is mechanically locked in the P position (SHIFTLOCK). To release the gear selector from this
position, the engine must be running (or the ignition key must be in position II) and the brake pedal must be
depressed.WARNING!
Never leave the car unattended when the engine is running. If, by mistake, the gear selector is moved from P, the car
may start moving.
R (Reverse)
Never engage R while the car is moving forward.
N (Neutral)
Neutral - no gear engaged. Use the parking brake.
D (Drive)
D is the normal driving position and should be used as often as possible to help improve fuel economy. The car should
not be moving when shifting from R to the D position.
Kickdown
Automatic shift to a lower gear (kickdown) is achieved by depressing the accelerator pedal fully and briskly. An
ProCarManuals.com
Page 55 of 96
tire damage.
Wear indicator
The tires have a socalled "wear indicator" in the form of a number of narrow strips running across or parallel to the
tread. When approx. 1/16" (1.6 mm) is left on the tread, these strips become visible and indicate that the tire should be
replaced.
Tires with less than 1/16" (1.6 mm) tread have a very poor grip in rain
or snow.
When replacing worn tires, it is recommended that the tire be identical in type (radial) and size as the one being
replaced. Using a tire of the same make (manufacturer) will prevent alteration of the driving characteristics of the
vehicle.
To improve tire economy:
· Maintain correct tire pressure. See the tire pressure label on the inside of the fuel tank cover.
· Drive smoothly: avoid fast starts, hard braking and tire screeching.
· Tire wear increases with speed.
· Correct front wheel alignment is very important.
· Unbalanced wheels impair tire economy and driving comfort.
· If the wheels are rotated, they should be kept on the same side of the car so that they revolve in the same direction as
prior to rotation.
· Hitting curbs or potholes can damage the tires and/or wheels permanently.
Flat spots
All tires become warm during use. After cooling, when the vehicle is parked, the tires have a tendency to distort
slightly, forming flat spots. These flat spots can cause vibrations similar to the vibrations caused by unbalanced wheels.
They do, however, disappear when the tire warms up. The degree to which flat spots form depends on the type of cord
used in the tire. Remember that, in cold weather, it takes longer for the tire to warm up and consequently longer for the
flat spot to disappear.
CAUTION:
The car must not be driven with wheels of different dimensions or with a spare tire other than the one that came with
the car. The use of different size wheels can seriously damage your car's transmission.
pg. 81 Wheels and tires
Snow chains
Snow chains can be used on your Volvo with the following restrictions:
· Snow chains should be installed on front wheels only. Use only Volvo approved snow chains.
· Special snow chains must be mounted on 215/55 R16, 225/55 R16 and 225/50 R17 tires. Consult your Volvo retailer.
· If accessory, aftermarket or "custom" tires and wheels are installed and are of a size different than the original tires
and wheels, chains in some cases CANNOT be used. Sufficient clearances between chains and brakes, suspension and
body components must be maintained.
· Some strapon type chains will interfere with brake components and therefore CANNOT be used.
ProCarManuals.com
Page 63 of 96
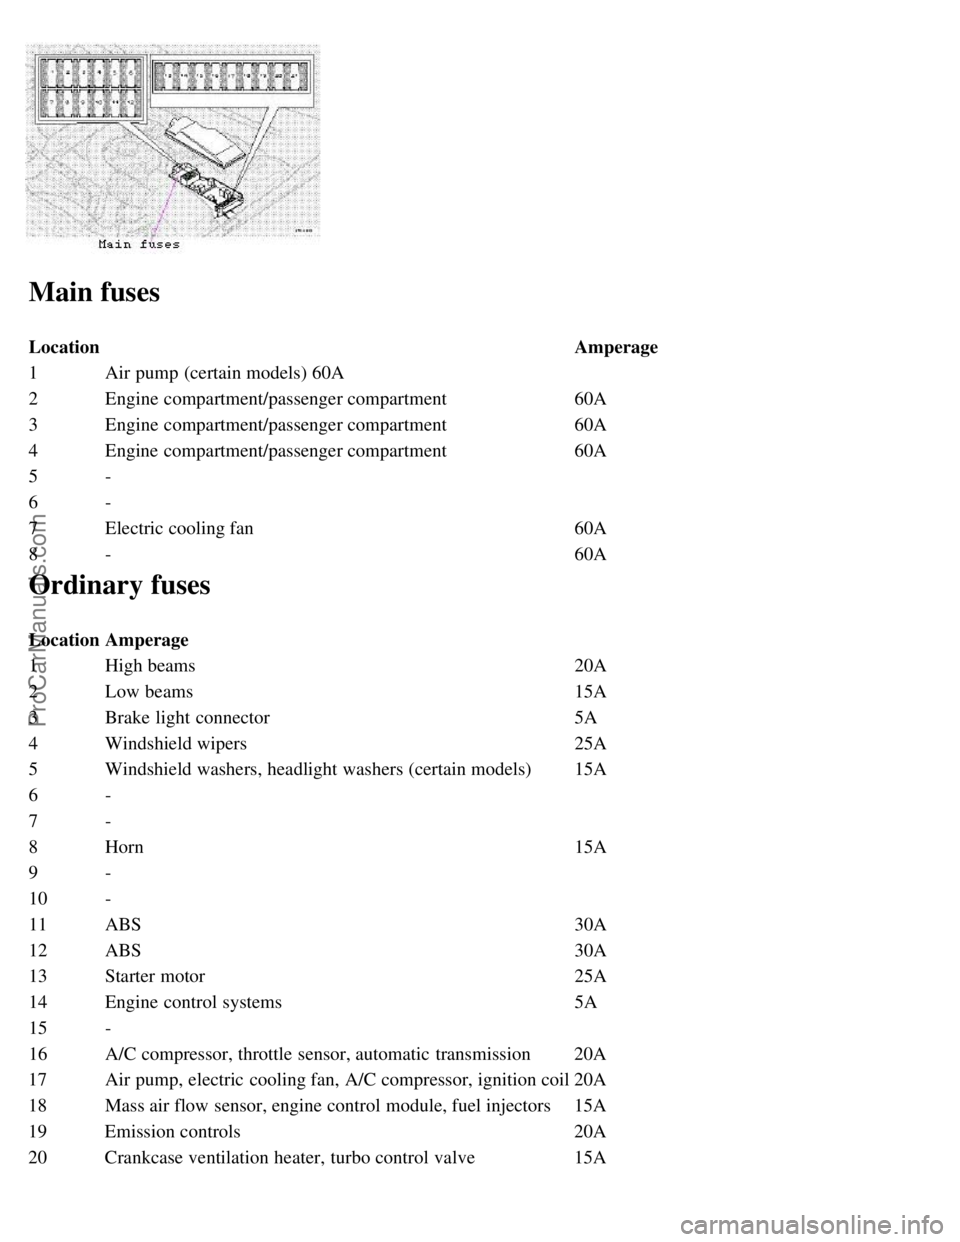
Main fuses
LocationAmperage
1 Air pump (certain models) 60A
2 Engine compartment/passenger compartment 60A
3 Engine compartment/passenger compartment 60A
4 Engine compartment/passenger compartment 60A
5 -
6 -
7 Electric cooling fan 60A
8 - 60A
Ordinary fuses
LocationAmperage
1 High beams 20A
2 Low beams 15A
3 Brake light connector 5A
4 Windshield wipers 25A
5 Windshield washers, headlight washers (certain models) 15A
6 -
7 -
8 Horn 15A
9 -
10 -
11 ABS 30A
12 ABS 30A
13 Starter motor 25A
14 Engine control systems 5A
15 -
16 A/C compressor, throttle sensor, automatic transmission 20A
17 Air pump, electric cooling fan, A/C compressor, ignition coil 20A
18 Mass air flow sensor, engine control module, fuel injectors 15A
19 Emission controls 20A
20 Crankcase ventilation heater, turbo control valve 15A
ProCarManuals.com
Page 66 of 96
Ordinary fuses
LocationAmperage
1 Rear electrical module, trunk lights 10A
2 Rear fog light 10A
3 Brake lights 15A
4 Backup lights 10A
5 -
6 Trunk release 10A
7 Folding rear outboard head restraints 10A
8 Central locking system - rear doors/fuel tank cover 15A
9 Connector for trailer 20A
10 CD changer 10A
pg.92 Replacing bulbs
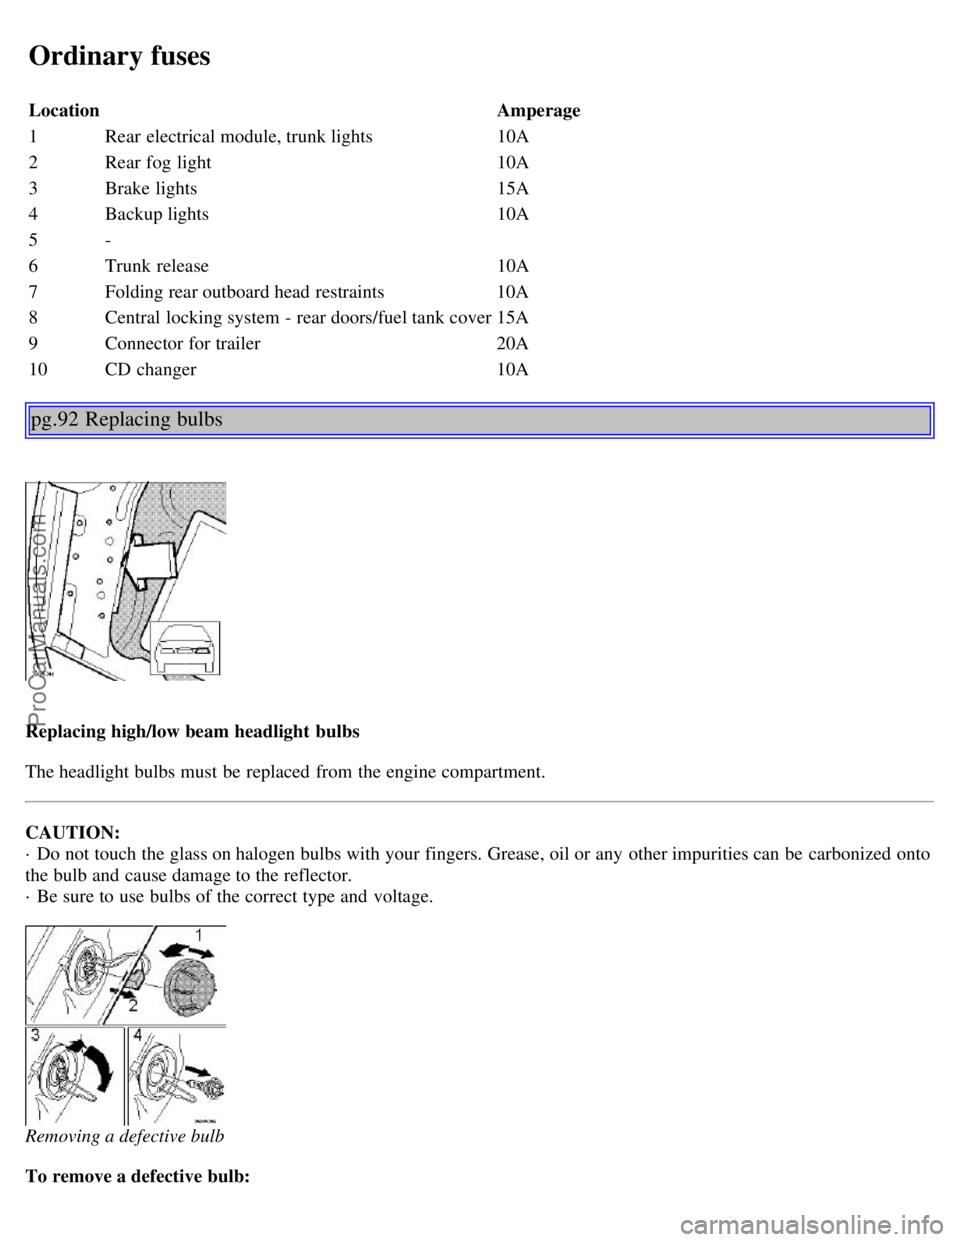
Replacing high/low beam headlight bulbs
The headlight bulbs must be replaced from the engine compartment.
CAUTION:
· Do not touch the glass on halogen bulbs with your fingers. Grease, oil or any other impurities can be carbonized onto
the bulb and cause damage to the reflector.
· Be sure to use bulbs of the correct type and voltage.
Removing a defective bulb
To remove a defective bulb:
ProCarManuals.com