start stop button VOLVO S80 1999 Owners Manual
[x] Cancel search | Manufacturer: VOLVO, Model Year: 1999, Model line: S80, Model: VOLVO S80 1999Pages: 96, PDF Size: 2.27 MB
Page 20 of 96

Turn the button to adjust the clock.
13 Fuel gauge
The fuel tank holds approximately 21.1 US gal. (80 liters).
When the warning light comes on there is approximately 1.8 US gal. (8 liters) of fuel remaining.
14 Indicator and warning lights
pg. 24 Indicator and warning lights
The indicator and warning lights described on pages 24 and 25 should never stay on when driving
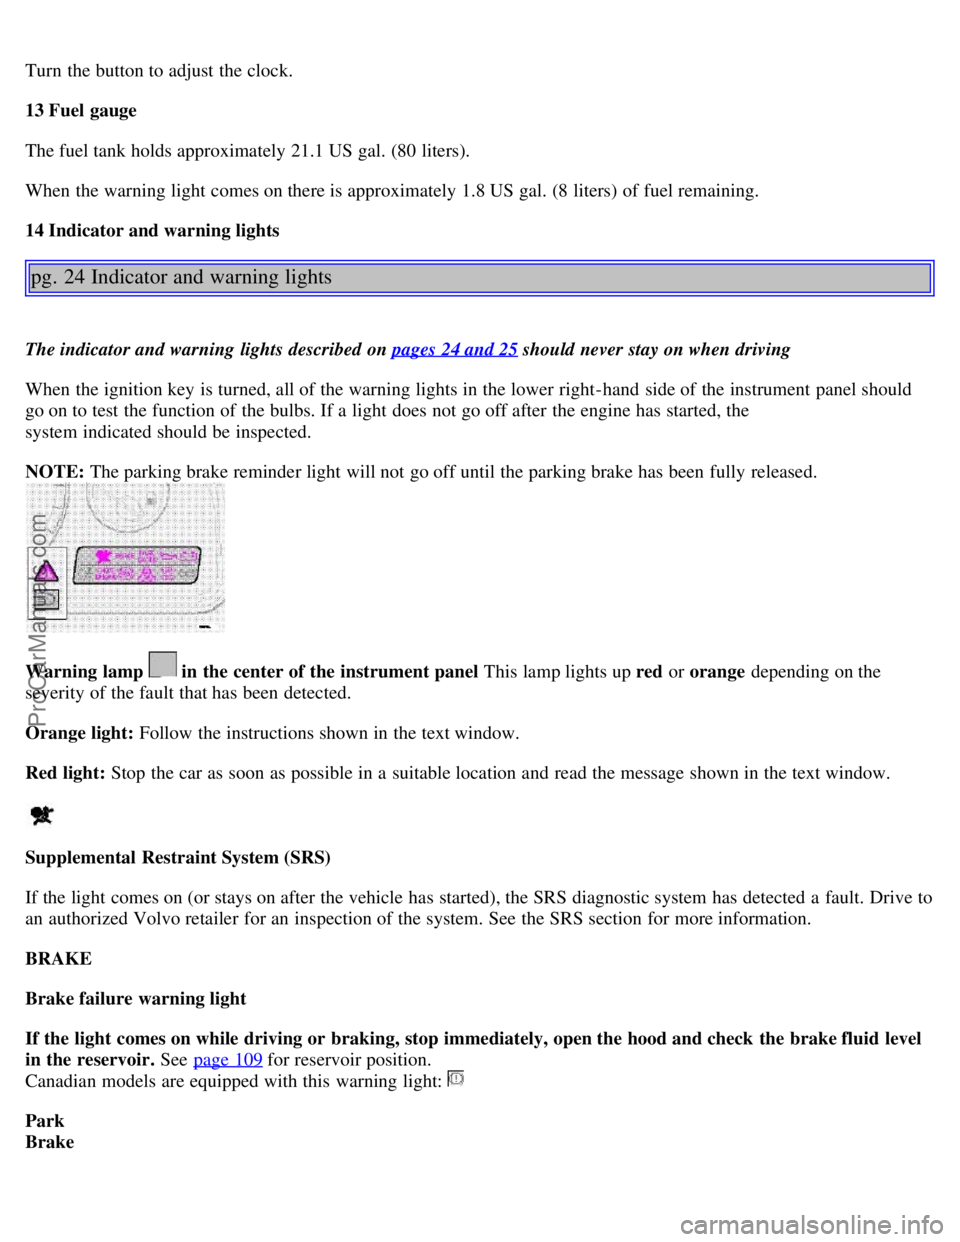
When the ignition key is turned, all of the warning lights in the lower right-hand side of the instrument panel should
go on to test the function of the bulbs. If a light does not go off after the engine has started, the
system indicated should be inspected.
NOTE: The parking brake reminder light will not go off until the parking brake has been fully released.
Warning lamp in the center of the instrument panel This lamp lights up red or orange depending on the
severity of the fault that has been detected.
Orange light: Follow the instructions shown in the text window.
Red light: Stop the car as soon as possible in a suitable location and read the message shown in the text window.
Supplemental Restraint System (SRS)
If the light comes on (or stays on after the vehicle has started), the SRS diagnostic system has detected a fault. Drive to
an authorized Volvo retailer for an inspection of the system. See the SRS section for more information.
BRAKE
Brake failure warning light
If the light comes on while driving or braking, stop immediately, open the hood and check the brake fluid level
in the reservoir. See page 109
for reservoir position.
Canadian models are equipped with this warning light:
Park
Brake
ProCarManuals.com
Page 52 of 96

gear).
· When starting in the (M)anual position, 3rd gear is the highest gear that may be selected.
NOTE: Kickdown (see previous page) does not function when the transmission is in the manual shift (geartronic)
mode.
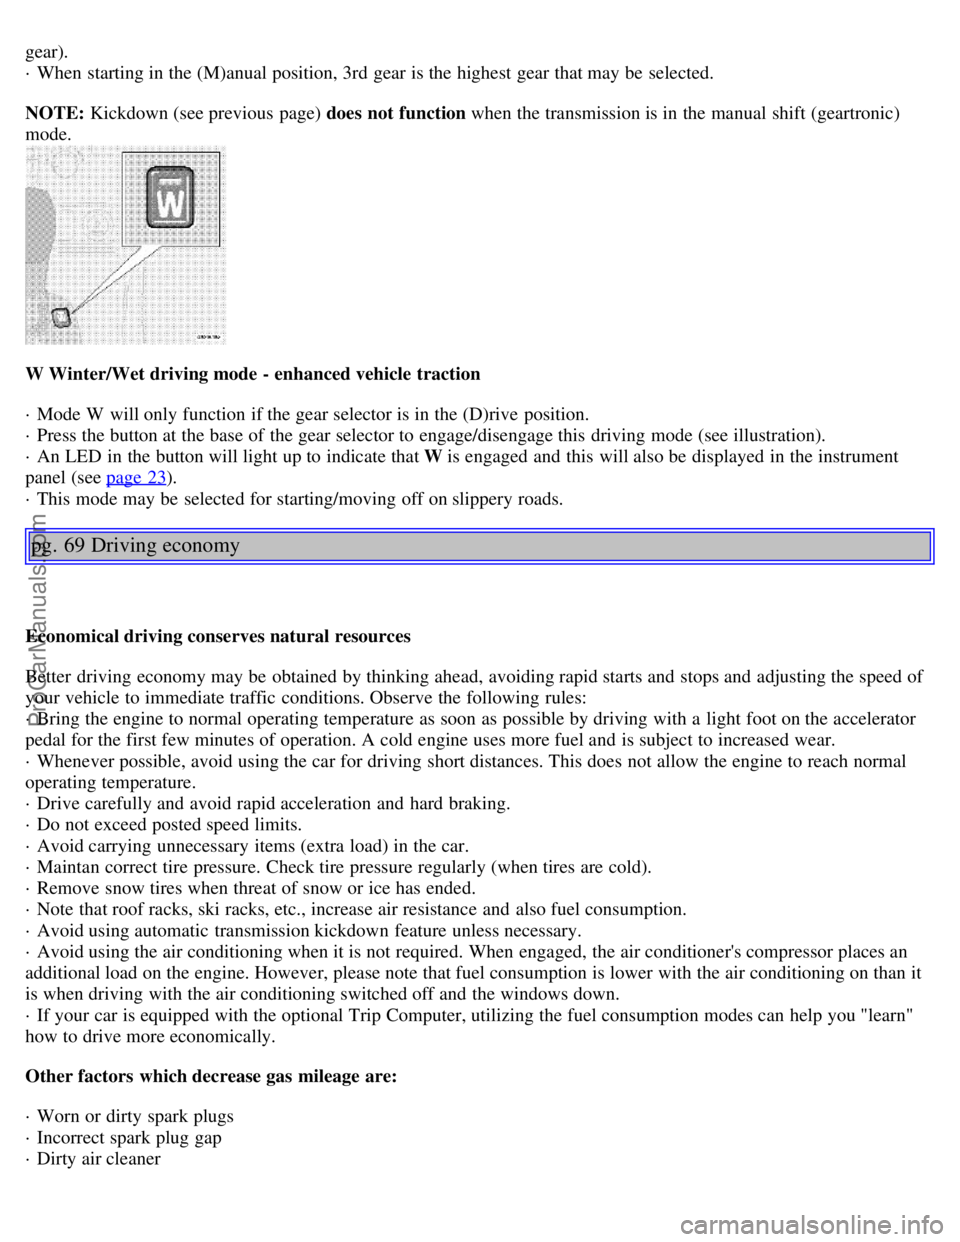
W Winter/Wet driving mode - enhanced vehicle traction
· Mode W will only function if the gear selector is in the (D)rive position.
· Press the button at the base of the gear selector to engage/disengage this driving mode (see illustration).
· An LED in the button will light up to indicate that W is engaged and this will also be displayed in the instrument
panel (see page 23
).
· This mode may be selected for starting/moving off on slippery roads.
pg. 69 Driving economy
Economical driving conserves natural resources
Better driving economy may be obtained by thinking ahead, avoiding rapid starts and stops and adjusting the speed of
your vehicle to immediate traffic conditions. Observe the following rules:
· Bring the engine to normal operating temperature as soon as possible by driving with a light foot on the accelerator
pedal for the first few minutes of operation. A cold engine uses more fuel and is subject to increased wear.
· Whenever possible, avoid using the car for driving short distances. This does not allow the engine to reach normal
operating temperature.
· Drive carefully and avoid rapid acceleration and hard braking.
· Do not exceed posted speed limits.
· Avoid carrying unnecessary items (extra load) in the car.
· Maintan correct tire pressure. Check tire pressure regularly (when tires are cold).
· Remove snow tires when threat of snow or ice has ended.
· Note that roof racks, ski racks, etc., increase air resistance and also fuel consumption.
· Avoid using automatic transmission kickdown feature unless necessary.
· Avoid using the air conditioning when it is not required. When engaged, the air conditioner's compressor places an
additional load on the engine. However, please note that fuel consumption is lower with the air conditioning on than it
is when driving with the air conditioning switched off and the windows down.
· If your car is equipped with the optional Trip Computer, utilizing the fuel consumption modes can help you "learn"
how to drive more economically.
Other factors which decrease gas mileage are:
· Worn or dirty spark plugs
· Incorrect spark plug gap
· Dirty air cleaner
ProCarManuals.com
Page 85 of 96

B - Station seek up/down
Press the left side (lower frequency) or right side (higher frequency) of the button to start the seek function. The radio
seeks the next audible station and tunes it in. Repeat the procedure to continue the seek function.
Audio system controls on the steering wheel
Station seek up/down
If you have a key pad in the steering wheel press the right or left arrow to switch between preset stations.
Scan function
Press the SCAN button (HU-611) or the SOURCE button (HU-801) to start the station scan function. When a station
is found, scanning stops for several seconds, after which scanning will continue.
Press the SCAN or SOURCE button when a station has been found if you would like to listen to that station and to
discontinue the scan function.
pg.130 Audio systems HU-611/HU-801 - radio
A - Automatic station preset
This function seeks and stores up to 10 strong AM or FM stations in a separate memory. This function is especially
useful in areas where you are not familiar with the radio stations.
1. Press in the "AUTO" button. A number of strong signal stations (max. 10) from the currently selected waveband are
now stored automatically in the memory. An "A" and "AUTO" is displayed. If there is no station with sufficient signal
strength "NO STATION" is displayed.
2. Turn "1-20/DISC" button if you wish to change to another of the auto-stored stations.
Another auto-stored station is selected with each turn.
ProCarManuals.com