set clock VOLVO S80 2002 Owners Manual
[x] Cancel search | Manufacturer: VOLVO, Model Year: 2002, Model line: S80, Model: VOLVO S80 2002Pages: 111, PDF Size: 2.74 MB
Page 20 of 111

Please note that this symbol does not indicate a fault with your car.
At low speeds or when the car is not moving, the temperature readings may be slightly higher than the actual ambient
temperature.
12 Clock/reset button
Turn the button to adjust the clock.
13 Fuel gauge
The fuel tank holds approximately 21.1 US gal. (80 liters).
When the warning light comes on there is approximately 1.8 US gal. (8 liters) of fuel remaining.
14 Indicator and warning lights
pg. 24 Indicator and warning lights
The indicator and warning lights described on pages 24 and 25 should never stay on when driving
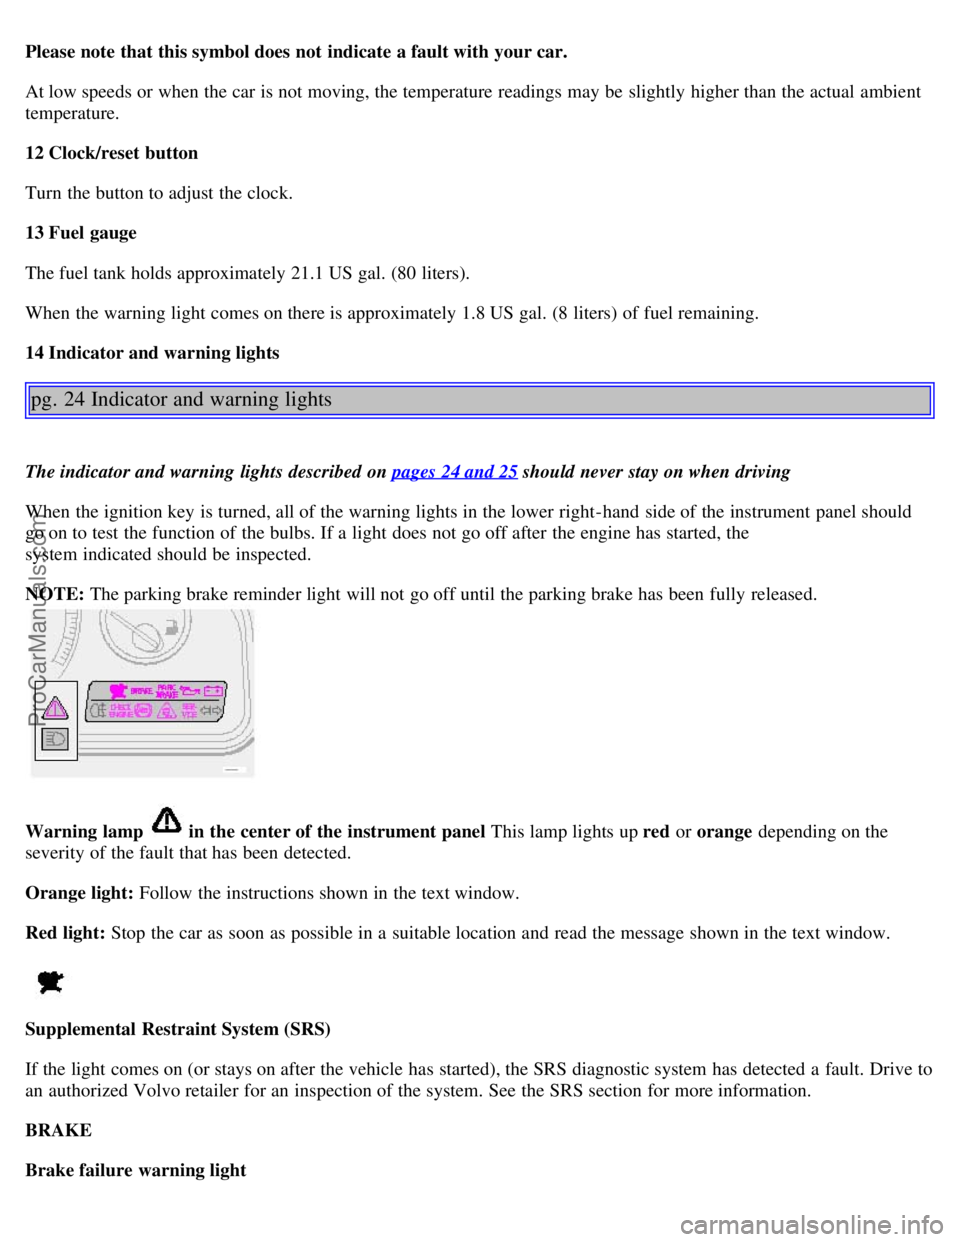
When the ignition key is turned, all of the warning lights in the lower right-hand side of the instrument panel should
go on to test the function of the bulbs. If a light does not go off after the engine has started, the
system indicated should be inspected.
NOTE: The parking brake reminder light will not go off until the parking brake has been fully released.
Warning lamp in the center of the instrument panel This lamp lights up red or orange depending on the
severity of the fault that has been detected.
Orange light: Follow the instructions shown in the text window.
Red light: Stop the car as soon as possible in a suitable location and read the message shown in the text window.
Supplemental Restraint System (SRS)
If the light comes on (or stays on after the vehicle has started), the SRS diagnostic system has detected a fault. Drive to
an authorized Volvo retailer for an inspection of the system. See the SRS section for more information.
BRAKE
Brake failure warning light
ProCarManuals.com
Page 44 of 111

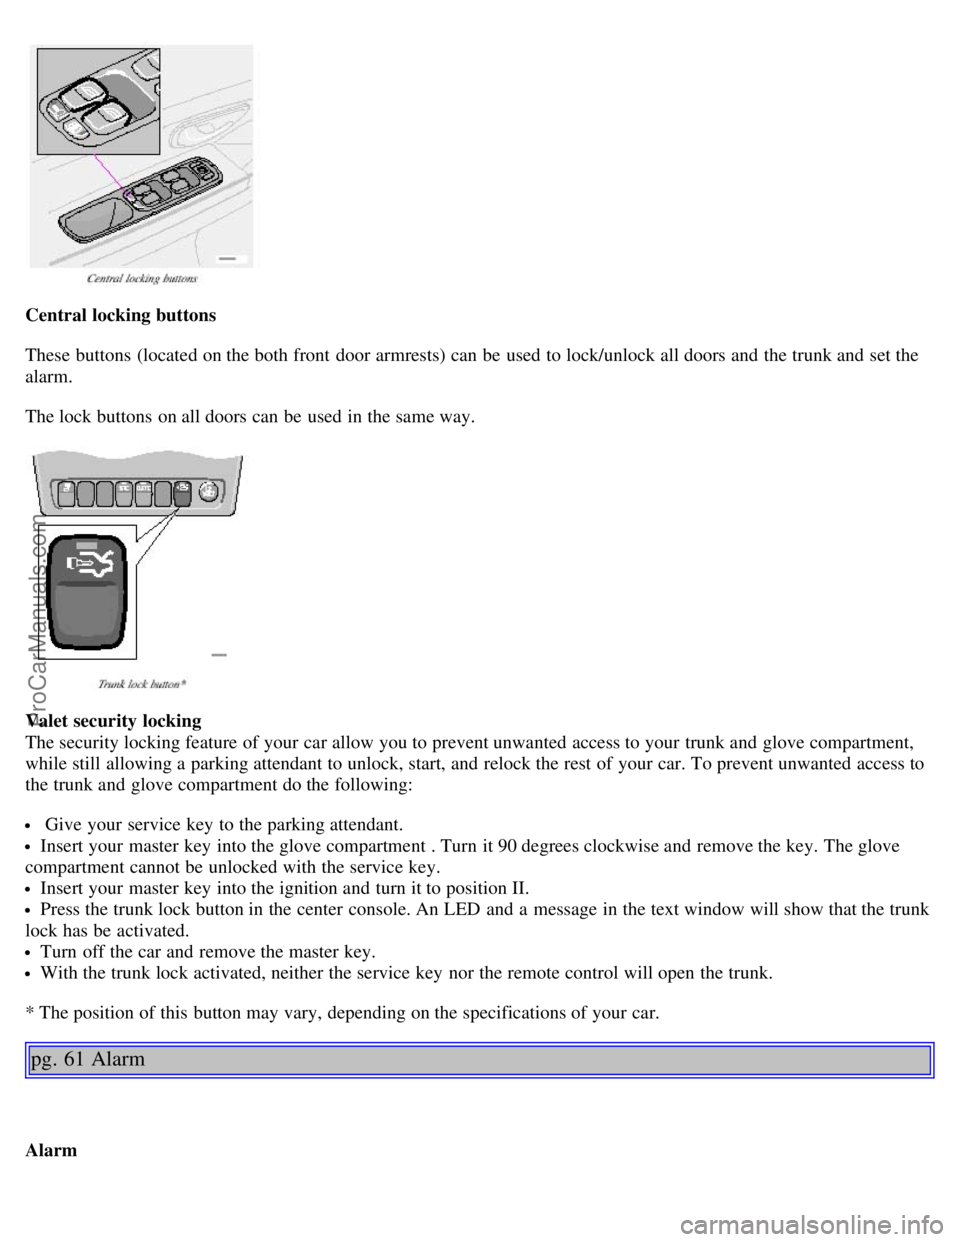
Central locking buttons
These buttons (located on the both front door armrests) can be used to lock/unlock all doors and the trunk and set the
alarm.
The lock buttons on all doors can be used in the same way.
Valet security locking
The security locking feature of your car allow you to prevent unwanted access to your trunk and glove compartment,
while still allowing a parking attendant to unlock, start, and relock the rest of your car. To prevent unwanted access to
the trunk and glove compartment do the following:
Give your service key to the parking attendant.
Insert your master key into the glove compartment . Turn it 90 degrees clockwise and remove the key. The glove
compartment cannot be unlocked with the service key.
Insert your master key into the ignition and turn it to position II.
Press the trunk lock button in the center console. An LED and a message in the text window will show that the trunk
lock has be activated.
Turn off the car and remove the master key.
With the trunk lock activated, neither the service key nor the remote control will open the trunk.
* The position of this button may vary, depending on the specifications of your car.
pg. 61 Alarm
Alarm
ProCarManuals.com
Page 51 of 111

CAUTION:
· Do not refuel with the engine running *. Turn the ignition off or to position I. If the ignition is on, an incorrect
reading could occur in the fuel gauge.
· After refueling, close the fuel filler cap by turning it clockwise until it clicks into place *.
· Allow for fuel expansion by not overfilling the tank. Overfilling could also cause damage to the emission control
systems.
· Avoid spilling gasoline during refueling. In addition to causing damage to the environment, gasolines containing
alcohol can cause damage to painted surfaces, which may not be covered under the New Vehicle Limited Warranty.
· Do not use gasolines containing methanol (methyl alcohol, wood alcohol). This practice can result in vehicle
performance deterioration and can damage critical parts in the fuel system. Such damage may not be covered under the
New Vehicle Limited Warranty.
* If the fuel filler cap is not closed tightly or if the engine is running when the car is refueled, the Check Engine
Light (Malfunction Indicator Lamp) may indicate a fault. However, your vehicle's performance will not be affected.
Use only Volvo original or approved fuel filler caps.
pg. 69 Starting the engine
Starting the engine
1. Fasten the seat belt.
WARNING!
Before starting, check that the seat, steering wheel and mirrors are adjusted properly. Make sure the brake pedal can
be depressed completely. Adjust the seat if necessary. See page 48
.
2. Apply the parking brake, if not already set. The gear selector is locked in the (P)ark position (SHIFTLOCK).
3. Without touching the accelerator pedal, turn the ignition key* to the starting position. Allow the starter to operate
for up to 5 seconds (turbo: 10 seconds). Release the key as soon as the engine starts. If the engine fails to start, repeat
this step.
For cold starts at altitudes above 6000 ft (1800 meters), depress the accelerator pedal halfway and turn the key to the
starting position. Release the pedal slowly when the engine starts.
4. To release the gear selector from the (P)ark position, the engine must be running (or the ignition key must be in
position II) and the brake pedal must be depressed.
5. Select the desired gear. The gear engages after a very slight delay which is especially noticeable when selecting R.
NOTE:
· Your car is equipped with a KEYLOCK system. When the engine is switched off, the gear selector must be in the
( P )ark position before the key can be removed from the ignition switch.
· When starting in cold weather, the transmission may shift up at slightly higher engine speeds than normal until the
automatic transmission fluid reaches normal operating temperature.
CAUTION :
· The engine should be idling when you move the gear selector. Never accelerate until after you feel the transmission
engage! Accelerating immediately after selecting a gear will cause harsh gear engagement and premature transmission
ProCarManuals.com
Page 89 of 111

Internal CD changer
CD
Station scan - press
TV (option on certain models)
External CD changer (option)
7. Radio - Station seek up/down
CD - Selecting next/previous track
8. Radio - Manual station selection
CD - Fast forward/backward
9. CD eject
10. Dolby Pro Logic - switching on
11. 2 channel stereo
12 3 channel stereo
13. CD slot
14. CD random play
15. Program type
Active Sound Control (ON or OFF)
16. News
17. Traffic information
18. Automatic presetting of radio
stations
19. Display
pg. 134 Audio systems HU-611/HU-801
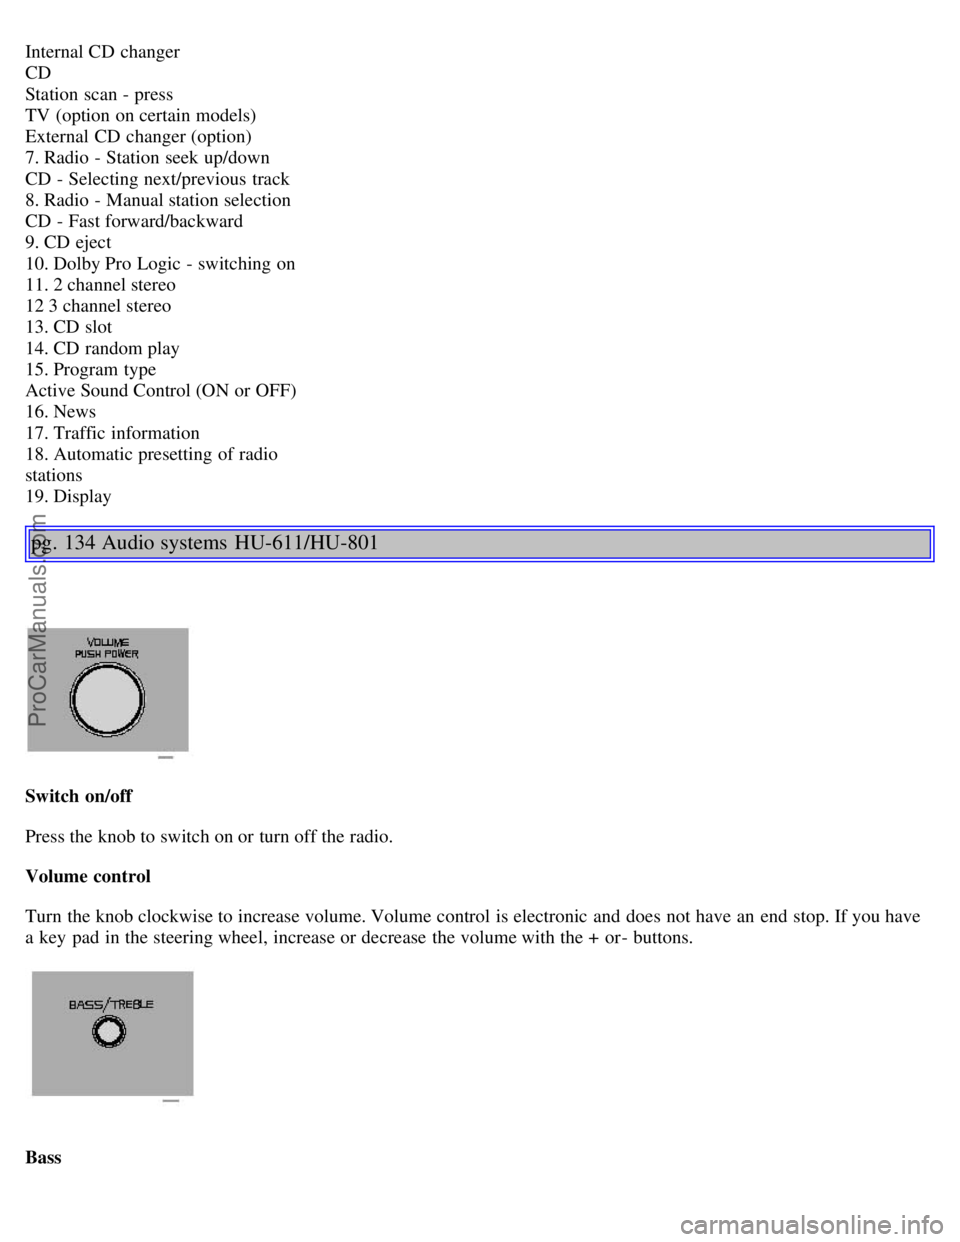
Switch on/off
Press the knob to switch on or turn off the radio.
Volume control
Turn the knob clockwise to increase volume. Volume control is electronic and does not have an end stop. If you have
a key pad in the steering wheel, increase or decrease the volume with the + or- buttons.
Bass
ProCarManuals.com