center console VOLVO S80 2005 Owners Manual
[x] Cancel search | Manufacturer: VOLVO, Model Year: 2005, Model line: S80, Model: VOLVO S80 2005Pages: 123, PDF Size: 2.33 MB
Page 16 of 123
2 0 0 5
VOLVO S80
Chapter 2 - Instruments, switches and controls
pg. 23 Instruments, switches and controls
Interior24
Exterior25
Instruments26
Instrument panel27
Indicator and warning lights28
Text information window30
Switches in center console31
Trip computer32
Cruise control33
Light switch panel34
Manually unlocking the fuel filler door35
Turn signals36
Windshield wipers/washers37
Steering wheel adjustment/lock, ignition switch38
Warning flashers, heated mirrors/rear window, heated front seats39
Parking brake, auxiliary socket, ashtrays40
Electrically operated windows41
Rearview/sideview, vanity mirrors42
Power moonroof43
Sun visor, sun blinds44
pg. 24 Interior
ProCarManuals.com
Page 17 of 123
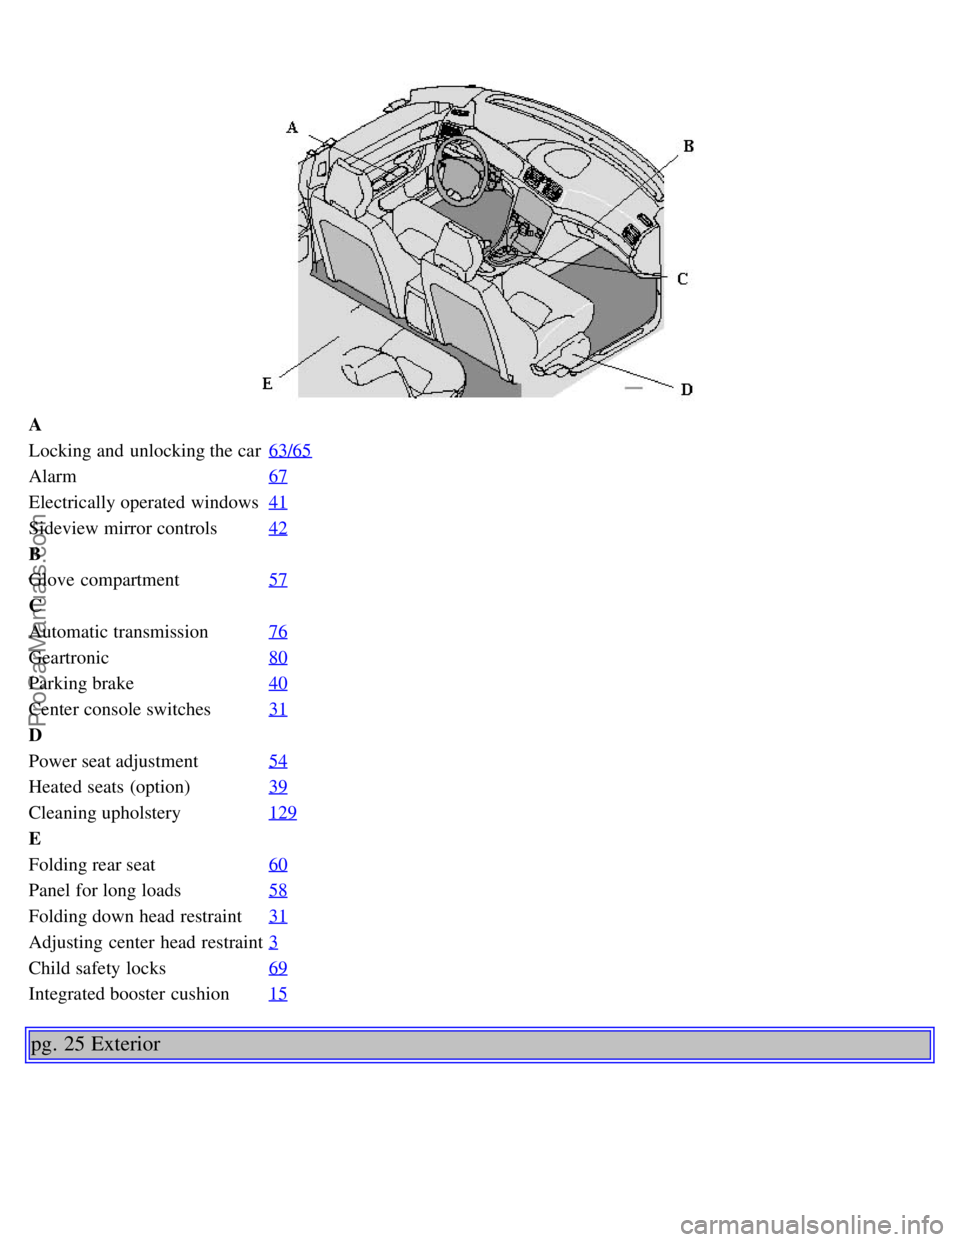
A
Locking and unlocking the car63/65
Alarm67
Electrically operated windows41
Sideview mirror controls42
B
Glove compartment57
C
Automatic transmission76
Geartronic80
Parking brake40
Center console switches31
D
Power seat adjustment54
Heated seats (option)39
Cleaning upholstery129
E
Folding rear seat60
Panel for long loads58
Folding down head restraint31
Adjusting center head restraint3
Child safety locks69
Integrated booster cushion15
pg. 25 Exterior
ProCarManuals.com
Page 31 of 123
2 0 0 5
VOLVO S80
Chapter 4 - Interior
pg. 53 Interior
Front seats54
Coat hanger55
Interior lighting56
Storage compartments57
Storage compartments in center console, Long loads58
Spare tire, Cargo net in trunk59
Folding rear seat backrests60
pg. 54 Front seats
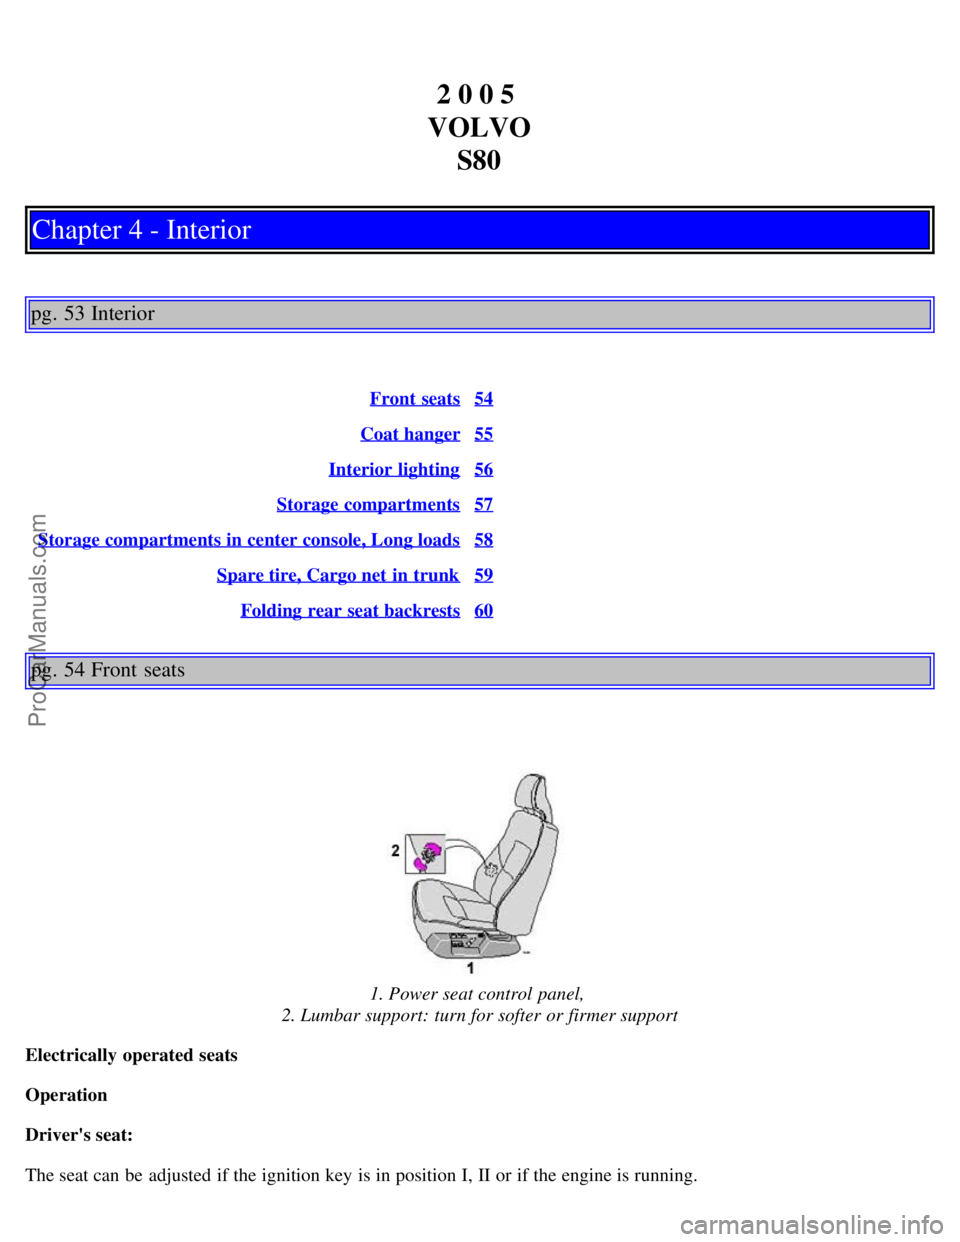
1. Power seat control panel,
2. Lumbar support: turn for softer or firmer support
Electrically operated seats
Operation
Driver's seat:
The seat can be adjusted if the ignition key is in position I, II or if the engine is running.
ProCarManuals.com
Page 36 of 123
WARNING!
Packages on the rear window shelf can obscure vision and may become dangerous projectiles in the event of a
sudden stop or an accident.
Anchor any heavy objects to help prevent them from moving during sudden stops.
pg. 58 Storage compartment in center console, Long loads
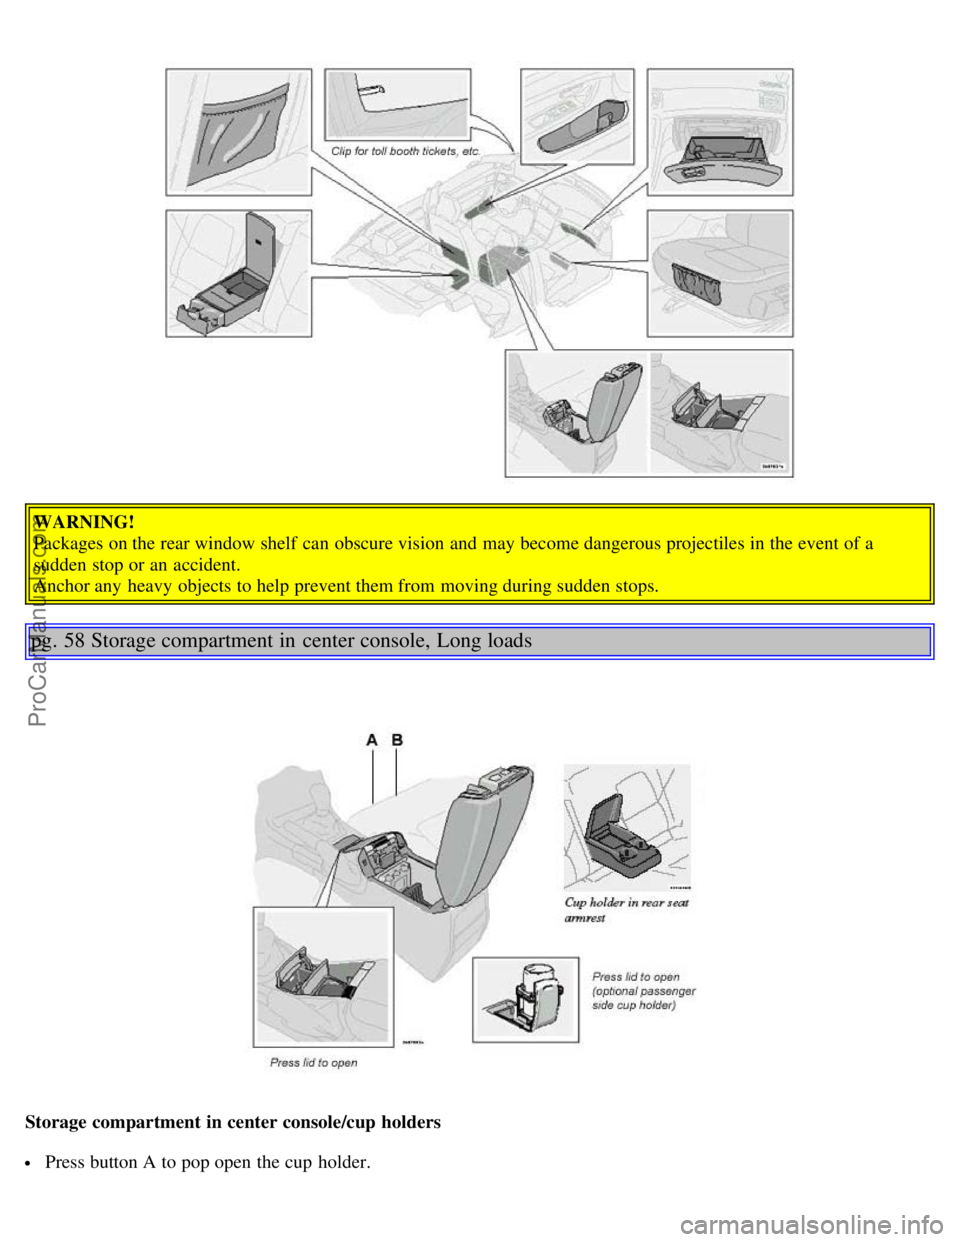
Storage compartment in center console/cup holders
Press button A to pop open the cup holder.
ProCarManuals.com
Page 37 of 123
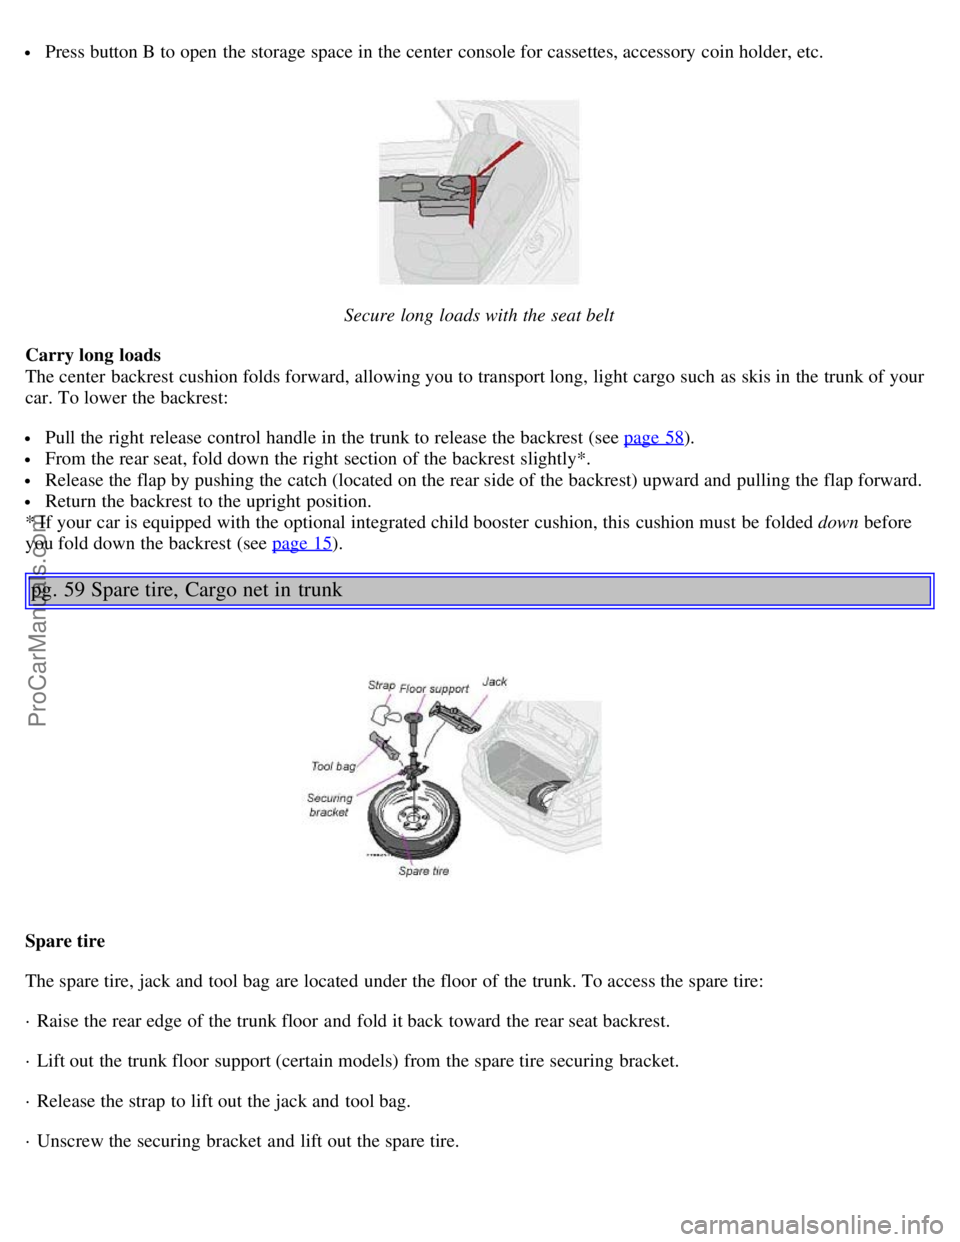
Press button B to open the storage space in the center console for cassettes, accessory coin holder, etc.
Secure long loads with the seat belt
Carry long loads
The center backrest cushion folds forward, allowing you to transport long, light cargo such as skis in the trunk of your
car. To lower the backrest:
Pull the right release control handle in the trunk to release the backrest (see page 58).
From the rear seat, fold down the right section of the backrest slightly*.
Release the flap by pushing the catch (located on the rear side of the backrest) upward and pulling the flap forward.
Return the backrest to the upright position.
* If your car is equipped with the optional integrated child booster cushion, this cushion must be folded down before
you fold down the backrest (see page 15
).
pg. 59 Spare tire, Cargo net in trunk
Spare tire
The spare tire, jack and tool bag are located under the floor of the trunk. To access the spare tire:
· Raise the rear edge of the trunk floor and fold it back toward the rear seat backrest.
· Lift out the trunk floor support (certain models) from the spare tire securing bracket.
· Release the strap to lift out the jack and tool bag.
· Unscrew the securing bracket and lift out the spare tire.
ProCarManuals.com
Page 47 of 123
Valet security locking
The security locking feature of your car allow you to prevent unwanted access to your trunk and glove compartment,
while still allowing a parking attendant to unlock, start, and relock the rest of your car. To prevent unwanted access to
the trunk and glove compartment do the following:
Give your service key to the parking attendant.
Insert your master key into the glove compartment. Turn it 90 degrees clockwise and remove the key. The glove
compartment cannot be unlocked with the service key.
Insert your master key into the ignition and turn it to position II.
Press the trunk lock button in the center console. An LED and a message in the text window will show that the trunk
lock has be activated.
Turn off the ignition and remove the master key.
With the trunk lock activated, neither the service key nor the remote control will open the trunk.
The function can be turned off (deactivated) by turning the ignition key to position II and pressing the trunk lock
button again (the LED in the button will go out and VALET LOCK OFF" will be displayed in the text window).
* The position of this button may vary, depending on the specifications of your car.
pg. 67 Alarm
Alarm
The alarm is automatically armed whenever you lock your car.
When armed, the alarm continuously monitors a number of points on the car. The following conditions will set off the
alarm:
The hood is forced opened.
The trunk is forced opened.
A door is forced opened.
The ignition switch is tampered with.
If there is movement in the passenger compartment (if the car is equipped with the optional movement sensor).
The car is lifted or towed (if the car is equipped with the optional inclination sensor).
The battery is disconnected (while the alarm is set).
Arming the alarm
Press the LOCK button on the remote control, lock the car using the key in the driver's door or press the central lock
button on one of the front doors with the door open. One long flash of the turn signals will confirm that the alarm is
armed.
Disarming the alarm
Press the UNLOCK button on the remote control or unlock the doors with the key.
Turning off (stopping) the alarm
If the alarm is sounding, it can be stopped by pressing the UNLOCK button on the remote control or by unlocking the
driver's door with the key.
Visual alarm signal
The visual alarm signal is given by flashing all turn signals and turning on the interior lighting for approximately 5
minutes.
Audible alarm signal
An audible alarm signal is given by a battery powered siren. One alarm cycle lasts for 25 seconds.
ProCarManuals.com
Page 48 of 123
"Panic" button
In an emergency situation, this feature can be used to attract attention.
Activate the "panic" button by pressing the red button on the remote control (see illustration on page 63
) for at least 3
seconds or by pressing this button twice within 3 seconds. The turn signals will flash, and the car's horn will sound.
The function can be turned off by pressing any of the buttons on the remote control or will stop automatically
after 25 seconds. When a button is pressed, there is a 5 second delay before the panic alarm is deactivated.
NOTE: This button will NOT unlock the car.
pg. 68 Alarm
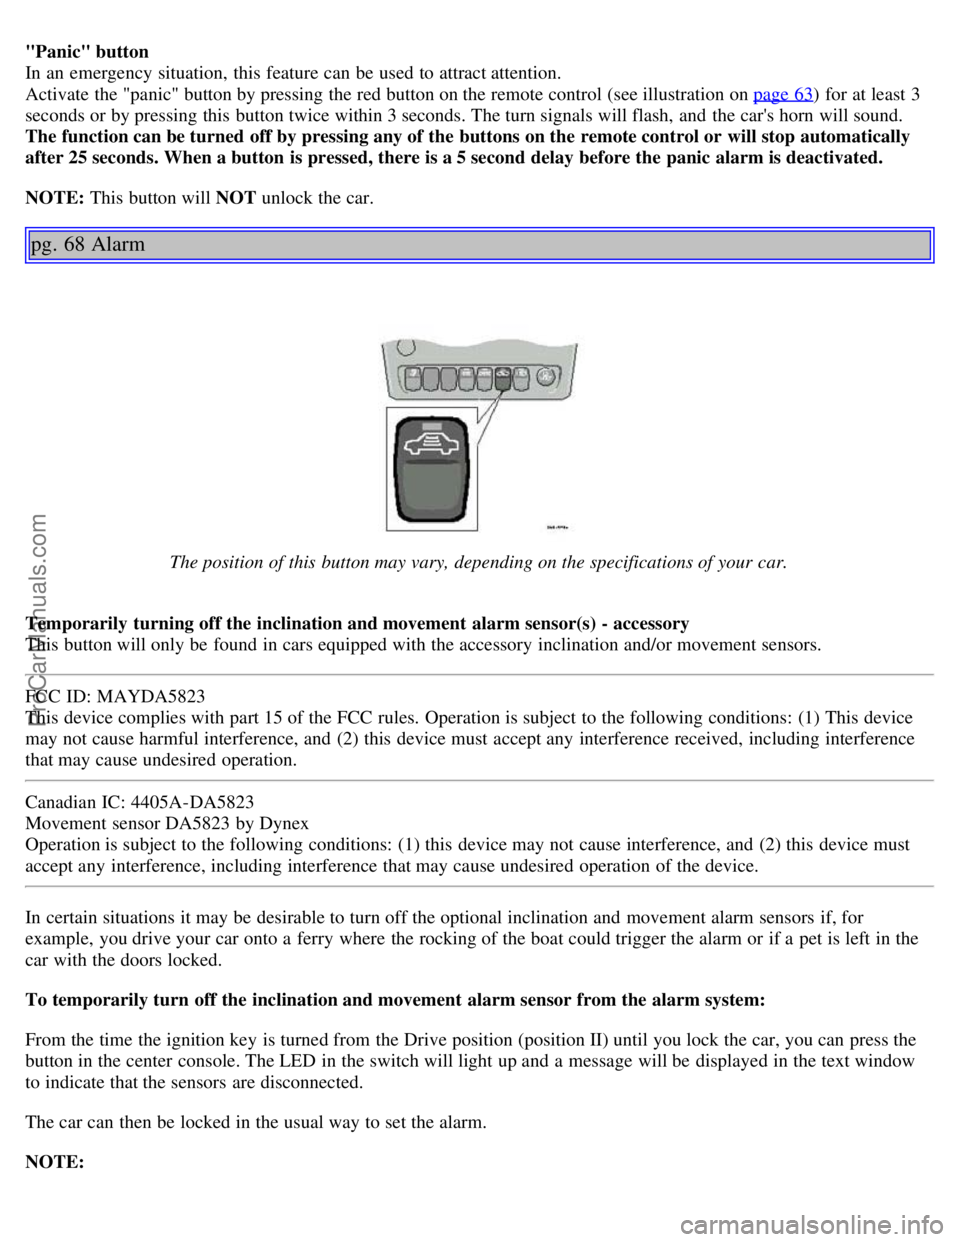
The position of this button may vary, depending on the specifications of your car.
Temporarily turning off the inclination and movement alarm sensor(s) - accessory
This button will only be found in cars equipped with the accessory inclination and/or movement sensors.
FCC ID: MAYDA5823
This device complies with part 15 of the FCC rules. Operation is subject to the following conditions: (1) This device
may not cause harmful interference, and (2) this device must accept any interference received, including interference
that may cause undesired operation.
Canadian IC: 4405A-DA5823
Movement sensor DA5823 by Dynex
Operation is subject to the following conditions: (1) this device may not cause interference, and (2) this device must
accept any interference, including interference that may cause undesired operation of the device.
In certain situations it may be desirable to turn off the optional inclination and movement alarm sensors if, for
example, you drive your car onto a ferry where the rocking of the boat could trigger the alarm or if a pet is left in the
car with the doors locked.
To temporarily turn off the inclination and movement alarm sensor from the alarm system:
From the time the ignition key is turned from the Drive position (position II) until you lock the car, you can press the
button in the center console. The LED in the switch will light up and a message will be displayed in the text window
to indicate that the sensors are disconnected.
The car can then be locked in the usual way to set the alarm.
NOTE:
ProCarManuals.com
Page 60 of 123
If you select the (MAN)ual position while driving, the gear that was being used in the (D)rive position will also
initially be selected in (MAN)ual position.
Move the gear selector forward (toward "+") to shift to a higher gear or rearward (toward "-") to shift to a lower
gear.
If you hold the gear selector toward "-", the transmission will downshift one gear , and will utilize the braking power
of the engine. If the current speed is too high for using a lower gear, the downshift will not occur until the speed has
decreased enough to allow the lower gear to be used.
If you slow down to a very low speed, the transmission will automatically shift down.
When starting in the (MAN)ual position, 3rd gear is the highest gear that may be selected.
NOTE: Kickdown (see previous page) does not function when the transmission is in the manual shift (geartronic)
mode. The gear selector must be in D (Drive) position.
* Models with a 5-cylinder turbo engine have a 5-speed transmission. Fifth gear also has the lock-up function.
W Winter/Wet driving mode - enhanced vehicle traction
Mode W will only function if the gear selector is in the (D)rive position.
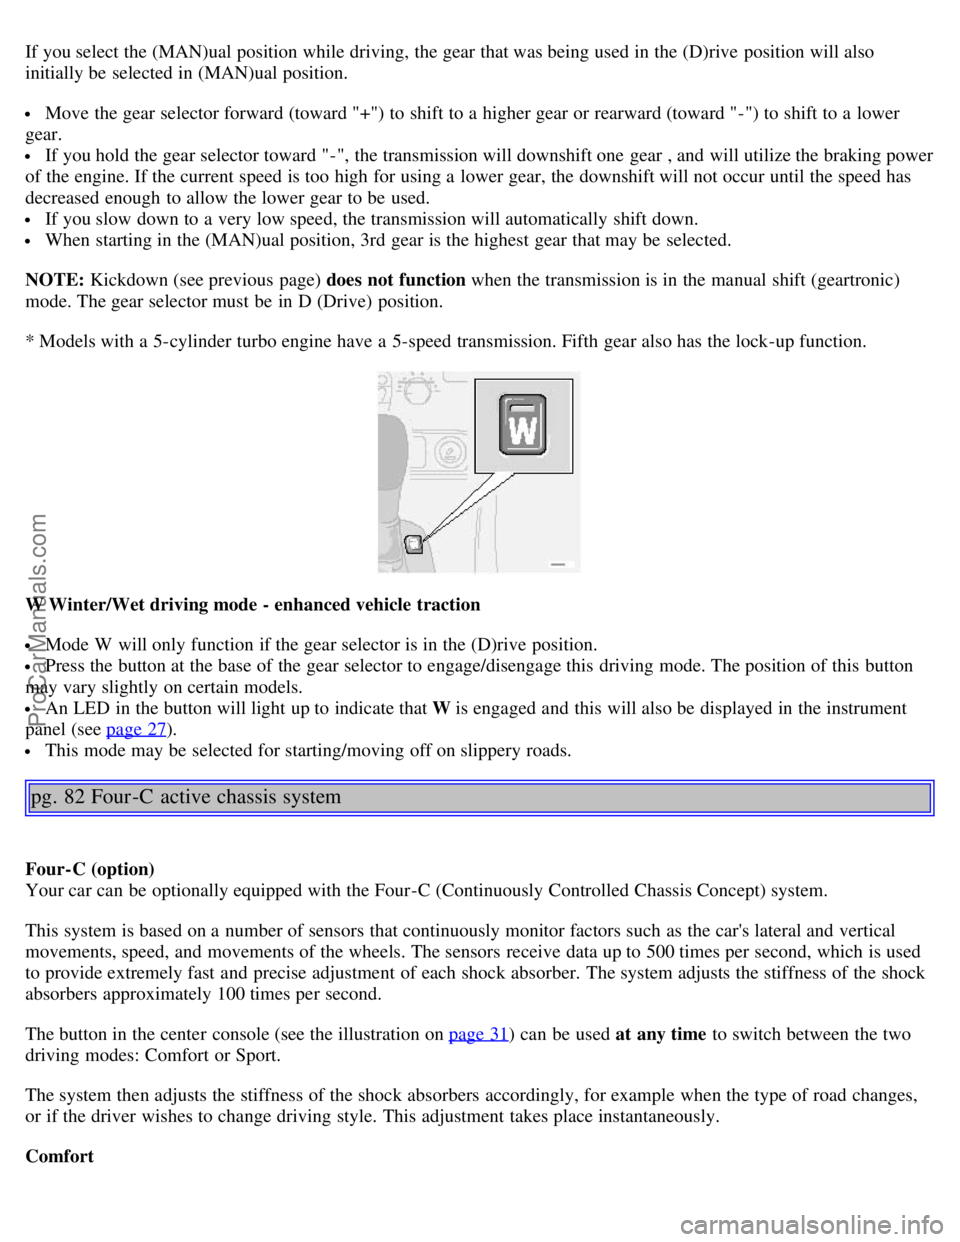
Press the button at the base of the gear selector to engage/disengage this driving mode. The position of this button
may vary slightly on certain models.
An LED in the button will light up to indicate that W is engaged and this will also be displayed in the instrument
panel (see page 27
).
This mode may be selected for starting/moving off on slippery roads.
pg. 82 Four -C active chassis system
Four-C (option)
Your car can be optionally equipped with the Four-C (Continuously Controlled Chassis Concept) system.
This system is based on a number of sensors that continuously monitor factors such as the car's lateral and vertical
movements, speed, and movements of the wheels. The sensors receive data up to 500 times per second, which is used
to provide extremely fast and precise adjustment of each shock absorber. The system adjusts the stiffness of the shock
absorbers approximately 100 times per second.
The button in the center console (see the illustration on page 31
) can be used at any time to switch between the two
driving modes: Comfort or Sport.
The system then adjusts the stiffness of the shock absorbers accordingly, for example when the type of road changes,
or if the driver wishes to change driving style. This adjustment takes place instantaneously.
Comfort
ProCarManuals.com
Page 62 of 123
· Press the Park assist button on the center console (see page 31) to temporarily deactivate the system(s).
· The indicator light in the button will go out when the system(s) have been deactivated.
· If the vehicle is equipped with front and rear park assist, both systems will be deactivated by pressing the button.
NOTE:
It may be necessary to deactivate one or both of the park assist systems in certain cases.
· Rear park assist: towing a trailer, carrying bicycles in a rear-mounted carrier, etc, could trigger the rear park assist
system's sensors.
· Front park assist: it may not be possible to combine auxiliary headlights and front park assist since these lights
could trigger the system's sensors.
Faults in the system
If a fault should occur in the system, the LED in the button will be switched off and a message will be displayed in the
text window.
Cleaning the sensors
For the system to function properly, the sensors in the front and/or rear bumpers should be kept clean. They can be
cleaned with car washing detergent and a sponge.
WARNING!
These systems are designed to be a supplementary aid when parking the vehicle. They are not, however, intended to
replace the driver's attention and judgement.
pg. 84 Driving economy
Economical driving conserves natural resources
Better driving economy may be obtained by thinking ahead, avoiding rapid starts and stops and adjusting the speed of
your vehicle to immediate traffic conditions. Observe the following rules:
Bring the engine to normal operating temperature as soon as possible by driving with a light foot on the accelerator
pedal for the first few minutes of operation. A cold engine uses more fuel and is subject to increased wear.
Whenever possible, avoid using the car for driving short distances. This does not allow the engine to reach normal
operating temperature.
Drive carefully and avoid rapid acceleration and hard braking.
Do not exceed posted speed limits.
Avoid carrying unnecessary items (extra load) in the car.
Maintain correct tire pressure. Check tire pressure regularly (when tires are cold).
Remove snow tires when threat of snow or ice has ended.
Note that roof racks, ski racks, etc., increase air resistance and also fuel consumption.
Avoid using automatic transmission kickdown feature unless necessary.
Avoid using the air conditioning when it is not required. When engaged, the A/C compressor places an additional
load on the engine. However, at higher driving speeds, fuel consumption will be lower with the air conditioning on and
the windows closed than with the air conditioning off and the windows open.
Using the onboard trip computer's fuel consumption modes can help you learn how to drive more economically.
Other factors that decrease gas mileage are:
Dirty air cleaner
Dirty engine oil and clogged oil filter
Dragging brakes
Incorrect front end alignment
Some of the above mentioned items and others are checked at the standard Maintenance Service intervals.
ProCarManuals.com
Page 113 of 123
B
Backrests, rear seat - folding..........60
Battery..........93, 149
maintenance..........140
replacing..........139
ventilation hose..........139
Blinds - rear/side rear windows..........44
Booster cushion - integrated..........15
Brake failure warning light ..........28
Brake fluid..........138, 147
Brake system..........18
Bulbs (list)..........149
Bulbs - replacing..........119-125
C
Capacities (oils and fluids)..........143
, 147
Cargo net in trunk..........59
Cassette deck (HU-650)..........165
Catalytic converters - three-way..........95, 96
Center console - switches..........31
Center head restraint - rear seat..........3
Central locking buttons..........65
Changing wheels..........110, 111
Chassis setting ..........82
Child booster cushion ......... 15
Child restraint anchorages ........ 14
Child safety..........14 -17
Child safety locks - rear doors..........69
Child seat anchors ISOFIX ........ 14
Climate controls..........47 - 49, 51
Climate system - general information..........50
Clock..........27
Coat hanger..........55
Cold weather driving..........93
Combination filter..........47, 51
Coolant..........132, 147
Cooling system..........86, 147
Courtesy light..........56
Courtesy lights (front) - replacing..........125
Courtesy lights - exterior..........62
Cruise control..........33
Cup holder - opening..........58
D
Dimensions..........145
Distributor ignition system..........148
ProCarManuals.com